Halitech
-
Posts
1,229 -
Joined
-
Last visited
Content Type
Profiles
Forums
Events
Blogs
Gallery
Store
Everything posted by Halitech
-
New Year, New Challenge!
Halitech replied to FaireLeatherFriend's topic in Special Events, Contests and Classes
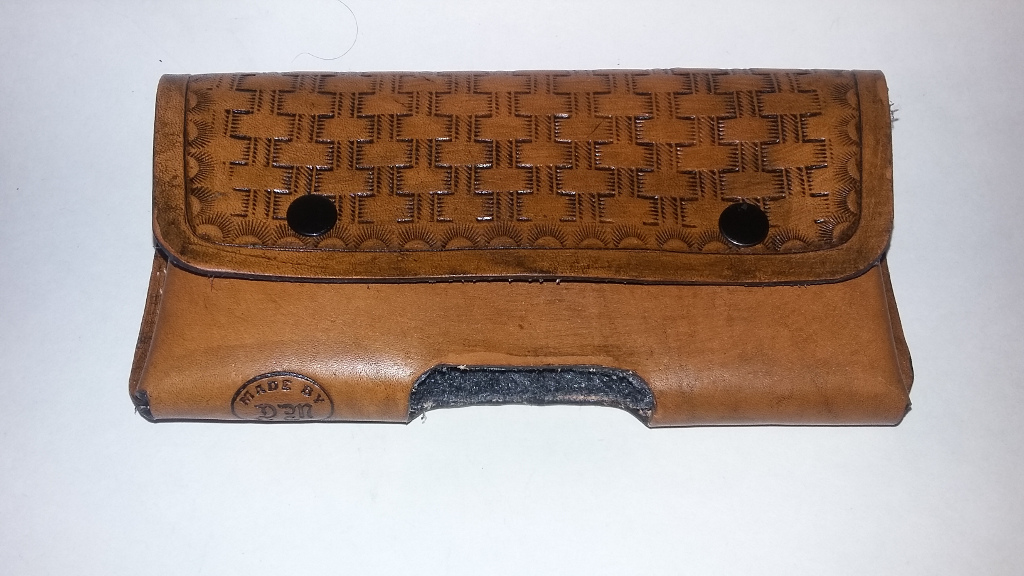
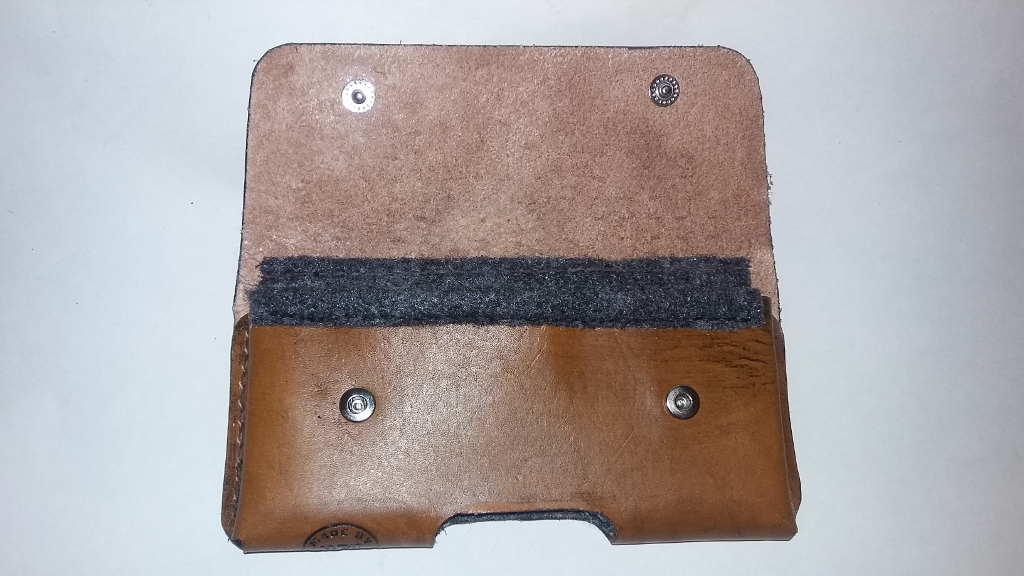
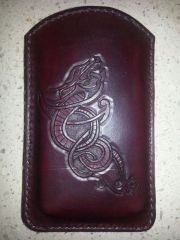
did a second one just because I was sitting here trying to figure out how to make this style. It's basically the tandy style they sell for 40.00+. I figure there might be 10.00 worth of leather at most. I used the chestnut all in one to stain it (and my fingers) and lined it with felt just because I couldn't see using stick on velcro to keep it closed so I wanted something to cover the snap head on the inside.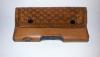
-
one thing that will help is getting the Horse Tack Accessory pack from tandy. It's 3.99 for the download and you can print it off as many times as you need. You'll probably find they are using a 1" strap as opposed to 3/4". May not seem like much, but you'll probably find that 1/4" makes a world of difference
-
Thanks everyone, now hopefully I can sell it and make some money
-
I have the Fenice edge coat and it doesn't have a warning about freezing but if the bottle says do not freeze, then I would let Amazon know and get it replaced. It may be a difference between Fenice and Fiebings on freezing but chances are, the freezing didn't do it any good.
-
They think they are the only ones out to save the planet but they fail to realize, people are going to eat meat no matter what they do and as Dwight said, us making leather products from the skin makes us better stewards of the earth instead of throwing it in the waste. They think they are better because no living animal gets killed by what they do however, they fail to see what goes into the production of their vegan leather. Take the high road with them and don't let them drag you down to their level, that is what they are trying to do
-
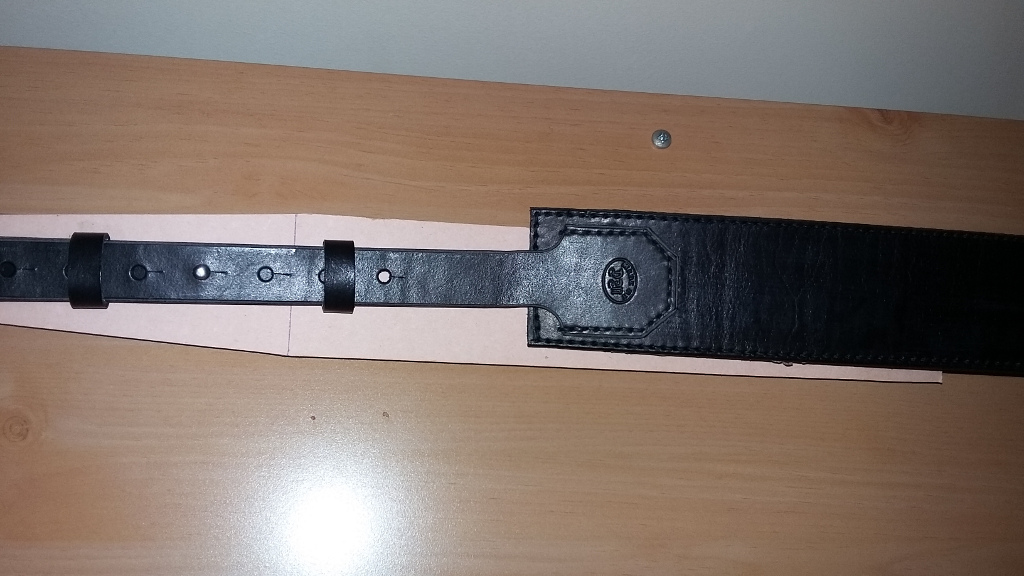
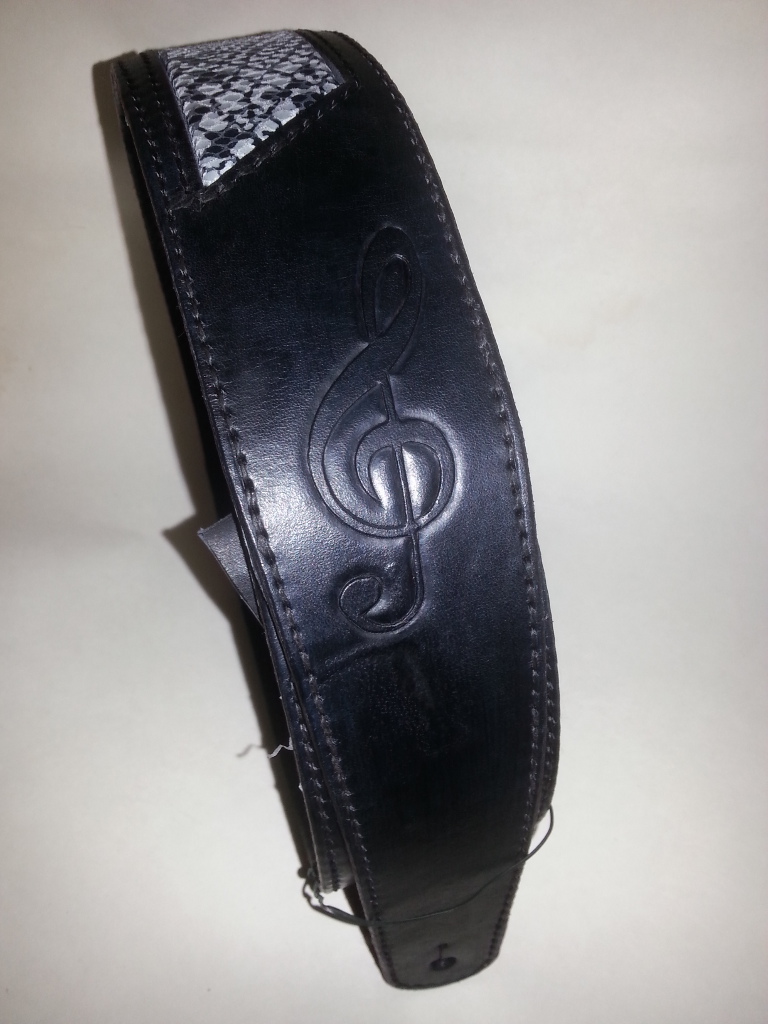
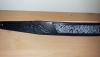
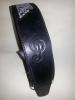
Had to take 2 separate pics, too long to get it all in 1 and still show any details

-
I have the #2 and #3 edgers and I use the one that fits the leather I'm working on. Then I use the emery boards (what I actually use, not nail files) to get a smoother edge. You can also use very fine sandpaper. Just results in less stray fibers that you have to slick down with the water and beeswax I used to use gum trag, still have some but I find the beeswax gives a better, harder edge then just using the gum trag.
-
I round my edges first, then use disposable nail files, the cheap ones at the dollar stores work fine, start with a rougher one and work towards the finer ones. Then wet and burnish with just water. Once that is as smooth as I want, then I hit it with beeswax and burnish again
-
I use a heavier bladed box cutter and on 9oz leather, I usually make 3 or 4 swipes to get all the way through. 1 cut is fine on 3-4oz but with a very good quality head knife or similar, don't think you would ever do 1 pass cutting
-
First Knife Sheath
Halitech replied to Grey Drakkon's topic in Gun Holsters, Rifle Slings and Knife Sheathes
having an "opps" in every project makes it unique so they don't all look like they rolled off an assembly line where they are stamped and cut in 1 step. Obviously some opps shouldn't be included but the main thing is, does the customer like it? If they do, take where you made the mistake, learn from it and do better on the next one. -
Here is the direct link https://mainethread.com/index.php/waxed-polycord I've been ordering the 0.030" and it is a dream to sew with. Has just enough wax that it pulls through, does not split when you are trying to thread the needle but doesn't drag when you are pulling it through the hole
-
Looks like it really turned out good. I just changed from using Tandy's thread to buying from Maine Leather Co. Little more expensive, especially with shipping to Canada but worth it. And lots of color options as well.
-
First Knife Sheath
Halitech replied to Grey Drakkon's topic in Gun Holsters, Rifle Slings and Knife Sheathes
Looks good other then what you pointed out. I usually go with the rule of thumb of leaving 1/4" from the edge where I don't tool. That leaves me room to sew it without going into the tooling and if I need to sand the edges to get the parts to match. -
First Legit Leathercraft Attempt
Halitech replied to tardis86's topic in Gun Holsters, Rifle Slings and Knife Sheathes
I should add on a positive note, your wet molding and your stitching actually looks pretty good. If you didn't have to add the piece on the back, you could have trimmed it closer to the stitching -
First Legit Leathercraft Attempt
Halitech replied to tardis86's topic in Gun Holsters, Rifle Slings and Knife Sheathes
The clip you used is fine, it's an issue with your installation method. That clip is designed so you cut a slit in the leather and put the clip back through the slit and then install your rivet. The slit keeps it from moving around. And don't worry, you aren't the first person to not use it correctly For the snaps, what I usually do is put the male on where it needs to usually be put on before assembly, then once the rest is done, close your cover and press hard, it will leave a dent you can use to line up your female part. -
I have a cheap one of both. The double action is good for dye and I use the single action and adjust the pressure for spraying resolene.
-
I'm guessing that this is for a large sized dog. I'd be worried about the rivets holding the buckle in place and I would have gone with stitching myself. And with that many rivets and studs, I probably would have lined it just to keep the dogs hair from getting caught. Stamps look good and looks like you lined the crystal rivets up pretty good.
-
Only issue with using a resist or mask is you end up with a solid line instead of a faded effect. Airbrush or block dying would be the best 2 options
-
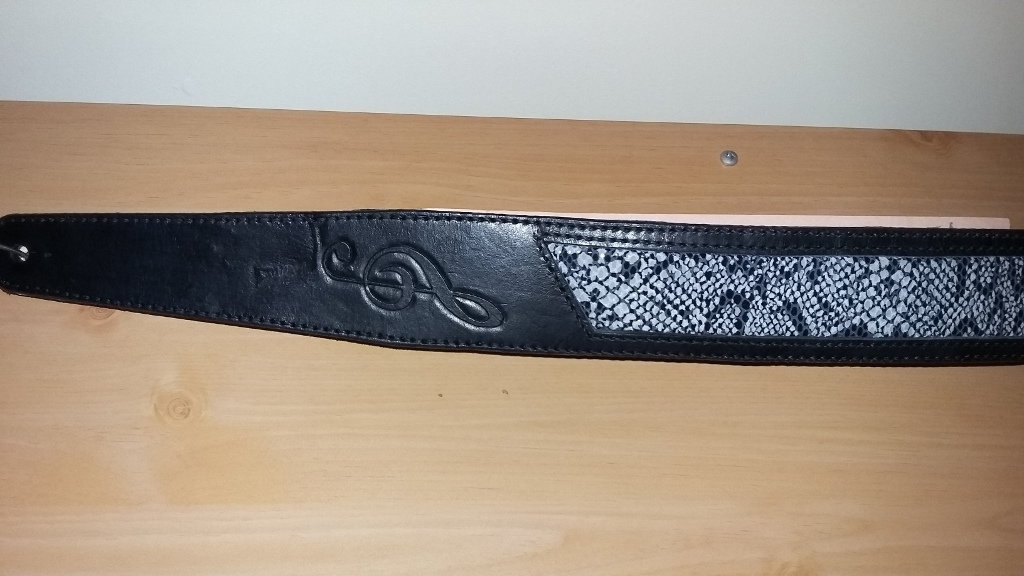
This started out as a natural guitar strap with a verse from a song hand written in ink with the treble clef carved into it. I screwed up and somehow got some red dye on the front so I had to redo the strap. I ordered some python print from SLC and decided to cut out the area where the words were originally and use the python as an inlay. Body of the strap is 7oz (skived down from 9oz) with a 2oz pigskin liner. I had a hard time getting all the resolene off so I used vinegaroon to make it black. It did an okay job but still hit it with some black dye to give it a brighter black. All hand sewn with saddle stitch using 0.030" black thread from Maine Thread Co.
-
Looks good as usual Colt
-
New Year, New Challenge!
Halitech replied to FaireLeatherFriend's topic in Special Events, Contests and Classes
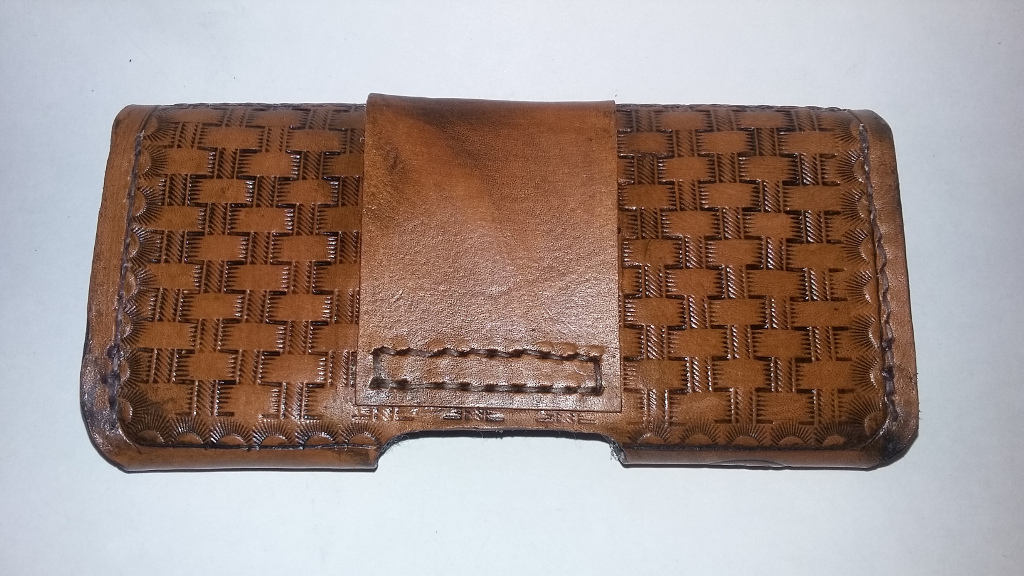
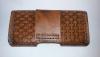
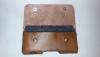
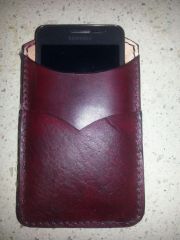
Here is what I came up with. 6oz back and middle, 4oz for the card slot. Dyed with oxblood and black antique. Hand sewn with black waxed polythread from Maine Thread Co. Fits up to a 2.75"x5.25x3/8" phone. -
From the album: Phone cases
Phone case. Made from 6oz veg tanned leather for the back and middle piece, 4oz for the card/money slot. Dyed with oxblood and black antique. Finished with snow-proof. Fits the Samsung S3 perfectly but a little short for the Samsung Grand Prime -
From the album: Phone cases
Phone case. Made from 6oz veg tanned leather for the back and middle piece, 4oz for the card/money slot. Dyed with oxblood and black antique. Finished with snow-proof. Fits the Samsung S3 perfectly but a little short for the Samsung Grand Prime -
Thanks snubby, as I said, I don't have much experience, just going on what I've seen with others. That does make sense that the strap should prevent an accidental discharge but still usually better to be safe then sorry
-
any of these help? http://leatherworker.net/forum/index.php?showtopic=59177&hl=watch http://leatherworker.net/forum/index.php?showtopic=17858&hl=watch