MADMAX22
-
Posts
3,201 -
Joined
-
Last visited
Content Type
Profiles
Forums
Events
Blogs
Gallery
Store
Everything posted by MADMAX22
-

Something I haven't seen before -- how to clean it up?
MADMAX22 replied to llucas's topic in Leather Sewing Machines
Have you thought of using some super 77 instead of barge or similar? When I do belts since they are flat I will lay them out and spray both the liner and body at the same time, they go together in a few minutes after spraying and no issues with glue coming out anywhere. I still use weldwood for things that require precise glueing of portions of the work but use the spray where I can. -
I have an older 4100 or whatever they are. It does fine with 6oz leather as long as you make the proper adjustments. I am using mine right now for my motorcycle seats where it stitches 2 or 3 layers of 3oz leather and no complaints so far when it comes to the stitching part of it. Wizcraft has a few post/threads on getting them setup to sew thinner leather with smaller thread. I personally am using 207 thread at the moment for my projects.
-
The 211s are nice. I have an old 211G155 so no reverse which kind of sucks but other then that the machine is a beast. The clutch motor on these flies so slowing it down is a must. One trick is putting a foam pad under the pedal (I use a piece of pipe insulation the anti freeze foam wrapped in a towel) this allows you to slowly feather the clutch easier. I think either the 211 or 111 if in good mechanical order would suit you fine, just have to work with any short comings of an older machine. Ofcourse Bob or Wizcraft would be the guys to talk to about what is best between the two.
-
Good lookin stuff. Eddie yes they are done the same way, I personally bevel the edges at a 45 roughly, mark the stitch line and glue together, then stitch the two, once done trim and burnish the edge. Not sure if outlaw did it the exact same way but gives ya an idea.
-
Thanks Redcent. RIP Chuck. He was a very knowledgeable man when it came to old style techniques and that period life in general and did amazing work both in leather, beading, and knife making. Was always finding time to help young or beginning craftsman learn and figure out techniques, answering questions and providing insight. I hope his books and dvds will continue to be offered to future craftsman to pass on his wealth of knowledge.
-
Ya can get that look by either carving the outline, beveling inward, then back grounding the space inside of your outline basically or you can do just a backgrounding within your design and can get a similar look. Personally I find doing the carving then beveling inward and backgrounding to be the neatest look. Assume thats how he did it, I could be wrong.
-
Great looking pieces. If ya dont mind what leather did you use for the "B" seats. Really like the look of it. Thanks.
-
Hey all been a long time since Ive been on the forums. Have not done leather work in a while because of the standard life issues. Somehow got rangled into doing a cafe racer seat for a buddy and that turned into doing a couple a month for his friend. I am using neoprene foam for the padding, still working on best way to do the pleats on the seats (they are the pleated top style). My issue is getting a good leather that is easy to form around the seats and that pleats well. The most recent one I actually cut strips of the foam and stitch between them makes a nice uniform pleat on top of the seat. I got a couple sides of W&C belting leather in 3oz but it is still pretty tough even when cased properly. I am looking more for something like chap sides in a way but good enough to last in a seat type application. That subtle hand of a chap hide seems to be what I am looking for but dont thing W&C or HO have that type of leather. I would like to use a decent quality leather, not necessarily gold plated wildabeast or anything but something that is both appealing to look at once finished and wears nicely. Thanks for any input into the subject.
-
I know this is an old thread but Ive been out of the loop for a while. Was wondering if anything came of these new improved plates. Would like to pick one up if anyone is making them.
-
Couple Sheaths
MADMAX22 replied to MADMAX22's topic in Gun Holsters, Rifle Slings and Knife Sheathes
Thanks Joel. They are sewn with my cowboy class 4. I did hand stitch the belt loops where they attach to the sheath, its just easier and I trust it a tad more for that kind of application. -
Couple Sheaths
MADMAX22 replied to MADMAX22's topic in Gun Holsters, Rifle Slings and Knife Sheathes
Thanks guys appreciate the compliments. -
Couple Sheaths
MADMAX22 replied to MADMAX22's topic in Gun Holsters, Rifle Slings and Knife Sheathes
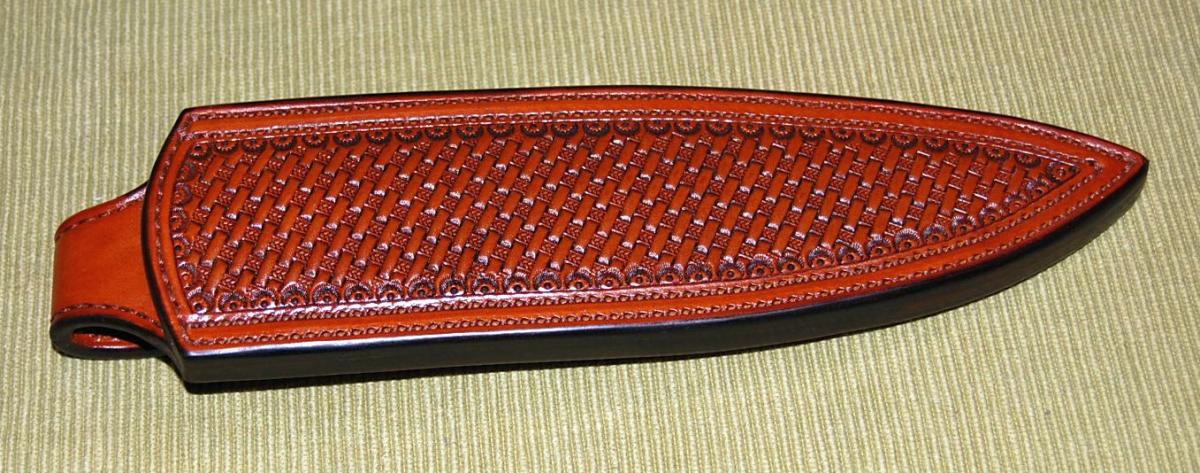
Thanks Bling, its all hand stamped. The basketweave and the border are both barry king tools. I dont have many of his tools because they are pricey but they are so worth it. -
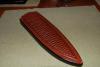
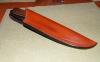
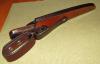
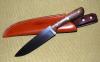
Here are a couple of sheaths I finished recently for a knife I made. They are both WandC. The simple dangler has harness leather for the strap and is natural finished with a wax/oil finish. The second is tooled, slightly antiqued and clear lac finish. Both have died and wax burnished edges. The blade is about just under 11" long total. Hope you like. sorry for the crummy pics but missed the daylight and didnt have my box setup.
-
Antique Box Under The Gun
MADMAX22 replied to arbalet12's topic in Gun Holsters, Rifle Slings and Knife Sheathes
Always in awe at your work. Great job. -
Checkbook Cover For A Friend
MADMAX22 replied to BearMan's topic in Purses, Wallets, Belts and Miscellaneous Pocket Items
Great looking stuff in the class bearman style. -
Photo Album For My Little Girl
MADMAX22 replied to MADMAX22's topic in Books, Journals and Photo Albums
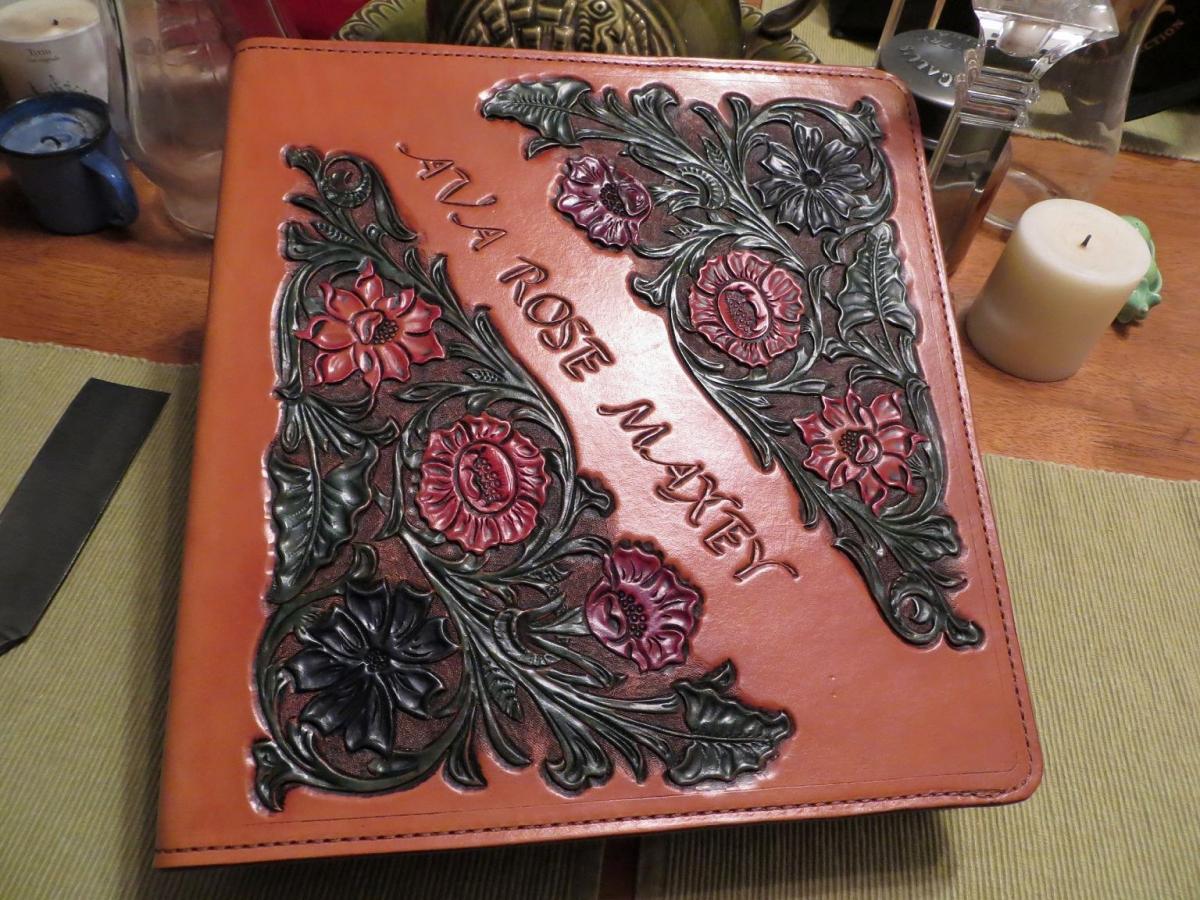
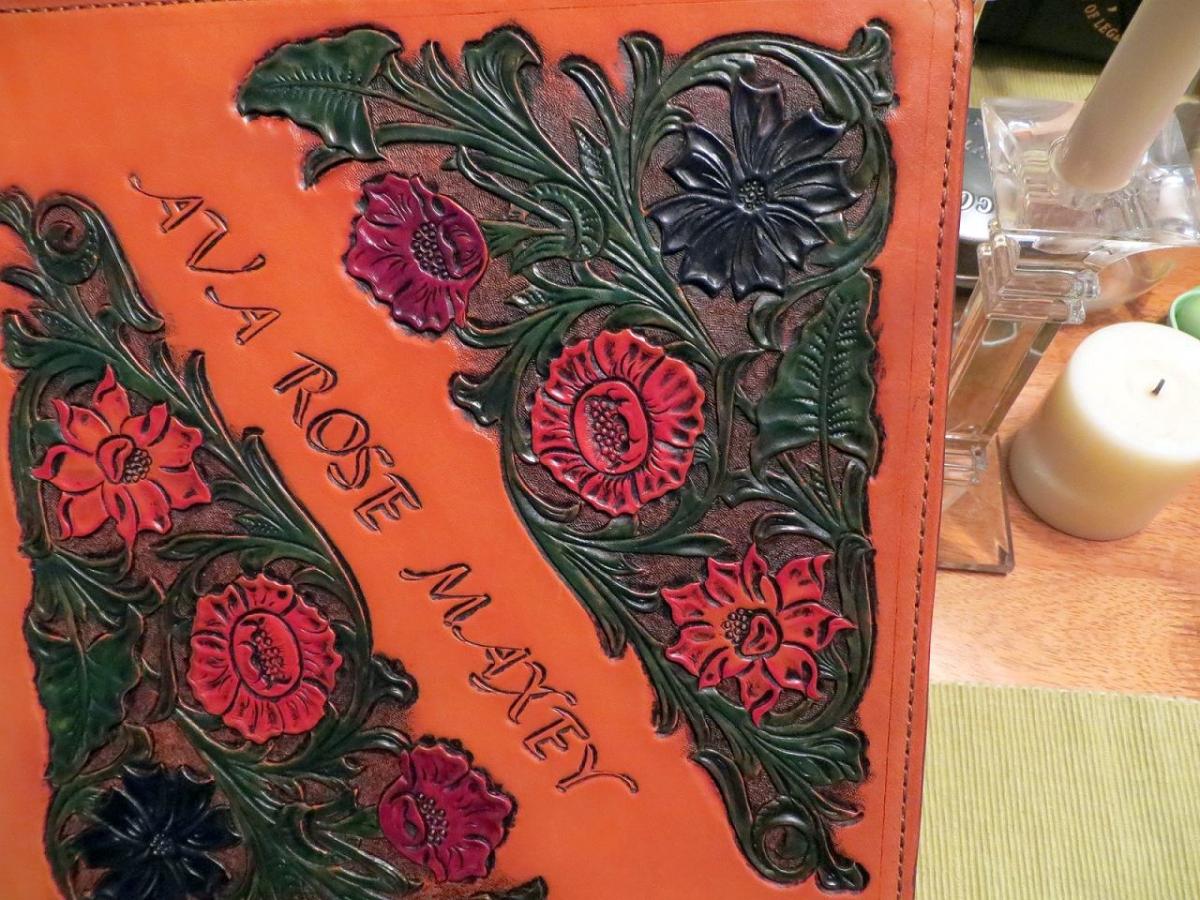
Thanks guys, yeah there are already a ton of photos and shes only a week old. I think the usb and dvd is still gonna be the best storage but would like to have some nice photos to be able to flip thru. -
Well its been a while since I did any leather work to speak of, couple rifle slings with just stamped back grounds and what not. Finally had a reason to do some tooling and wow Ive forgotten alot. Had to go back a review a few books lol. Managed to get it done. And a pic of our first baby, she showed up just this last weekend. Almost forgot, its about 6oz wickett and craig russet skirting. I lined it with some calf and am gonna put the 3 ring assembly in, gotta get some stand offs to make it work right.


-
Amazing looking work. Your skills in bringing out your design in the leather are just wow.
-
Great looking both of them. Always love some nice suntanned HO leather.
-
Is Anyone Really Satisfied With Their Work?
MADMAX22 replied to shooter55's topic in Leatherwork Conversation
Had to quote both of ya guys as you have gotten some great advice by craftsman both with crafts that require a great attention to detail even if its not being scene. By the way I think any cabinet maker has some form of OCD lol. I have had to struggle with not thinking an item is good enough and that is what keeps me trying to make things better. I know that even when I point out to people that the edges are nicely burnished and rivets properly set and in the correct areas or that the stitching I do is the best for dependability I can tell that most dont really have a clue what I am talking about. I am happy they are happy and more then anything that I dont get an email a year later saying it fell apart. I think most times I look at something whether it be a knife I made or a leather project and think to myself if another person that makes these items sees it what will they think. I would hope that they could look at it and be like "thats a nice piece you got there". -
Alot can also depend on what your finishing your leather with. I use to seal with neatlac and other similar items but started moving away from that and using more natural coatings because of the fact the leather would age a little more naturally and looked better (IMHO) with time. Also depending on what you seal it with you can refresh it over time which is something I liked as well. My process usually is once done give it a coat of neatsfoot oil, can use the prime, others have used things like olive oil and what not. Once this has sat for atleast overnight I take a mixture I made from combining bees wax/ parafin wax/ and a small amount of neats foot oil. This mix comes out white and consistancy almost of medium soft butter. I rub this in to the leather and let it sit someplace warm then buff it out. Gives a nice mellow sheen and protects very well. I have also used sno-seal which works very well. One I want to use but have not yet is montana pitch blend. As stated I like these finishes because myself or the customer can go back every year or 6 months or whatever and reapply.
-
That all looks great man.
-
Yeah and they use to tan leather with dog s*** lol.
-
Yeah as stated the stitching adds stiffness to the belt and helps a little I think with stretching. When I started I made several belts with either a layer of 8oz and 5oz and then later on layers of 10-12oz lined with a layer of 4-5oz. Once stitched these were the beast your looking for. The first belt I stitched probably took me 4 hours or so. By the time I got to my 3rd or 4th one I was at about 2 hours for a 42" overall length belt. I would glue the pieces together, trim the edges. Groove my stitching line, run my stitch spacer then punch all the holes with my awl. This helped me anyways. Then I could just sit and stitch. You can do it the traditional way but I didnt get the hand coordination to work right but it would make it quicker. If your just making yours spend the time and stitch it, it will make ya happy in the end.
-
Now if your ability would just come with your mauls I would be happy, lol great job can see why ya took first.