MADMAX22
-
Posts
3,201 -
Joined
-
Last visited
Content Type
Profiles
Forums
Events
Blogs
Gallery
Store
Everything posted by MADMAX22
-
As long as you learned and can improve upon that then there is no failing.
-
I think that all depends on personal preference and also the bike. If I was to make one for mine it would have to be round since the bike has alot of curves to it, a box like one would just not look good on it.
-
 Ouch, that looked like it hurt. Did the same thing with my french edger but to my thumb, let it get out infront of it. I think the darn thing ricocheted off the bone lol.
 -
Thats Ian's video. Good one
-
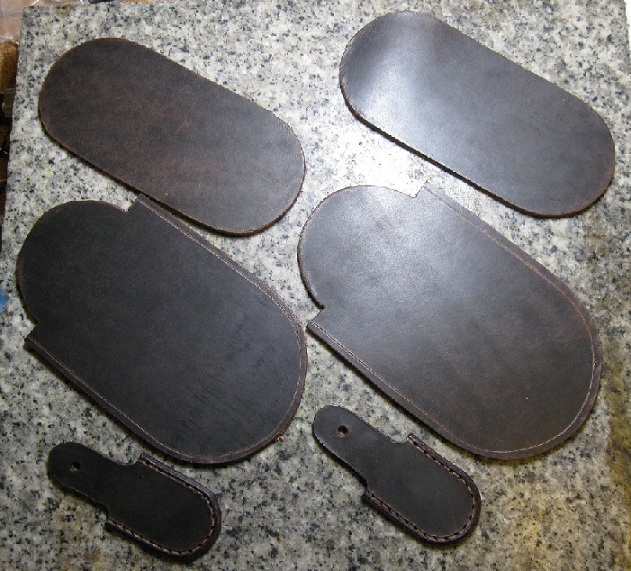
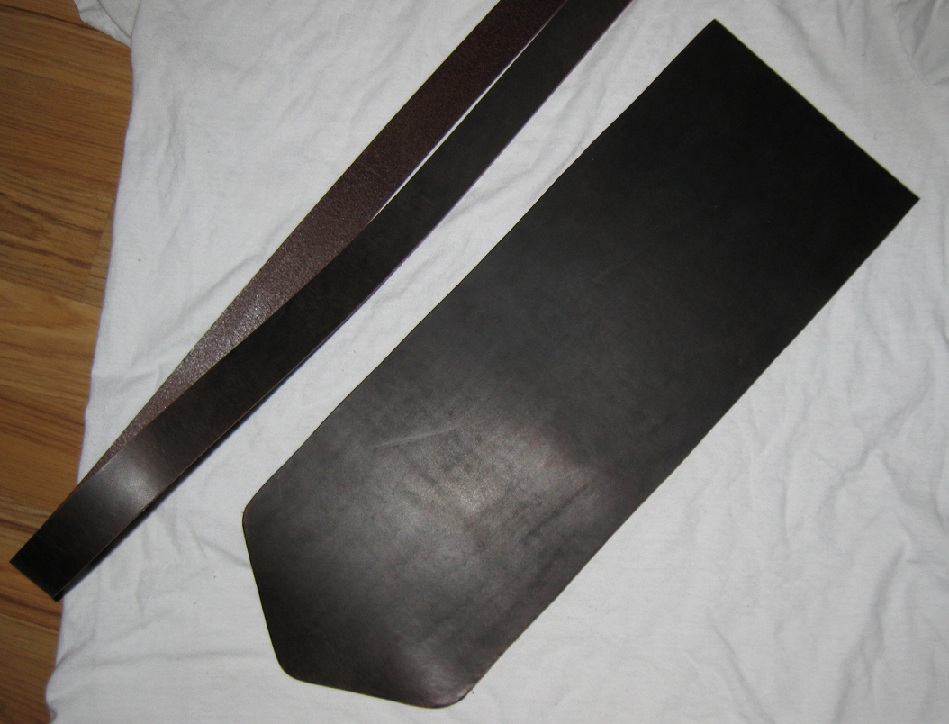
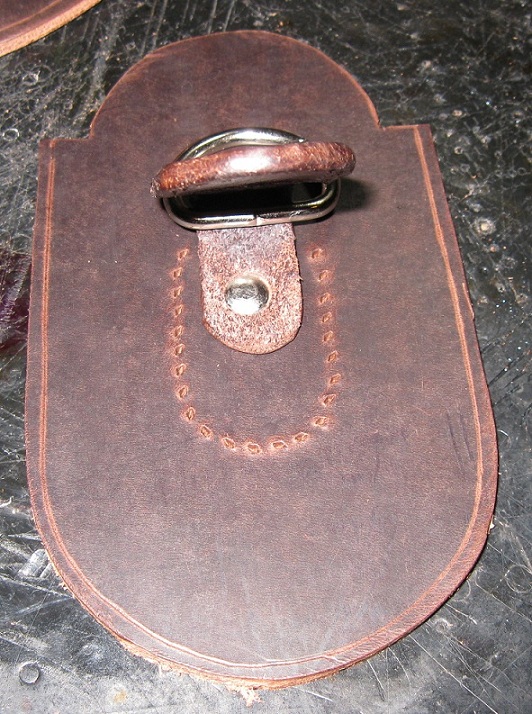
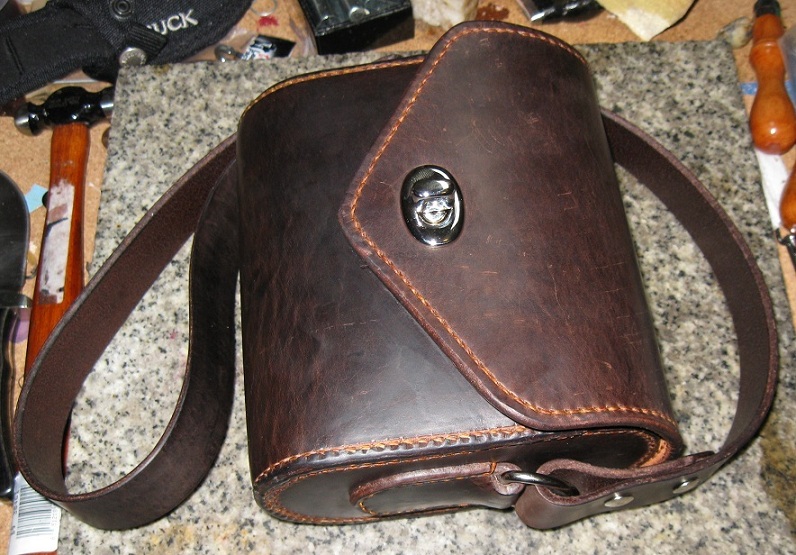
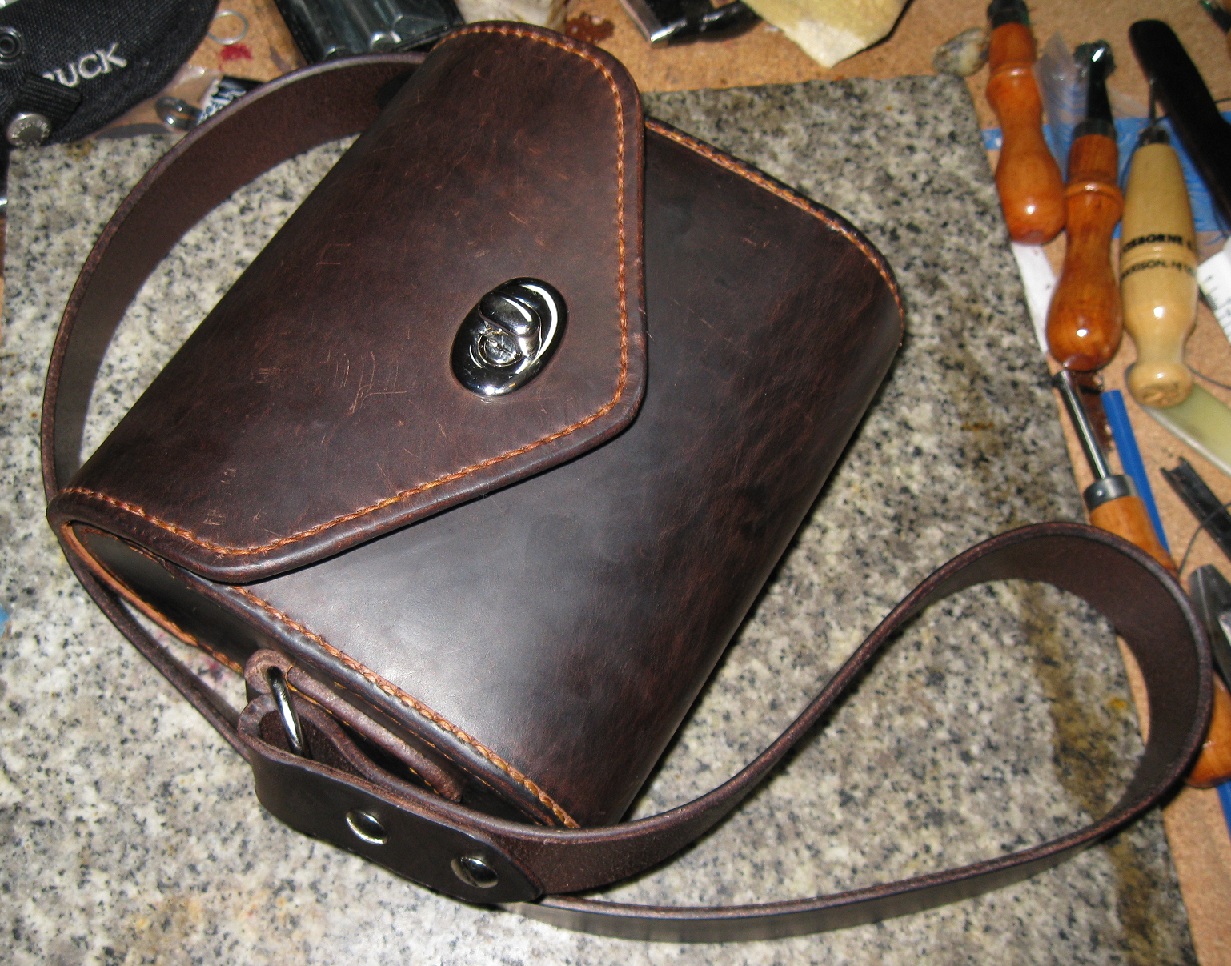
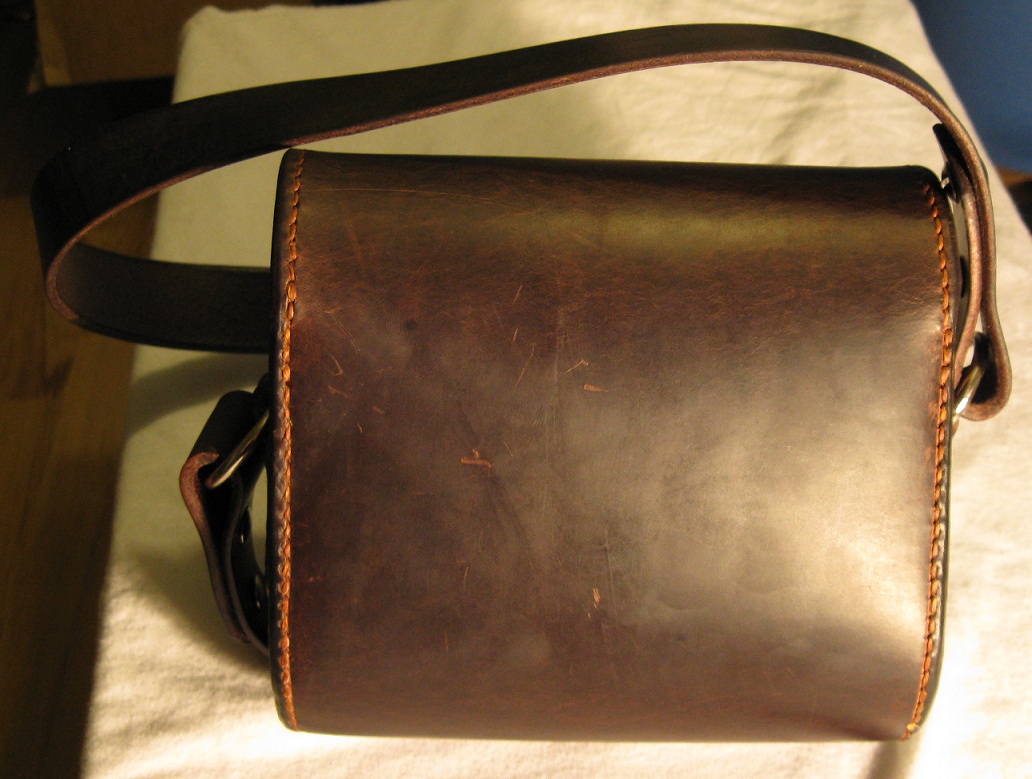
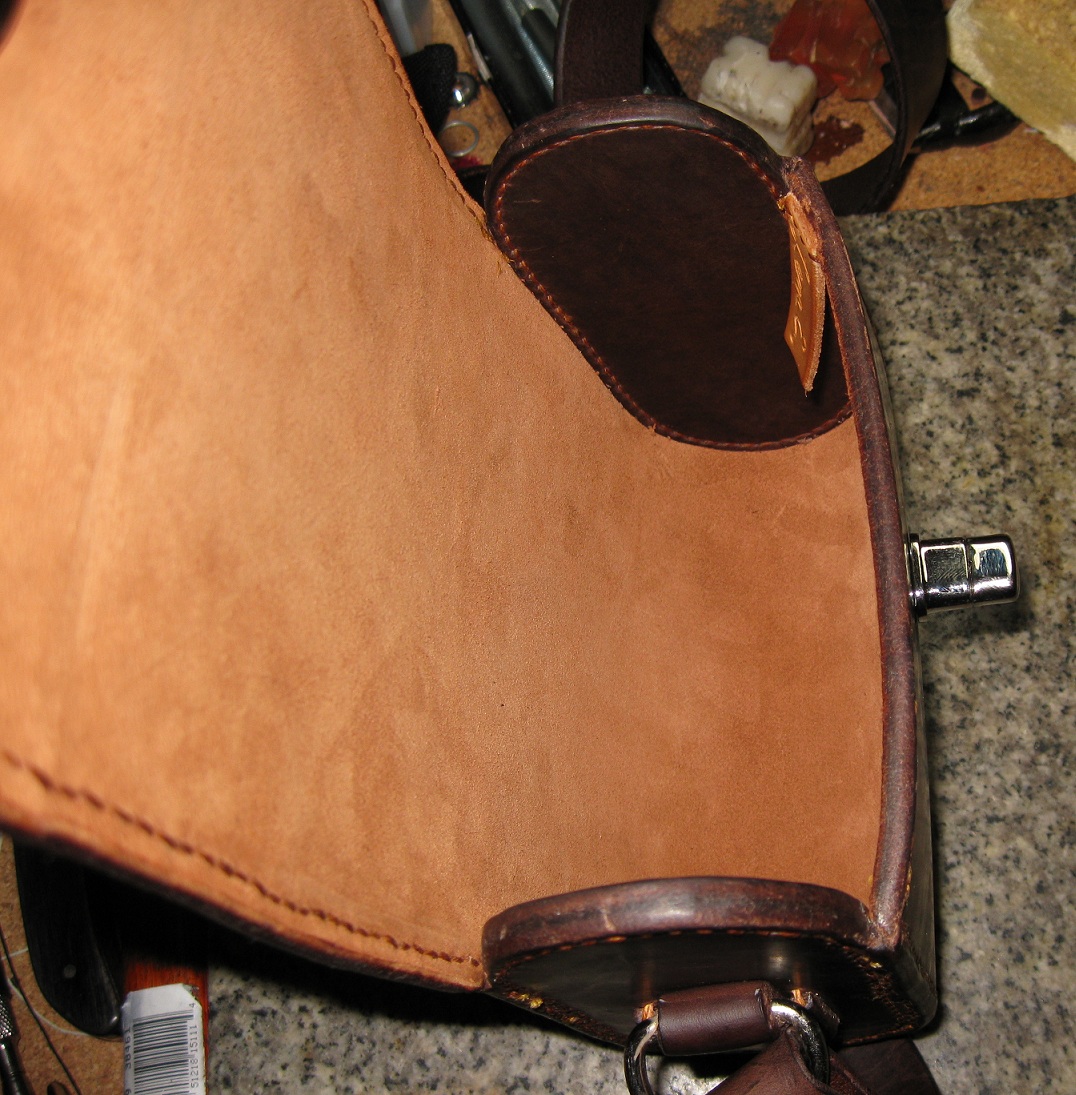
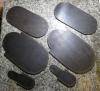
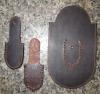
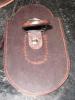
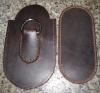
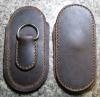
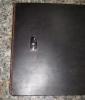
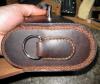
Hey all figured I would post the pics I took when I made my last purse. Its simple design and most could probably figure it out but for the newer people or just the ones that like the look this should help in making one if you want. Most everything you need as far as instruction comes from Al Stohlman's books "The Art of Making Leather Cases vol1" and "The Art of Hand Sewing Leather". Overall I was happy with the design but there is one area I need to work on. The side panels if the tops were a little larger would not allow for a gap between the top flap and the edges of the side panels. If you look where I did the miter joints you will see if I made the side panels the same dimension overall then cut the joints it would get rid of the little space there. Hopefully you all understand what I am talking about. I will list how I did it and add the pictures in order at the bottom as I can never get them to show up properly in the thread. 1) I cut the pattern out, this I worked up on my own using the motorcycle fork bag basic shapes. Roughly if I remember right its about 3" deep, about 6" tall, and about 7" wide. Make whatever works for you. 2) I skiv the strap ring retainers down a little so they dont bulge any more then necessary. Finish the edges on these so you dont try and do it after you put it together. I stab my stitch holes then line them up on the side panels and mark the holes, then rivet and stitch in place not forgetting to put your strap ring in before doing so. 3) Now the side panels can be done a few different ways. The pattern I cut out as shown can be wet formed and the edges bent outward then that is stitched to the body of the purse. If a miter joint is used like I did on this one then they are trimmed and sewn as pictured. This is one area I need improvement. If your doing a miter joint do not use the extra material around the outside, just cut a normal oval like the inside pattern and miter it. This will make the body fit better at the top once done. Anyways glue and stitch in the inside portion that acts as a stiffener and it makes the inside look better IMHO. Finish the edges at the top since it is easier to do this now rather then later. 4)Now add your clasp portion to the body of the purse before lining it with your lining material (if thats what you plan on doing). Once the liner is glued in mate it up to the side panels and mark off where you need to skiv for the miter joint. Do this now. 5)Stitch the front of the body portion of the bag now as pictured. This is easier to get to before you put the purse together. 6)Now glue in and stitch your side panels one at a time. Once your side panels are in and stitched carry on stitching all the way around for the flap of the purse. 7)Mark the clasp position and finish adding that now (this will depend on what type of clasp your working with) 8)Now edge your miter joint edges and burnish all edges that are left. 9)Add the strap of your choice. I just used a strip of leather the same as the purse for this one, finished the edges and attached using chicago screws so it can be replaced easily.


-
Aztec Warrior God Wallet
MADMAX22 replied to MADMAX22's topic in Purses, Wallets, Belts and Miscellaneous Pocket Items
Thanks guys appreciate it. Leatheroo its a fun stamp that is pretty versatile. It can be dyed like I did it and it also takes to antiquing very well resulting in the opposite color patter. Oh and its easy to use since its a random type pattern you dont have to spend as much effort to get a good look with it. -
Iwb - S&w M&p 9 Compact
MADMAX22 replied to particle's topic in Gun Holsters, Rifle Slings and Knife Sheathes
Great looking holster for a very good gun. Just noticed, did you stitch in site rails in this one? -
My First Holster Ever
MADMAX22 replied to NoahL's topic in Gun Holsters, Rifle Slings and Knife Sheathes
That turned out killer looking. -
 Thats cool, nice touch.
 -
Has Anyone Heard Of A Ringel Head Knife?
MADMAX22 replied to RawhideLeather's topic in Leather Tools
Could be the edge you have on it as well. Just a thought, I dont know if your really good at sharpening knives or not so please no offense. Also there is the possibility that someone took a power tool to it a long way back and caused the temper to go bad. Looks like a real nice knife though. -
Looks great Josh. Oh by the way do they give ya a discount on the whiskey
-
Aztec Warrior God Wallet
MADMAX22 replied to MADMAX22's topic in Purses, Wallets, Belts and Miscellaneous Pocket Items
Thanks and welcome to the forums. I use the pics on this forum all the time for inspiration and ideas. It really is a great resource. -
Latest Cc Holster
MADMAX22 replied to Arizona Cattleman's topic in Gun Holsters, Rifle Slings and Knife Sheathes
Nice looking holster. I was wondering does it have a back side that the gun goes between or does it just press the gun up against your belt and hip? -
Purse I Did
MADMAX22 replied to chestercheeto's topic in Purses, Wallets, Belts and Miscellaneous Pocket Items
Looks pretty good man, the colors came out real nice. I like that pattern, looks versatile. -
Yeah cool thanks.
-
Taurus Pt145R Millenium Pro
MADMAX22 replied to ebarber's topic in Gun Holsters, Rifle Slings and Knife Sheathes
Sorry man, I own the gun but not a bluegun. Great little gun though, very reliable and pretty small for a double stack 45acp. They are relatively cheap as far as handguns go, you could pick one up for about $250 used if that is an option. Not sure how many you would be making. -
Finish Question
MADMAX22 replied to joker's topic in Dyes, Antiques, Stains, Glues, Waxes, Finishes and Conditioners.
Yeah thats Christians work (xianleather). He is pretty much just amazing at his work. He uses the best herman oak that he can get. -
Well if your in the states you can go run by lowes or home depot or a similer hardware store and pick them up. Should have them readily available. Sorry I forgot the exact size but thats where I got mine.
-
Finish Question
MADMAX22 replied to joker's topic in Dyes, Antiques, Stains, Glues, Waxes, Finishes and Conditioners.
What site and reference did you take the photo from? Wondering if you asked them first at all. -
A Couple Biker Wallets
MADMAX22 replied to Big Papa Leather's topic in Purses, Wallets, Belts and Miscellaneous Pocket Items
Looks great, love the color on that first one. Did you buy that stingray like that? Never scene that before. -
Aztec Warrior God Wallet
MADMAX22 replied to MADMAX22's topic in Purses, Wallets, Belts and Miscellaneous Pocket Items
Thanks Steve, yeah its the E-294 series stamps http://www.tandyleatherfactory.com/home/department/Tools/Stamps-Craftool/Matting/Matting.aspx and yeah its block dyed or however you call it. I dyed the entire thing tan, went over the robe portion with some reds, then I just use a cotton shirt piece balled up and dipped slightly in some black or dk brown. I really like the effect when I can use it. Plus over time it wears really nicely. -
Crazy Horse Purse
MADMAX22 replied to MADMAX22's topic in Purses, Wallets, Belts and Miscellaneous Pocket Items
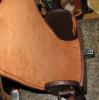
Hey thanks guys, Troy thats a really nice website you have hooked up, took a peek at it today. Luke thanks, this leather was a little different to work with. Question for you or anyone else but on the miter joints when I edge bevel them the edger wants to kind of cut a groove down the center of them. Hard to explain but basically its like it wants to make a M down the miter joint. It went away after I worked on it a bit and burnished everything up real good but still kept thinking I was doing something wrong. Maybe I need a different size edge beveler or something. -
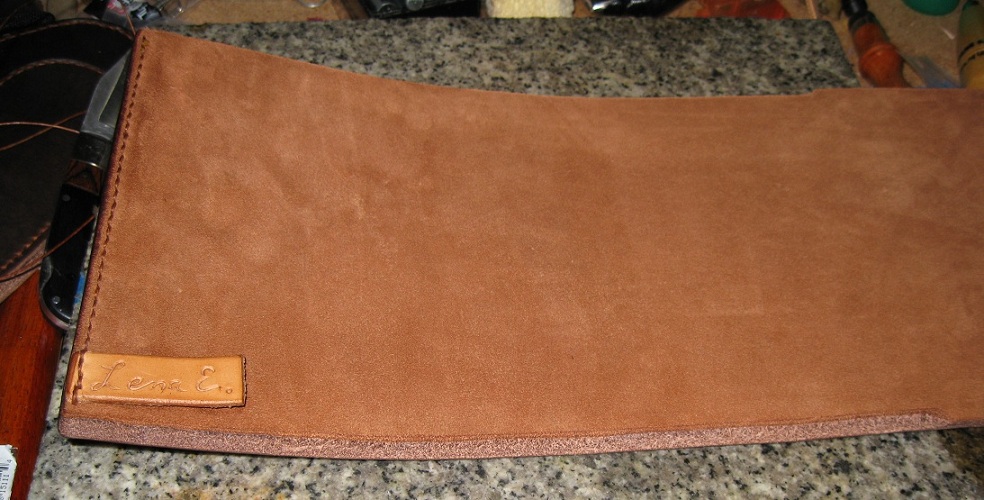
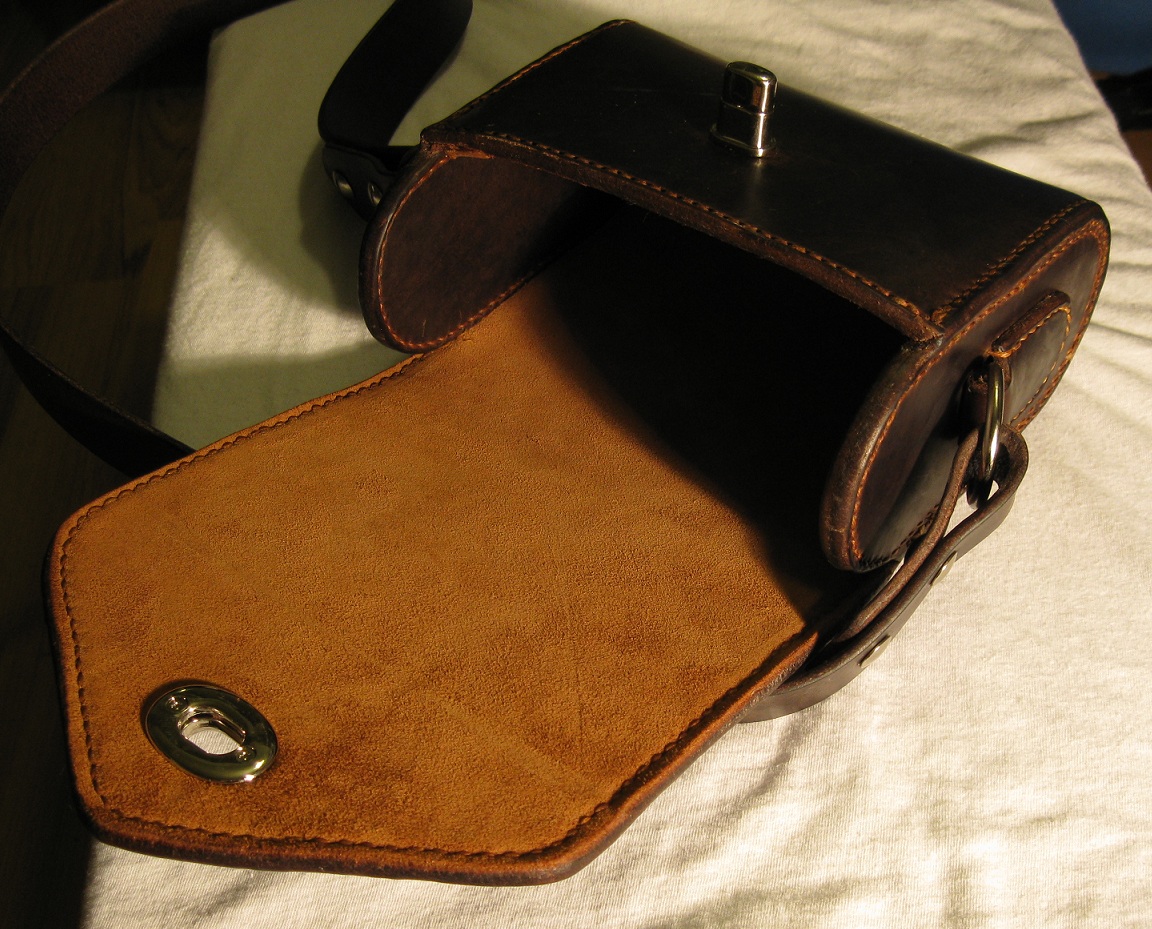
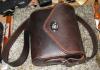
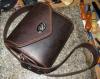
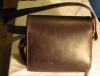
Well made another small purse for a friend. This time I used the crazy horse I have. Pretty much same design as the last one except this time I decided to try out one of those miter joints. First time doing that so it was a good learning experience. The stitching on such isnt that great but Ill get better at it. Stabbing the awl at the angle like that is a little different. So 8oz body, lined with suede. Linen thread dyed brown. Thats about it, oh threw in a little name tag also. If I do that again I will stitch it in sideways instead of up and down to keep it closer to the body. I will post a how to thread on this once I get the pics organized, not sure if I should do it in the how to section or the purse,wallet, and belt section.

-
Well your off to a outstanding start. That looks killer so far.