MADMAX22
-
Posts
3,201 -
Joined
-
Last visited
Content Type
Profiles
Forums
Events
Blogs
Gallery
Store
Everything posted by MADMAX22
-
I like the first and second one. If you decide on the first one I would think about getting rid of the little snow spot in the center, seems out of place to me for some reason.
-
I asked the same question a while back http://leatherworker.net/forum/index.php?showtopic=19465 As far as the awls the length is the primary concern for how thick of leather you will be sewing and your hand size and such. Most of the awl blades you will get come in the standard diamond shape at various lengths and it is up to you to shape them to the proper width but be sure to keep that nice diamond shape. I cant remember who, Barry kind or Bob Douglas but one of them makes the most highly recommended awl blades and they come very sharp and nicely polished. They are pricier but apparently well worth it.
-
One thing I have also scene is velcro. This still requires the tank side to be glued down though and unless its in a very hidden place and the customer is fine with it I would be wary but they will hold pretty good.
-
Was wondering Joker, how did you do the color on that shovel head seat? Looks really cool.
-

Is This Leather Any Good?
MADMAX22 replied to particle's topic in Gun Holsters, Rifle Slings and Knife Sheathes
Well still seems like a good hide for a C grade IMHO. Ofcourse I cant see the front. The portion toward the top should be alright as long as the thickness doesnt run out to much. Ofcourse maybe this is why its a C grade. Still some of the best stuff for holsters. Really like the firmness in the HO for holsters and belts. -
 That looks amazing, I dont even wanna think of how long that took you.
 -
 Great looking sheath, looks like it will last a lifetime.
 -
Biggest One Yet - Sizewise That Is :-)
MADMAX22 replied to JohnBarton's topic in Satchels, Luggage and Briefcases
Looks great, interesting design on the interior for holding the ques. Like the natural color also. One quick question is there a flap that goes between the two sets of holders? Dont know if its even necessary or not but just came to mind when looking at it. -
Made my first belt
MADMAX22 replied to MADMAX22's topic in Purses, Wallets, Belts and Miscellaneous Pocket Items
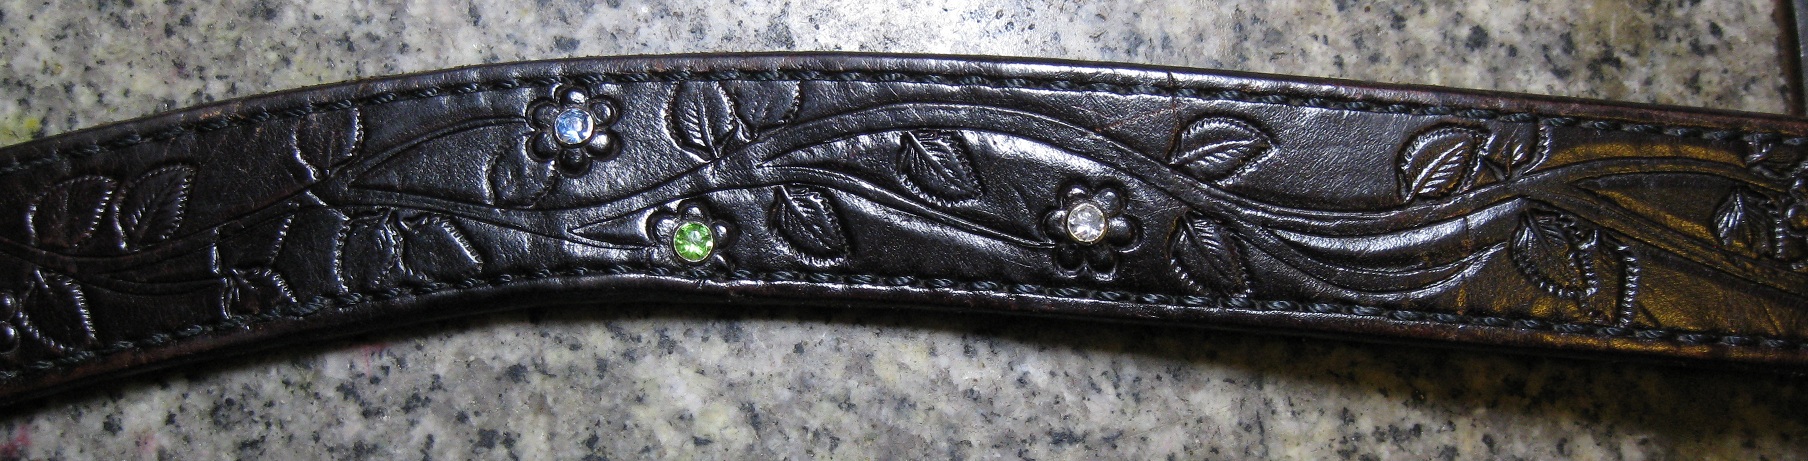
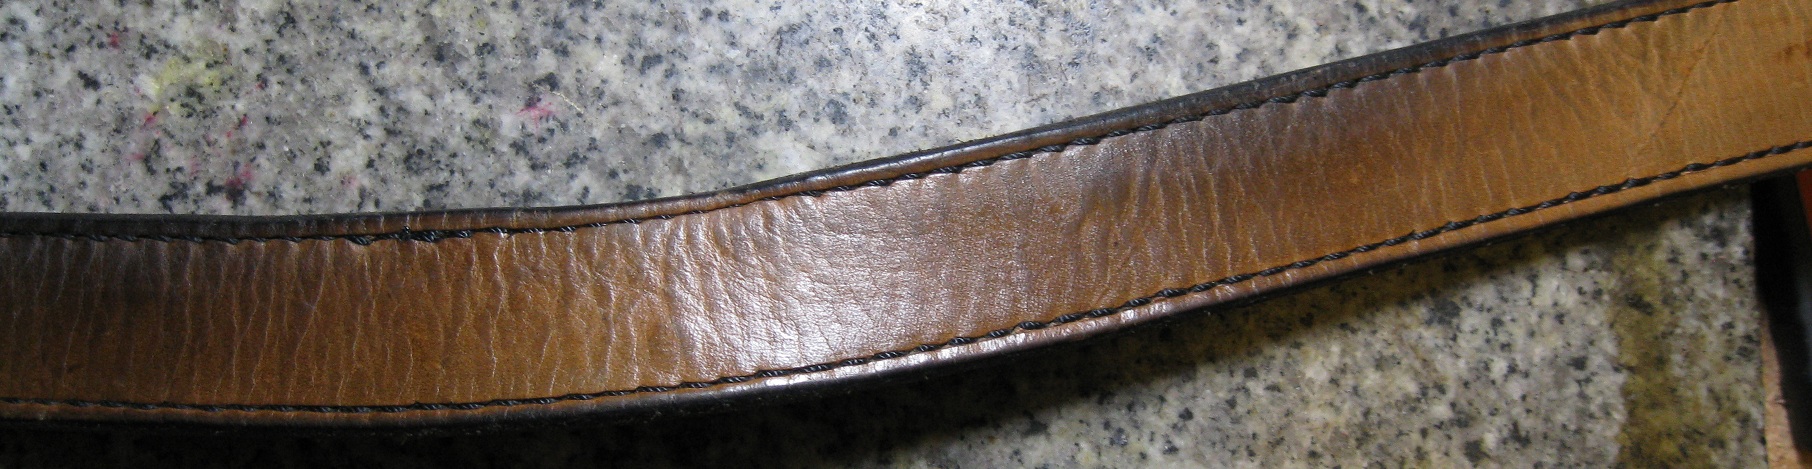
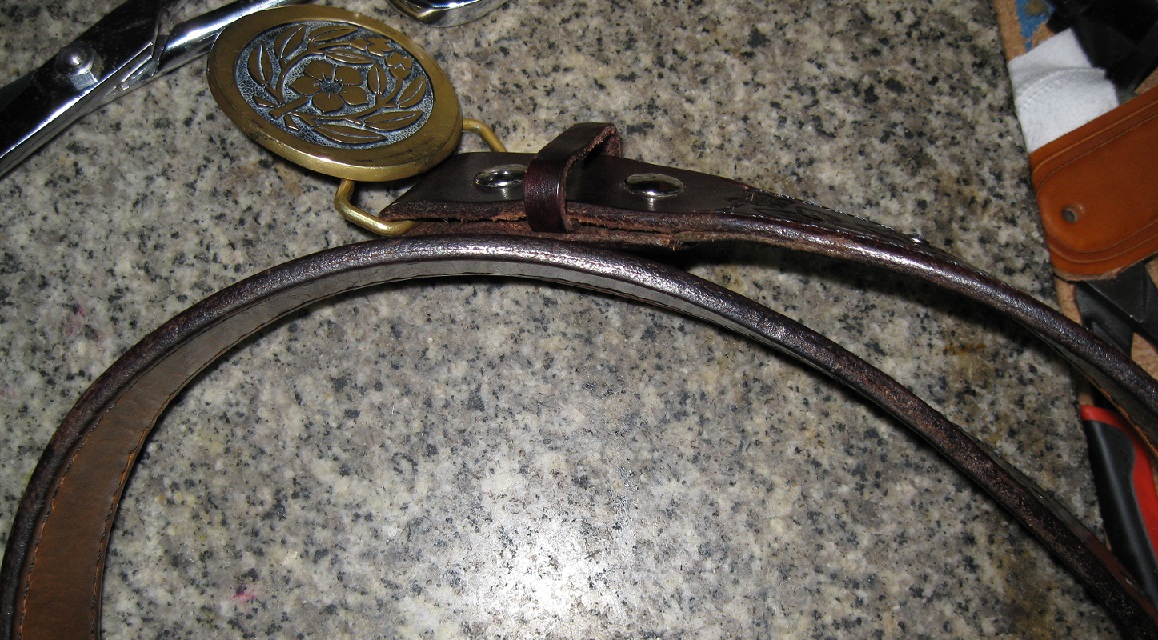
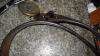
Well after a year of being warn by a hard working shipyard mechanic I have some photos to show of how well this held up. I noticed right away that my first belt attempt was constructed with a few bad things, like stitching thru the center of the belt and not fully lining the belt where the buckle loop goes. Anyways it has stood up pretty well considering. Edges a little worse for wear, a few abrasions and such, was really surprised that the little tandy rivets held up as well as they did. Considering this belt has been thru hell and back I am pretty happy. She wants a new one to wear out and is gonna keep this one for work I think so Ill condition it and call it good. I know alot of times we dont get to see our work down the road (some of us do) and this isnt that old but like I said its been thru hell lol.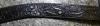

-
Is This Leather Any Good?
MADMAX22 replied to particle's topic in Gun Holsters, Rifle Slings and Knife Sheathes
I have noticed with the HO that I have bought that most of the time the flesh side is that nice even slightly rough like what is in most of your pic. On occasion there are areas like what you describe. As long as the front of this area is ok I have used it pretty much like normal. It doesnt seem to affect the leather usage all that much. I would pretty much just use it on something that will be lined or where the flesh side is not visible. Also 99% of the time this is in the belly area from what I have scene so it really hasn't affected what I would use it for, just use it for whatever you normally use the belly portion for. I think it just has to do with when they skiv the sides down that portion is allready thinner then what they skived to so it doesnt get the same treatment as the rest of the hide. Pretty sure anyways. -
Great stuff, like your style. I agree that celtic seat is different and interesting.
-
OK Ill try to add my experience. I have scene where they use those small camping butane fires and a metal can to melt everything but I didnt have one of those so I used the stove. It takes alot longer. I got the rosin that came in larger chunks I have heard the finer stuff is easier to work with. The rosin seems to have a higher melting point then the bees wax. I started off with the rosin and melted that first until it was all dissolved into a runny liquid. Then I added a little pure neats foot oil and my chunks of bees wax. The bees wax then melted in with the rosin. I stirred it up a bit and then poured it into some cool water as was mentioned before in a thread. I did a small amount at a time, about enough to make a golf ball size of it. I kind of needed it and pressed it into a nice round ball. I did this with the remainder of the stuff I had made. It mixed very well and made a pretty hard ball but it comes off onto the thread I use it for very nicely once warmed up. The thread gets very tacky and so do your fingers which is nice for pulling the needles thru to be honest. It would probably work pretty well for edges also but I have not tried it on such. I also used about 50 50 wax and rosin with about a table spoon of oil for a two cup amount. Hope this helps.
-
Get Tina to chime in here, I remember she had a Etsy site at-least for a little while. Dont think it could be any worse then ebay.
-
Very nice indeed, sounds like your gonna be very very busy for a few days.
-
Hey Steve I am not totally sure but I think that you need to type your text then upload the pics basically in whatever order you want. I always throw the pics in last after all my bsing lol. Give one of the mods a PM and they will know more about it then I do. Man your brother is one lucky dude to have you around to hook up his ride like that.
-
A bunch of good work. I am really partial to that dragon seat, it is very precise and excellent lacing.
-
Irish Barbour Linen Tread And Needle Size
MADMAX22 replied to chouinardragon's topic in Sewing Leather
The hand sewing thread like that is sometimes spoken in cord size, that picture is 3cord which is relatively small, I use 6 cord with a "00" harness needle (think its that size, either that or "0"). However with the 6cord I do have to finish the ends properly to get them to thread. With 3 cord I could probably just wax the thread and thread it to the needle without playing with the thread much. Unless your talking machine sewing in which case I have no clue because thats all different and I still dont have one of those. -
Im with Bruce Johnson for the edges, I use usually either straight bees wax or a 50 50 split of paraffin and bees wax. This is for the edges. I use the bees wax, rosin at about 50 50 mix with a little bit of oil mixed in during the process for waxing my thread for hand stitching. It works really good for that but not sure how well it would work for edges. Maybe the higher bees wax mix like you listed could work good for edges. As far as hardness I think the rosin is far harder then the wax so would assume that a higher rosin amount would constitute harder cakes. However I could be wrong.
-
Nice looking little holster. A thought that I have done and it works ok, not the best but it works. If your awl will atleast pierce the other side then stab one direction and flip it over and stab the other direction. Remember the orientation of the angle of the awl and feel your way thru to make sure you stay in the same hole. Not the best idea but it can work in a pinch. Another idea is a small drill bit. It works ok also, try to chuck it in a dremel and take your time and make sure your at a good 90 degrees to the work. Try these methods on some scrap glued up tot he same thickness if you can.
-
2Nd Try At An Iwb
MADMAX22 replied to Kring's topic in Gun Holsters, Rifle Slings and Knife Sheathes
Looks pretty good Kring. Nice boning and froming. Your right about letting it dry completely and then buff it out really good before you stitch and that should help relieve the problem. What kind of thread are you using? -
 Nice looking ride.
 -
Gift Of Gator Buckle And A Belt
MADMAX22 replied to MADMAX22's topic in Purses, Wallets, Belts and Miscellaneous Pocket Items
Thanks RDB, Im really happy with it and glad Stacy and Doc worked it up for me. -
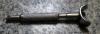
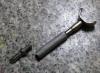
Hey Clay I was wondering would this possibly be from the same people, it looks similer but is a longer knife and has a removable blade. It has no identifying marks on it though. I got it at the online sale that was up a little while back.