-
Posts
240 -
Joined
-
Last visited
Content Type
Profiles
Forums
Events
Blogs
Gallery
Store
Everything posted by Instinctive
-
Go to Home Depot or other hardware store and get a bottle of Lepage Pres-Tite Green Contact Cement. No detectable odor and holds.
-

Ruined My First Project!! Or, Help Me Fix It Please:-)
Instinctive replied to MarkInKy's topic in How Do I Do That?
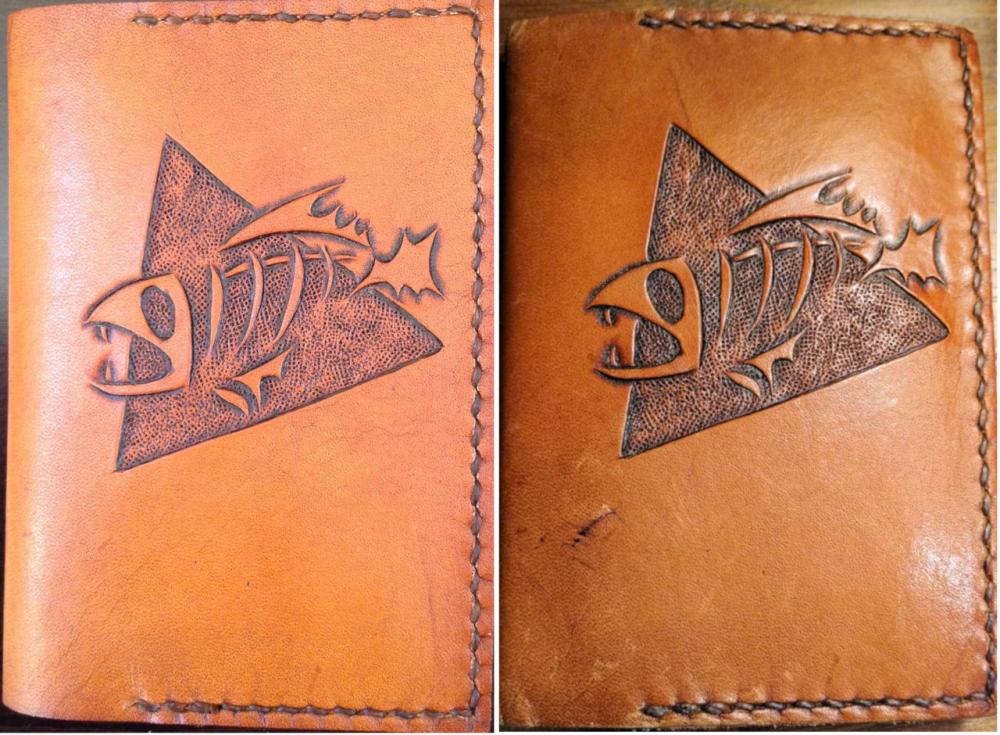
I might be tempted to just leave it and let it pick up a patina. Here is a before and after of the same finish after a couple of years use. -
Based on my experience, that would be for a very large rivet. I use mostly #12 rivets, approximately 3 mm) the setter just fits the shaft. You need a very close fit for the tool and rivet shaft so the burr does not "cone" when being set. You want to keep it flat. That size setter would be about a #7 rivet (if it exist). #8 rivets have a 4.5mm shaft. Here is great video on copper rivet setting.
-
There's an APP for that. At least for Android. Canadian Society Of Creative Leather Craft (CSCL) have developed a Thread Length Calculator. Link in the play store is https://is.gd/l8OX4s I assume there is one for Apple as well.
-
I have a new found respect for watch strap makers. Just made my first with tools (and fingers) that are designed for much more robust gear. The watch owner has a favorite watch she could no longer get straps for and asked me if I could make something that would work. Did my best to duplicate and made a list of new tools I absolutely need for the collection. First pic is the orginal.
-
You should also be able leave the existing motor as is and purchase a 120V to 3 phase 230 volt power supply. Here is a link to a 1/2 HP unit https://is.gd/pweTVN. 1 HP unit: https://is.gd/X4Gl0y Larger sizes are also available. I have used them up to 2 HP with 110V power in.
-

Does a sheath need a safety lining?
Instinctive replied to Willie0's topic in Gun Holsters, Rifle Slings and Knife Sheathes
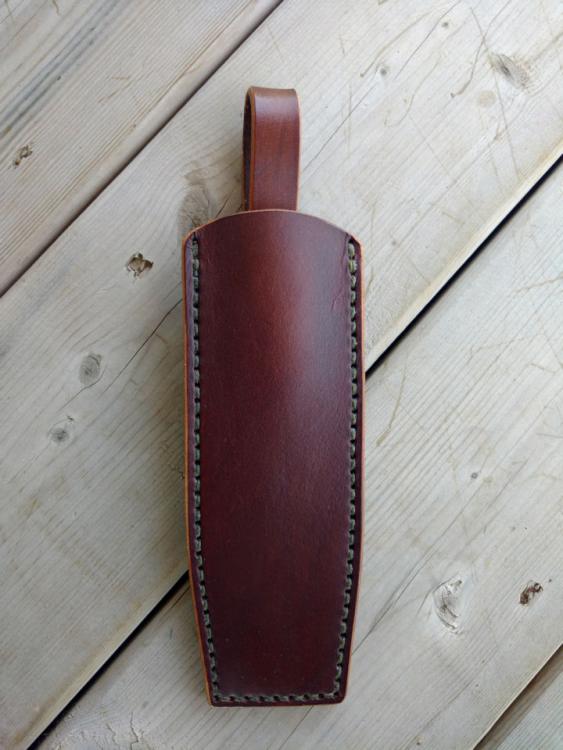
I think that is a really good style for a dagger and it looks great. Couple of questions: Can you show us an edge shot to show the welt. Is it a right hand or left carry? For me, the snap loop tab should point back when moving forward so it can't catch on something and open. -
I use a #6 (3/16") punch. All the holes are punched first. Any gluing is done, edges finished, etc. I cut the end of the cord on a taper, melt and forma point to screw into the regular size perma-lok needle form Tandy. The tapering is the really tricky part. Need to keep the outside fused to the core while getting a point to attach to the needle.
-
No. Core left in. I've done a few knife sheaths now working on improving the technique. I have also made archery quivers stitched with 550 paracord.
-
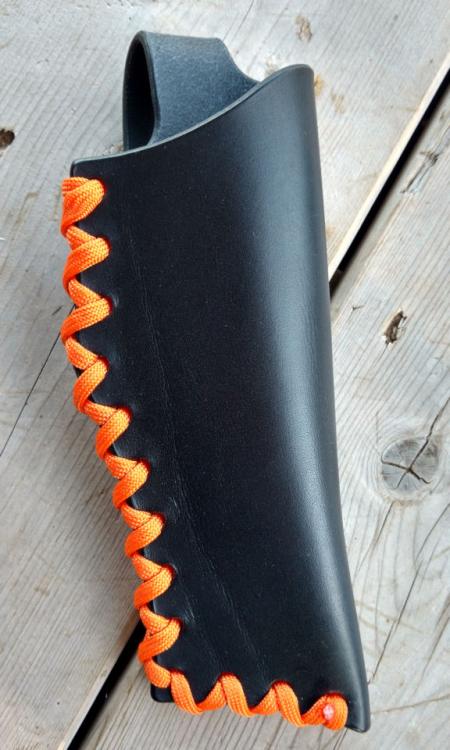
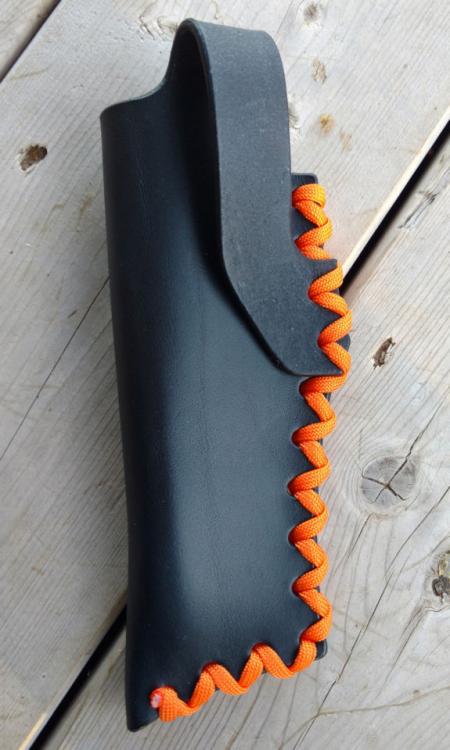
I have been experimenting with 550 paracord as a stitching material for knife sheaths and other gear. This is the latest example. I've also done a traditional saddle stitch using the same material.
-

Does a sheath need a safety lining?
Instinctive replied to Willie0's topic in Gun Holsters, Rifle Slings and Knife Sheathes
That helps. You can go to this style sheath then and have a welt on all sides if it works for the knife. -

Does a sheath need a safety lining?
Instinctive replied to Willie0's topic in Gun Holsters, Rifle Slings and Knife Sheathes
Single 9/10 oz with the weld will be fine. I usually use a 1/2" with strip for the weld with a stitch 0.15" in from the outside edge. That leaves a little more than 3/8" of leather protecting the stitch. -
I use a CAD drawing program to design all my templates (Engineer). Works really well for me and allows for simple adjustment after trying the pattern. My patterns are literally overkill accurate to .0001". Google Draftsight. Excellent free CAD program.
-

Most Overkill Knife Sheath Ever?
Instinctive replied to Instinctive's topic in Gun Holsters, Rifle Slings and Knife Sheathes
I currently use the smallest permalok needle from Tandy for the 550 cord by tapering and melting the end of the cord. That needle also fits the micro cord but the end is too blunt to push though a stitch hole with cord thought he hole already. I found some needles for micro cord which are tapered to try. -
Never licked them but I'm wondering who skins them and why?
-

Most Overkill Knife Sheath Ever?
Instinctive replied to Instinctive's topic in Gun Holsters, Rifle Slings and Knife Sheathes
Yes, I have some micro cord here. The trick is to find a needle to attach to it so you can stitch with it and keep the stitching hole small. As soon as I get that, I will be trying it out. It is more than strong enough and lots of colors available. I wan to use it to make bags/pouches as well. -

Lost & Looking for the road...from Toronto Canada
Instinctive replied to Veej's topic in Getting Started
Look up Tundra Leather in Hamilton. They have frequent workshops. https://tundraleather.ca/. Also, Canadian Society Of Leathercraft. Thay are located in your area and should be able to help you as well. http://canadianleathercraft.org/ -

Most Overkill Knife Sheath Ever?
Instinctive replied to Instinctive's topic in Gun Holsters, Rifle Slings and Knife Sheathes
bikermutt07 I have been using paracord on a lot of larger project for some time now. It is great to work with and this this case was the perfect choice in that hunter orange. -
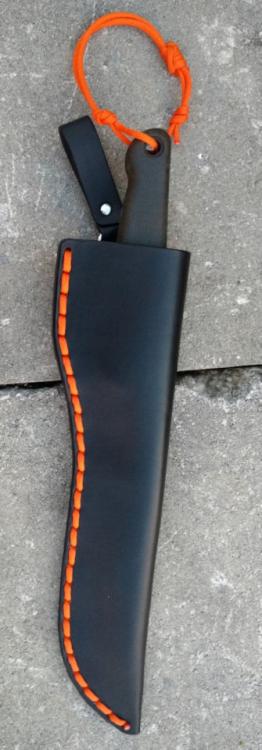
My brother is a forestry silviculture-est keeping forested land healthy by regularly inspecting it and trimming out the dead wood to give new growth a better chance. He carries an old Gerber machete with him, worth about $20. The nylon sheath finally gave out on it so he asked if I could take some scrap leather and make a new one. Couldn't bring myself to slap something together from scrap and I also noted he had a piece of orange tape tied to the knife so he could find it when he sets it done. Been using paracord for stitching some projects so I decided to pick up some hunter orange 550 cord and did away with the tape while I was at it.
-
That is just really nice to see, and still in use.
-
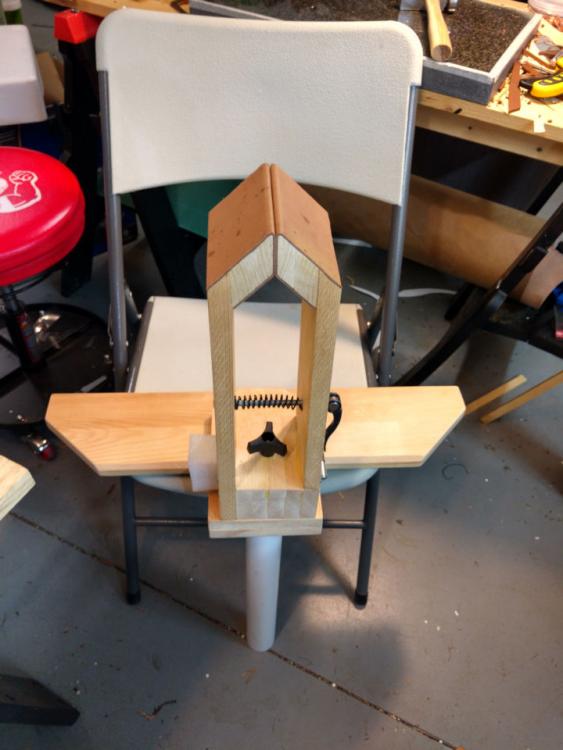
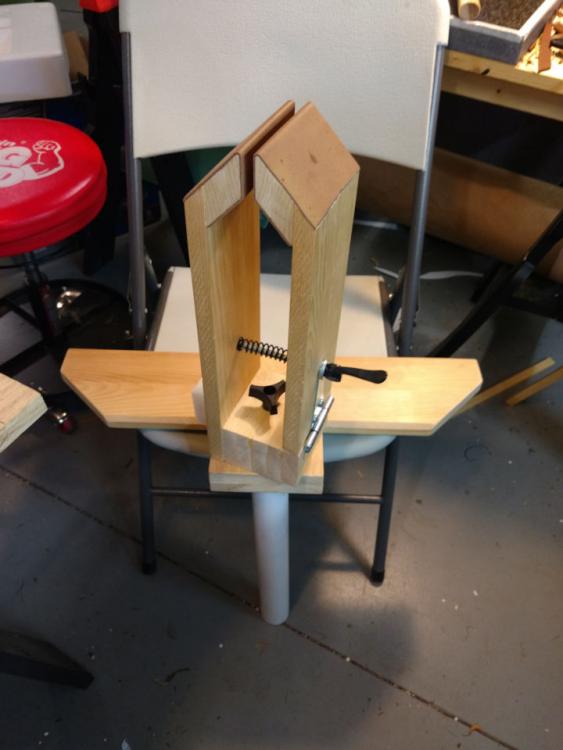
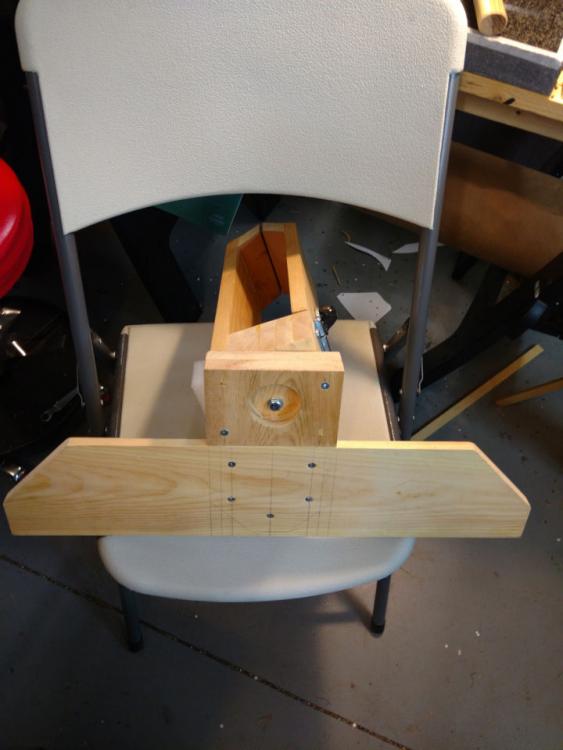
Here is my "Horse Pony", now referred to as a Hony, I built. Basically a one legged horse. I added an extension to a pony and used a piece of vacuum pipe for a support leg. Much more comfortable than a regular pony for me. Jaws can be rotated left or right and opening is adjustable. Recently upgraded with with a cam leaver and thumb nut for Lee Valley.
-

How do I clean suede?! - a hurricane Harvey casualty
Instinctive replied to geargarcon's topic in How Do I Do That?
Good point. When I use the lemon I always wipe with a damp cloth after. I must try the vinegar sometime. -

How do I clean suede?! - a hurricane Harvey casualty
Instinctive replied to geargarcon's topic in How Do I Do That?
You can also use lemon juice and water mix to remove and kill the mold. -
I tend to use heavier 8/9 oz leather and thicker thread to accommodate heavy bushcraft knives. 7 oz leather is about the limit for stitching chisels. 3 layers of 8/9 oz is too thick. The process I have punching the holes before assembly is one I have worked on for a while and has become pretty easy for me know. I actually started to use it when I did some sheaths with paracord stitching. Please be sure to post a pic when you have finished.


01.thumb.jpg.5af01f1ba9ef7d4ab17dc6c832f5affe.jpg)
02.thumb.jpg.f2cd84d4c23d1dcf3ab7a6028d53838a.jpg)
03.thumb.jpg.45616e39c85dad3a3525369982c8eaf0.jpg)
04.thumb.jpg.ab75b5c43f0a23ab6667db25c3f4d19e.jpg)
