-
Posts
4,829 -
Joined
-
Last visited
Content Type
Profiles
Forums
Events
Blogs
Gallery
Store
Everything posted by dikman
-
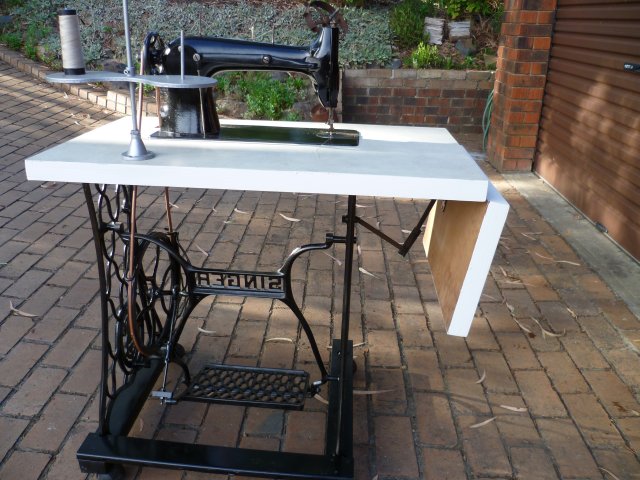
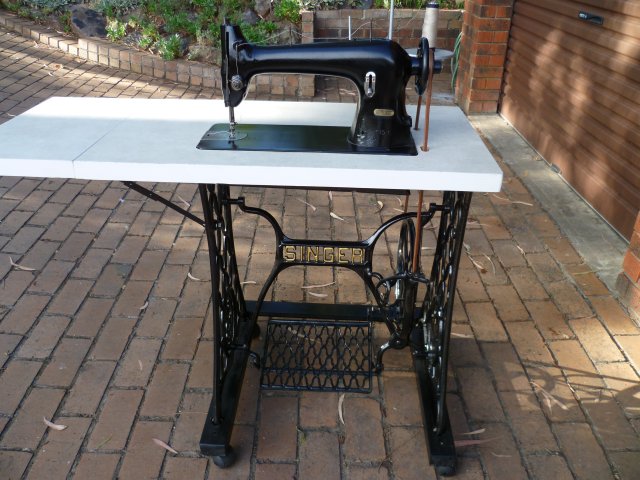
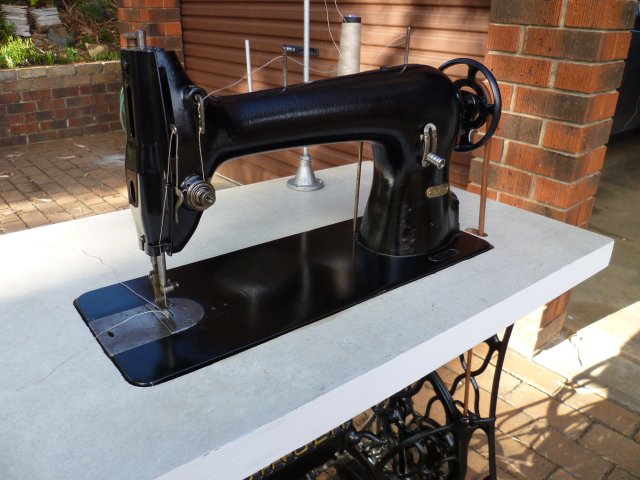
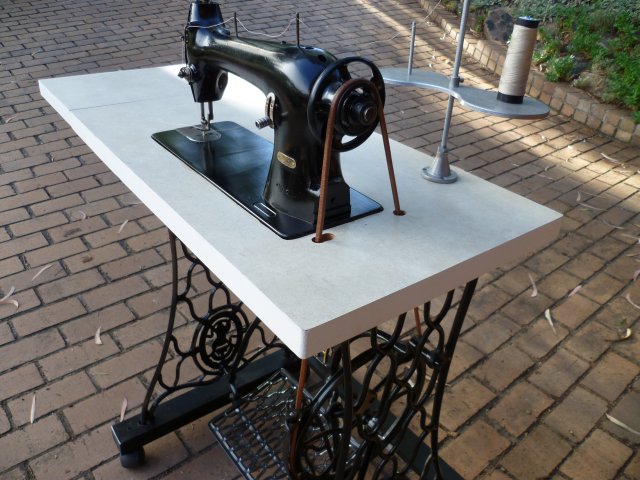
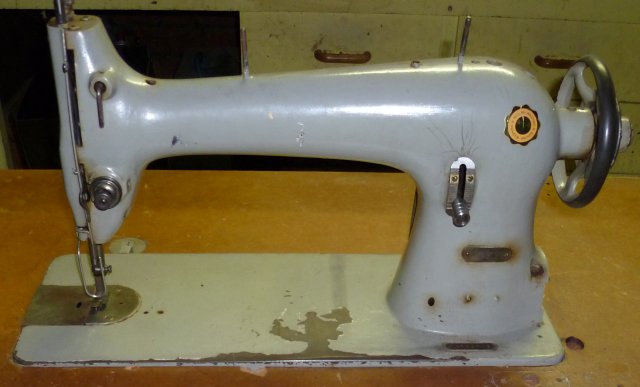
This is it, pretty well finished except for fitting the tilt hinges (I don't have the right size bit yet to drill the rebates). I couldn't get it to sew reliably, it kept missing stitches (hand cranking only). It didn't matter how I tweaked it the hook wouldn't always grab the loop. The needle was an original style that came with it and didn't have a scarf so I changed to an equivalent with a scarf and after re-adjusting the needle bar it worked much better. After all that effort I'm now thinking maybe I should try and sell it.
-
Constabulary/Wiz, I reckon a sub-folder (or something similar) is a great idea. It will give a single location where this stuff can be found without cluttering up the main sticky area unnecessarily. Got my vote.
-
Salty, people ask this sort of question all the time and unfortunately there's never a simple answer as it can be a complex subject. If all you ever want to do is work with the thickness you state then a machine in the Singer 111/211 class will work fine. This can include the Seiko STH-8BLD series, Consew 206 etc. These are flat beds, but if you will only have one machine a cylinder arm might be more versatile, something in the Pfaff 335/equivalent size. Thread size will be a determining factor, the thicker the thread you want to use the heavier duty the machine will need to be. The machines I mentioned will handle #69 thread and with a bit of tweaking should also work with #138 - but no thicker. As has been mentioned, are you prepared/interested in maintaining your machine? If not do not buy used, as there is quite a learning curve in coming to grips with the mechanics of industrial sewing machines. You will be better off buying new so you have support if needed.
-
Might need to put this in it's own thread? Better chance of people noticing it. I'd probably make my own - brass rod, with the end peened over to form the head maybe?
-
Thank you Eric. This sort of "old" information can be invaluable, and shouldn't be forgotten.
-
Sounds like a good buy on the Seiko!
-
Hmm, could be onto something here, custom painting to suit the buyer - camo to suit a hunter, green for a Vegan, rainbow for a ......... etc, etc..
-
I can just see an old Singer painted Lime Green! Or Safety/Blaze Orange, perhaps? I bought a Chinese lathe 'cos I wanted something that I could use right away. Not that expensive and works well, although it wouldn't suit you Chayse 'cos it's painted grey.
-
Half the fun is trying to figure out what they're trying to say . I consider it a bit of a challenge.
-
I'd have to question just how much the guy in the shop knows about what he's selling. I have an 8BLD (earlier model) and recently stitched a couple of gunbelts (two layers, approx. 6 mm total) all around the edges using #138/M20 thread. Didn't miss a stitch. These Seikos are really nice machines.
-
Could be a good deal for someone (I'd grab it if it was in my country),
-
Sounds like a great relationship. I just bought another airbrush, they're so cheap out of China/Hong Kong that I couldn't help myself (about AU$16, including shipping, for a .2mm gravity feed double action!). The quality of these brushes is actually very good, and while an Iwata might be nice it's not worth spending another $150-plus in my opinion.
-
Yep, learned both of those things the hard way, Tom. Now when I do corners I take it very slow (stop if necessary), make sure the needle is down as far as it can go, lift the foot just enough to turn the leather and make sure there's no side tension on the needle. Plus the odd prayer doesn't go astray sometimes.
-
Don't panic, the brass model badge is covered with masking tape (I forgot to take the tape off), the brass Singer badge is missing (when I cleaned the paint in that area it actually has a large number 10 (?) stamped into the metal where the badge would be) and the serial number has been painted over so it won't rust (but can still be seen, of course). Thanks suzelle, I'm healing well, the surgeon is happy with the results although, depending on the biopsy report I may have to go back, but that's no big deal. As a result of renovating this machine I've re-discovered my interest in airbrushes (I'd forgotten all about them) and bought myself another one (I have four now, along with a small gravity feed gun) and one of those small compressors for airbrushes, as it will give me some portability that I don't have with my bigger compressors. I want to have a go at airbrushing dye on leather.
-
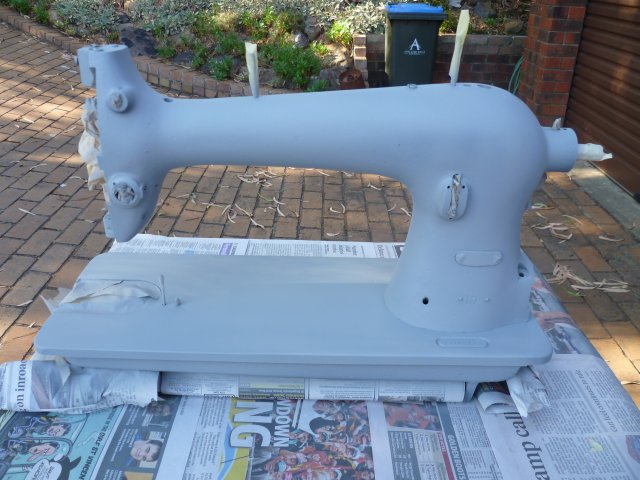
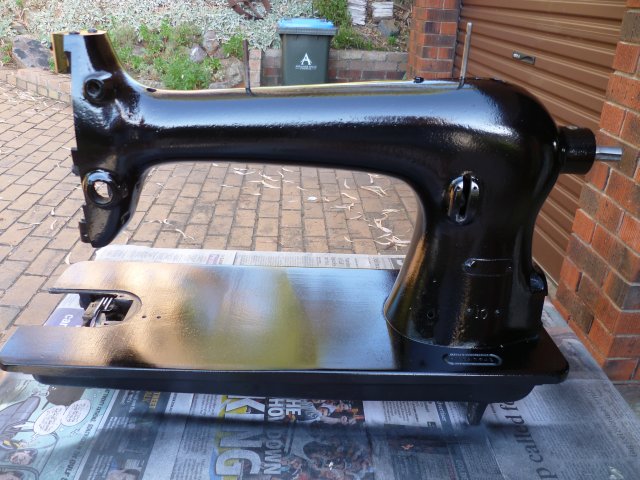
Just for anyone who may be interested - The original paint had a greenish tinge to it, which doesn't really show up in the photo - Down to bare metal - Sprayed with automotive acrylic primer. I actually liked this colour and considered just overcoating with a clear sealer but I'd already sprayed some of the other parts black - Black at last. Because I sprayed outside it's not perfect and picked up some dust particles, but I'll leave it for a few days and I might give it a polish once the paint is fully cured.
-

Chinese shoe patcher and thick leather
dikman replied to stevemaynard's topic in Leather Sewing Machines
I tend to agree with Matt regarding thread size, I doubt if it's designed for anything more than #69/M40. The bobbin is also pretty small to get much thread in if it's bigger. Needles are questionable in this machine, mine came fitted with a standard domestic needle. -
You piqued my curiosity, so I downloaded the manual - lots and lots of options in this one! I was intrigued by the automatic pulley ratio calculation.
-

First Try at Japanning On a Restoration Project
dikman replied to Evo160K's topic in Leather Sewing Machines
Kudos to you for your perseverance! While it would be great to be able to re-create the original appearance, using the genuine coating, I think I'll agree with Constabulary and stick to black paint. Particularly as we're heading towards Winter and I'd never be able to get the stuff to airdry!! But you're doing a great job and yep, I look forward to the end results. -
Thanks mate, I'll keep that in mind for next time (although the last one I broke recently, when repairing my treadle, was well and truly stuck!).
-
The foot on my Pfaff 335 doesn't quite line up with the 111/211 feet, the screw hole is not in the same place. Just so you know.
-
Mike, thanks for a most interesting discourse. While I'm in no way in your league (some would say I'm one level above bodgery!) I do know that old cast iron is a bugger to work with. It's hard to drill, I've broken the odd tap or two when attempting to work with it and as Eric said they usually then become part of the metal!! I once repaired a piece with an ordinary arc welder (it was all I had handy) and more by luck than anything else it worked. LumpenDoodle, you've got the term "mere wimmin" wrong (besides your shocking spelling ). The correct usage is "mere male", I've never heard it applied to the female persuasion. After all, we all know women can multi-task whereas men often struggle if attempting more than one thing at a time.
-
I use irfanview for resizing pics, it's free. You want around the 100k size for posting.
-
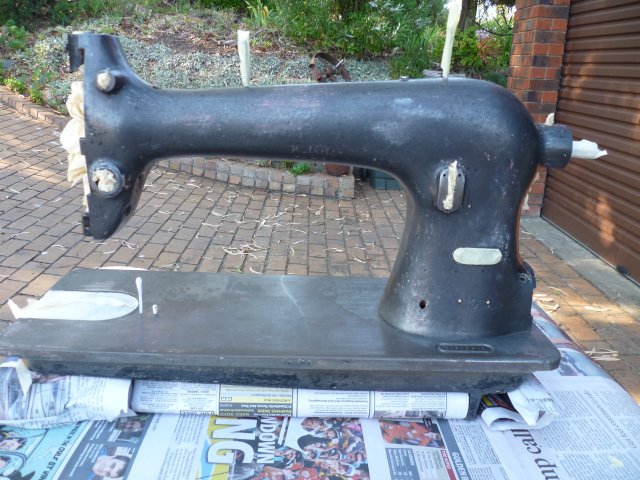
I decided to have a go at removing the paint otherwise it could be a while before I get to it (I have to go into hospital tomorrow and the surgeon told me that I won't be doing anything except resting for the next two weeks! Bit of a bummer). This thing had up to four coats of paint in places! The baseplate had the original black, then a pink primer, in some places a white paint and then the grey. The head varied from black with grey on top to the four coats. It took three coats of stripper to clean the baseplate and I ended up using a wood chisel to scrape off as much paint as I could first, followed by paint stripper and then a wire brush. Even if I never use it I felt I owed it to the machine to try and make it look nice again .
-
Sounds like a plan (I think), LD. Post some photos if it works. And yes, cutting and welding the bars to narrow the table seemed like too much trouble. One problem I've found with having "normal" size tables is that I keep piling stuff on them when I'm not using them!!!!!!!!!
-
Considering it went from Berlin to Scotland, in a cardboard box (!), I'd say you're lucky that's all that broke!!! I'm sure you could find someone who can braze it, might not look too pretty and the heat will affect the paint finish a bit but at least the repair will be out of sight.


