rickybobby
-
Posts
722 -
Joined
-
Last visited
Content Type
Profiles
Forums
Events
Blogs
Gallery
Store
Everything posted by rickybobby
-
Daniel, I found a "Rex" rivet setter on ebay for $18.00 inc. shipping. I like them better then the one that Tandys Sell for $60.00 Rick Jorgenson
-
Bob, Your work is some of the best! Thanks for sharing! It is also nice you share your knowledge with us, it is a huge help. Thank You!
Rick Jorgenson
-

Making Clicker Dies - And Need Clicker Suggestions
rickybobby replied to Prince's topic in How Do I Do That?
Azmal, I have the same "disease" you do, "putting the cart before the horse" I don't need a clicker right now but still I hunt for the perfect one! In the saddle shop I worked in before going out on my own, we used a old "manual" clicker. I could never find a name on it and have never seen one like it since but have found some other "manual" ones. They are much cheaper then the powered machines and would not take up as much room. Check out this site http://www.acesteelruledies.com/diepress.html $1700.00 + $75.00 shipping, well under your budget! There are some others as well by other companys, search the web and they will come up. There is a company in Phoenix that makes clicker dies out of banding. The banding is embedded in a piece of wood to holds the shape and they are very reasonable, it is all we used at the saddle shop and they last just fine. If interested I can find out the name for you (I just don't remember right now) but I can make a phone call and get it for you. -
I use Masters. It is $32.00gal. and is very strong. I thin it about 30% with acetone, spreads even, flat and fast. When thinning with acetone it takes about 10 minutes to mix completely.
-
2nd photo...more critiques please
rickybobby replied to carljc72's topic in Gun Holsters, Rifle Slings and Knife Sheathes
Nice Job! Your brother should like it. -
Kustom, Thanks for the info. I picked these up at a yard sale and do not need them, I have replaced most of my "regular" use tools with Barry King and Gomph tools. I realized a difference right away. My tooling was not alot different right away but after using them for a while it was improved and easier to get better results. I would think these could be used for someone that is beginning and cannot put a big investment in tools right away, do what I did and replace them as I needed and could improve the quality (took me years!) lol !! Rick J.
-
I have some craftools and some other brand with a "Z" on it listed on ebay right now. If you are adding tools to your collection or are just a collector of stamping tools (like me!), you might take a look. http://cgi.ebay.com/ws/eBayISAPI.dll?ViewI...em=250426691834 http://cgi.ebay.com/ws/eBayISAPI.dll?ViewI...em=250426696986 Thanks, Rick Jorgenson
-
Ray, You have arrived!! Lift a 12oz. adult beverage to yourself!! You deserve it, you are doing what many of us here on the forum hope to! Have a successful leather business! The website looks great, things will change on it as you go, the important thing is you are up and running! Best of luck, you are an inspiration! Rick Jorgenson
-
Ruger Security Six Cowboy Holster
rickybobby replied to TomLine's topic in Gun Holsters, Rifle Slings and Knife Sheathes
Nice job, I like the fit. Looks like it will draw well! -
Janice, Use the largest bevel you can in the area that will not leave a edge mark. Not knowing how large your paw prints are makes it hard to recomend a bevel # but start with your med. sive and work from there. If they are small (size of a 1/2 dollar or less) you can use a modeling tool to bevel and rub in lines. Post some pictures, we would love to see them. Rick Jorgenson
-
I have one of those and use it all the time for long lines and borders. True what Keith said, they do not go deep enough but are o.k. for a boarder on something that does not need a deep edge. I will use it to establish a line then if it needs more, go over it with a tooling bevel. They can also smooth out any marks left from a bevel. Rick J.
-
Longboard "sheath"
rickybobby replied to Facebiter's topic in Gun Holsters, Rifle Slings and Knife Sheathes
Facebiter, I think you are on the right track with the backpack style. you need some padding inbetween layers to keep it off of your back bone. The clip thingys work well, you need the heavy duty ones. My business partner has done a lot of prototype work for this kind of thing, he is a member here on the forum (azsewitall). Send him a personal message and he can answer some questions. It might even get him to post on here! Post some pictures of your board so we can see length, width, location of the trucks to get some ideas going. Some folks here may not know what you are trying to make, a photo will clear up any questions and get the ideas flowing!! Rick J. -
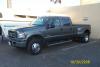
Here is my "05" f-350 diesel, 4 w/d "04" trails west 4 horse gooseneck Both have been great ! Some of you have some cool trucks!
-
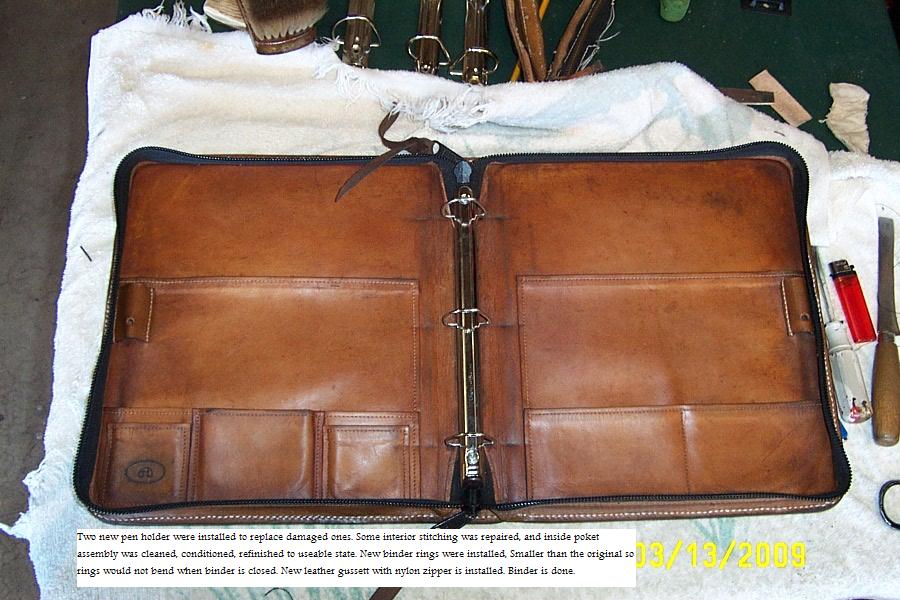
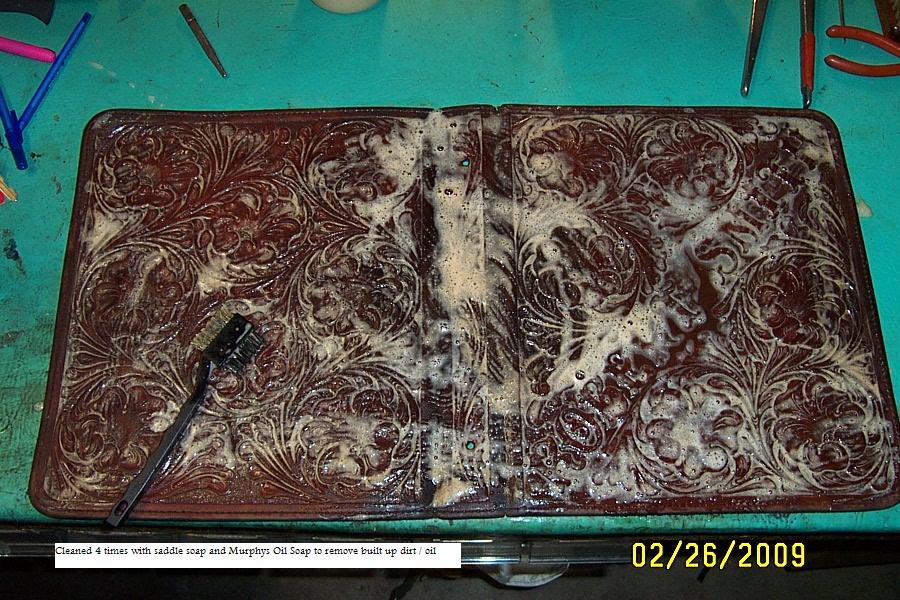
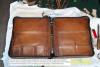
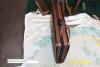
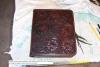
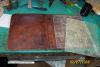
Josh, I restored a binder for a customer that was made by someone else. It was run over by a car and someone else tried to put a zipper in and did not do it right. The 3 ring part was bent (was not a good one). I replaced the gussett and zipper, the zipper is a nylon #10 double pull. I replaced the stiffener with plexiglass from Home Depot Restored the finish by cleaning, conditioning, antiqueing and sealed The insides are a great design,(2or 2 1/2 oz) I will do something like them when I make one. The outside is 10 / 12 oz tooling leather. Here are some pictures to give some ideas hope they help. I also bought a couple different binders (there is a difference) the "heavy duty" ones are the best. I bought mine at Office Depot. I used a carbide cutter to remove the back of the rivet on the 3 ring so it would not scratch the piece I needed .
-
Wildrose, My business partner and I do cowboy boot resole and heels for a couple of local business' to keep the cash flow going. I would take the boots to a shoe shop that carries Meltonian brand paste polish that matches that color. The sole edges and welts can be "cleaned up" with welt ink. The shoe shop may do these for you for 5 or 6 bucks (tops and sides). You will have that much in materials so you may try asking. Let me know if you need any help, we have ranches that the hands gather all the boots they want done and mail them to us, we could do that if you need. Take care, Rick J.
-
Alan, nice job! very nice pattern! I can hardly wait to see the whole saddle! Rick J.
-
rdb, Is that $5.00ft. for horse butts? That is hard to come by in that length. Thanks, Rick J.
-
I went to school for auto body and paint repair. I was in that business for 10 years then worked for a major insurance co. estimating wrecked cars for them. I started doing leather work whem I was a kid, making belts for all the girls on the ranch where we had our horses. I continued doing leather for 30 years, belts, wallets, tooled stuff from tandys then I wanted to do saddles so I bought every book I could find and started making saddles. I have a friend that went to a saddle school and we worked together building saddles. I now live in Arizona and work in a saddle shop doing all the tooling, building some parts of saddles, repairs, holsters. I also do leather work at home and have started doing saddles. Rick J.
-
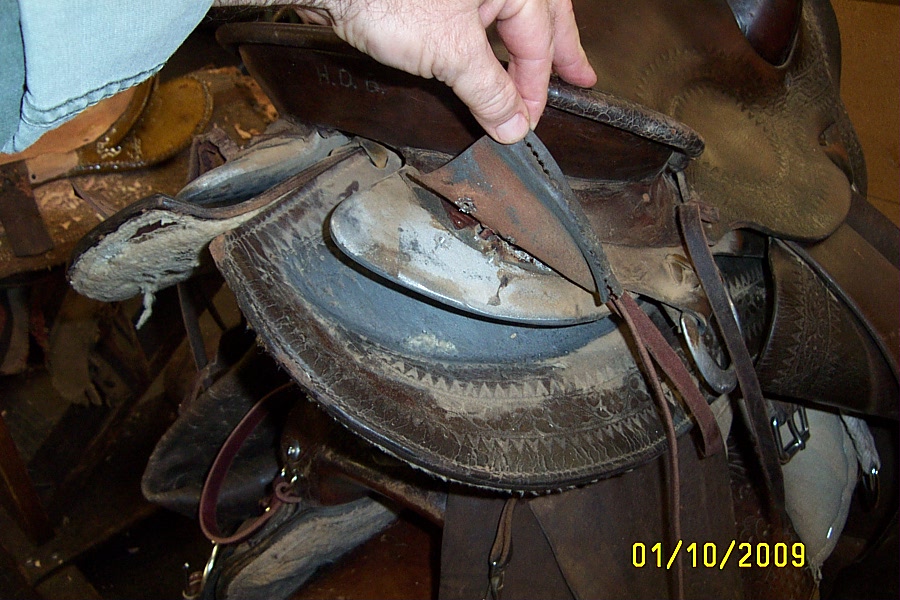
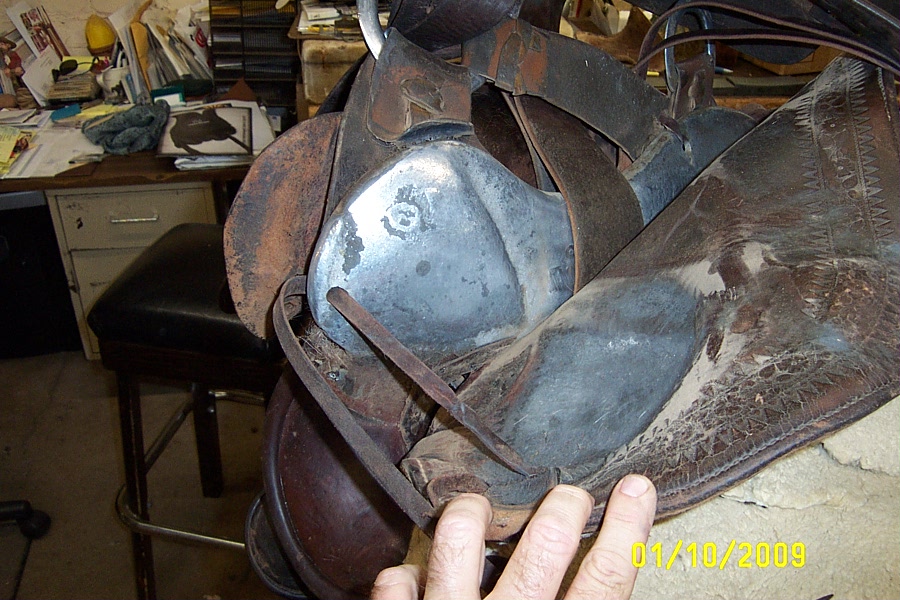
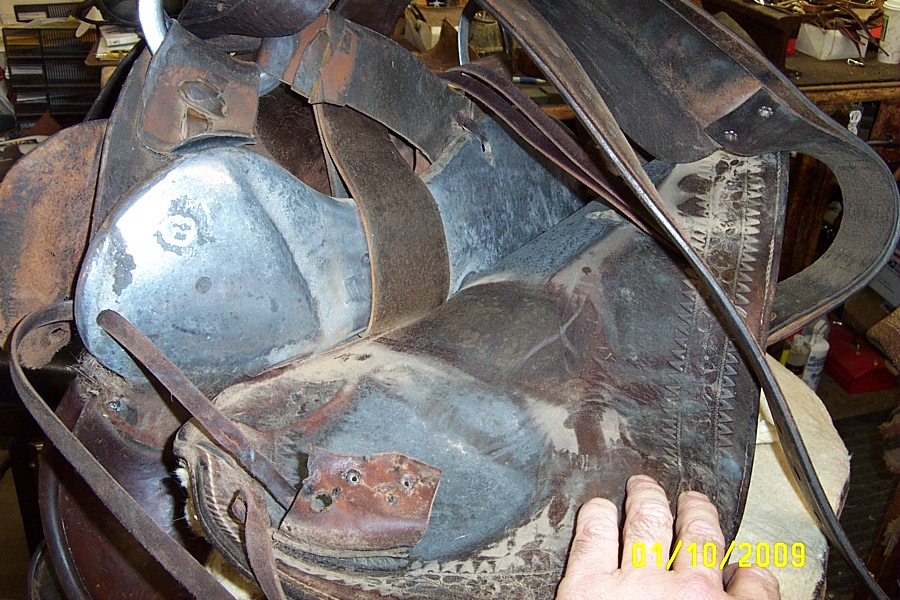
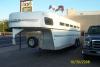
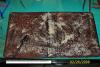
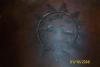
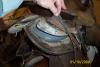
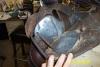
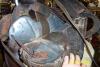
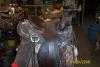
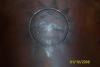
Mulefoot, You would need to take a torch to this to get it to move!! There was a thread here on LW that a guy showed a tree getting run over. I bet this one will beat the carbon fiber tree he was pushing!! For as old as this saddle is it is not worn out real bad but you can see some additional wear at the stress points where leather and aluminum rub together. Also the horn leather moves around alot, it is only used at a "Dude Ranch" so it is not beat up real bad. Rick J.
-
JW... It is pretty heavy. When you pick up saddles all day you look at them and know what to expect, this thing is a smaller saddle and it weighs what a large roper with all the gear on it would. I would guess it at 38 lb.s
-
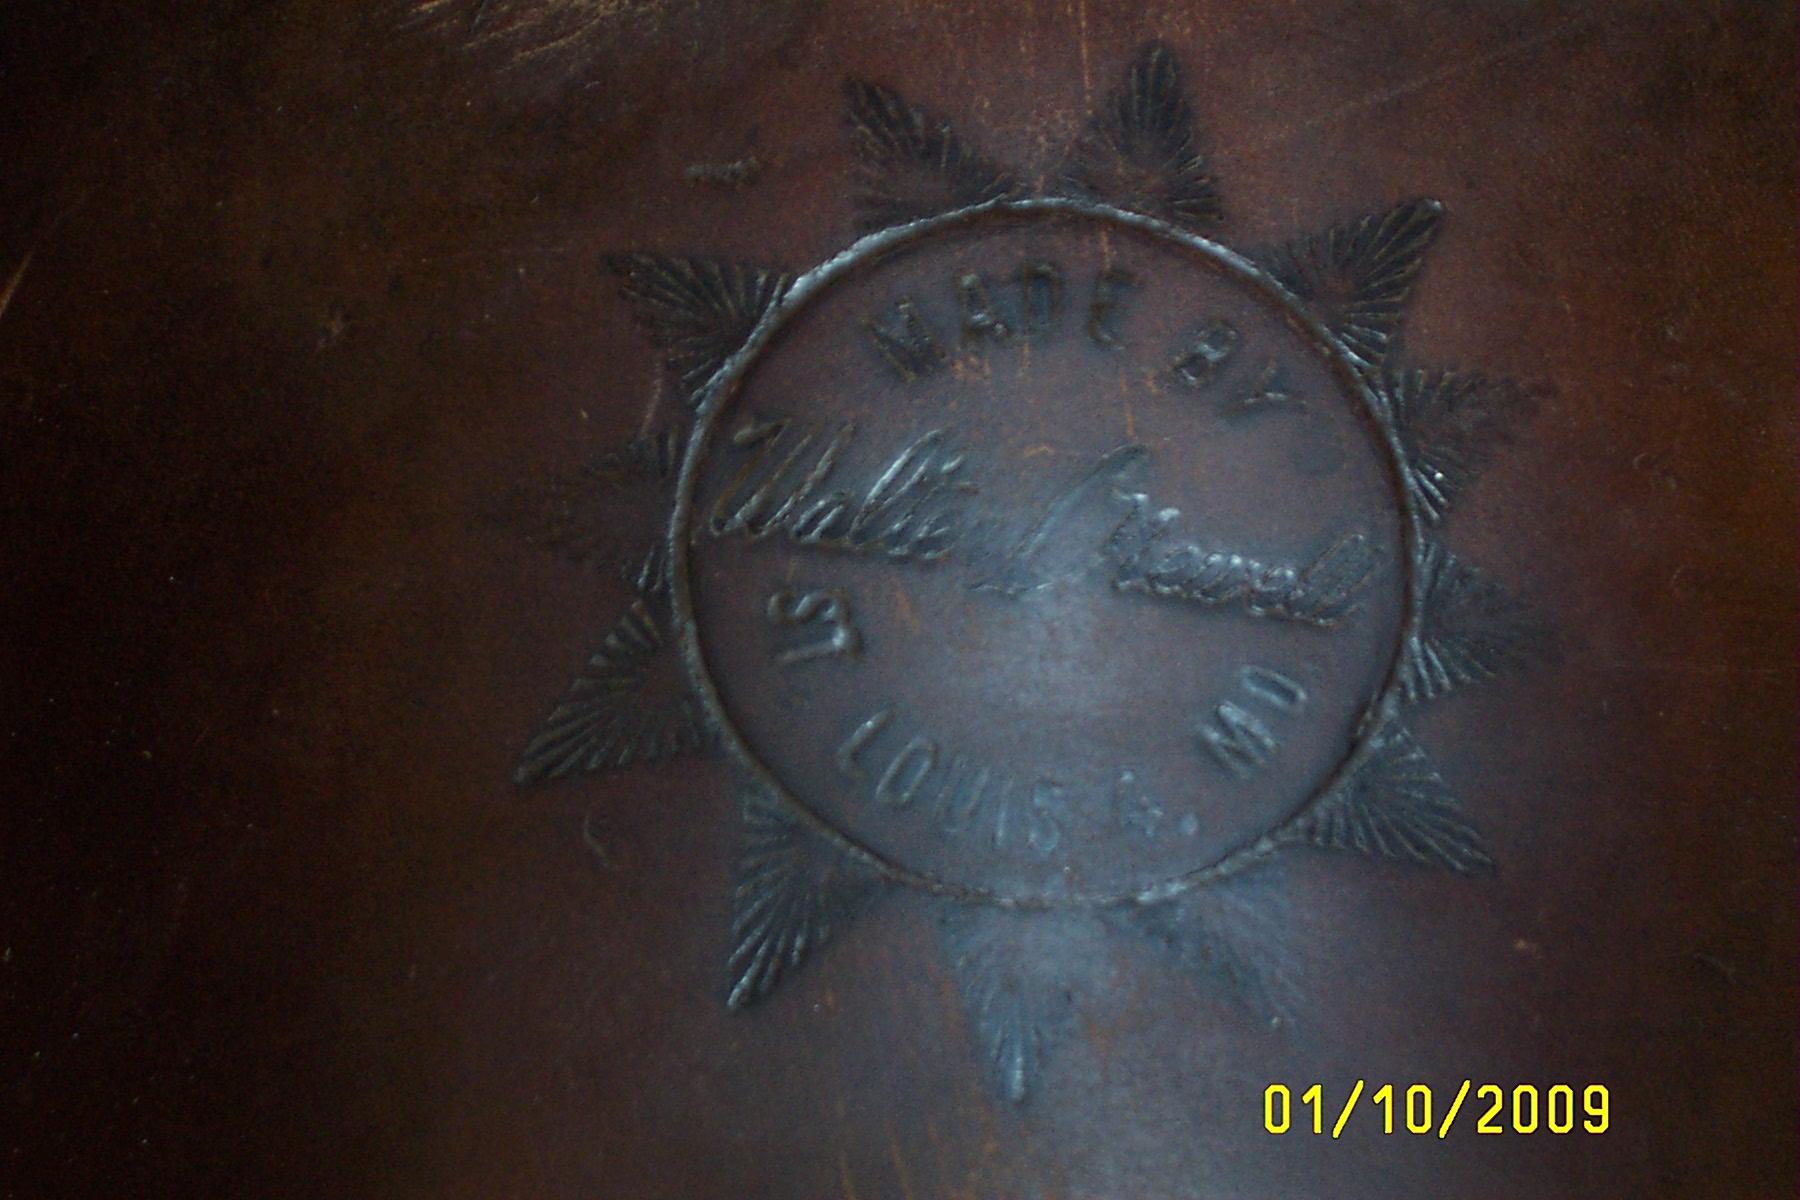
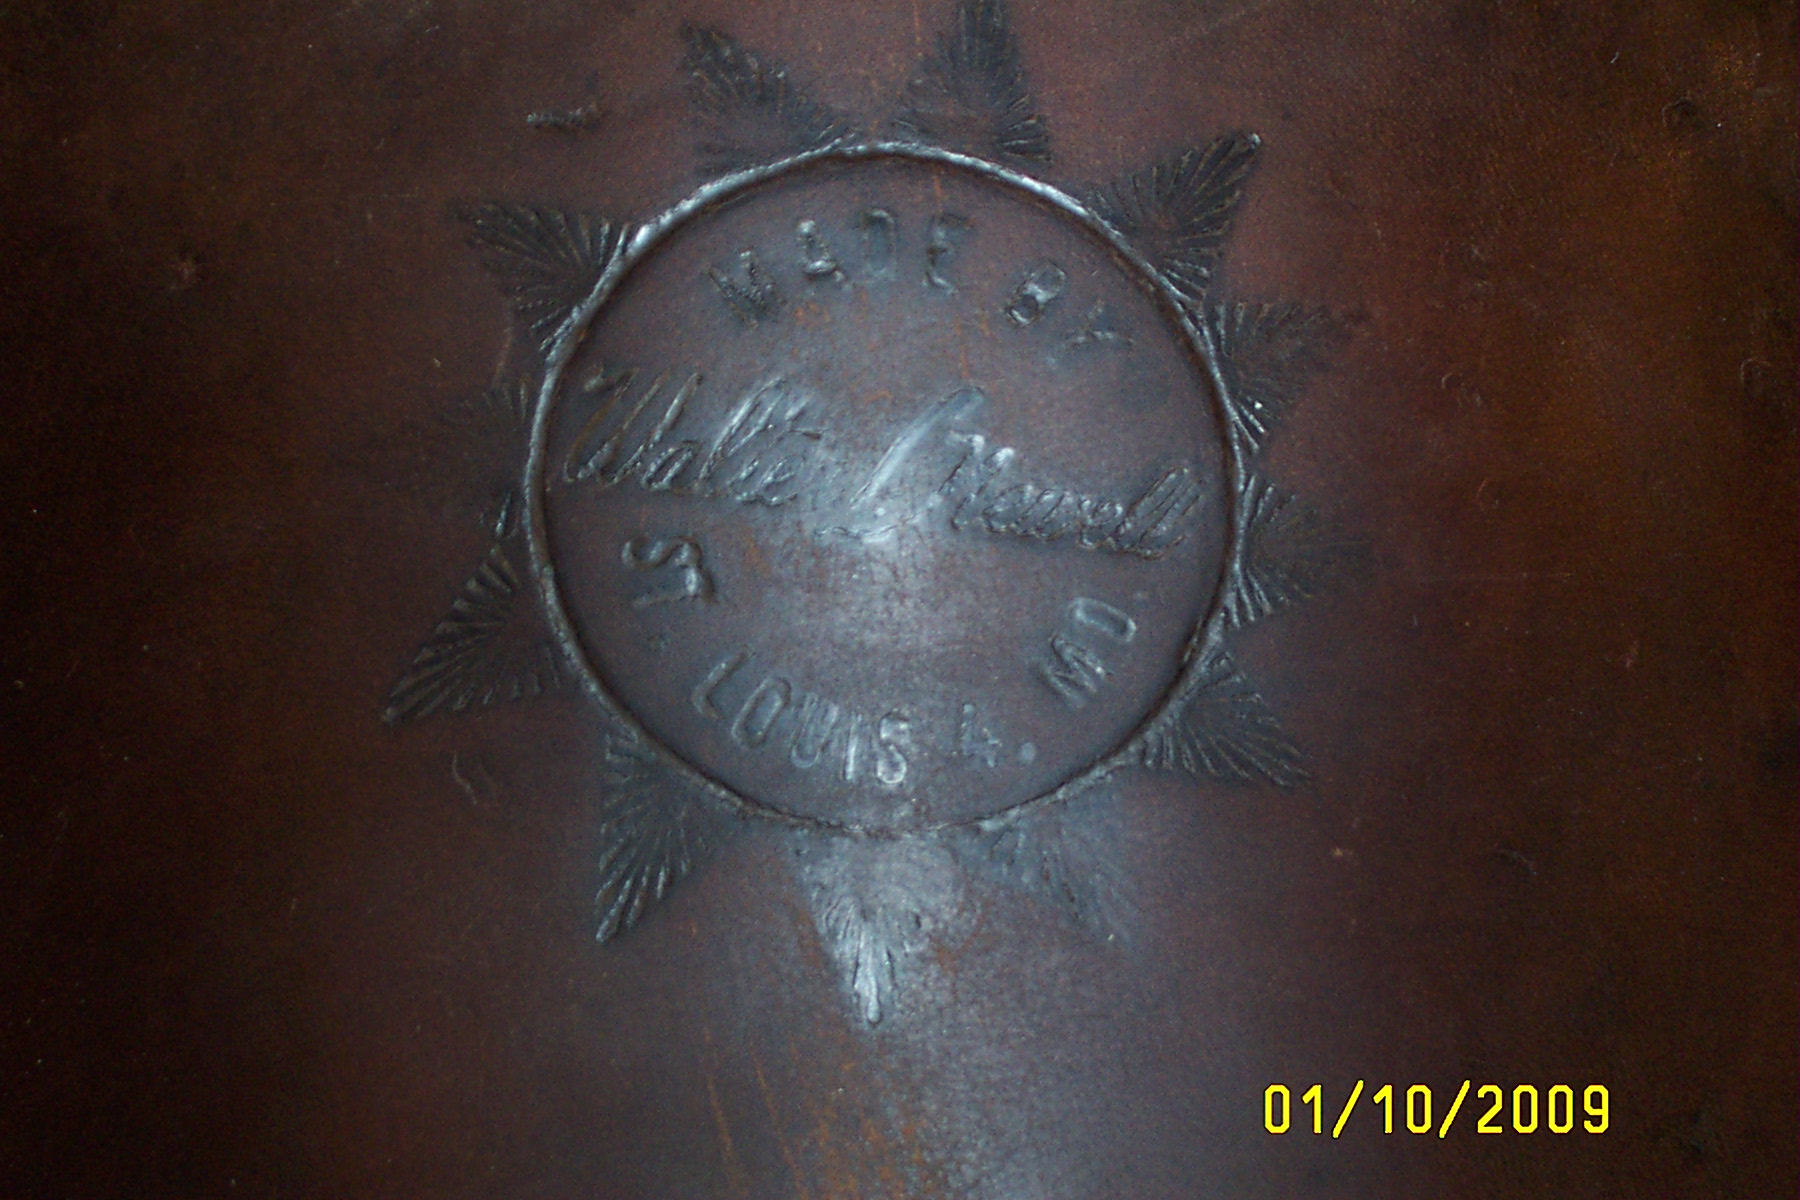
Art, We just got one in the shop for sheepskin reline. I also noted it is made by Walt L Newell, I know that MS Collins was interested in finding these saddles but I don't think he logs on anymore. All the leather is held on with sheet metal screws. other than that there are no nails it is made like most saddles. Here are some pic.s
-
Raven in sunset, bracer...what else;-)
rickybobby replied to TomSwede's topic in Collars, Cuffs, Leashes and Leads
Tom, Nice job! I like the borderless feel you get with the ray of sunlight! I also like the feathers, are those for earings? Can we get into Sweden for holiday without a pair of bracers? LOL !! Nice job Tom, your work rocks! Rick Jorgenson -
Buckskin1, I started doing tooling on belts for friends and family, built a healthy tool collection over the years then started looking at doing saddles, I did some at home over the years with these books and video and now work in a saddle shop. I have learned more at the shop in the last year then I could have on my own at home. I recommend taking some saddles apart AND putting them back together. The Stohlman books will provide you a list of tools needed to do saddlery and the video from Bill Gomer will show hands on how to do some of the steps that might confuse you in the Stohlman books. You need some reference materials to work from to put a saddle together..... * Al and Ann Stohlman Books, Set of 3 * Bill Gomer Video * Stohlmans book on "how to use hand tools and keep them sharp" (Tandys has them on sale right now) * Stohlmans book on "Hand Stitching" (Tandys on Sale) * Leather Crafters and Saddlers Journal - They have a wealth of info for places to buy materials * This Forum - You can post photos of steps you are working on and ask questions, there is a lot of help here. * Some basic hand tools, round knife - learn how to sharpen them and always keep your other hand BEHIND it when cutting utility knife - hardware stores have these, retractable blade, extra blades stitching groover - Tandys edgeing tool - #2 or #3 (tandys) stitching needles - tandys nylon waxed thread- tandys Skiver - there are a couple different types, get both and extra blades #5 stitching wheel - tandys Misc. nails, screws, contact cement, watch the video and the books also have a buy list. I am sure there is some others that I have missed but maybe someone else can add to it. I know I am going to get some hate mail for this but I am going to recommend a inexpensive way to build your first couple of saddles... you can buy plastic ralide trees and stirrups off the internet for $100.00 and under @ www.ralide.com Also get your saddle skirting from Tandys, just get the hides used for repairs, they will have some marks in them but it is alot cheaper than #1 Skirting. (This is only a suggestion, you will drop a lot of $$ when you first start) and it is better at this point to get some expierience and not quit because you can't afford the hobby. Once you get confidence you can graduate to the custom trees and better leather. At this point you have some mistakes under your belt and have some other steps down right. Now if you want to go to a saddle school you will have some questions and will remember what steps you were not good at before going to the school and can concentrate on those with the instructor while building your saddle. The folks I knew that went to the schools that did not have any saddle expierience, when they were done and at home they forgot most of the class, and struggled, the ones I knew that had some time with saddle construction did better because they could get direct help with there difficult steps (exp. horn or seat) and the other steps they were familure with they just picked up another way or better way of doing that step. Hope this helps, Rick Jorgenson
-
Nice work!! You have only been doing this for a couple of months? You have a talent! Keep up the great work and post those pic's!!! Rick J.
-
Does this Siegel tool look like a pebbler to you?
rickybobby replied to Freddo's topic in Leather Tools
You will be happier with the pebble tools from hidecrafter. They will give a better pebble effect for you then the crown tool.