


RockyAussie
-
Posts
3,265 -
Joined
-
Last visited
Content Type
Profiles
Forums
Events
Blogs
Gallery
Store
Everything posted by RockyAussie
-

Albeko 83S splitting machine band knife size?
RockyAussie replied to snisson's topic in Leather Machinery
Same as the 83K I have. -
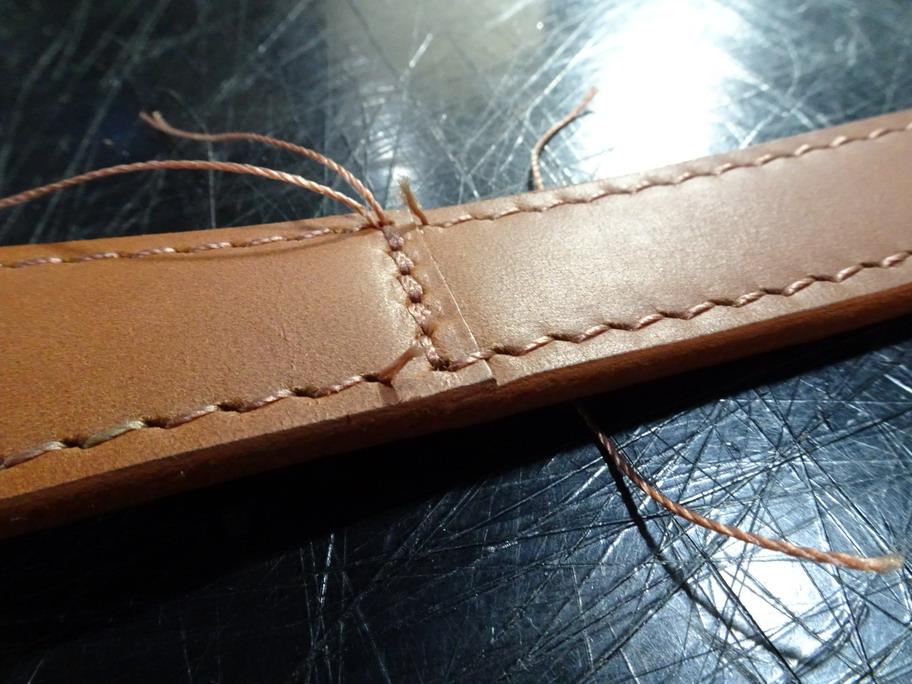
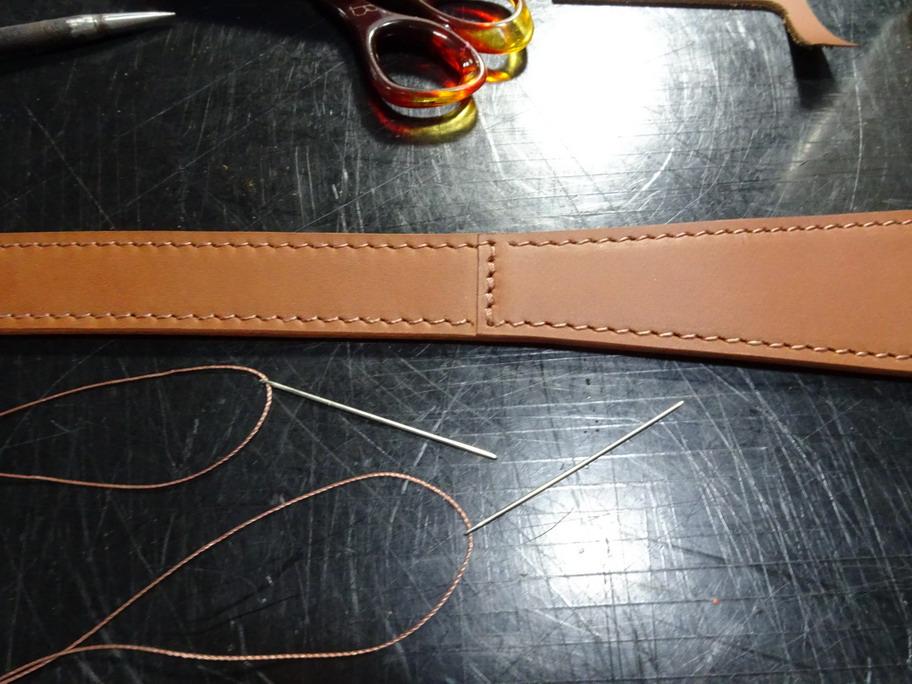
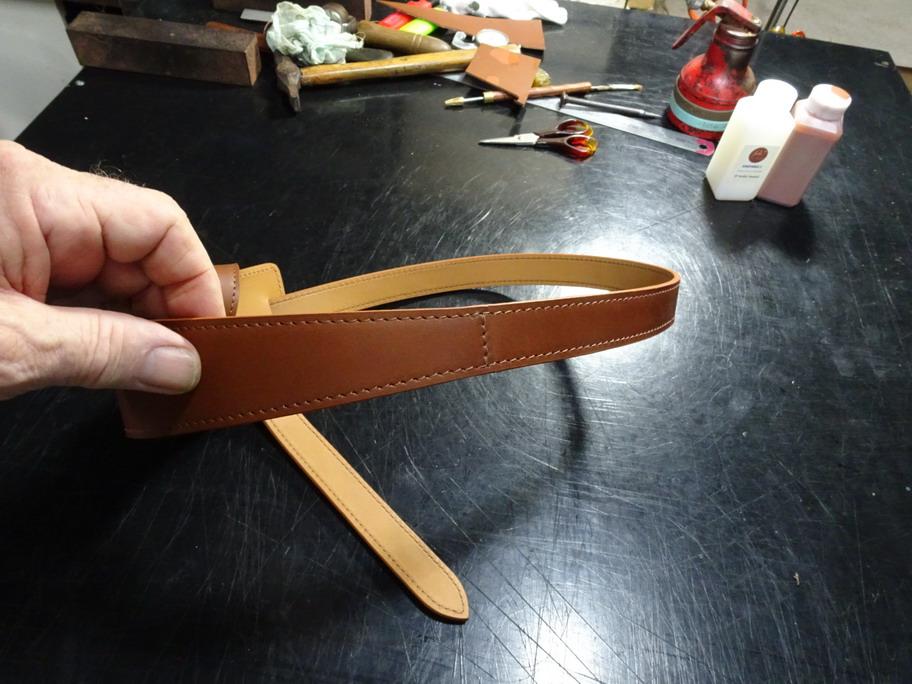
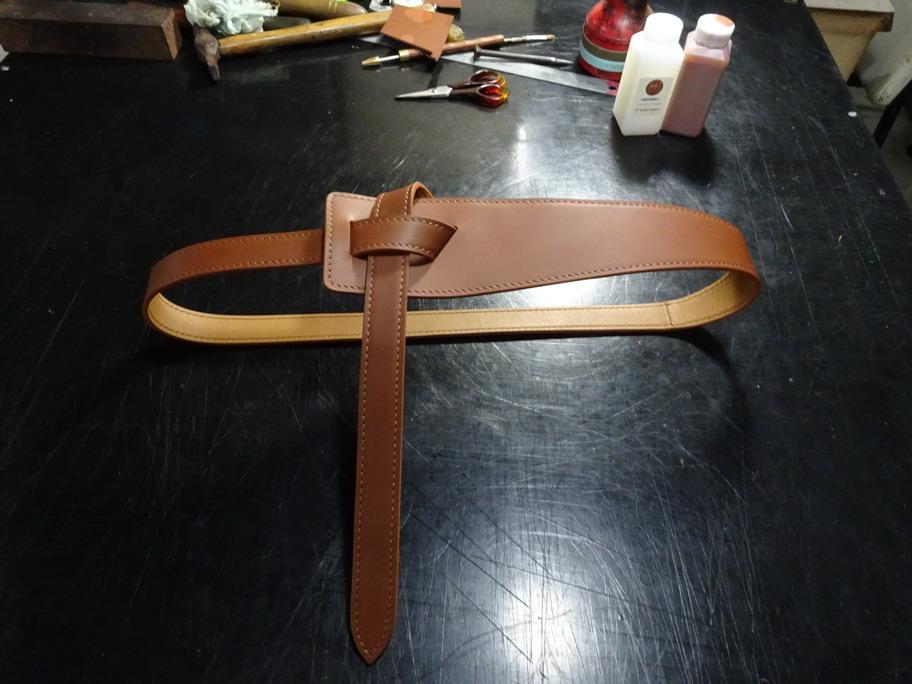
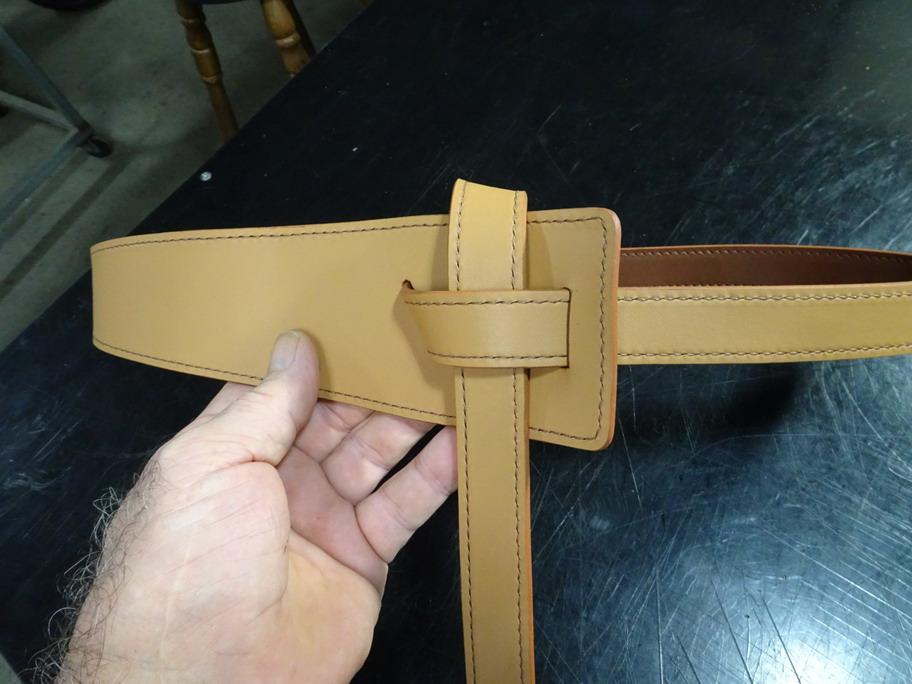
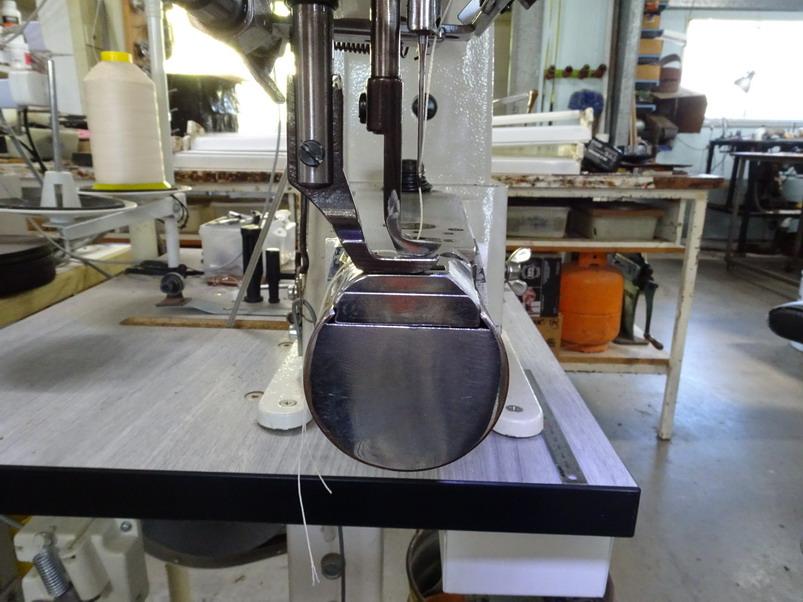
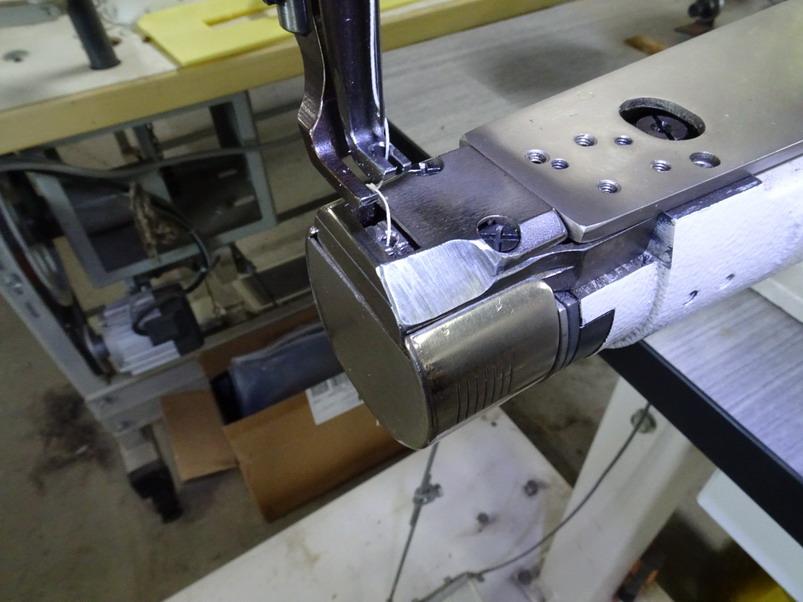
In the past I have sometimes polished the tips of my needles to not be so sharp to help stop them cutting threads so much when back stitching or going over threads already in place. On this particular job I was aiming to make a belt that could be worn both inside and out so I wanted to be sure to have a needle sharp enough to not pucker on the bobbin side. The stitching was done on my Cowboy 4500 with a new 160/23 LR Schmitz needle and 138 poly bonded thread. The stitching went very well all the way from the start up to the last four stitches. This resulted in 3 different threads being cut right through as shown in the pics below. My Cowboy machine knows a few new #%^& words now and like my machine I just never stop learning. I started the stitching at the top of this join went around until I got to the bottom to over stitch and the swearing began. Double needles needed to fix came out alright in the end.

-
Zipper tabs on a pouch, why might one make a "split" zipper tab?
RockyAussie replied to AEBL's topic in Sewing Leather
Those are my thoughts as well but the rest of the work looks high quality. -
Very good effort. I have yet to do the style of gusset myself but I will have to give it a try sometime. Does your Adler 69 allow you to get around the gusset sides better than the Global 1335? I am curious if the Global 1335 machine has a reciprocating feed dog or does the feed dog only move back and forward like the Adler69?
-
Possible to Repair Acrylic Window in Wallet?
RockyAussie replied to Hardrada's topic in Leatherwork Conversation
I think you already know the answer to this so the quicker you just do it the quicker you can put it to rest. Sorry friend. Beautiful work though. -
Common Issues in Hot Stamping – Let's Share and Solve Together
RockyAussie replied to Jinglin's topic in How Do I Do That?
Thank you for the reply. I get asked a lot about stamps on a couple of Facebook forums that I moderate on in Australia so it is always handy to be able to offer up alternative answers. I supply a lot of molds and other stuff to other leather workers in my country. I have been using hot and foil stamping now for many years so I don't have many problems stamping the bags so long as the leather is suitable and the stamp is not too busy. Stamps that have a lot of large flat areas in them can be a problem so I advise customers of this and sometimes alter the artwork to work better. -
Common Issues in Hot Stamping – Let's Share and Solve Together
RockyAussie replied to Jinglin's topic in How Do I Do That?
I have just checked out your website and am wondering if the $ dollars shown are USA dollars? I am in Australia. The brass letter stamp sets look interesting. Also I think you can put a hot link to the JingLin business from the profile settings on here. -
All good points mentioned by @kgg and in case it helps any we use the machine in this video for the majority of the work we produce. At about 1 minute in you can see me stitching in a difficult zipper. The machine is a clone of the Juki DSC 246 and Techsew have a version as well named a 2600. Maybe easier to get up in your side of the globe. I am unsure if there is a flatbed attachment for them but as @kgg is up in your part of the world I do have a file done that would enable him to print it if he likes. Here is a link to a video that shows what I am talking about -
-
All good choices and can do what you want easily but getting help from this LW site is always a great thing and one of the sponsors of it is something to consider seriously. https://leatherworker.net/forum/index.php?app=core&module=system&controller=redirect&do=advertisement&ad=30&key=81075720a378b536aa297941baab000e4440064fa497638fc83cefb722f0261c I like the Cowboy CB4500 myself and have a few videos on my channel showing what it can do. Wild Harry YT
-
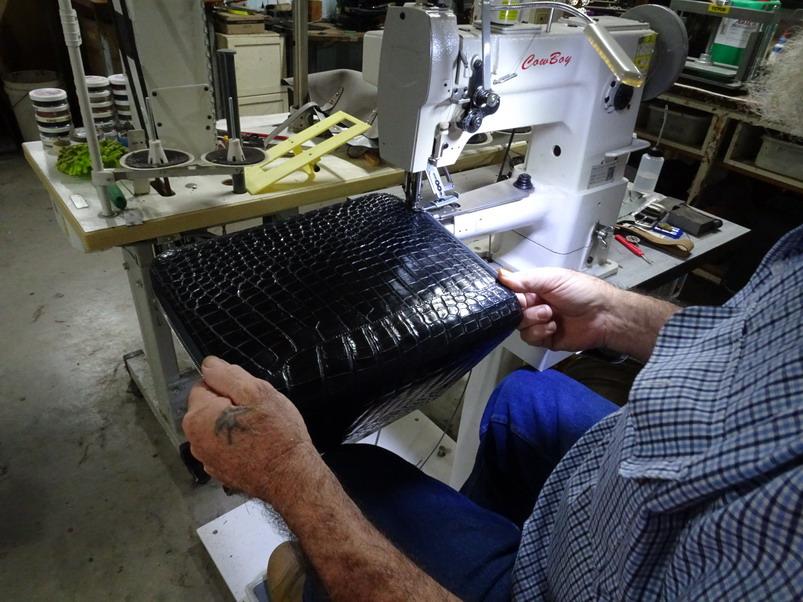
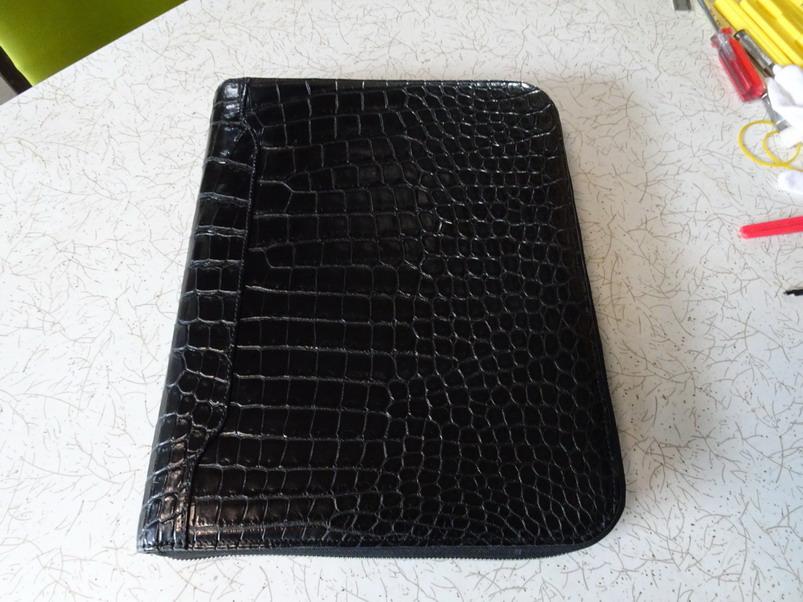
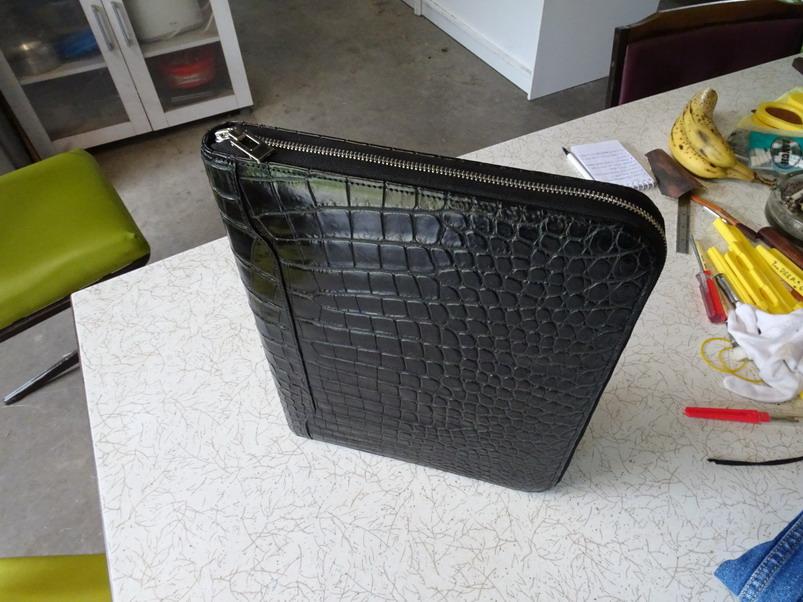
Making products from Croc skin is about 90% of what I do and they make great handbags and lots of other stuff as well.:)
-
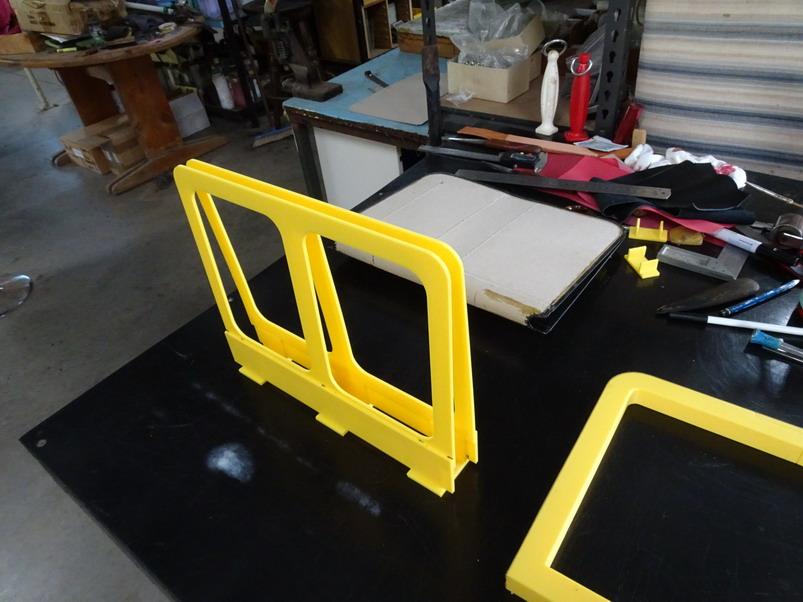
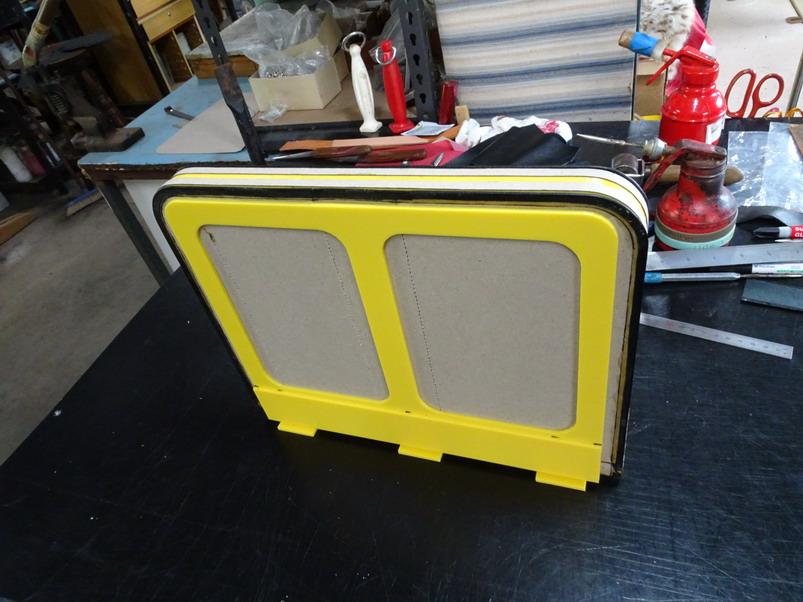
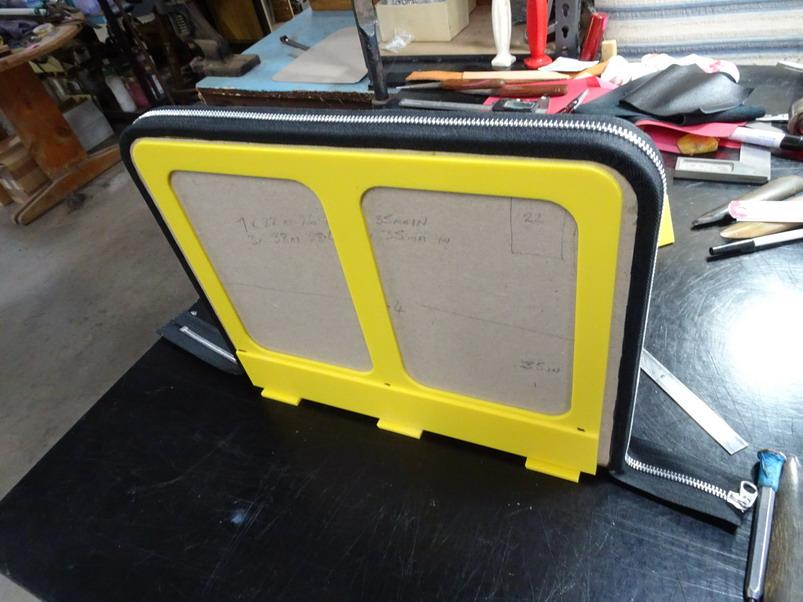
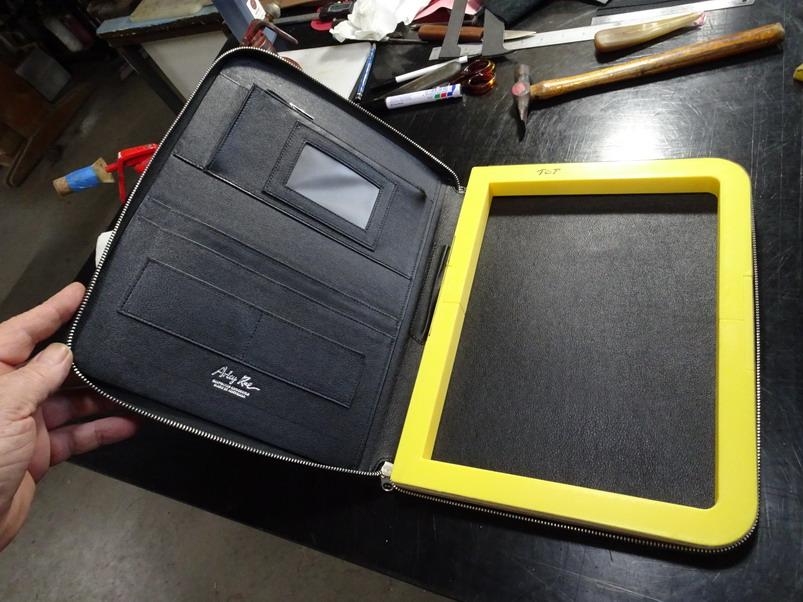
They sure can help a lot for sure. Here is a couple of pics from one of my latest projects which uses the same ideas but all 3D printed on this compendium.

-
Replacement feed dogs for my Artisan 246. Suggestions?
RockyAussie replied to Piko's topic in Leather Sewing Machines
I doubt the feed dog is your problem here. When you say your thread size is a little larger than V92 (metric 30) it looks more like the thread is a V69 (metric 40). A picture showing the label on the thread cone might help. If I am wrong here then I can only say that on soft leathers the holes will close up nicely and stiffer firmer leather the holes will stay open more. You could also be running to tight a tension top and bottom which makes the holes more noticeable. Try loosening your bobbin tension about 1/4 turn and your top 1 to 2 turns until they look balanced and see how that looks. Note that that is a nasty looking leather your using I think. -
Replacement Pulley for Tapered Shaft
RockyAussie replied to friquant's topic in Leather Sewing Machines
It looks to me that there is enough cable room to mount the control box at the front in the video they show on the Amazon link. I do think there will be issues with that small a pulley though and being plastic I suspect slipping may be a problem. May need a rubber band in the V in the pulley or something like that. -
Contact these people in the link and they should be able to help you. Let me know if there are any issues and I will do my best to help further.https://sunvalleytrading.com.au/
-
This is one of my latest videos which shows one of the common methods we use for attaching zippers into purses and other similar products. This method works both quickly and reliably for keeping the zipper centered and both sides evenly tensioned.
-
A bell skiver will do it well if set up and properly sharpened. My video channel shows a lot of skiving examples - Wild Harry YT
-
Very good tip. Thanks for sharing.
-
It would be a good idea to buy the full set and maybe even a couple of them. I like to have modified needle plates to do different jobs. For doing tighter gussets it helps to sand away the front edge of the needle plate and a little bit from the back as well. Be careful not to take to much off the back as the back foot needs something to come down on to hold the job securely. These 3 pics show what I mean - The needle plate I have in my hand here has the left side tapered off for when I am sewing bag handles that have a lot of swell under them. This helps to keep the needle to come into the handle squarely and not come out of the edge. Hope that helps some.

-
I notice that the knot mostly shows when doing a tight 90 degree corner. This means that the the needle is too large for that size thread you are running in the bobbin. Go to a 22 needle first. If it still shows up a bit then when you are about to enter the corner hole just allow the tip of the needle to just touch into the leather enough to turn it before allowing the needle to go into the leather. This will stop the hole from becoming too open when you spin it which then forces the knot to have to pull the knot into the leather the same as the other holes. You will notice at present that the knot does not come to the top so much when you turn the job when turning one way as against the other way in the corners due to the shape the needle tip gives when making the hole. Last suggestion, make sure the bobbin thread is not more than 1 size smaller than the top thread.
-
Yeah sorry about that Doc, I will see if I can find ya a pic of my puppies but meanwhile whatcha think about this poor croc wanting to be all freindly... Yamaha ha ha yay

-
I don't know if this will load or not due to the size but if so on page 8 part 6 is a small rod which holds the feed dog up 1.2mm above the needle plate. I sanded mine down about .3mm. The feed dog has a little funnel at the top lip which you could sand away if you wanted to but does make it a little more dangerous for a beginner as the needle can sometimes go sideways and strike the side of the feed dog. dsc246.pdf
-
In the banner at the top of this post is a good place to start if your in the US. https://leathermachineco.com/
-
Chinese netizens share their sewing machine
RockyAussie replied to PiZhihong's topic in Leather Sewing Machines
We have similar machines and similar work production so a big welcome to the Leatherworkers forum from me @PiZhihong. I look forward to seeing some of your work. I have the Cowboy 4500 and the Cowboy 246 as well and a 8365 tall post as well as a few others. -
A 16 needle would be too small for a V92 thread. Try an LR needle instead of the Tri needle which is more suited for heavy weight leathers. Your lid is a little light in the leather weight and could be the reason your tension is not working well. All the same it looks to me you have sewn the back and lid to the gusset first and made the mistake of not stitching the lid the right way up. The lid is the most important to look good so the thread needle should be going into it from the top. To over cum your wrinkling problem in the lid lining do not glue fully the lining except for the edge. Where the bend is and about an inch beyond don't glue. Putting an internal stiffener at the front of the lid up to just short of the fold will help as well. This video of mine shows the method I use for stitching most bags I make and note that the lid is not glued anywhere near the folding area -
-
As @AlZilla says above this machine does use the same feet as a Singer 111W machine which has a huge variety of feet to pick from. That said if you need to see any better than the open toe center foot you already have you may be best to just widen the gap in it. I have seen where some people have even cut one side of the center foot away all together. If you are doing veg work keep in mind that the less area that the foot covers the more it will leave feet marks. This following link shows a bit about the Cowboy CB246 I did awhile ago -