motocouture
-
Posts
475 -
Joined
-
Last visited
Content Type
Profiles
Forums
Events
Blogs
Gallery
Store
Everything posted by motocouture
-
Awesome, lovin' this! Question, what software do you use to create the 3D shapes for printing?
-
Amazing! Thanks again for taking the time to post the pics. The insights into the behind the scenes is really interesting
-

Celtic inspired custom baroque bridle
motocouture replied to velvetwastaken's topic in Saddle & Tack Maker Gallery
That's amazing work! Very impressive. Any live pics on the gypsy cob? -
Thanks so much! The least I can do, I've learnt so much from this forum, just glad it's of interest . Ha - keep the tools! Tho' if you're anything like me, its amazing how all the tools / spare parts / gear from different hobbies add up quick lol. And what you need most is always at the bottom of the pile....
-
Third vote on that!!
-
In case anyone's interested, below is a photo of the pattern parts I drafted for the bag. I haven't included the small pieces for the strap rings; those I just cut from small scraps of leather. Also, this was only ever intended for personal use, and while I lay absolutely no claims to the producibility of this design (in fact the opposite lol), I'd prefer it stay for personal use only in the slim chance someone does use it
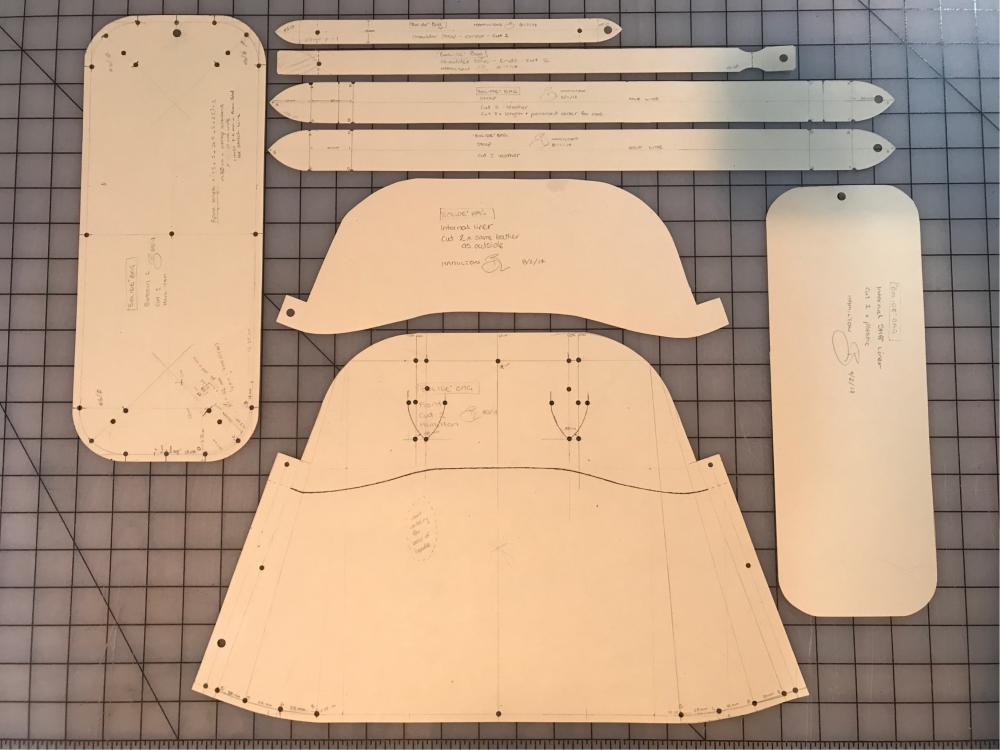
-
Thanks! Paracord can work nicely, made a couple of bracelets for the family using cord. Cheaper than lace too lol.
-
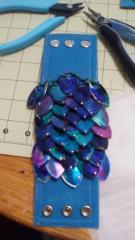
So many scales... So little time.
motocouture commented on BaumannMade's gallery image in Gallery- Our Leatherwork
 Thanks for the detail!
 -
When I punch my stitching holes, I use a little braiding soap on the stitching iron (David Morgans leather website has a great recipe). It makes it easier to pull out the chisel and for the needles to go through. That said, I also use James harness needles, size 004 with a 0.6mm thread
-
So many scales... So little time.
motocouture commented on BaumannMade's gallery image in Gallery- Our Leatherwork
Amazing!! How do you make the actual scales, if you don't mind sharing? -
Thanks for the pics! They remind me of macaroons.
-
Card holder and watch strap
motocouture replied to Petewon's topic in Purses, Wallets, Belts and Miscellaneous Pocket Items
Beautiful work, and probably a welcome break from renovating (always seems to take three times as long as it should, and the dust!!) -
Thanks!! The knots are fiddly but fun
-
+1 to that
-
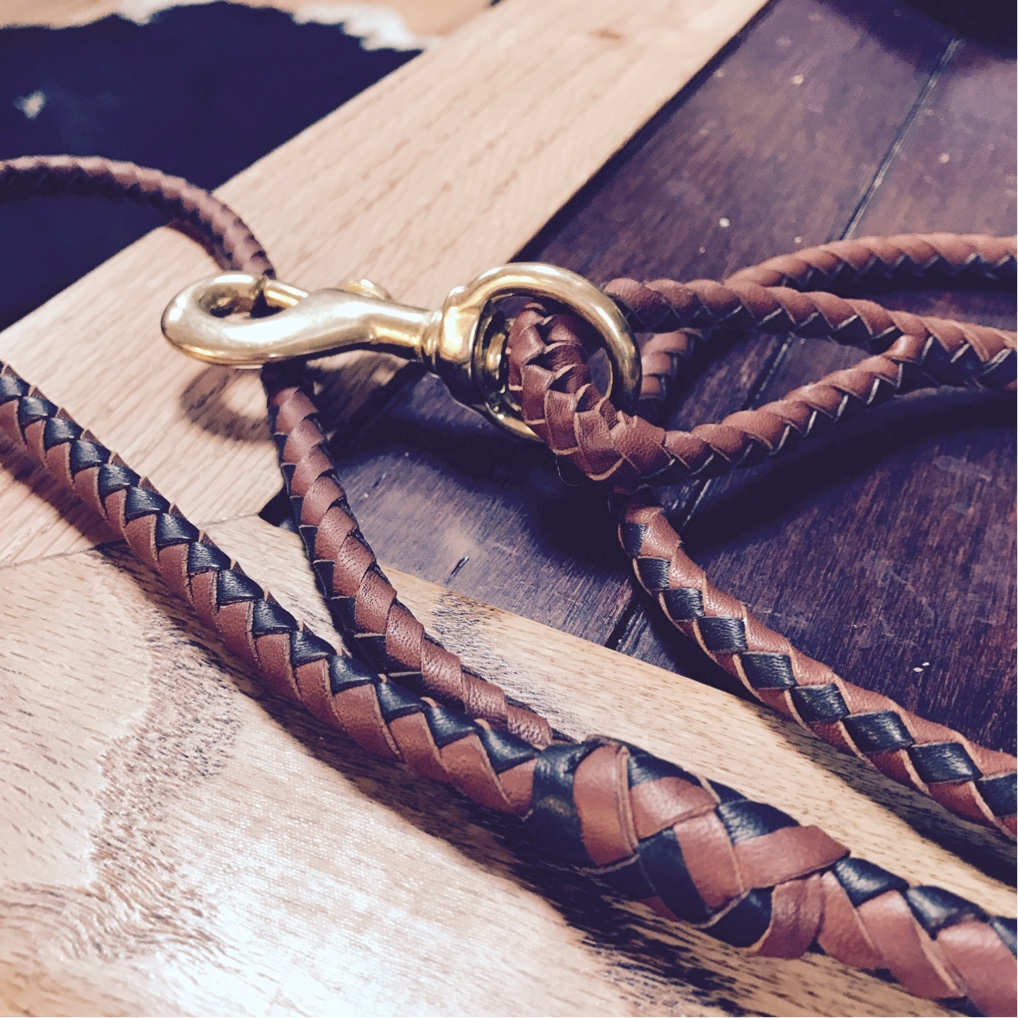
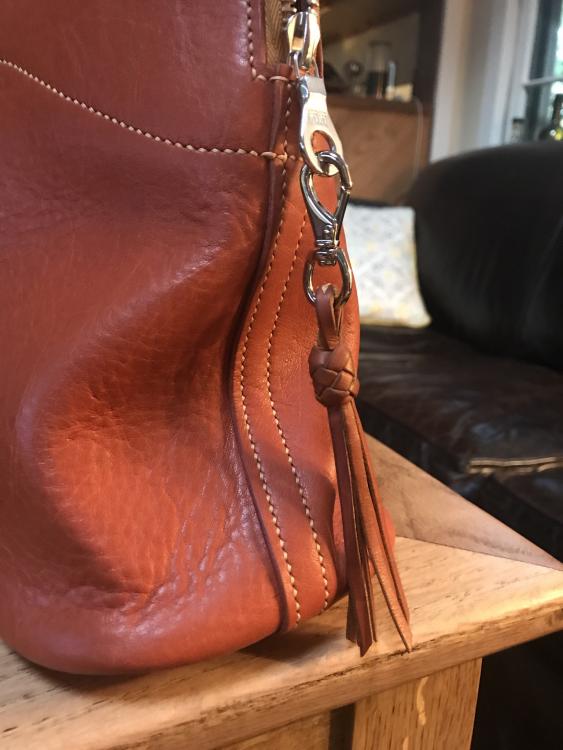
Final touch - small tassel out of dyed kangaroo lace, with a five part four bight Turk's-head knot. I stitched the top of the loop with a few stitches to keep the laces together, then folded in half, and worked the knot over the top. Hardware from @buckleguy
-
Thank you so much, Brian! As always, really appreciate you taking the time to share your processes, very enlightening. I like the idea of zip to liner, then out, using the internal form. I think it's time I taught myself to use some form of drawing / CAD software, then go bug a mate with a 3D printer (although Xmas is coming up soon..... ) poor Molley looks so stressed, such a hard life I'm sure
-
Thank you so much! Yes, he's a big baby but also a great security system lol. That's an interesting idea on the zipper, do you stitch without pre-gluing on certain items? I'm open to any suggestions - I'd love to improve the look of the zip.
-
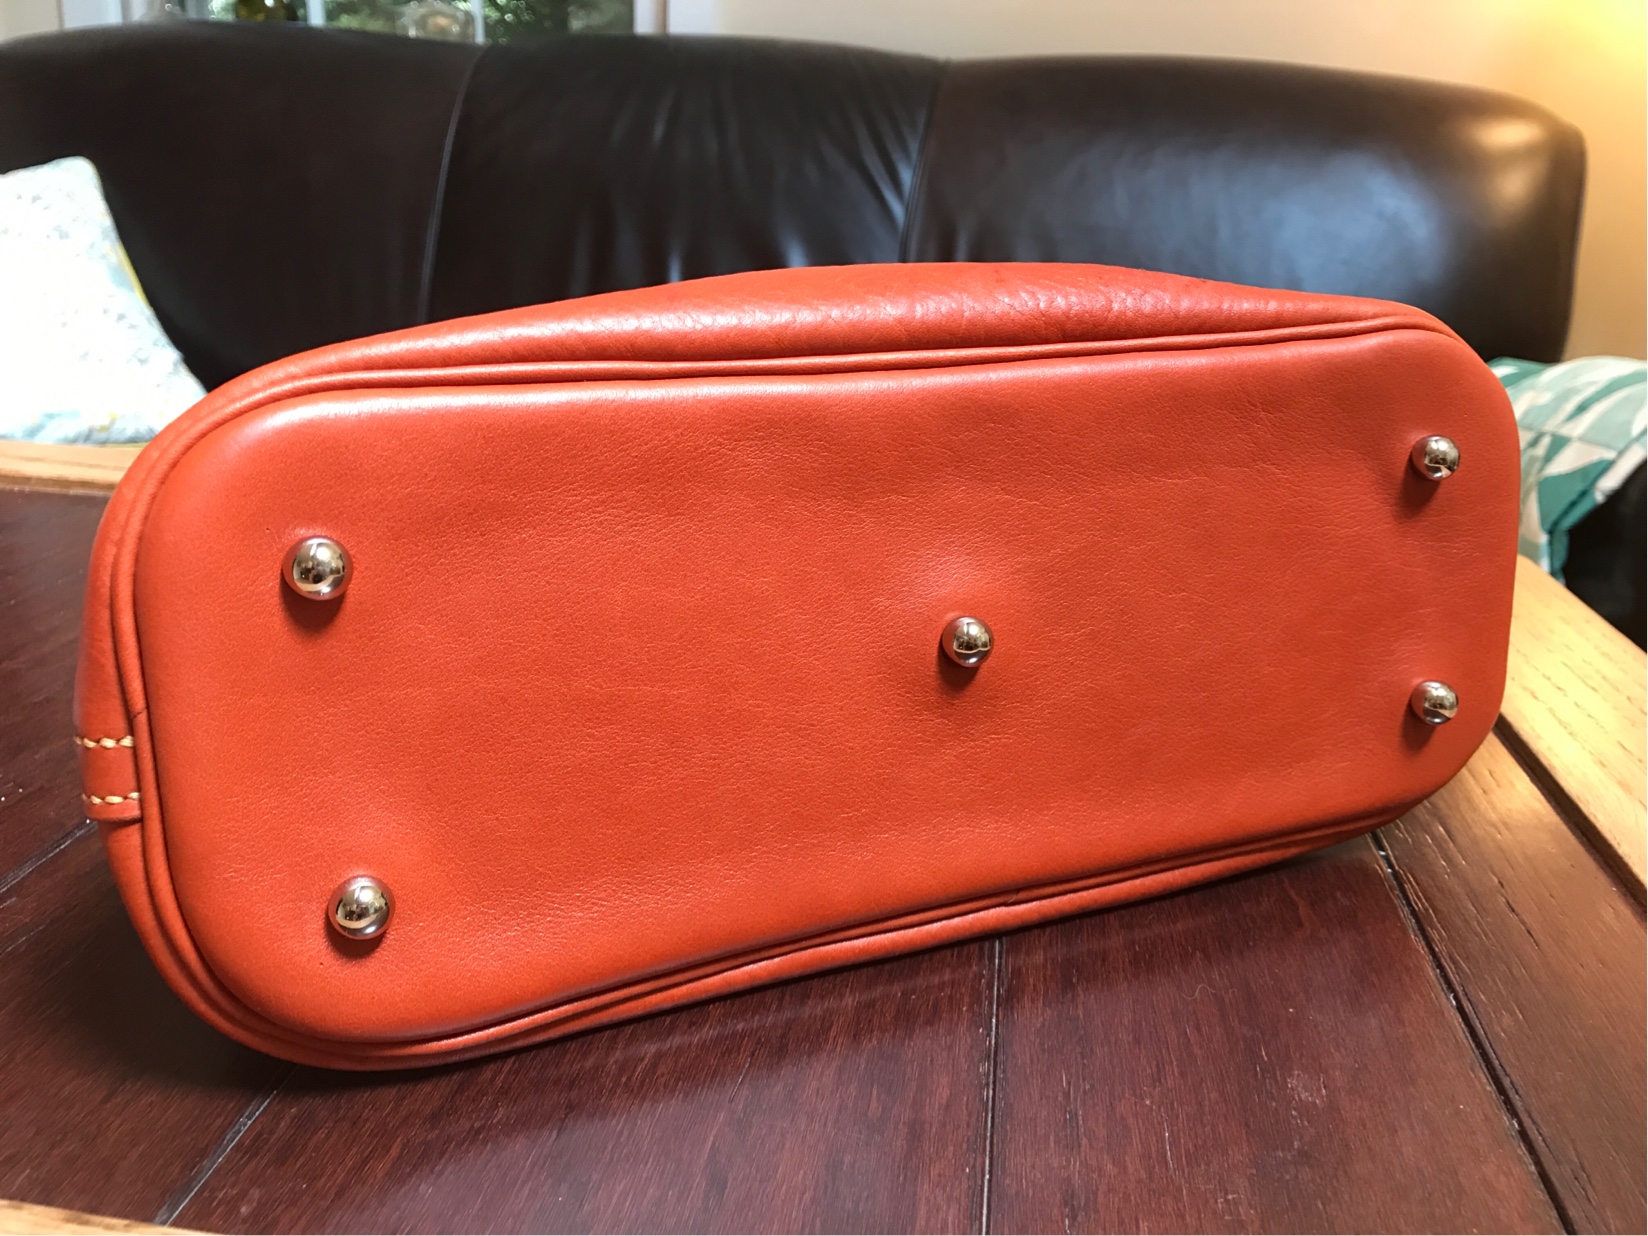
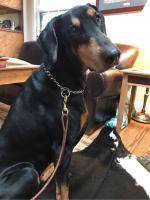
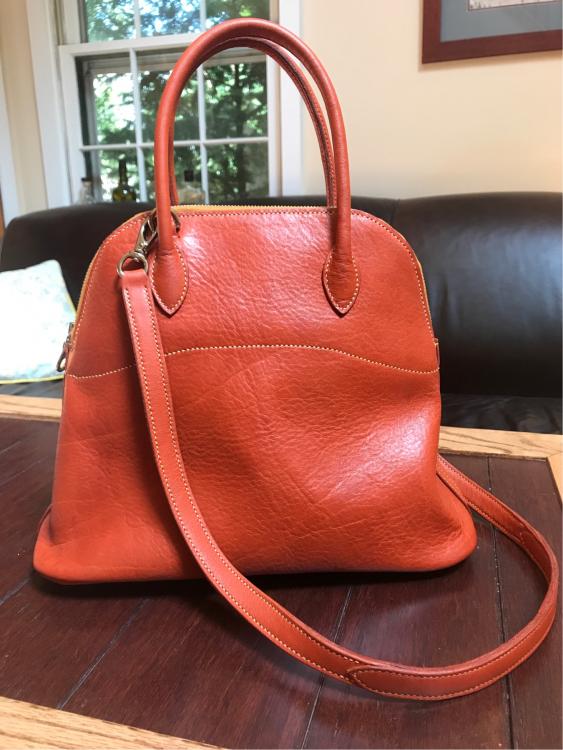
Stitching all done! All that's left now is to braid a small zipper pull, but in the meantime, here are some pics. Included a gratuitous shot next to my buddy for size comparison

-
Harness needle in relation to thread size
motocouture replied to RemingtonSteel's topic in Sewing Leather
For info, I use the size 4 needle with 0.6mm Tiger thread, and the size 2 with 0.8mm Tiger thread. I'm generally sewing 4-5 oz leather, but doubled with folded piping in between it's probably getting close to 14-15 oz equivalent. I definitely found the size 4 needle easier to pull through. -
Nice work!
-
Be kinda funny if you bought a set of sheets in 'Colonial Tan'
-
Thanks @TheCyberwolfe, beat me to it They are a great supplier, and do shorter lengths and samples if you don't need a 100s of meters.. .
-
Crocodile edges. Can you burnish them?
motocouture replied to Leahlovesleather's topic in How Do I Do That?
Ha! I'll take that!! -
Crocodile edges. Can you burnish them?
motocouture replied to Leahlovesleather's topic in How Do I Do That?
Hey @Handstitched, likewise, I grew up in Albany, WA : ) Live in Pennsylvania now, less tiger snakes . Make it back home occasionally, just takes a while door-to-door.