motocouture
-
Posts
475 -
Joined
-
Last visited
Content Type
Profiles
Forums
Events
Blogs
Gallery
Store
Everything posted by motocouture
-

Onto the third bag....
motocouture replied to motocouture's topic in Purses, Wallets, Belts and Miscellaneous Pocket Items
+1 for @Stetson912 Also stocked by RM Leather Supply (and probably others, this is just where I bought mine) https://www.rmleathersupply.com/collections/tools/products/ks-blade-punch-pricking-irons -
Onto the third bag....
motocouture replied to motocouture's topic in Purses, Wallets, Belts and Miscellaneous Pocket Items
I love them. Did a lot of research before getting them. My logic was that since each tooth is (I assume) tooled separately then inserted into the head, the actual spacing and slant is likely to be more accurate, with greater depth of cut. The cuts are super crisp and clean, very easy to extract the iron, and they are beautifully sharp. I’m already eyeing off their hole punch set ..... -
Onto the third bag....
motocouture replied to motocouture's topic in Purses, Wallets, Belts and Miscellaneous Pocket Items
-
Onto the third bag....
motocouture replied to motocouture's topic in Purses, Wallets, Belts and Miscellaneous Pocket Items
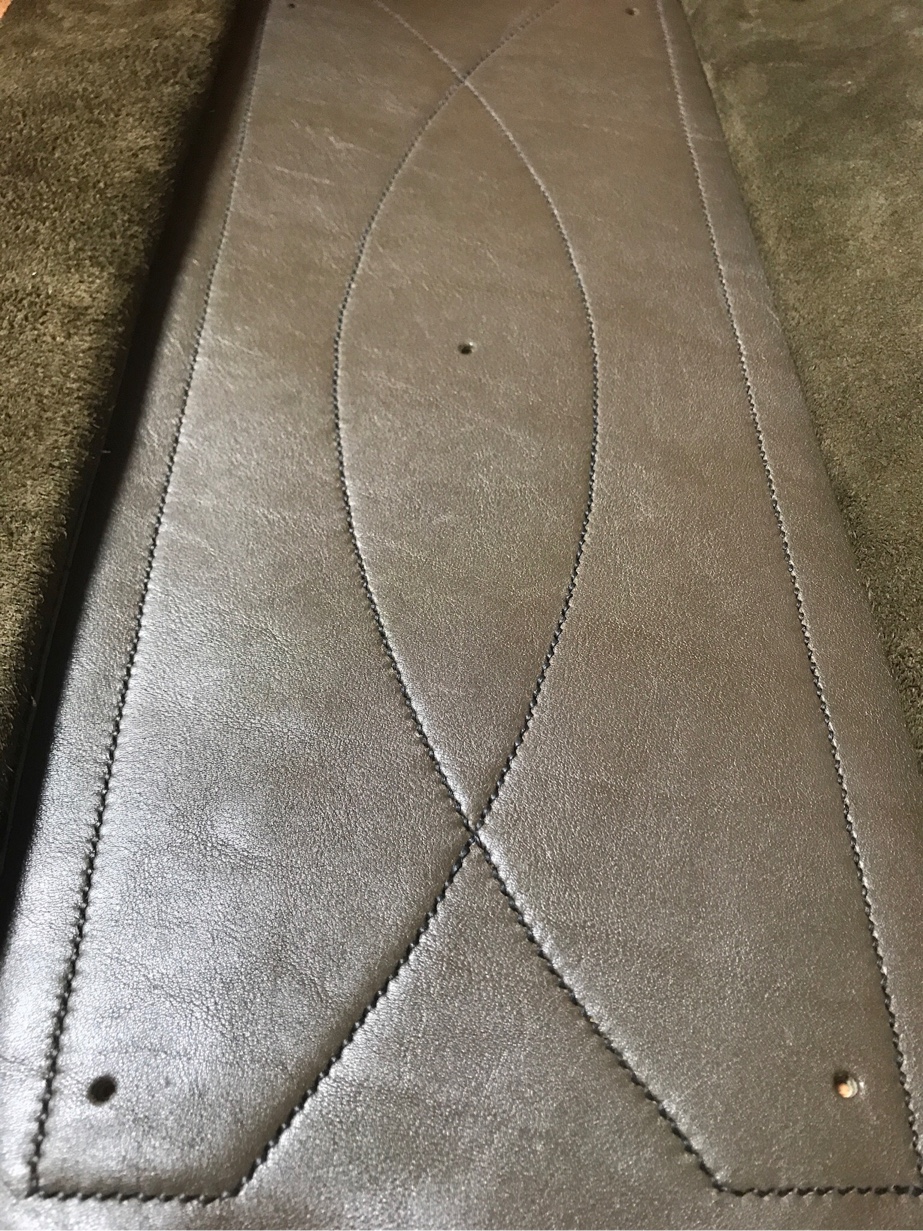
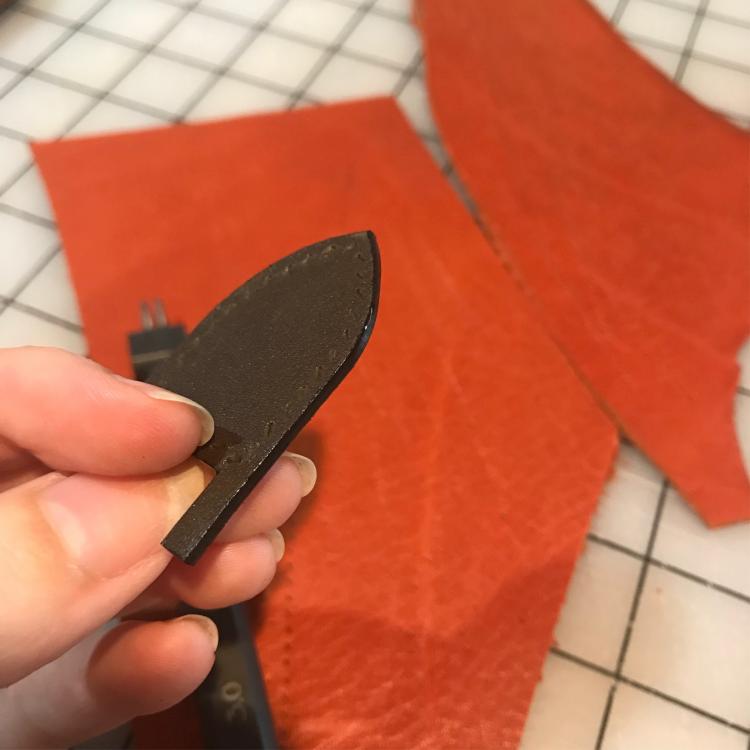
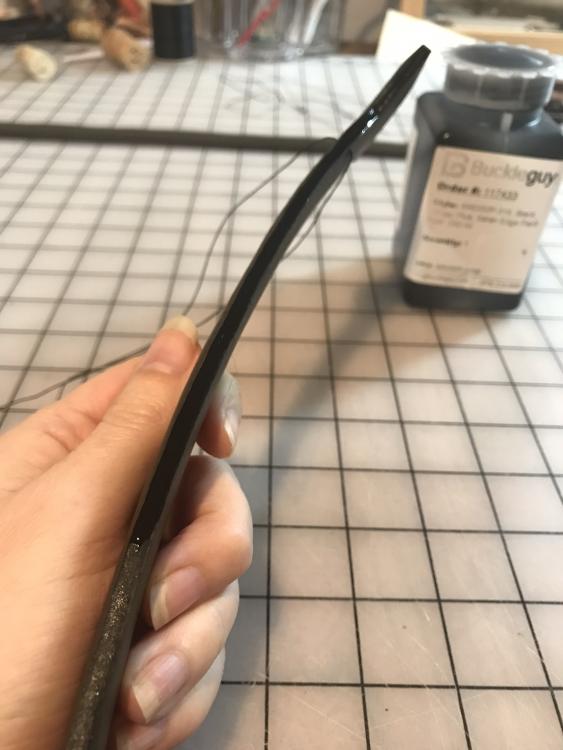
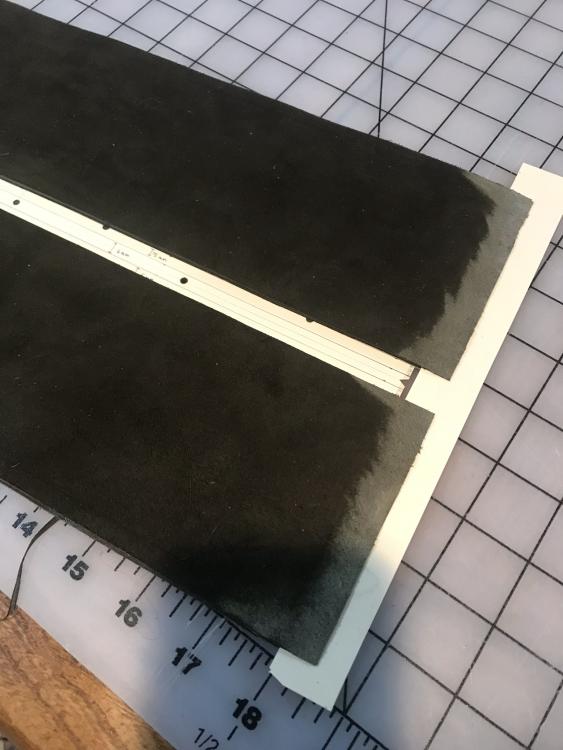
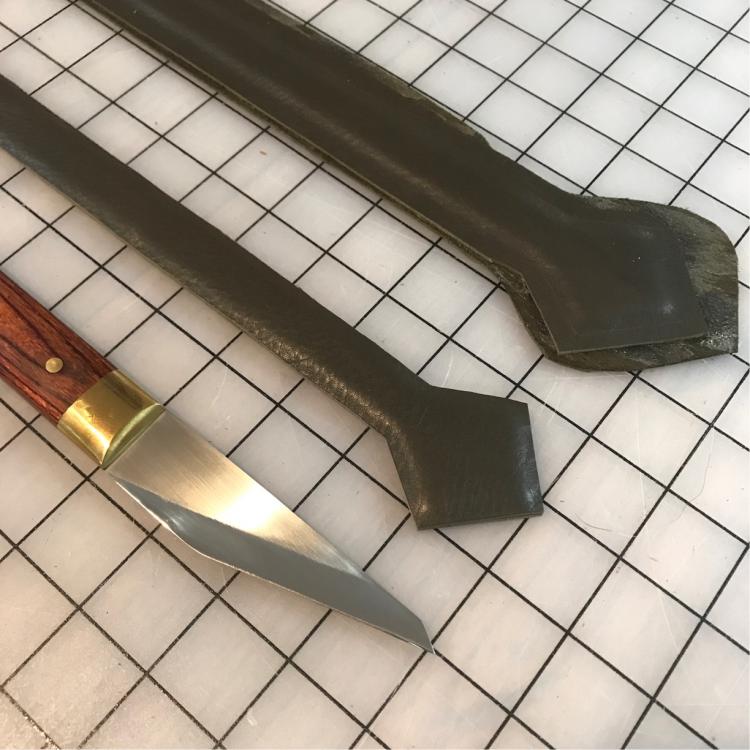
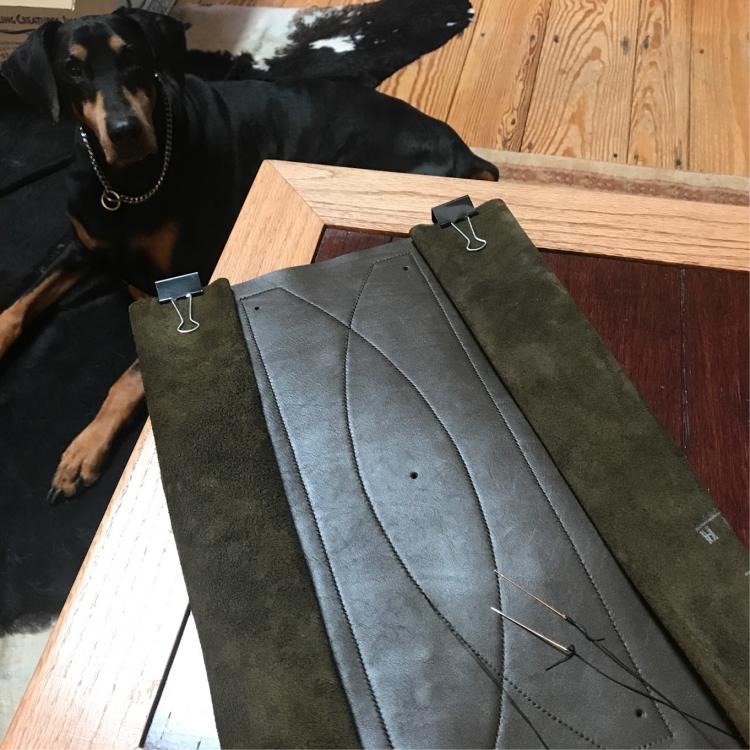
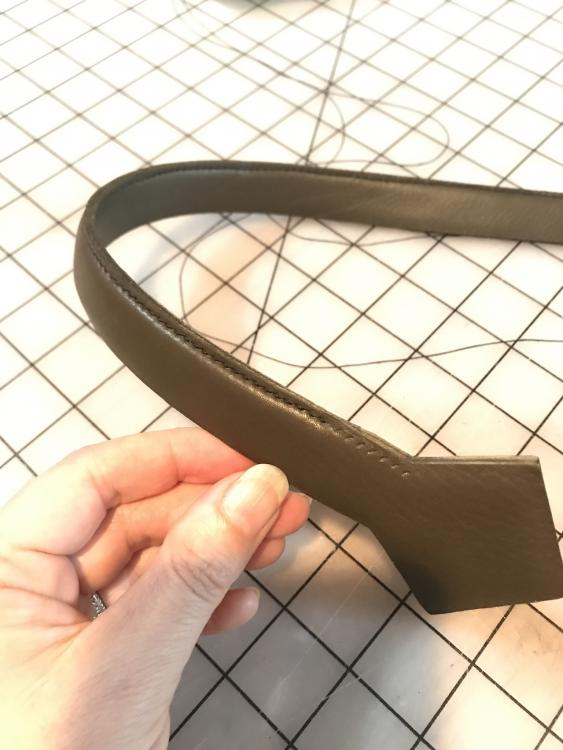
Finally made it back to my bench after some business travel. Have started on the edging, and working on the small tabs for the zipper ends (respect for those who do watch bands - tiny things are hard!). The gusset is two pieces, seamed in the middle, then the allowances folded back and top-stitched. Didn’t want to glue the pieces for the first seam, so sprayed some 3M 45 spray adhesive on both sides of some card to make some impromptu double-sided tape to hold temporarily for punching and stitching.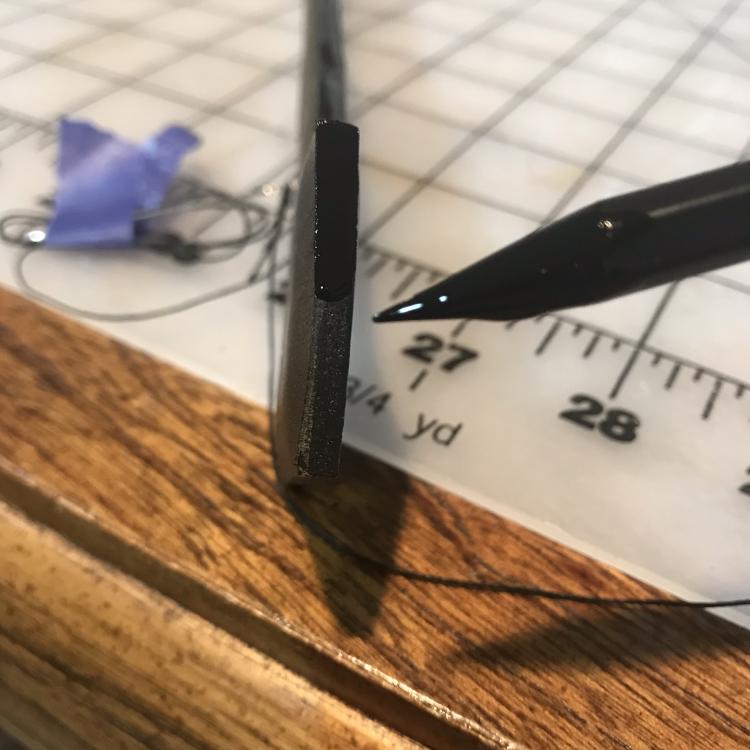
-
Curious to see how it goes. Good luck!!
-
I’m with you there! I have a whole lotta stuff I’m gonna make a whole lotta things with someday
-
Hmmm...depending on the style of harness (assuming no ‘chest plate’, aka H style harness), could you just order strapping, to save buying excess? Found a photo of an example below (internet search, not one I’ve made)

-
Nice!
-
Onto the third bag....
motocouture replied to motocouture's topic in Purses, Wallets, Belts and Miscellaneous Pocket Items
Thank ya! Now onto the straps and my first go at edge painting -
Onto the third bag....
motocouture replied to motocouture's topic in Purses, Wallets, Belts and Miscellaneous Pocket Items
-
Nice work!
-
Onto the third bag....
motocouture replied to motocouture's topic in Purses, Wallets, Belts and Miscellaneous Pocket Items
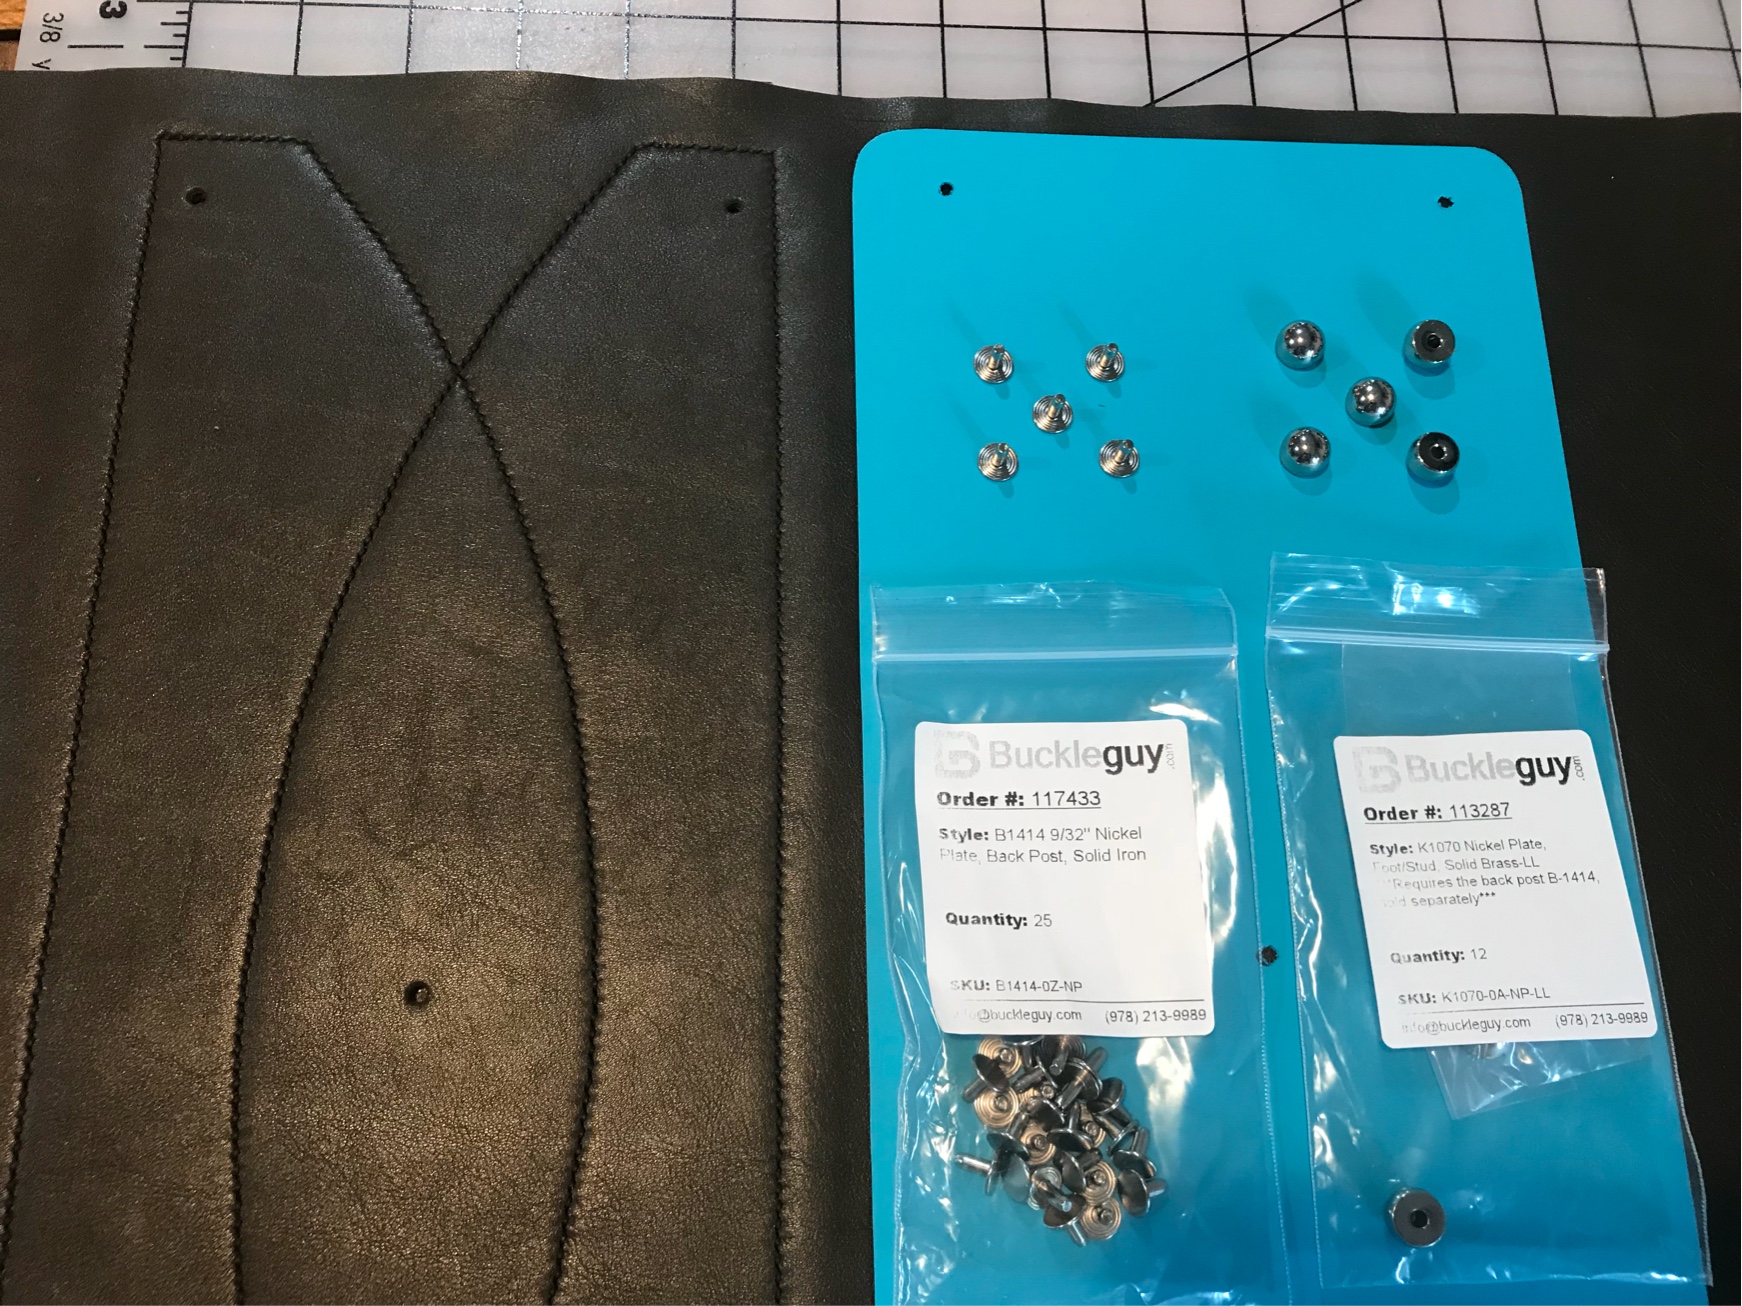
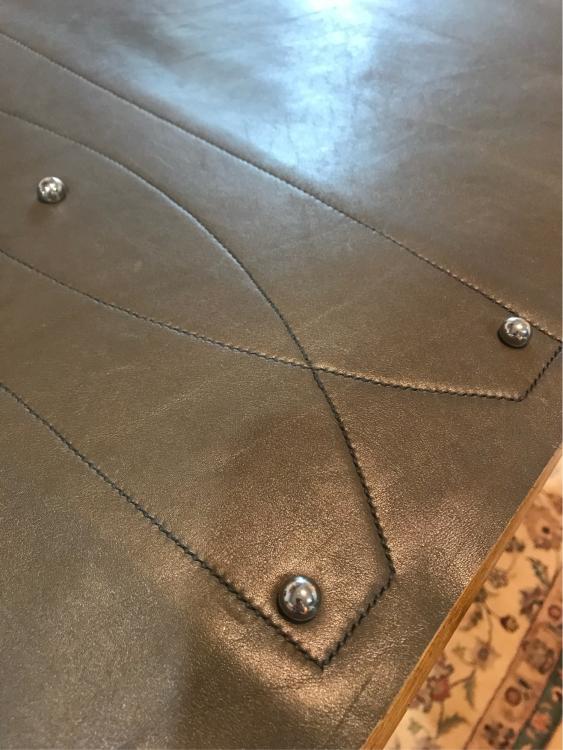
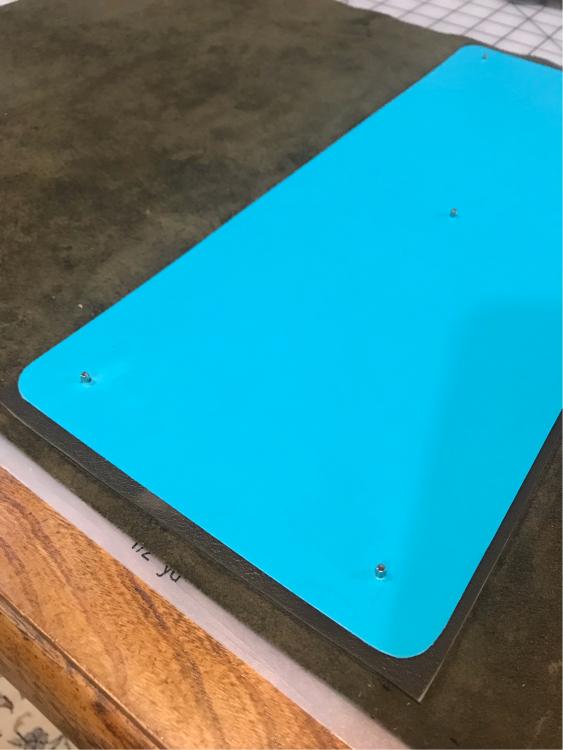
In the meantime, some more progress photos. I ended up using thin plastic cutting board as a liner, roughed up both sides before gluing, and used the posts of the feet pushed through the wrong way (from the outside in) as guides for the correct placement of the liner when gluing in place (since once Barge glue makes contact.....we all know how that goes). I’ve included the hardware detail in the photo (thanks @Buckleguy Supplier!) as well.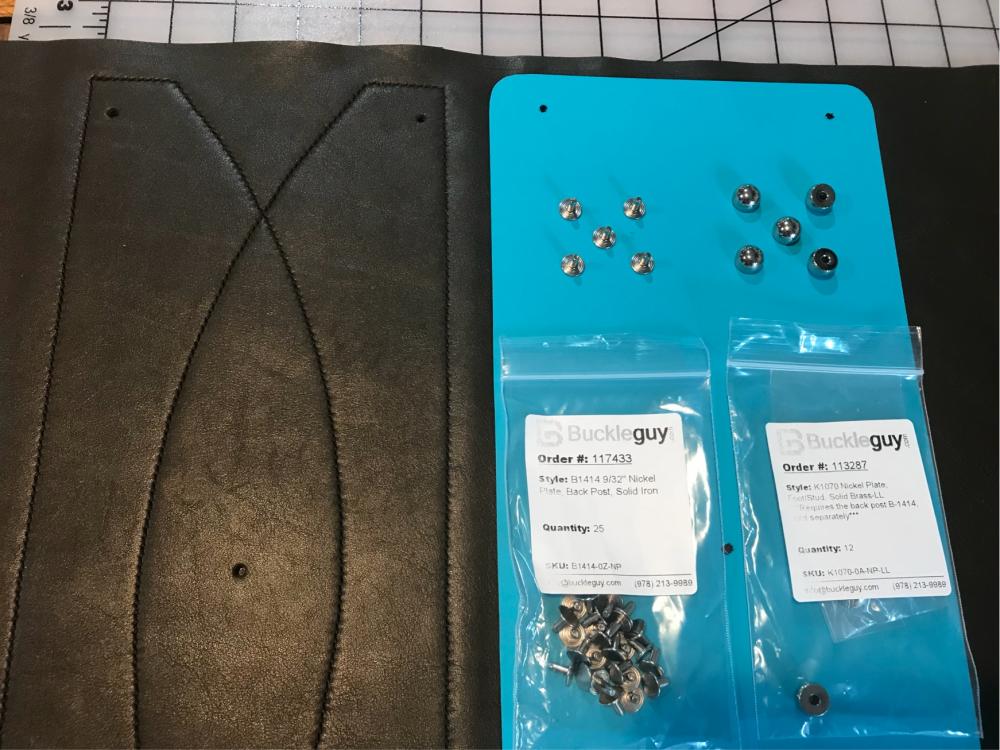

-
Onto the third bag....
motocouture replied to motocouture's topic in Purses, Wallets, Belts and Miscellaneous Pocket Items
I got it now!!! Long gusset with no zip, and detachable handle! -
Rio Grande is a large jewelry/ findings supplier that has a range of cabochon settings, may also have some of the other decorative items.
-
How to make a press for moulding leather pouches and such
motocouture replied to RockyAussie's topic in How Do I Do That?
Yep!!! That’s why my Aussie family always want to go to Home Depot when they visit here Milwaukee tools and Lego seem to be popular exports back -
Onto the third bag....
motocouture replied to motocouture's topic in Purses, Wallets, Belts and Miscellaneous Pocket Items
Thank you! Plan to get some decent time in at the bench this weekend... That is an excellent question hmmmm, something to add to the project list - have never made a collar before -
Onto the third bag....
motocouture replied to motocouture's topic in Purses, Wallets, Belts and Miscellaneous Pocket Items
Ahhh, good point. I'll definitely put them through the stiffener, then. Never thought about that with the metal feet on glass counters, shame that some people don't think about the potential damage -
Very cool!!!! That said, I couldn't bear to throw that for my dogs - seen my Doberman chew through double-layered webbing in seconds, pretty sure I wouldn't get this back lol
-
A bridle leather belt
motocouture replied to the gafer's topic in Purses, Wallets, Belts and Miscellaneous Pocket Items
Wow, beautiful clean work! -
Onto the third bag....
motocouture replied to motocouture's topic in Purses, Wallets, Belts and Miscellaneous Pocket Items
Thanks! I'm with @RockyAussie on that one! Or you could do a simple bag and make the straps out of dog collars -
Onto the third bag....
motocouture replied to motocouture's topic in Purses, Wallets, Belts and Miscellaneous Pocket Items
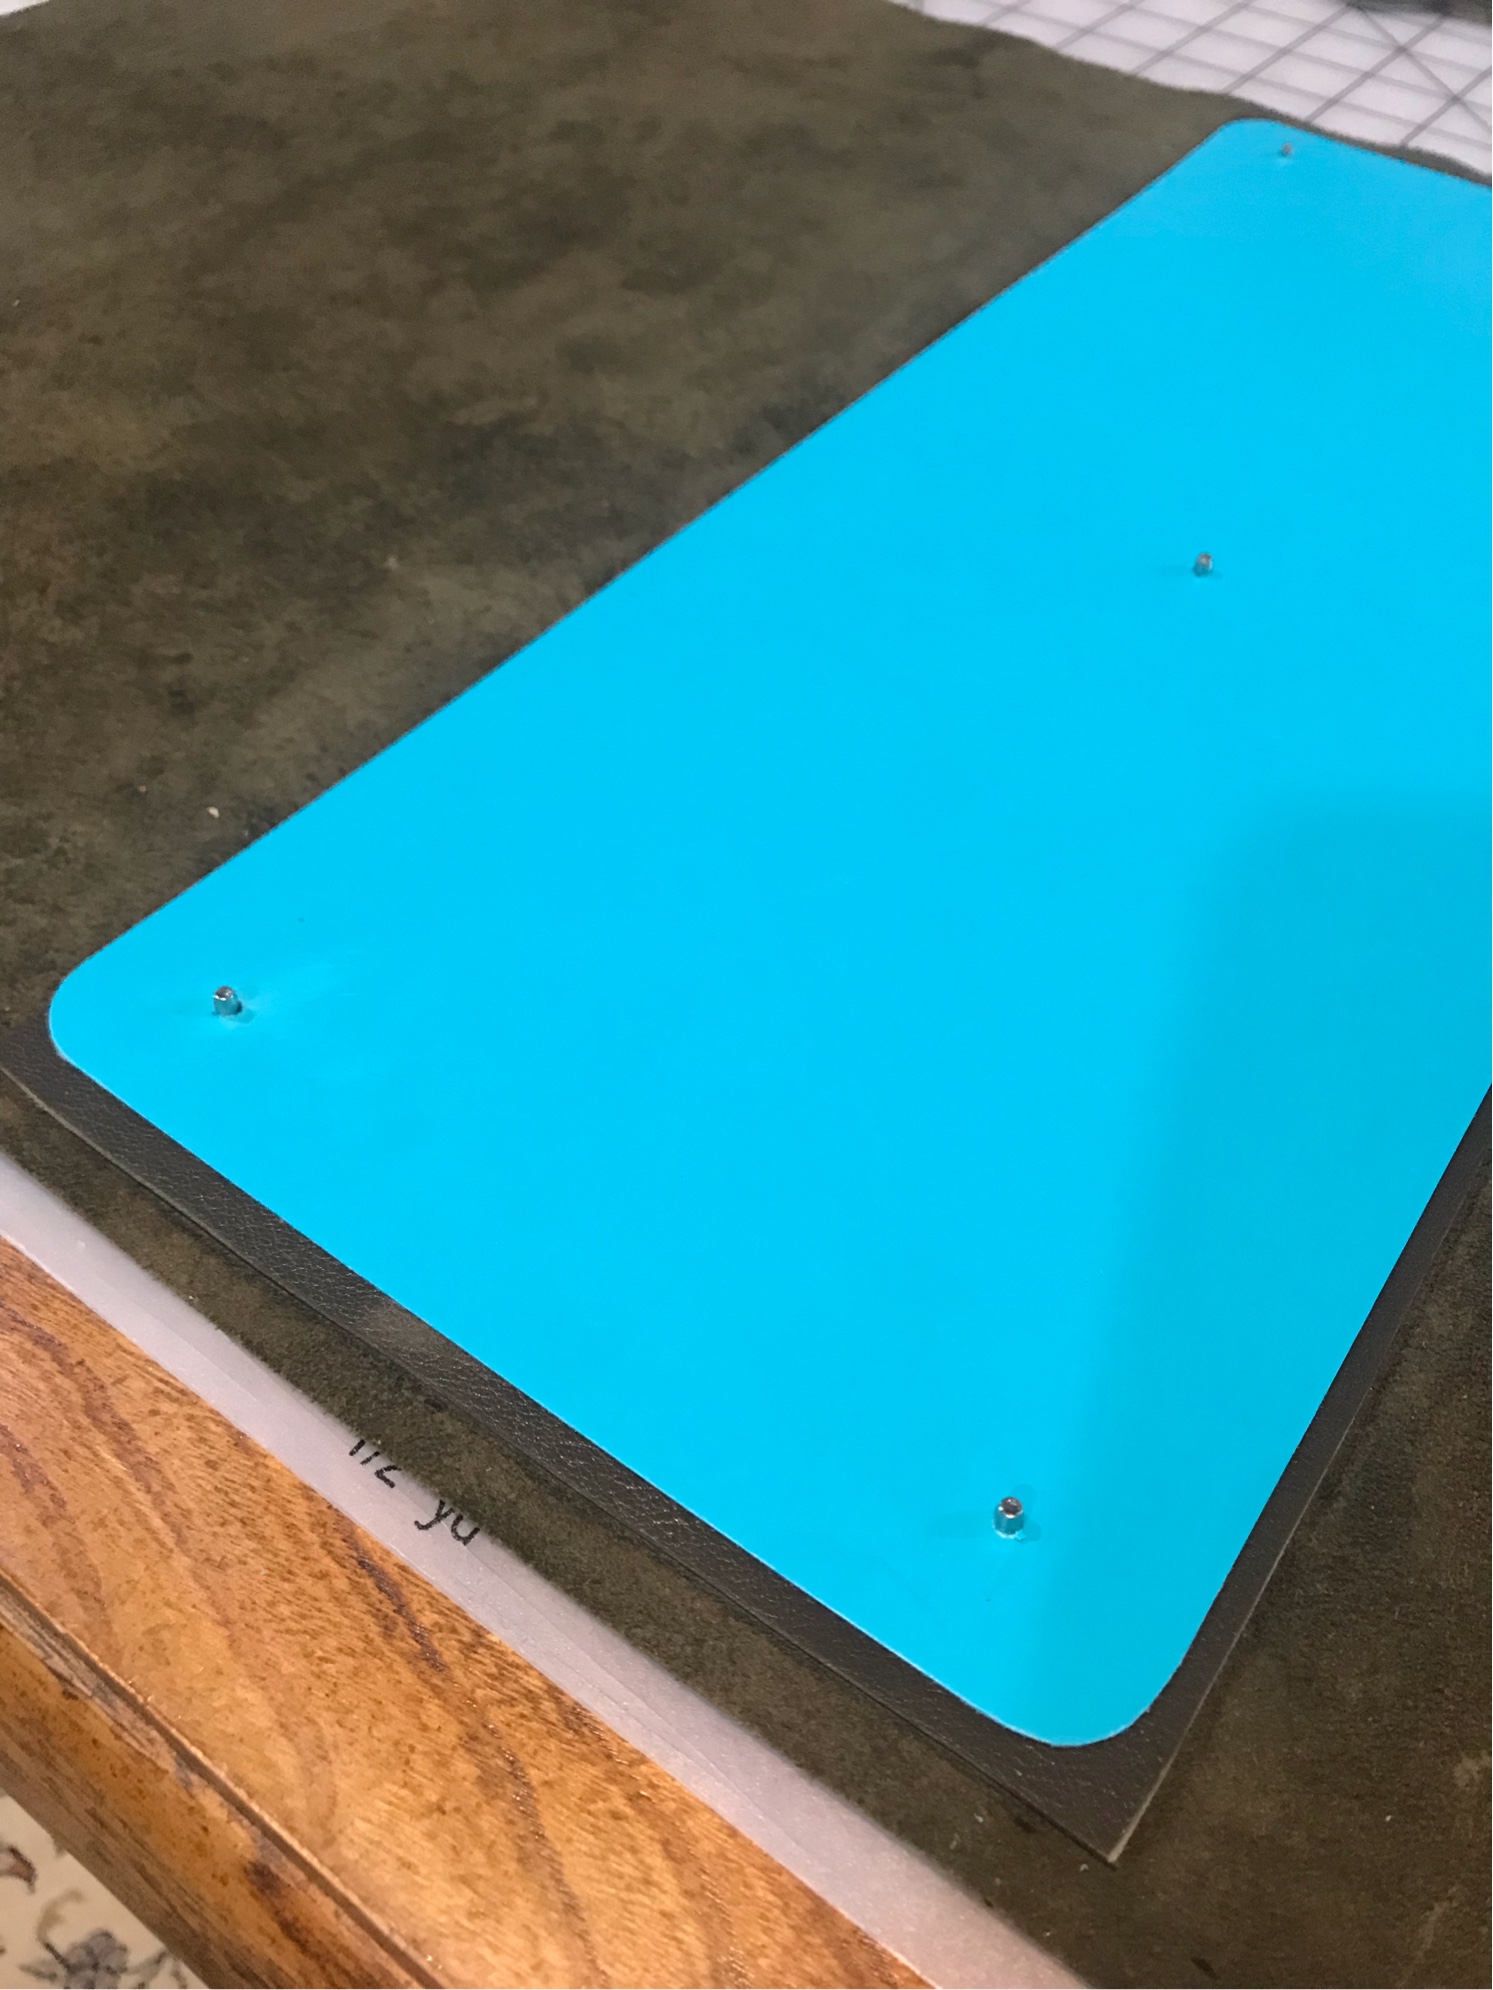
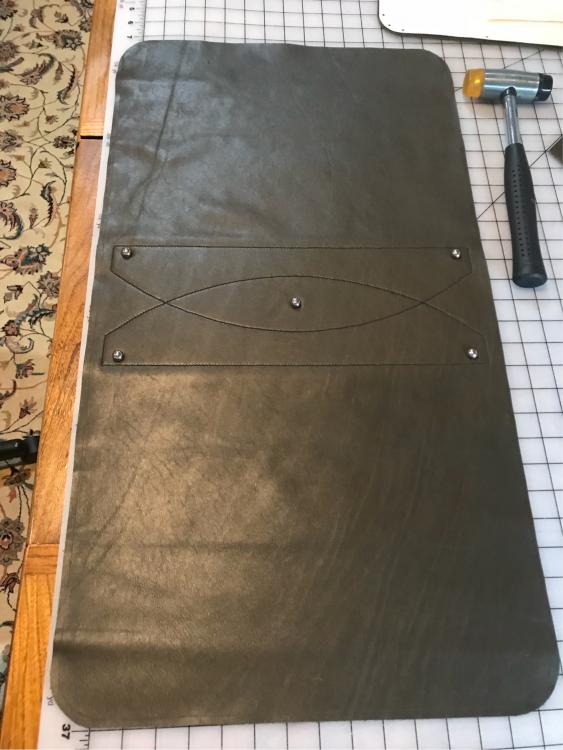
Thank you! Great question - at the moment, just a second layer of the same leather inside on the base, so that it gave a soft, slightly padded look to the bottom stitching. I was going to then do a stiffener out of thin plastic cutting mat inside as well, but wasn't sure if I should put the feet through that stiffener or not? As I think it through, since I'm lining this bag with a soft cotton denim, I won't see the stiffener so might make sense to put the feet through to give added support.... -
Onto the third bag....
motocouture replied to motocouture's topic in Purses, Wallets, Belts and Miscellaneous Pocket Items
Why thank ya! -
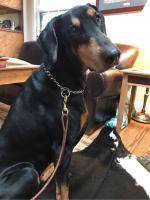
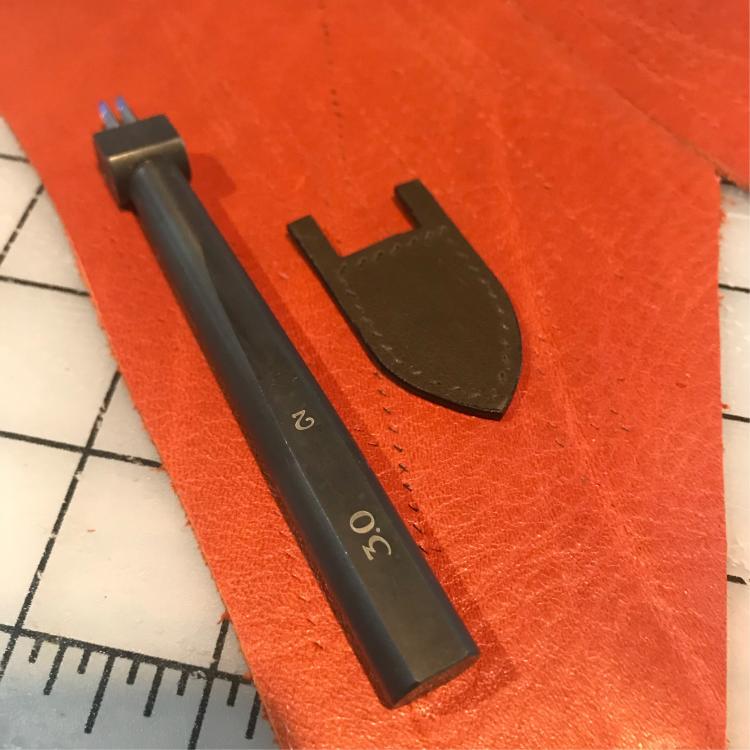
Well, #nstarleather tempted me with some beautiful olive H.A.A.S tumbled calf, so decided to make a travel bag, roughly around 11 x 9 x 16 inches. Using 3mm KS blade stitching irons (treated myself!), and 0.6mm Tiger thread / lin cable 532 thread. Zipper is 6mm RiRi from Pacific Trimming. Will post photos as I go; this is my first time trying out the decorative bottom stitching, padded handles with geometric shaped ends and stitching with linen thread....my usual helpers love to get involved as well

-
Truly stunning work. Amazing amount of skill, creativity and patience.
-
Seam allowance and sewing technique around corners
motocouture replied to Willbury's topic in How Do I Do That?
I use about a 5 mm seam allowance, and cut little 'pies' out as well. When drafting the pattern, I try to make sure that the actual seam lengths match, then add on a seam allowance (with a few key marks), so that they match correctly as you line up the corner