Webicons
-
Posts
250 -
Joined
-
Last visited
Content Type
Profiles
Forums
Events
Blogs
Gallery
Everything posted by Webicons
-
Either one will work fine. The extra water in the isopropyl will slow down dry time but negligible. Always test dyes out on the exact leather you will be using and as close to the same cut of leather. Different cuts absorb dyes at different rates.
-
If you don’t get any responses feel free to contact me. I can make one for you in Adobe Illustrator and email it over. The only reason why I hesitate is that I have no idea what something like that would involve or the dimensions so you would need to fill me in on the details. May take some trial and error time. Ive seen them around the forum so I know that someone should have something ready made and willing to help a firefighter.
-
Geaux Tigers! https://www.etsy.com/listing/542267089/graceful-pansy-purple-signature-leather
-
I had the same issue when I first started. It’s not a bad color but not what I wanted. I diluted the colors down by at least 50% with alcohol and that helped tremendously. If you like the color but don’t think it’s dark enough, don’t worry. It gets considerably darker by itself over time. This is one of the reasons that I stopped dyeing myself and just purchased the color that I wanted. I wasted more leather trying to get a particular color than I care to say.
-
Welcome Wylee - You guys up in Alaska have a rich heritage of leather working. Looking forward to seeing the stuff you make on the forum! The all powerful search bar is your best friend. You will find the answers to most of your leatherworking questions there (and sometimes even answers to life's perplexing questions). If you can't find it there, Google, YouTube (you get the point, put a little effort into it first) then feel free to post! You will get an answer within hours (sometimes minutes)!
-
Can anyone tell me what kind of stitch this is?
Webicons replied to bushbow's topic in How Do I Do That?
Thanks King! - I apologize if I made it seem that I made a video of it. Unfortunately I didn't film it but I wrote some of my thoughts on it here: https://www.reddit.com/r/Leathercraft/comments/7tpnhe/box_stitched_tube/?st=jdggdmyf&sh=74b0948c It took me a while to come up with a system that worked for me. -
Can anyone tell me what kind of stitch this is?
Webicons replied to bushbow's topic in How Do I Do That?
It’s definitely skived down at the edges but I don’t think it needs to be a perfect 45. Just as long as it’s consistent throughout the seam it should be fine. -
It is. I would use a hand file to blunt off the existing bevel and then use the hand file to put in the single bevel. After that use 320 grit wet/dry paper on a piece of glass to clean up the bevel. Increase grit through 1000. Polish with strop.
-
Beautiful skins. Are these aniline?
-
Can anyone tell me what kind of stitch this is?
Webicons replied to bushbow's topic in How Do I Do That?
That's incredible. I didn't know that you could adjust the feed of the top and bottom independently of each other. I'll have to read up on that! I'm looking at getting a machine this year so nice to know. Sorry back on topic... -
My first attempt at a mini portfolio
Webicons replied to ryanww's topic in Books, Journals and Photo Albums
Nice job! It looks like the edges won't burnish too well. Have you tried it? If it doesn't burnish well I would recommend Fenice edge paint in dark brown. TheHideShop.com has 100 gram repacks of Fenice at a decent price which allows you to try out a few colors before buying the large pack. (the mis-stitch doesn't look too bad. You might try to cut and restitch. Other than that it looks real clean). -
Can anyone tell me what kind of stitch this is?
Webicons replied to bushbow's topic in How Do I Do That?
@bushbow Do a search on YouTube for Box Stitch. It looks similar to a stitch I did on a tube. Pay close attention to the curves. The stitch length on the outside is shorter than the tops. If you stitch straight through then it will look a little wonky. PM me if you have any questions and I'll try to walk you through it.
-
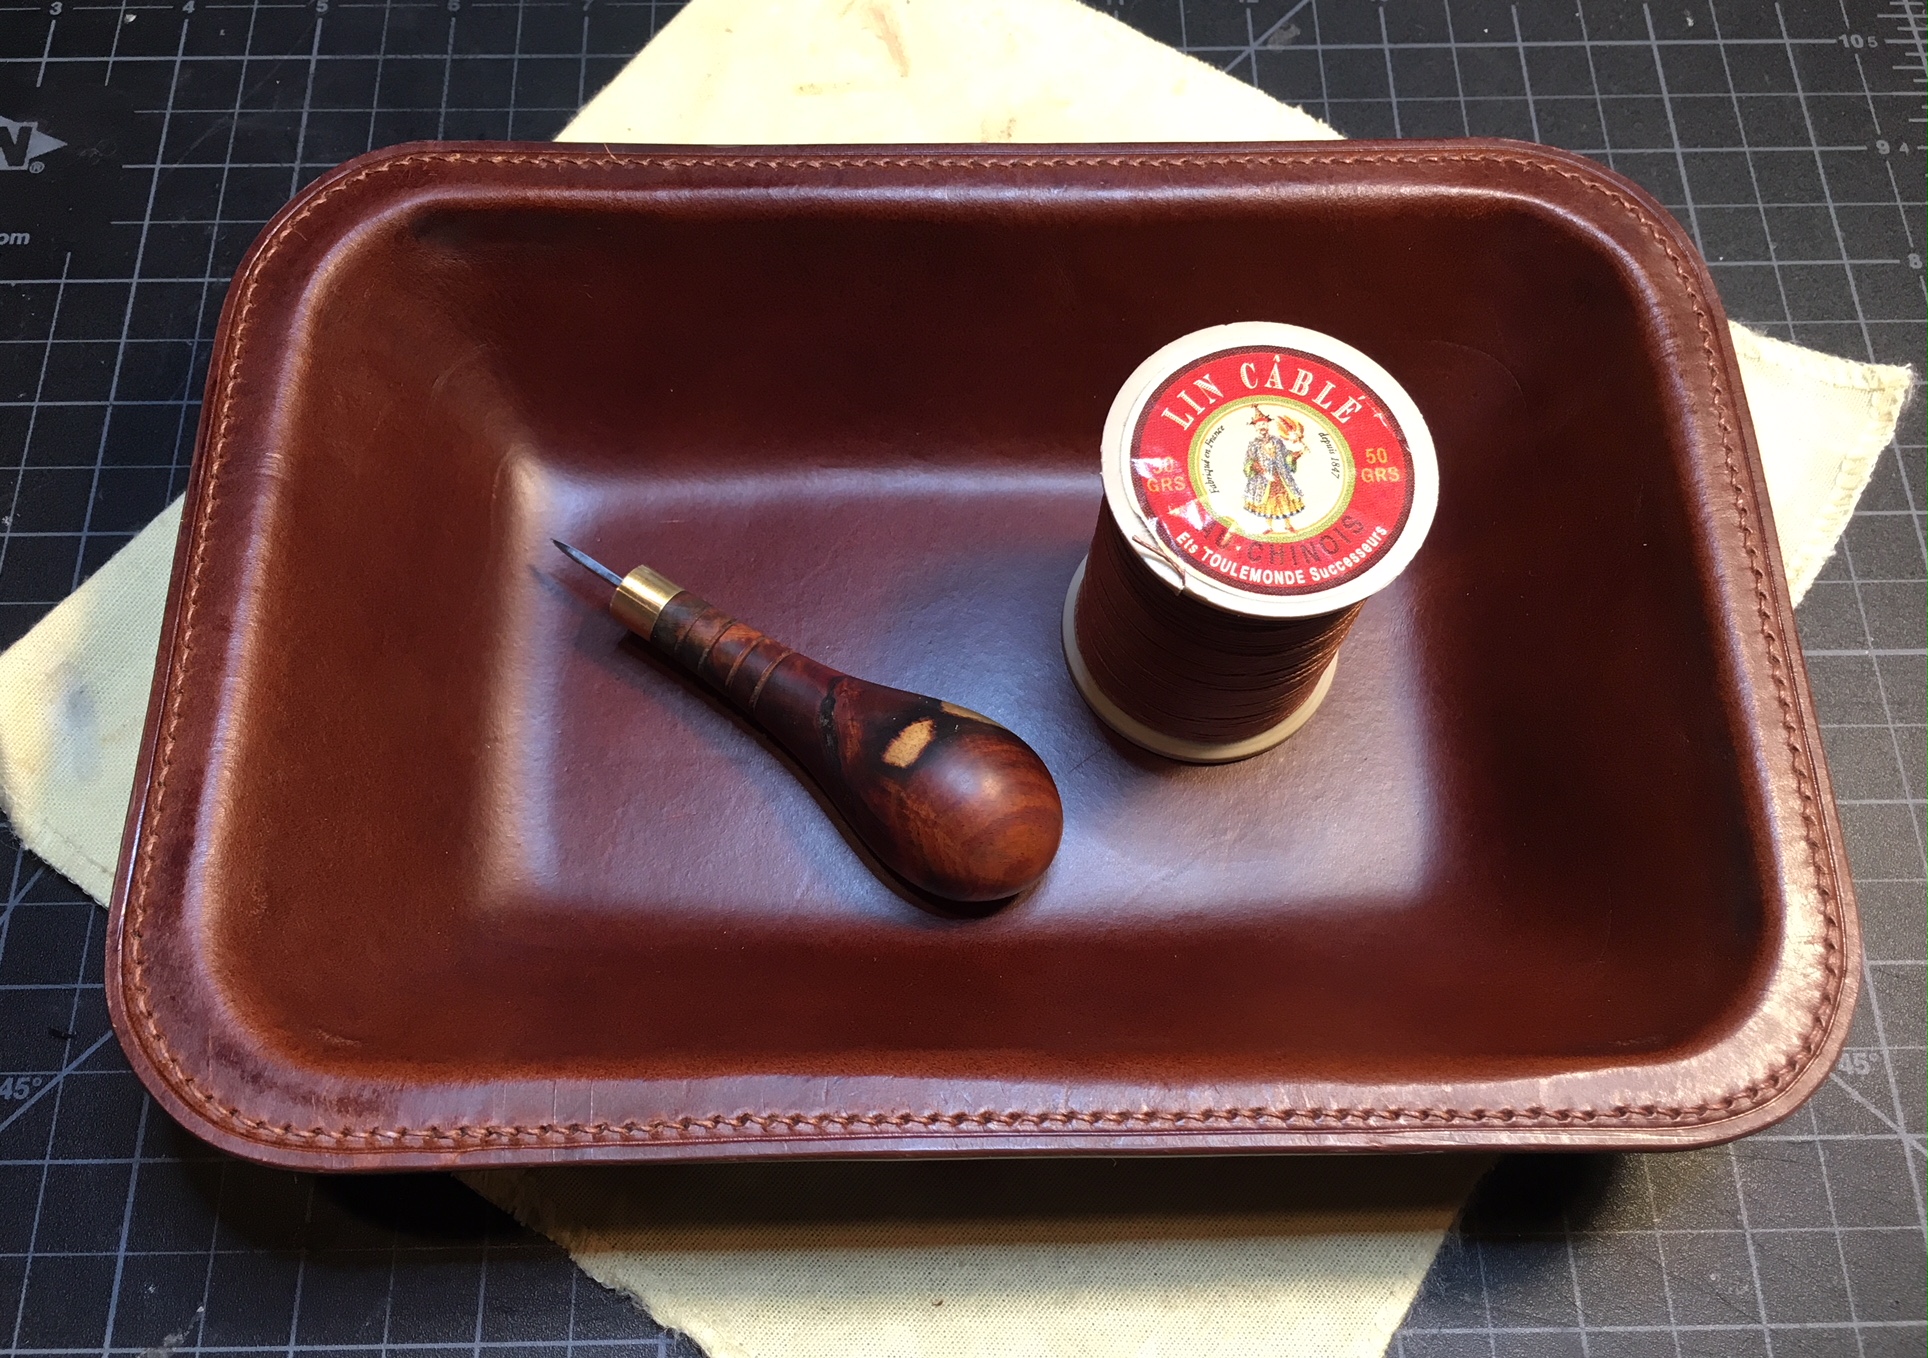
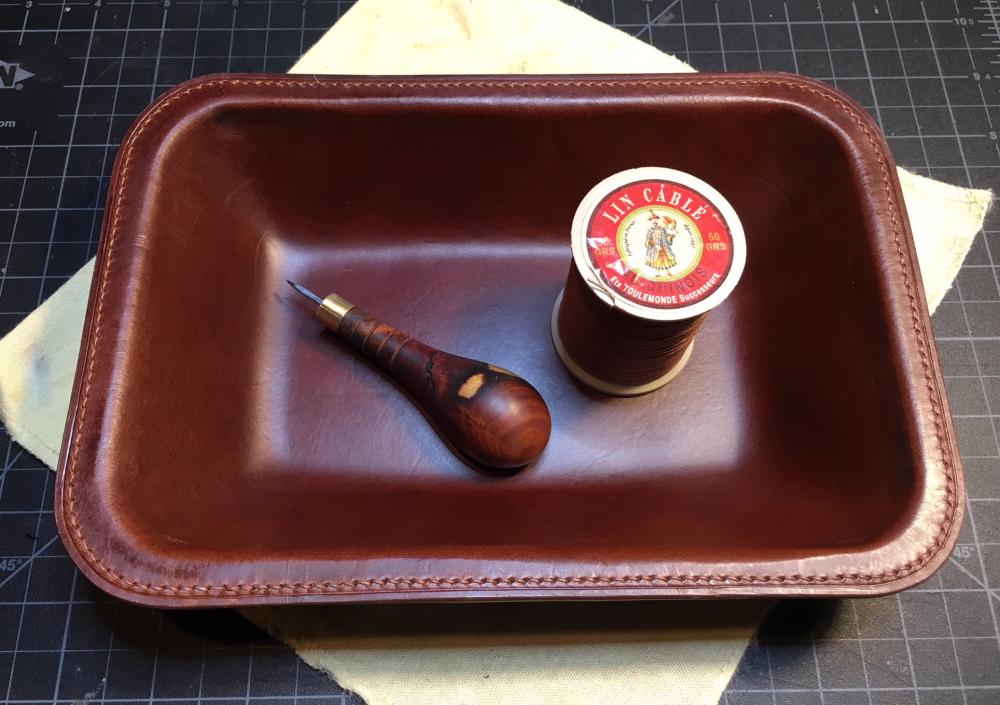
Like every tool, there are benefits and drawbacks to each and each tool should be chosen for the task at hand. If I were to make a box I would choose an awl but if I were to lay down 100 holes in a strait line then I would choose a chisel.
-
I saw one of your post regarding glueing up while wet. Keep in mind that the leather shifts and shrinks during the molding process so best to apply the glue after the pieces dry. On a double sided bowl I would recommend molding both pieces at the same time so the offset is already built in to the piece. Cant wait to see it complete. Please post when done.
-
Thank you @RockyAussie. That’s a lot of great information. I can appreciate the thought that went into making your molds and I hope to apply these tips on my next mold. I was salivating watching the CNC do its work on the video. It’s definitely on my list of dream tools to get. If only I could justify it. I do, however, have access to a Bridgeport mill and the video gave me the idea to use Delrin instead of wood as the dust wouldn’t be so good on the mill. Thanks again
-
After popping the leather out of the mold I did a rough trim about half an inch from the final edge and glued it together using Weldwood contact cement. I only applied glue at the edges because I was concerned about messing up while joining the pieces together (ie misaligned pieces). I then proceeded to trim the whole piece to final dimensions.
-
I have some experience making skiving knives but not clickers specifically. Regarding the cutting angle; I don’t think it would be that critical as only the tip hits the leather and the angle that you hold the knive would vary. Perhaps copy the produce on your existing Tina/Blanchard blade. Bevel wise, I would go around 15-20 degrees but again, I wouldn’t think it would be too critical with a clicker. The hard part for me would be getting the stock. Maybe use an old HSS SawsAll blade and trim down as necessary. Not sure if stores such as MSC would have such small stock. Are you planning on heat treating yourself?
-
Nice! I actually just started to learn shoemaking. Will be cutting my uppers this weekend. Hope they come out as nice as yours.
-
God bless you @Ferg! I hope to be playing with leather for a good number of years yet. Not sure how you do it though; my fingers ache, bum ticker and my back is out of wack.
-
I’m 45, which makes me not as wise as I think I am but old enough to know the difference between wisdom and knowledge... Is seeking single lady...oh, wrong board.
-
Thanks @Bigfoote! I am a personal believer of the "practice makes perfect" mantra. I have already started on my next mold and using what I've learned from this first one, I'm excited on how it will come out. Much appreciated @RockyAussie. I've been following your threads and they gave me courage to give the larger items a shot. Regarding your comment on the relief line: When you say that it helps, are you talking about having a line to reference when trimming the piece or does it actually help with the leather molding itself (to make it more secure?) I have access to a 3D printer and I was going to go that route but my Sketchup skills are lacking and I was concerned of patterning. Did you sand the mold pieces smooth?
-
I’ve seen some tutorials on YouTube on making plastic look like metal. Usually starts with a base coat of Black paint follows by coats of metallic paint followed by some carefully applied “antiquing” compound. Black dye is readily available; Angelus has a line of metallic leather paint and Tandy has antiquing rub. Should be able to scrap something up. Please post when done. https://angelusdirect.com/collections/metallic-paint
-
Well to wrap this thread up here’s a pic of the finished tray. Its not exactly what I had in mind but satisfied nonetheless. Few things more that I learned: 1. The wet molded leather sews differently than the virgin material. It was definitely more dense. I had to awl sew the whole thing. Pricking chisels just didn’t cut it (literally). 2. Next time I make a mold I’ll try to include as many reference marks as I can. I think I could have marked a stitching line and trim outline on the mold and it should transfer to the leather well enough. Dealing with making them on a 3D shape is less than perfect. 3. Use birch plywood next time for the base and frame. 4. Even the smallest cracks transfers to the leather. Wood filler should take care of that. 5. Take more time making the frame. It’s just as important as the positive mold. Thanks for everyone’s help!
-
Belt lining
Webicons replied to seabee's topic in Purses, Wallets, Belts and Miscellaneous Pocket Items
That’s what I would do but don’t be afraid to be creative. I’ve seen belt where the lining leather is wider than the upper. It looks neat and accentuates the look. -
Yeah. That’s too bad. I was hoping to fine tune the mold as it bites into the leather in some places but you’re right: it’s not worth the ruined leather.