-
Posts
1,431 -
Joined
-
Last visited
Content Type
Profiles
Forums
Events
Blogs
Gallery
Store
Everything posted by Stetson912
-

Portfolio
Stetson912 replied to battlemunky's topic in Purses, Wallets, Belts and Miscellaneous Pocket Items
I'm not sure the correct term for that effect. But the leather tends to misshapen and sort of tear when your tools aren't sharp enough. In my experience. I want some sinabroks myself. I have some ke blade and love them. The sinabrocks are made by someone who used to be part of is blade. They should be plenty sharp. A word of warning though, I damaged mine slightly because I didn't know they were so sharp and I neglected to put enough material beneath them and it went through everything and rolled the tips slightly. Easy fix with a micro file but still. Cutting board or poundo board is the way to go haha- 9 replies
-
- hermann oak
- handstitched
-
(and 1 more)
Tagged with:
-

Portfolio
Stetson912 replied to battlemunky's topic in Purses, Wallets, Belts and Miscellaneous Pocket Items
Are you machine stitching or hand stitching? If you're hand stitching you'd want to make the holes first then you could dye them and stitch. I'd also try using a very smooth flat hammer and tamping down your stitches. It evens up the tension just a bit and may help that "backside blowout" a bit. In my limited experience any time I've hade that odd buldge in stitching on the back was because my chisels or awl weren't sharp enough.- 9 replies
-
- hermann oak
- handstitched
-
(and 1 more)
Tagged with:
-

My new bag
Stetson912 replied to bikermutt07's topic in Purses, Wallets, Belts and Miscellaneous Pocket Items
Yay you made a thing! Haha. In all seriousness I like it. That leather is nice One day I'll try some out. Is it chrome tan? -

First dopp kit
Stetson912 replied to Stetson912's topic in Purses, Wallets, Belts and Miscellaneous Pocket Items
Thanks yintx, it's a real easy satisfying project and it makes a good sized bag with the mentioned dimensions too -
I have used 6mm craft foam to do mock ups. Design a pattern and cut it from foam to see how it all fits. You can use contact cement as usual to glue it up. You can also take a long strap of leather the thickness you will use and wrap it around the object you are making the case for. I would wrap the strap around the lap top and overlap it on itself 1/4 to 1/2" to allow for stitching. You can eyeball that and then just write down the length you get from measuring the strap
-
Well, it just makes good sense to cover your butt...
-

First dopp kit
Stetson912 replied to Stetson912's topic in Purses, Wallets, Belts and Miscellaneous Pocket Items
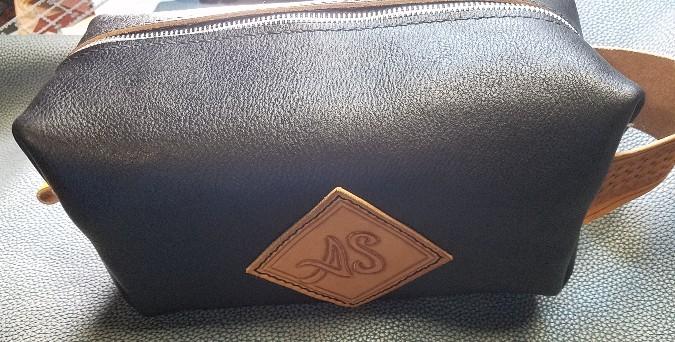
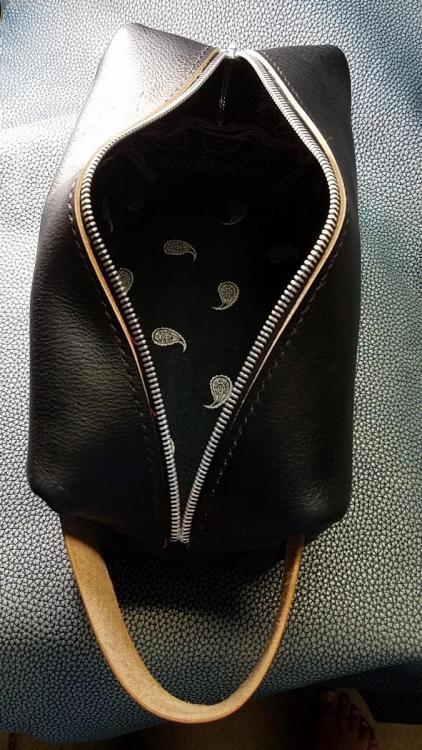
Thanks. I hope so Thanks! I didn't make a pattern but I cut out a 16 x 18 inch rectangle. The 16" side is where I stitched the zipper to. Then i squished it flat and centered the zipper. Then cut a 2" tall and 2.5" long rectangle out of the corners.the 2.5" dimension runs parallel to the zipper/16" dimension. The handle is 8" long I think. And 2" wide and the tab on the back I made 1"wide and long enough to fold over for a loop. The initials patch is 3"x3" which worked out perfect. I'll have to measure it exactly but it's about 15" long and 6" wide there abouts. Unsure of height. Maybe 5"? Hope that makes sense -

First dopp kit
Stetson912 replied to Stetson912's topic in Purses, Wallets, Belts and Miscellaneous Pocket Items
Thanks! Hey plink! Long time. Thanks. In Hindsight I should have finished those edges by the zipper. DOH! -
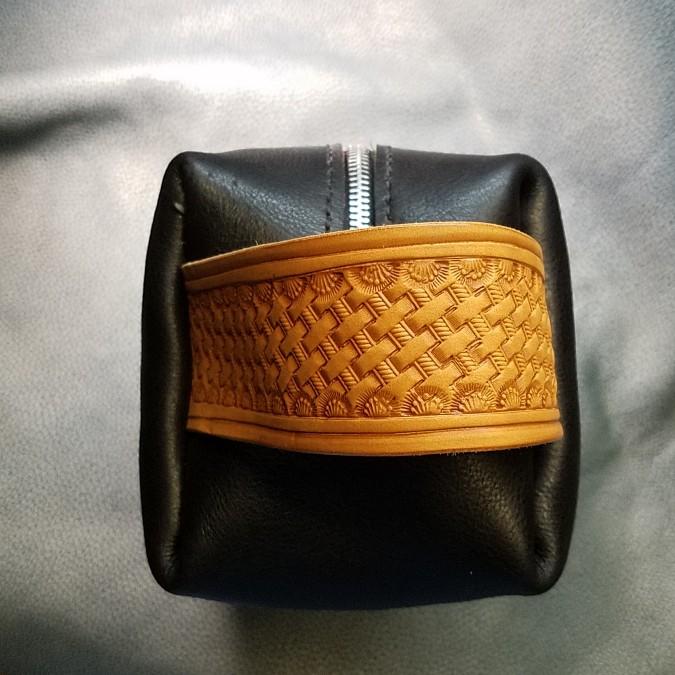
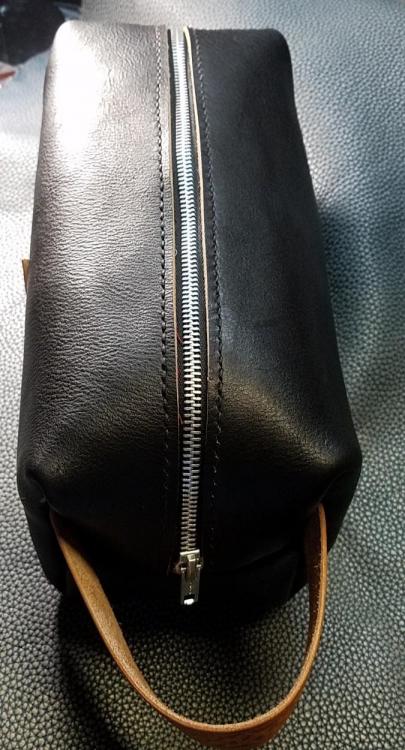
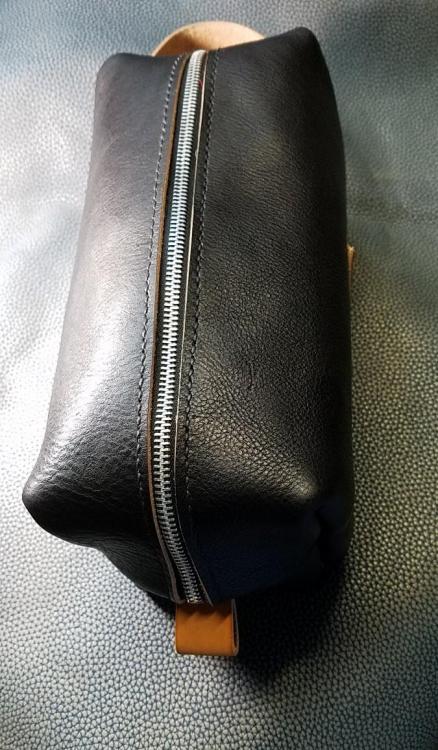
I made this kit to send to my dad for his birthday as he travels a lot. I lined with a bandana and it is all hand stitched. Let me know your thoughts. Simple project but I'm pleased with it.
-
-

Rifle sling with scrollwork
Stetson912 replied to Stetson912's topic in Gun Holsters, Rifle Slings and Knife Sheathes
Thanks. Initially he wanted the letters to stand out a lot. So I didn't have the scrollwork about the letters. Then he saw one I did with it this way and liked it better so that's what I did haha. I think it looks better this way myself Thanks plink. -

Rifle sling with scrollwork
Stetson912 replied to Stetson912's topic in Gun Holsters, Rifle Slings and Knife Sheathes
Thanks! I spent longer drawing the pattern than tooling it but it was a fun project -
Been a while for me since I've posted anything. Here's a sling I did for an uncle. I drew the pattern up myself too. That was a chore. Lots of room for improvement but I'm still mostly happy with how it came out. My bench seating arrangement isn't comfortable and I think I rushed it because of that. Anywho, thanks for looking. Stats: leather was 8/10 oz veg tan that was sent to me as part of a tandy kit. I used indelible resist and indelible dark brown wax antique to antique the piece.
-

Gary’s Casino
Stetson912 replied to GrayHallidayJr's topic in Purses, Wallets, Belts and Miscellaneous Pocket Items
Nice to see ya again! Good stuff as usual -

Pocket notebook cover.
Stetson912 replied to Stetson912's topic in Purses, Wallets, Belts and Miscellaneous Pocket Items
Thanks, I had some examples from a workshop with Jim that I used for the finger carving. Still needs work but overall it's an improvement for me. And inspired me to go about drawing my own patterns now. Thanks! Its already been swiped by my dad haha. I just need to send it to him lol.- 8 replies
-
- tooling
- drawn pattern
-
(and 1 more)
Tagged with:
-

Pocket notebook cover.
Stetson912 replied to Stetson912's topic in Purses, Wallets, Belts and Miscellaneous Pocket Items
Thanks! Much appreciated.- 8 replies
-
- tooling
- drawn pattern
-
(and 1 more)
Tagged with:
-

Pocket notebook cover.
Stetson912 replied to Stetson912's topic in Purses, Wallets, Belts and Miscellaneous Pocket Items
It fits nicely in a shirt pocket actually. It isn't as this as you would think. But I would agree. I didn't have any 2/3 oz to line with or I would have used that haha. Give it a shot with your own design. It is fun- 8 replies
-
- tooling
- drawn pattern
-
(and 1 more)
Tagged with:
-
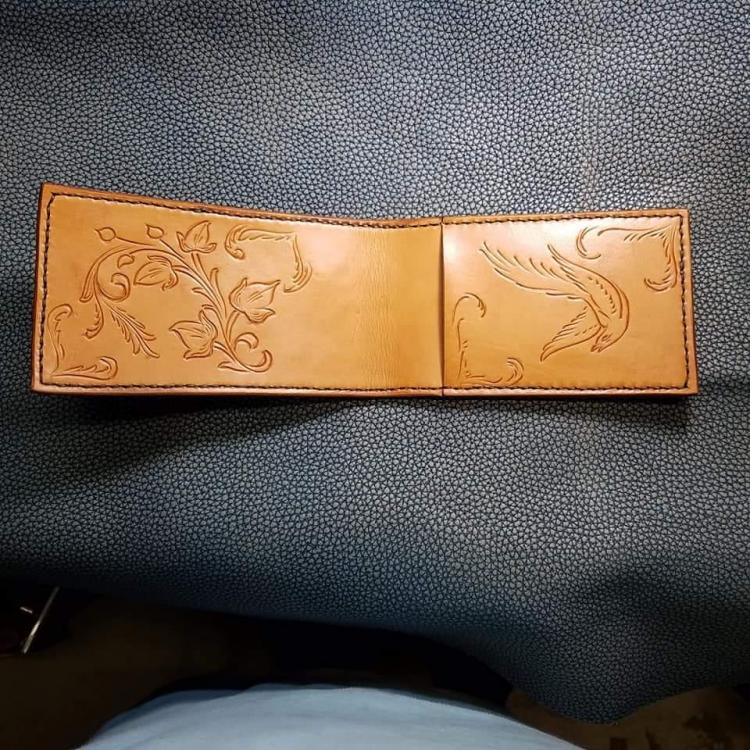
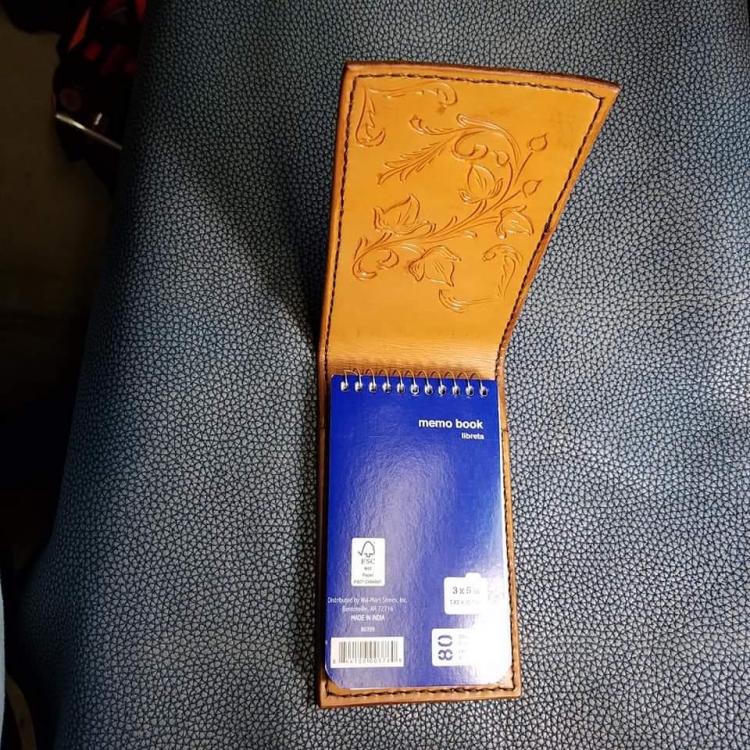
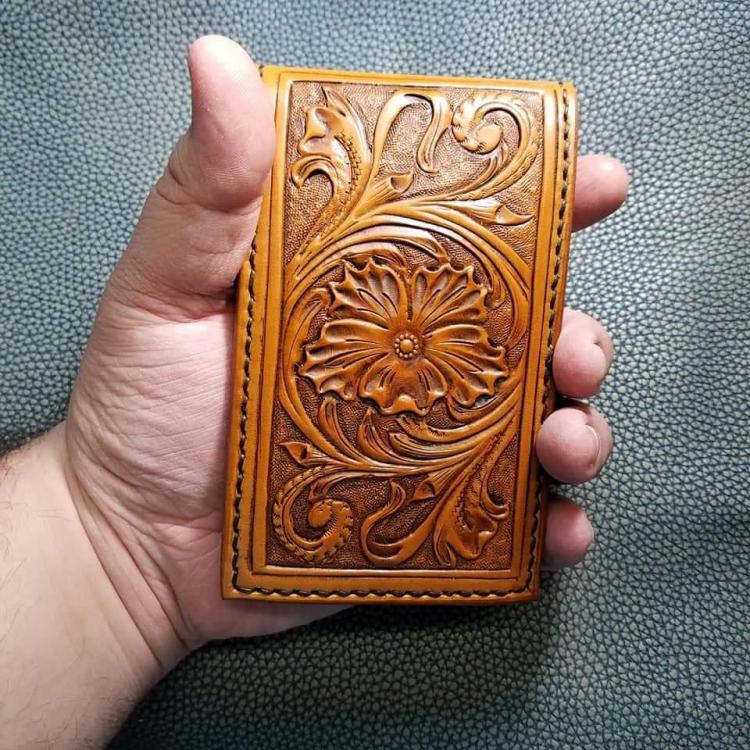
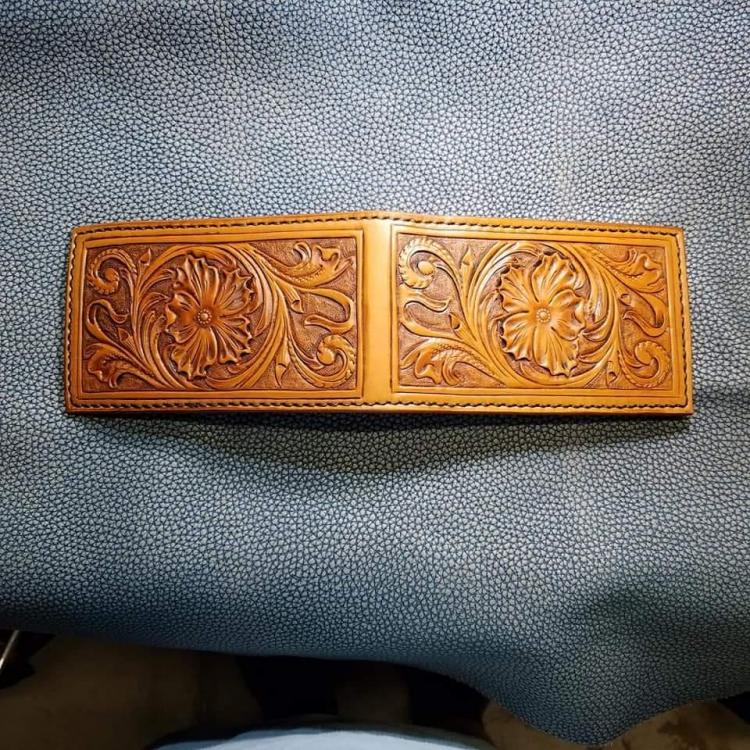
I did some tooling the other day and it's not the best. But I decided to make a project out of it anyway. A small spiral pocket not book cover. I drew the pattern and carved it and added figer carving on the inside for fun. Always open to comment and critique. I hope you like it. Stats: 4/5 oz wickett Craig russet for body lining and pocket. Finished with dark brown wax antique by indelible leather finishes and edges done with their burnishing compound. Hand stitched with.8mm Tig thread Havana color.
- 8 replies
-
- tooling
- drawn pattern
-
(and 1 more)
Tagged with:
-
Stitching looks great to me. As for cutting soft stretchy leather, I find a rotary cutter works nice. More downward pressure like chopping rather than lateral slicing style cut keeps it from stretching and being cut wrong. At least for me. I'm sure a rediculously sharp knife would work all the same too with enough pressure on the straight edge to keep it in place. I have problems cutting softer and thinner pieces still but the rotary cutter helps me out.


