Stetson912
-
Posts
1,437 -
Joined
-
Last visited
Content Type
Profiles
Forums
Events
Blogs
Gallery
Store
Everything posted by Stetson912
-
 Been a long while but I'm still around. Just felt like sharing this keychain with Japanese maple I tooled on it. Merry Christmas everyone!
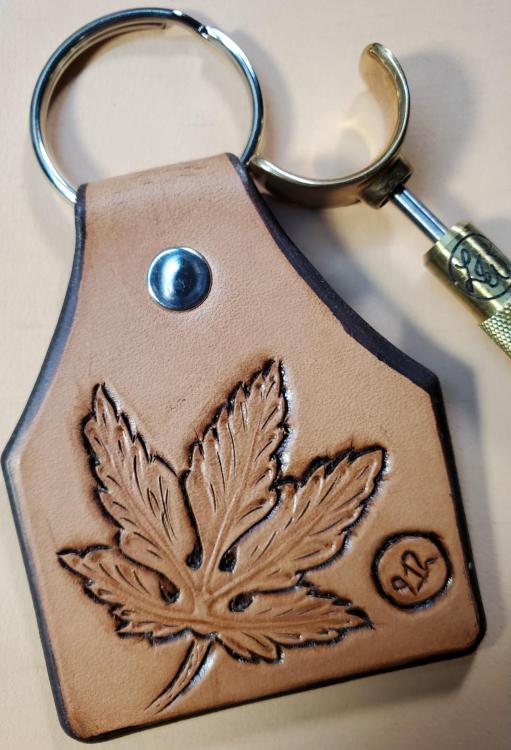
-
Creepy purse...
Stetson912 replied to ButtonLady's topic in Purses, Wallets, Belts and Miscellaneous Pocket Items
Hehe nice! -
@Vilesthanks, it does albeit not the best stitching on the underside. My awl controll isn't the best. I'm out of practice haha
-
@chuck123wapatithanks, it will certainly be dry haha. @rleatherthanks. He is chomping at the bit for me to get it to him haha
-
It is very fun. Those resources should get you off to a good start
-
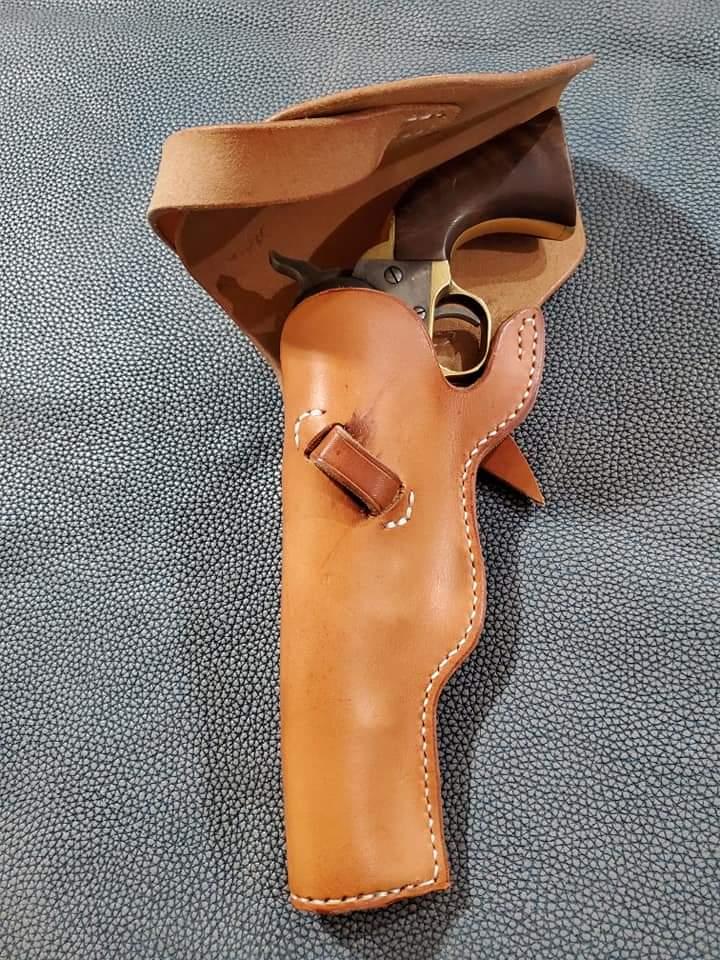
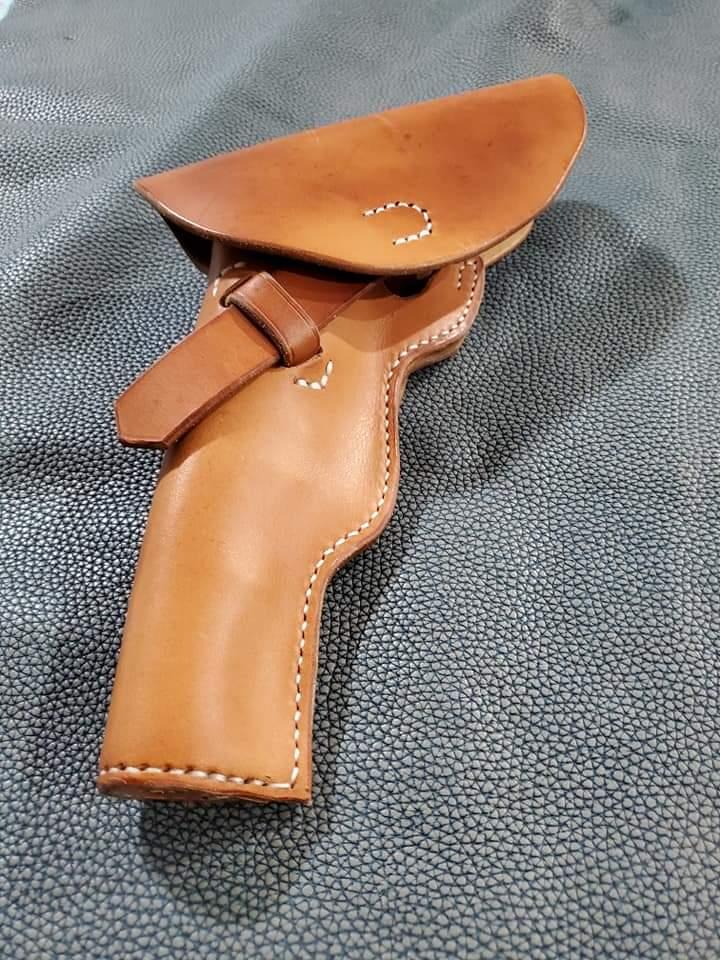
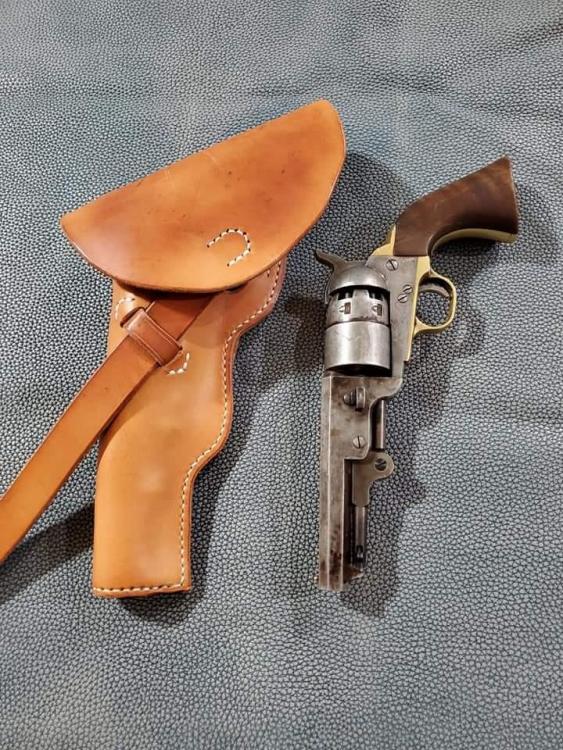
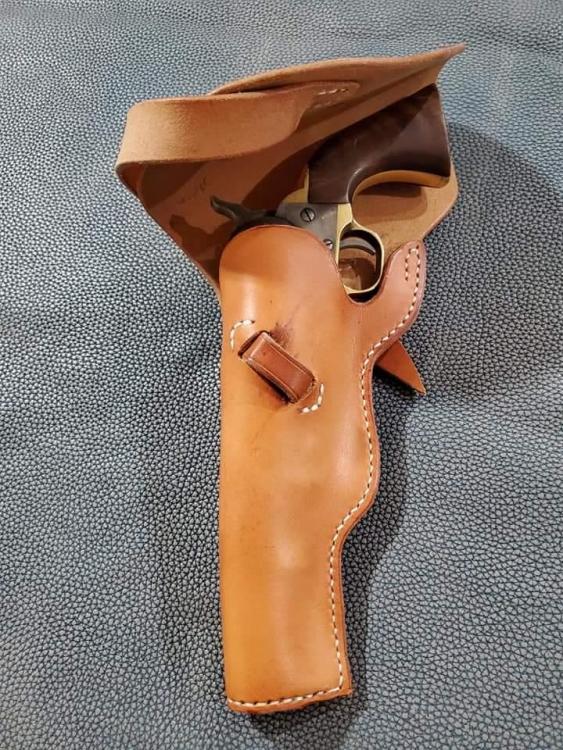
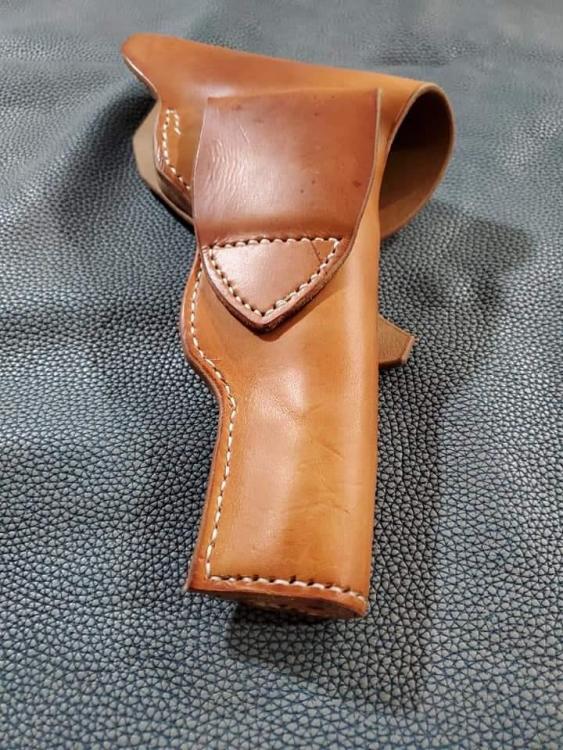
Thanks @Dwight, I agree it would be cumbersome. This is what was asked for. It also has a toe plug that I'm a tad embarrassed by but is functional haha. It was my first toe plug and flap holster and I'm pretty happy with it
-
This was one I remember. The principals will get you close I think
-
Go look on YouTube for Sam Andrew's. He has a few holster making videos that may help make a pattern. Also JLS leather website has some pattern making pdfs that are good. And if you look on this forum there was one or 2 pinned tutorials on holster making that were very good also
-
I made this holster for my uncle. He carries a pistol that resembles an 1851 navy but is kind of an odd duck. It's a different caliber and has longer barrel than the original navy. Anyhow, he wanted a flap holster, and never have making one before I decided why not. I made it based off examples in Packing Iron. Thanks for checking it out

-
Always nice work
-
Thank you kindly, I hope it is received well and my intentions are understood. These are the types of projects most worth doing for me and they seldom come across so I try and do them when they present themselves.
-
Thanks, the number in the heart was her drag car number, they are a racing family also
-
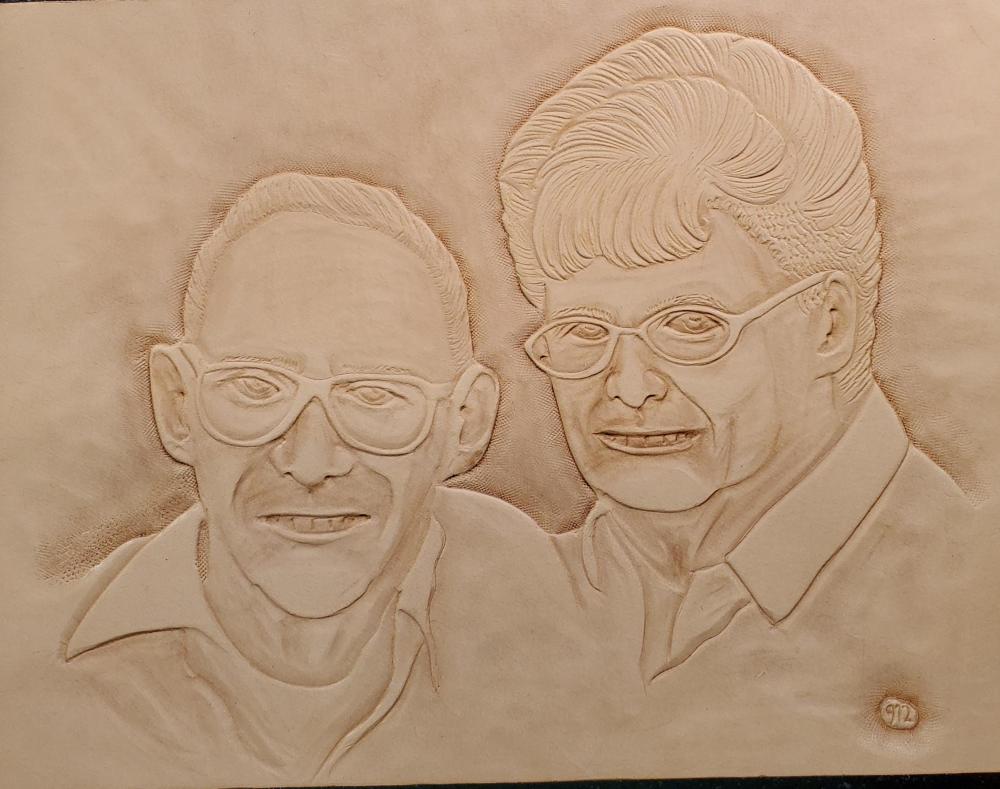
Here's a portrait of my best friends mom. She passed from cancer a few years ago and I thought he might like this for his birthday this week.

-
Annie libertini has a great portrait carving series at elktracks studio. Its a little pricy for all 5 but, it is worth it in my opinion. Just a thought for you. Thanks for the kind words
-
Thank you
-
Thanks, it was a challenge for sure but the whole project was fun to do
-
Thank you
-
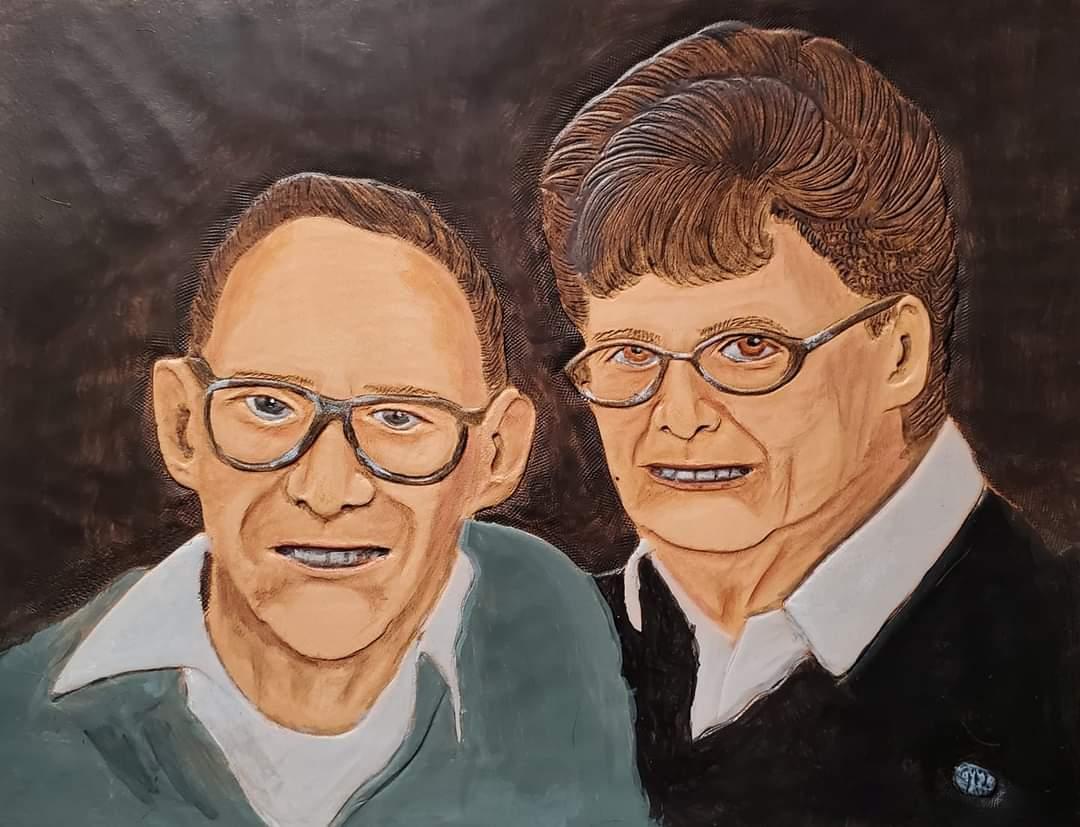
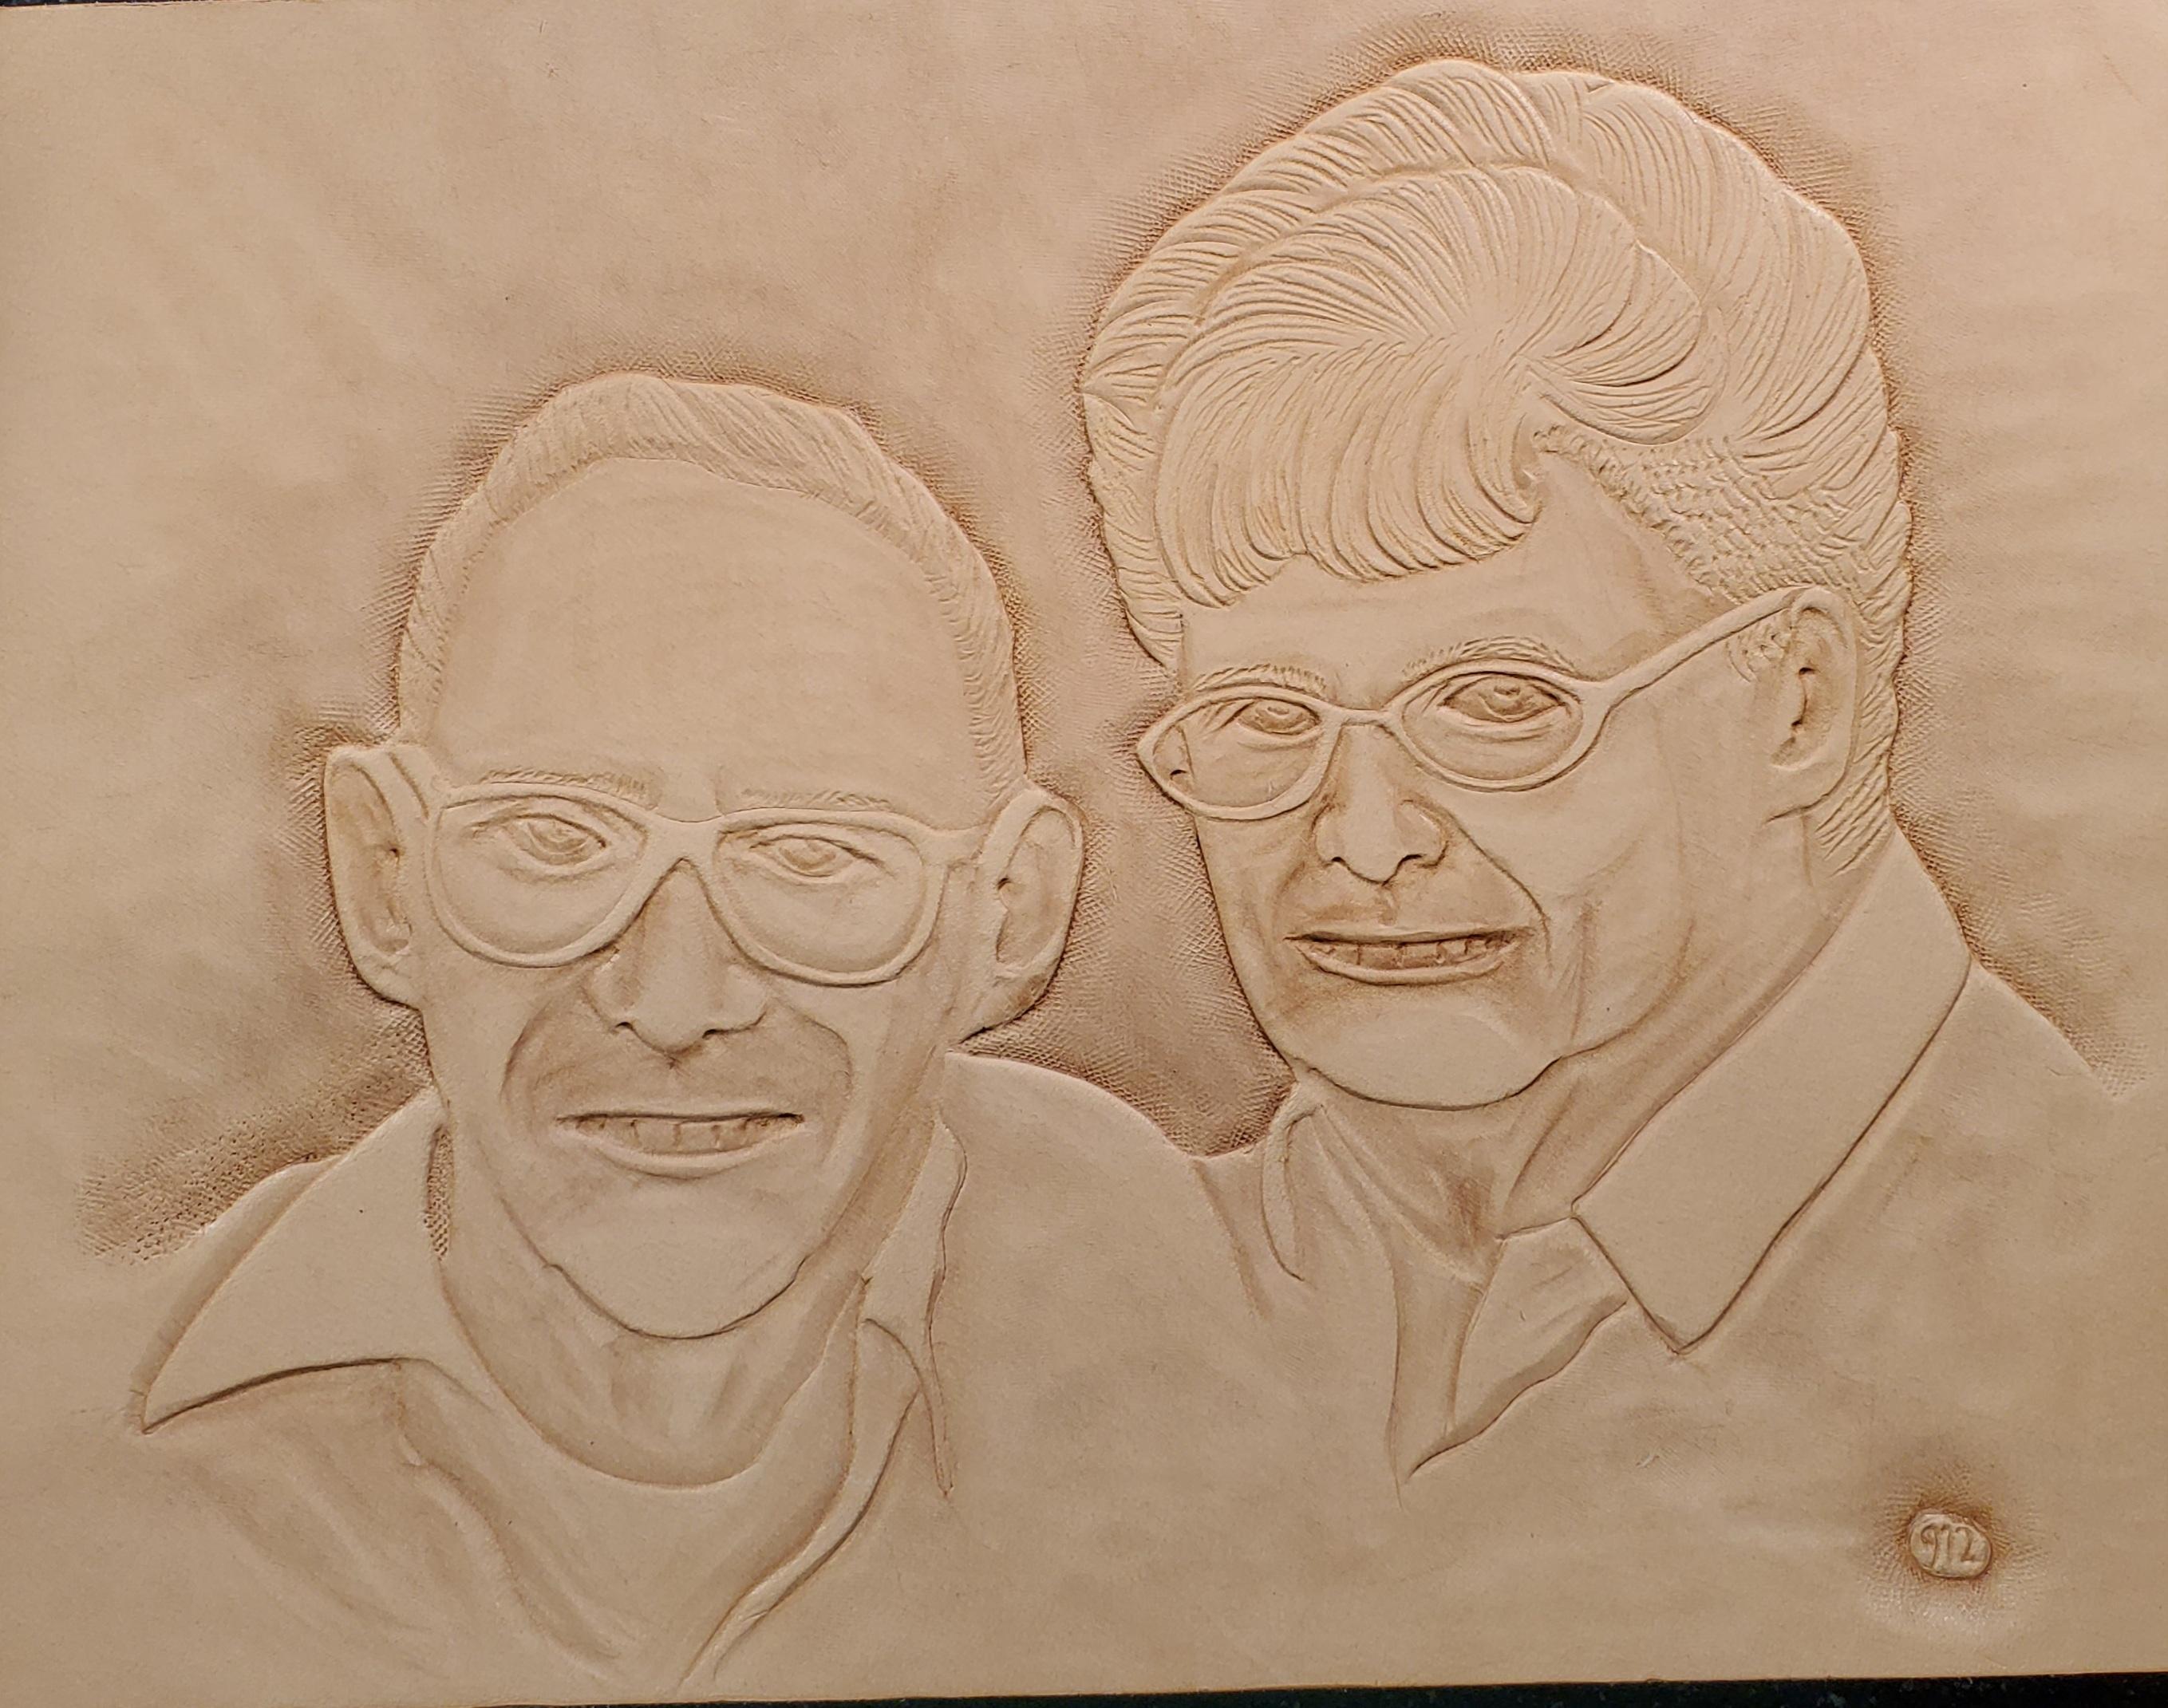
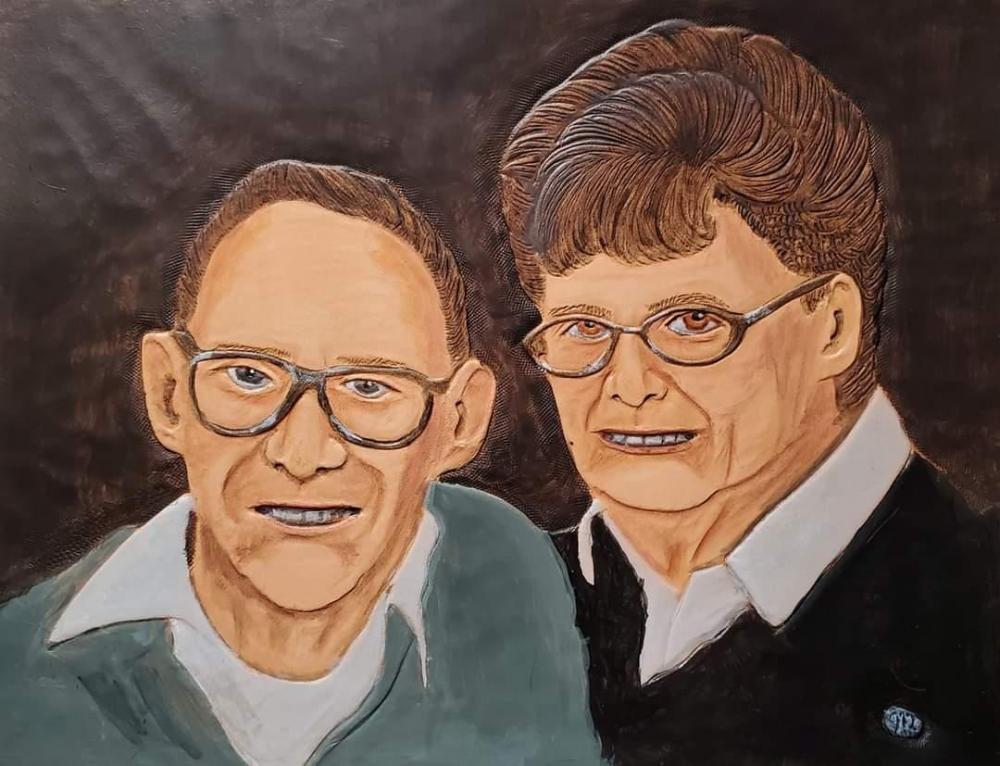
Hey everyone, I've posted the carving in the figure carving area. This is the completed colored portrait. It is of my grandparents and will be sent to my dad for Christmas. Anywho, im always open to critique and I hope you enjoy it.
-
New member saying hi
Stetson912 replied to PhilDimashq's topic in Purses, Wallets, Belts and Miscellaneous Pocket Items
Looks like solid work. I commend your stitching, for only doing this for 7 months its great. That is a tough aspect of leathercraft -
Deluxe Set of six (6) Leather Round Coasters Basket Stamp with Holder
Stetson912 replied to Adonis's topic in Art
Came out nice -
Its tricky. There is a way to calculate the needed spacing. But in the end you'll still have fewer stitches on the bottom than the side. This means you'll need to double up on a few hols on the bottom by stitching through them twice. Its hard to explain without a graphic. All said though, you did a fine job
-
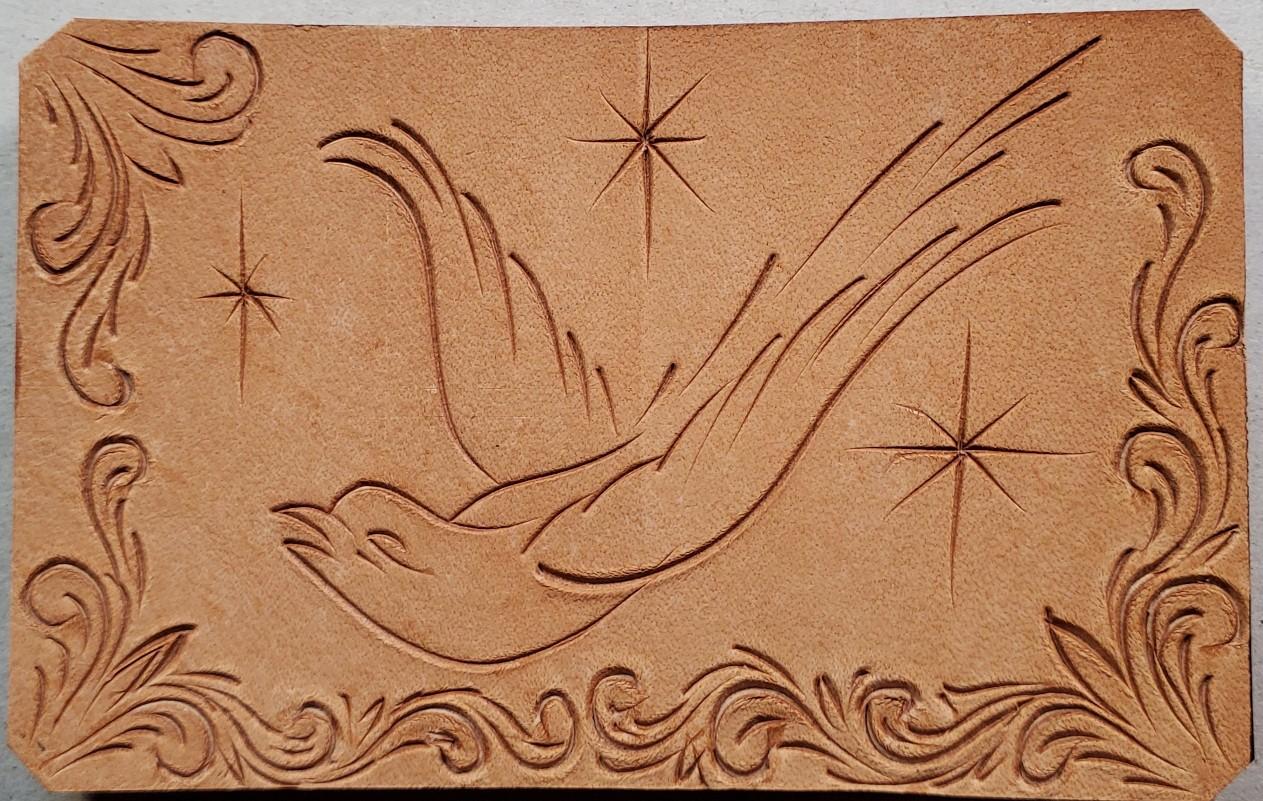
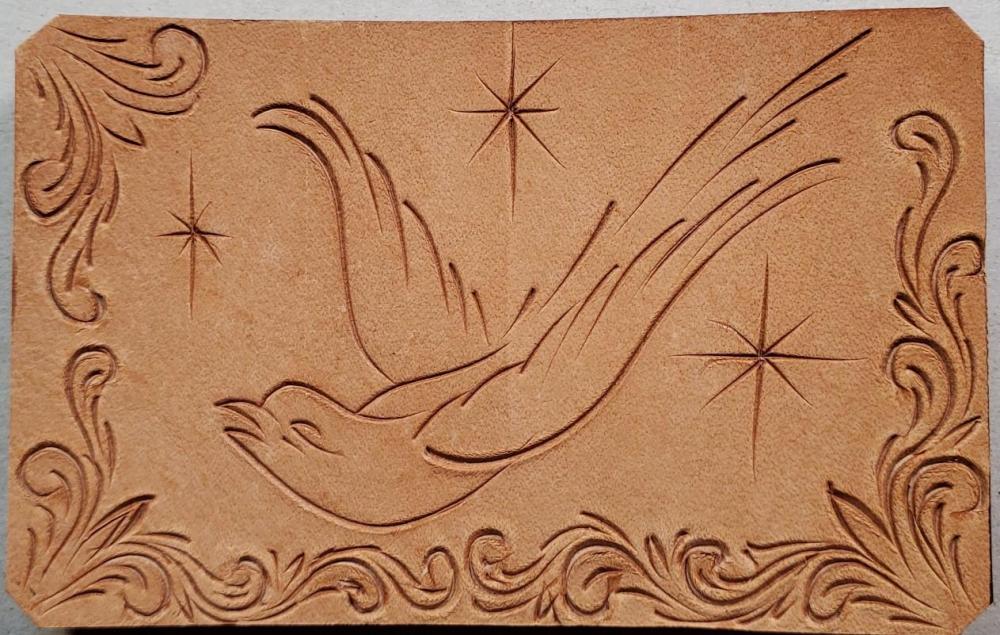
This bird is an example of copying i referred to. The rest was on the spot freehand work. This piece was rather small for me so, a lot of the scrollwork got away from me a bit and wasn't well thought out, but I think it demonstrates the type of source material to look for and copy either freehand or by tracing it to the leather.
-
The leather crafters and saddlers journal sometimes has some swivel knife finesse patterns in them that are nice. Ive googled line art or swivel knife patterns too. And the leathercraft library has a variety of interesting doodle pages for free download that could be useful. While freehand practice is needed for confidence and learning basic cuts, this repetition gets boring. You can interlace some more fun n practice by tracing a design from one of these sources and cutting it in. Focus on tapering your cuts etc. It will help build that familiarity with the tool and your basic cuts will improve. Eventually, you will want to try and freehand copy a design or "doodle" your own freehand design in the leather.
-
It is a very detailed book for sure. I used modeling tools and he demonstrates stamps. I have the stamps I just found the spoon easier. I am going to try more his method on some others in the future to see which method I prefer. Thanks for the kind words
-
This is a leather rendition of the only portrait of my grandparents that I have. I hope I've done them justice with my first leather portrait. I used a swivel knife and some modeling spoons for this and some bevelers and things for the background.once it dries ill try some color, maybe a sepia type look. Still unsure about color. Always open to critique. Thanks