Stetson912
-
Posts
1,431 -
Joined
-
Last visited
Content Type
Profiles
Forums
Events
Blogs
Gallery
Store
Everything posted by Stetson912
-
Thanks, that's how I figured in doing it. Gomph hackbarth used to sell a 1018 steel stamp set. And old saddlers would make them from nails. If I try mild steel I'll have to just be extra careful haha
-
And I'm a dummy, I didn't see fat cat's response (good on you @GatoGordo!)
-
Bit late to the party. But if it were me, I would have to disassemble parts (discussed already I believe) to get to the damaged area. As for needles, if I didn't have any and couldn't fenangle a needle through, I would try cutting them down to a suitable size and polish the tips up on some sand paper or something, pliers would probably need to be used also to grab the shorter needles. Just my 2 cents here haha I hope you get it figured out
-
What do you use for stock? I picked up some stainless steel hex bolts and while I can work then they do seem tougher to work. I wouldn't mind 1018 or other similar mild steel. I thought about galvanized hex bolts and removing the coating somehow
-
That's my next investment. How do they do against stainless steel? Thanks for the tip
-
Awesome stuff! You inspired me to make my own stamps. What I've made so far work pretty well. Lots of practice needed tho haha. Your slickers look nice!
-
What Jls mentioned is also what al stohlman said in his figure carving finesse book. If you happen to have a copy (maybe check leathercraft library?) You can see examples and tool recomendations, page 112 I believe
-

Holey Cow jumped over the moon!
Stetson912 replied to immiketoo's topic in Gun Holsters, Rifle Slings and Knife Sheathes
I think I've asked before and have forgotten since, but what do you use for the weight inside? All are great as always, thanks for sharing -
Thanks, I dont post much here like I used too but I think I'll try to share more when I think too. I love to share and see what everyone comes up with and makes
-
There is a new show that added, the heart of Texas show in Waco. It is in August this year I believe. That should cut the travel in half. But still a treck
-
It's a good size. A lot of vendors and big names. It's hosted by the leathercrafters and saddlers journal. It's the only one I've been too but I don't think it's as big as sheridan. But, if it's leather related it'll be at the show haha. I go mostly for the classes because the instructors are well known in the craft and people I look up to and the opportunity to learn from them is incredible
-
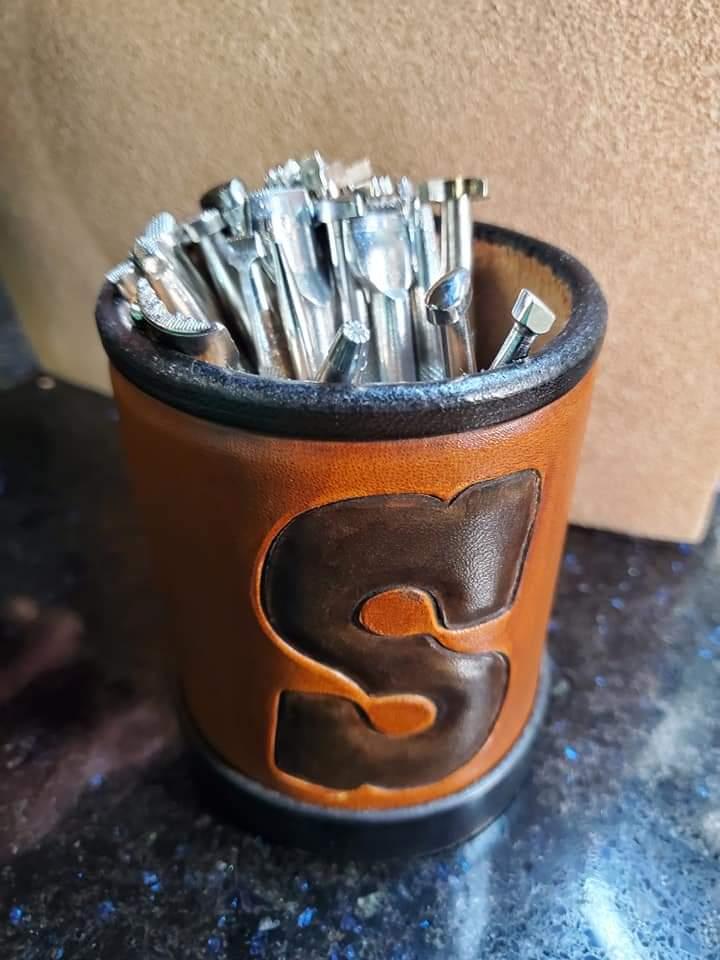
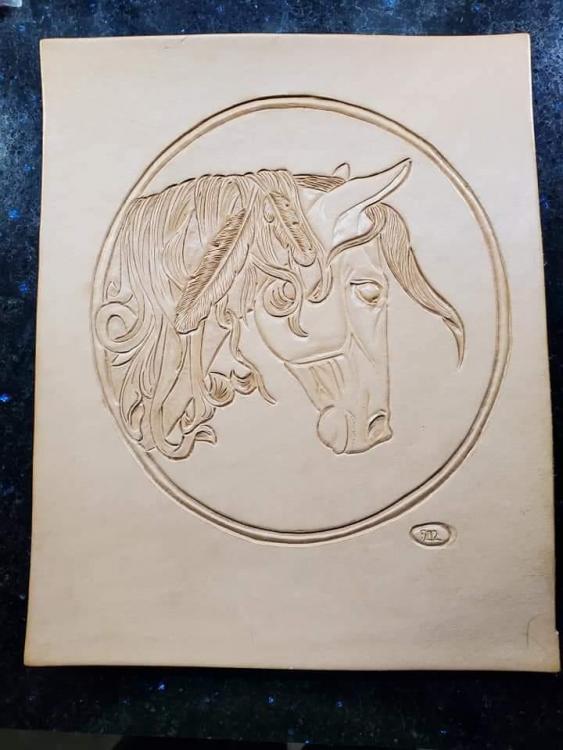
I got to go to the southwest leatherworkers trade show in Prescott this year. I took several courses and this is what I came out with. Jim Linnel taught his inverted figure carving class where we made a spirit horse. Rocky Minster taught his arizona style layout and tooling and is one heck of a guy full of awesome knowledge and history. And Serina Fenn Lee taught a dice cup class that was really fun too. It makes a great stamp holder. Allaround a real fun time!

-
made my 1st journal cover
Stetson912 replied to vgodley1's topic in Books, Journals and Photo Albums
I like the arrow basket stamp on the spine, I havent been able to get that right yet -
First Time Tooling A Flower
Stetson912 replied to AzShooter's topic in Gun Holsters, Rifle Slings and Knife Sheathes
Not bad for a first go. Certainly better than my first attempt haha. I'll have to check my packing iron book for something like that. It looks familiar for some reason -
This one? Thanks for the help again
-
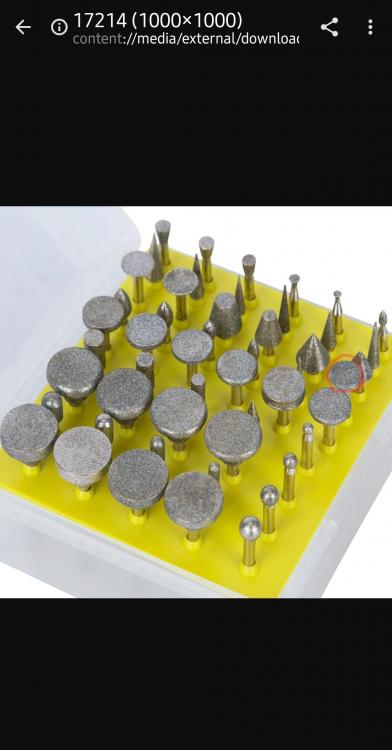
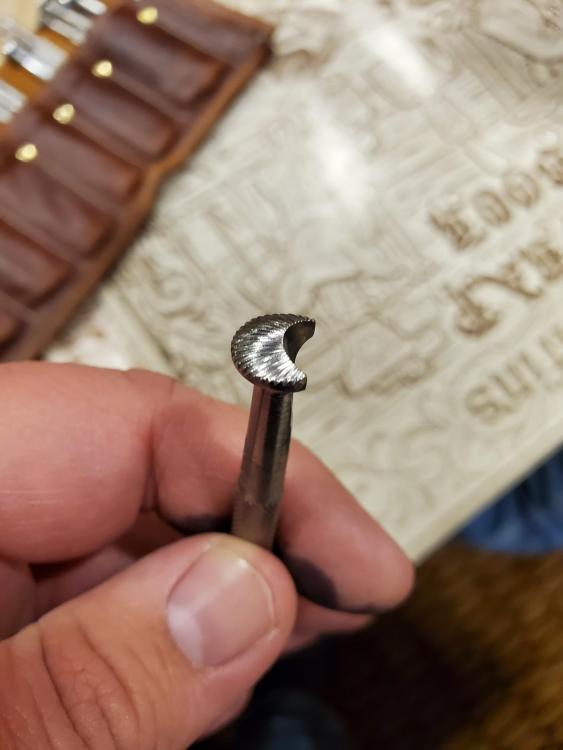
I'm not familiar with this dremel bit. Is it the diamond cylindrical bit? Thanks for the info
-
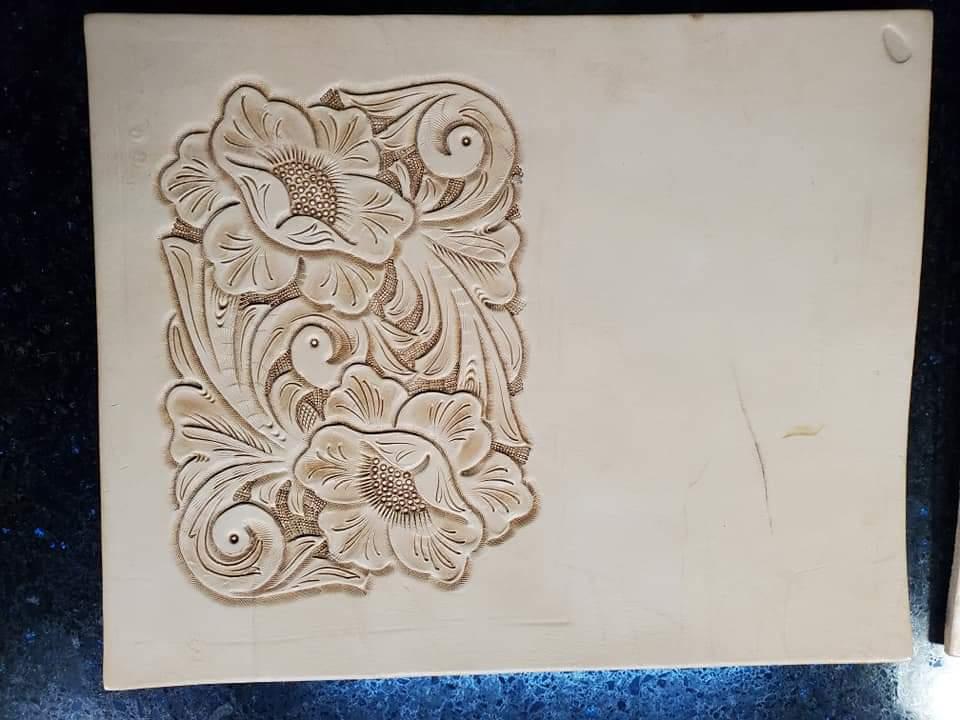
These look geeat. Im wanting to do the same. I recently took a class with Rocky Minster on his arizona/porter style carving. He used to work at porters before they shut down and has some tools that are hard to come by. The bevelers are slightly different than what's available today and the camouflage is very different. I can figure out the shaders and bevelers I think, but getting the cam shape right is going to be tricky. As for adding lines and checkering I'm somewhat at a loss. I'm not sure if needle files or a checkering file would be best. It's hard to tell from these photos but the cam shape has domed and has the shoulders below the face of the tool. Replicating it seems tricky to me haha

-
I'm in the same boat haha. I'd love a machine, but you really need 2. And I don't do production work and can't warrent nor afford the expense. Nonetheless that's a good looking roll.
-
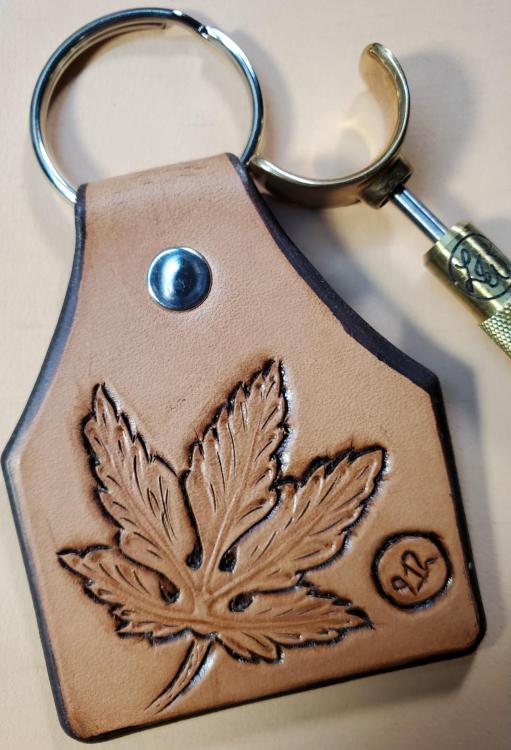
@chuck123wapati thank you, the keychain is about 2.5 inches wide, so the tooling is about 1.5 inches square or so. I do a lot of little trading cards that are about credit card size. It's a challenge finding things to fit on something like that haha.. @Samalan thank you, it was fun to do
-
Been a long while but I'm still around. Just felt like sharing this keychain with Japanese maple I tooled on it. Merry Christmas everyone!
-
Creepy purse...
Stetson912 replied to ButtonLady's topic in Purses, Wallets, Belts and Miscellaneous Pocket Items
Hehe nice! -
@Vilesthanks, it does albeit not the best stitching on the underside. My awl controll isn't the best. I'm out of practice haha
-
@chuck123wapatithanks, it will certainly be dry haha. @rleatherthanks. He is chomping at the bit for me to get it to him haha
-
It is very fun. Those resources should get you off to a good start
-
Thanks @Dwight, I agree it would be cumbersome. This is what was asked for. It also has a toe plug that I'm a tad embarrassed by but is functional haha. It was my first toe plug and flap holster and I'm pretty happy with it