


Stetson912
-
Posts
1,431 -
Joined
-
Last visited
Content Type
Profiles
Forums
Events
Blogs
Gallery
Store
Everything posted by Stetson912
-

Mexican loop holster... And belt
Stetson912 replied to Stetson912's topic in Gun Holsters, Rifle Slings and Knife Sheathes
Awesome, I'm going to o do the same. I think it's a good idea. -
Mexican loop holster... And belt
Stetson912 replied to Stetson912's topic in Gun Holsters, Rifle Slings and Knife Sheathes
I'll have to use a strap or snap as I don't have any sort use. But I think the construction is a good method. It isn't full size and probably not as good as they used to be. I bought it on Amazon haha. Thanks! -
Mexican loop holster... And belt
Stetson912 replied to Stetson912's topic in Gun Holsters, Rifle Slings and Knife Sheathes
I don't, I wish I did. I will have to figure out how to make a pouch for those caps now haha. -
Mexican loop holster... And belt
Stetson912 replied to Stetson912's topic in Gun Holsters, Rifle Slings and Knife Sheathes
I hadn't thought too but that sounds like a good idea! Just a little box type thing to stuff a bunch into? -
Mexican loop holster... And belt
Stetson912 replied to Stetson912's topic in Gun Holsters, Rifle Slings and Knife Sheathes
Or be the one robbing them... I wouldn't put it past him... He can cause some mischief I reckon. It is really over built tho, 10/12 oz saddle skirting for all of it haha. The little cap gun only weighs a few ounces hahaha although that's unloaded... We all know how heavy them 8 shot ring caps can get... Might add a gram or two! -
Mexican loop holster... And belt
Stetson912 replied to Stetson912's topic in Gun Holsters, Rifle Slings and Knife Sheathes
I hope he does. Good way to get rid of that cheap skirting too, that stuff is fuzzy and hard to work with. Not much of an it left though now haha. I'm thinking I might add a hammer thong too. Just cuz -
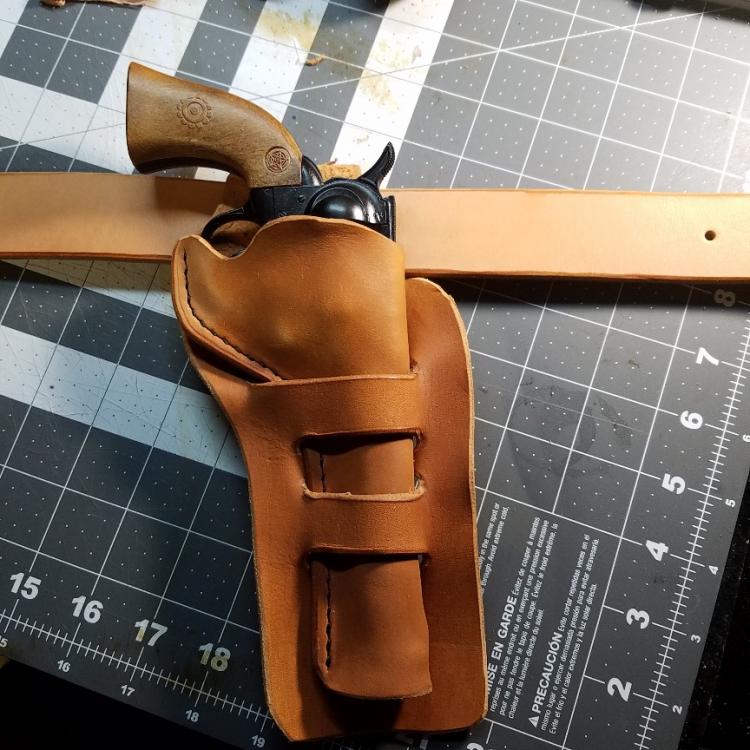
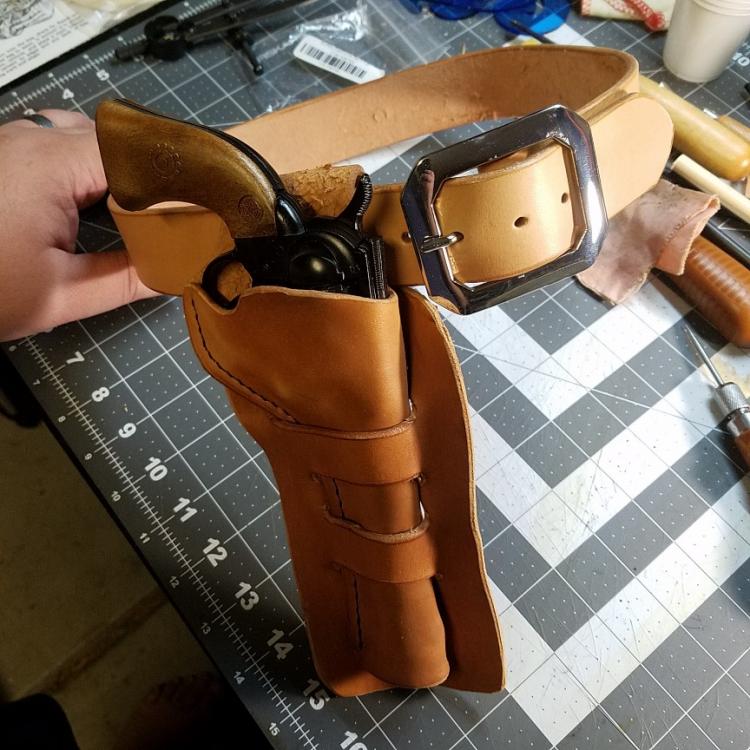
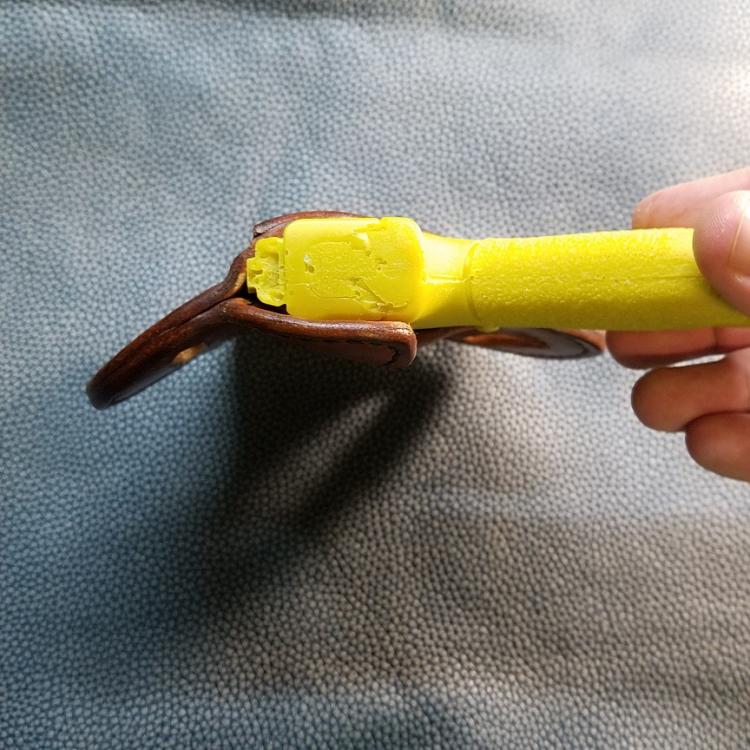
This project was fun, it's a Mexican loop holster and belt for my nephew. It is for a little cap gun I got for him. He is 5 and like playing pretend and stuff so, I thought this could help with that. Let me know what you think. The pics show the holster still wet and I'll just do a wax finish on it.
-
First "classy" wallet
Stetson912 replied to datdraku's topic in Purses, Wallets, Belts and Miscellaneous Pocket Items
Very nice! Did you birnish the edges? I'm not familiar with the Sully but I thought it was veg tan. And in my experience, I run my wood slicker over the corners when I nip them like that. It rounds them out pretty nice. Awesome work! -
Well butter my butt n call me a biscuit.. This is fantastic! Meanwhile, I'm over here and can't carve two parallel lines bahahahaha! Awesome stuff Mike!
-
My joke was auto corrected! It's supposed to say "I bet youre hoppy with that... "
-
That's pretty sweet! I bet you're happy with that...
-
S&W shield flapjack
Stetson912 replied to Stetson912's topic in Gun Holsters, Rifle Slings and Knife Sheathes
Thanks Gary, I don't have a slot punch but I do want one. I did make my own pattern. I followed jls template on that with a few changes. Wow, that's a killer deal! -
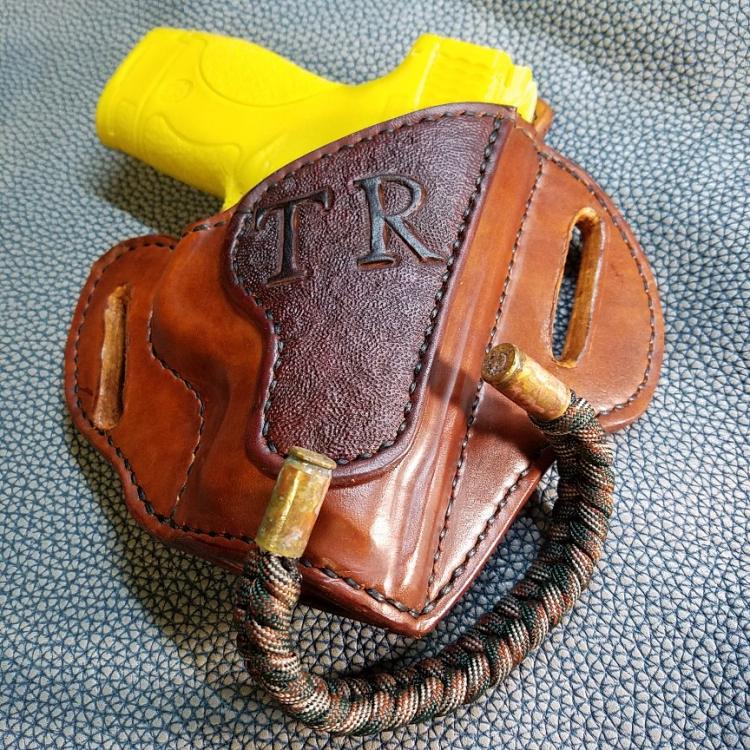
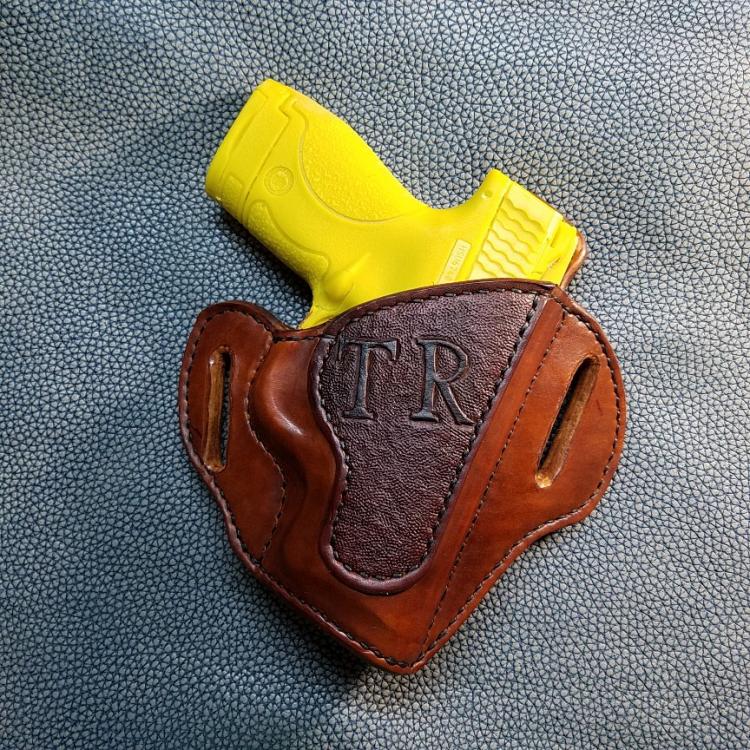
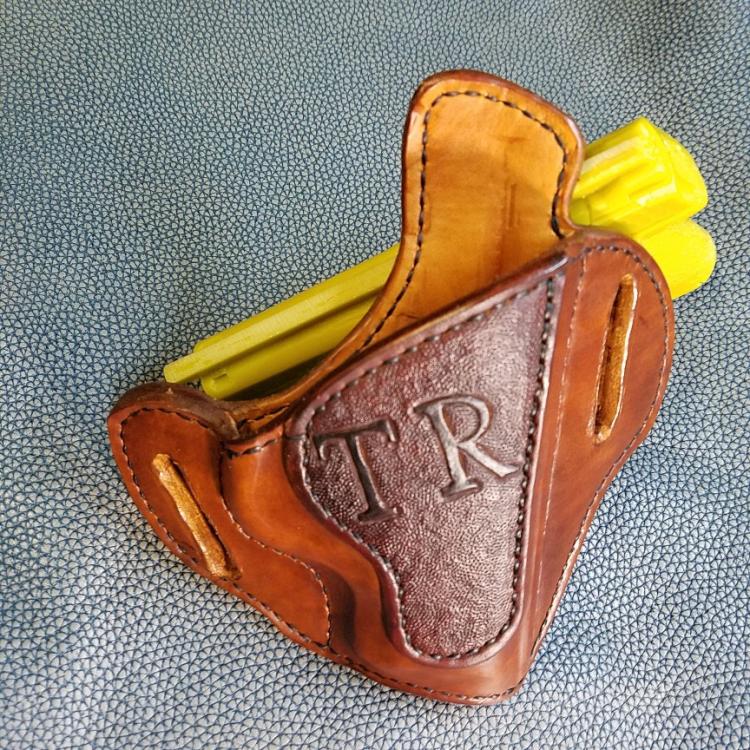
Here's another one off my bench. A holster for a SW Shield 9mm. I tried building it in the curved style. The retention on this one is really nice. I'm happy with that. Threw in a cool Paracord bullet bracelet for kicks, force patina 9mm shells to match haha. It is 2 layers of 4/5 oz stuck together. Critiques welcome. Thanks!
-
Valknut wallet
Stetson912 replied to datdraku's topic in Purses, Wallets, Belts and Miscellaneous Pocket Items
This, this is good. I like , more power to ya for painting that with a nail art brush. Beyond my skills haha. -
colt officer dummies
Stetson912 replied to JLSleather's topic in Gun Holsters, Rifle Slings and Knife Sheathes
Haha yeah, I like rings molds a lot. B ut the cooks work just the same. Not as pretty but that's not what matters haha -
colt officer dummies
Stetson912 replied to JLSleather's topic in Gun Holsters, Rifle Slings and Knife Sheathes
Right, I hear ya. I'm using a prepped mold that was sent to me for a m p sheild but I may cut most of it off haha. I just saw it on hold and it looks really close if not the same. I've also heard people cutting down commander molds to use for the officer model but, I don't like that either. It's the first 3.5" 1911 dummy I've seen though -
colt officer dummies
Stetson912 replied to JLSleather's topic in Gun Holsters, Rifle Slings and Knife Sheathes
From the pictures it looks pretty close to an officer acp. I've used cooks molds before and they are just fine. I prefer the unprepped version though. Prepped means they filled in the trigger area and put a "dowell" along the top to mold a sight channel. Only issue is it runs the whole length of the slide which is ok I guess, bit I don't like that personally. -
colt officer dummies
Stetson912 replied to JLSleather's topic in Gun Holsters, Rifle Slings and Knife Sheathes
Well idk if you've seen this one. Idk if it's different or not. Let me know what you think.https://www.holstersmith.com/vcom/cooks-gun-molds-rock-island-armory-c-555_656_832.html -
colt officer dummies
Stetson912 replied to JLSleather's topic in Gun Holsters, Rifle Slings and Knife Sheathes
Does it have to be colt? -
Very cool
-
Quick n easy bracelets
Stetson912 replied to Stetson912's topic in Purses, Wallets, Belts and Miscellaneous Pocket Items
Thanks man, yeah sometimes the down n dirty simpler projects that hardly touch the marble are the super fun ones. Haha awesome thanks for sharing that. Give it a go! They're fun to make -
Quick n easy bracelets
Stetson912 replied to Stetson912's topic in Purses, Wallets, Belts and Miscellaneous Pocket Items
Thanks fredk, it's a challenge for me being that small. My swivel skills aren't the best haha -
Quick n easy bracelets
Stetson912 replied to Stetson912's topic in Purses, Wallets, Belts and Miscellaneous Pocket Items
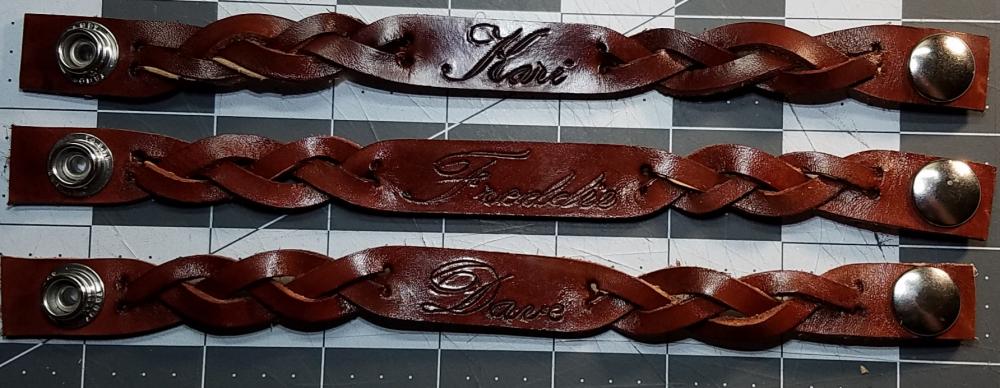
Font is kunster script (I think) I used inkscape to size it and printed it out. Traced to the leather and lightly cut it in with my 1/4" angle swivel knife blade. Then after I dyed and had a few layers of sealer I used watered down black acrylic paint to antique it. Then sealed it with more mop n glo. Thanks! It is. It's what was requested too. Fiebings pro mahogany diluted a little with denatured alcohol and airbrushed in several applications. Thanks! -
I have a few projects I'm trying to manage all at once. This was a super simple one so I thought I'd knock it out real quick. Used scrap leather. 3 mystery bracelets with names. Mahogany dye and mop n glo finish. Hope you enjoy! Ps. Sorry for the bad lighting names are Freddie, Kari, and Dave.
-
Wallet
Stetson912 replied to Carnivore's topic in Purses, Wallets, Belts and Miscellaneous Pocket Items
Nice work!


