


HaloJones
-
Posts
382 -
Joined
-
Last visited
Content Type
Profiles
Forums
Events
Blogs
Gallery
Store
Everything posted by HaloJones
-
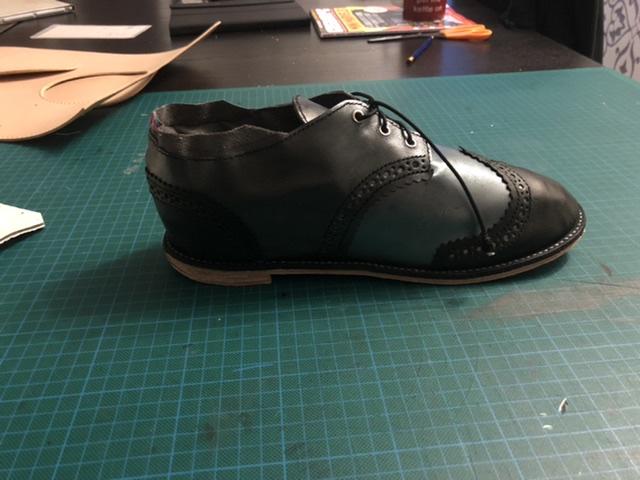
So I put soles on & took the shoes off the last, the results were not as I hoped, the shoes has come up very wide, but I know where I went wrong & will try again (photo shows unfinished shoe as I would normally trim the lining at the top & dye the sole & heel)
-
You could try using craft foam sheets to make a boot on the last, cutting and adding to get the style you want, the cut the foam off lay flat & there is the start of a pattern
-
Now that is a nice looking bag!
-
Have you a photo of the finished bag?
-
KNIFE POUCH recently finish
HaloJones replied to corkscrew's topic in Gun Holsters, Rifle Slings and Knife Sheathes
Nice contrast on pattern & colours -
Thanks Rocky, some food for thought
-
I have been thinking about printing moulds for wet forming, a couple of questions if you don’t mind; filament or resin printer? what infill % did you use on the base block? how thick is the top section of the mould? if filament printed what did you do to stop any print pattern forming on the wet leather? TIA
-
You can get Liquid or stick on rubber spots (seen them on the soles of house socks) which could be intergrated in to a pattern?
-
No but I like the name!
-
Greetings from the soft South of England just to warn you leatherwork is addictive, but oh so much fun!
-
I tried one, not as effective as glue & you still have the possibility of the tape being seen the same way as glue
-
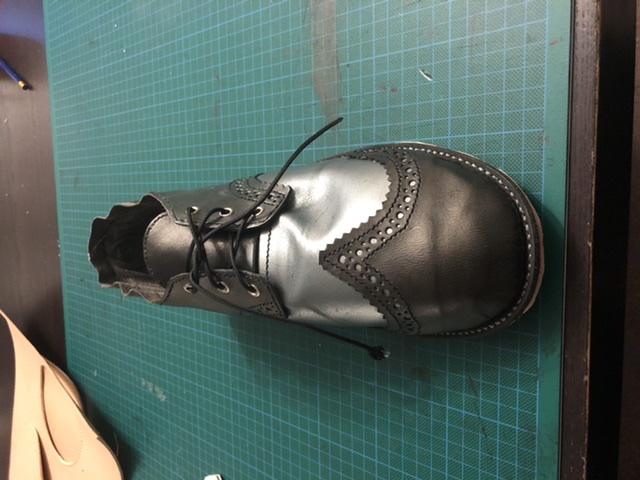
Heel cap moved up & upper & liner lasted, now for the sole
-
my new credit card holder
HaloJones replied to Frodo's topic in Purses, Wallets, Belts and Miscellaneous Pocket Items
Great up cycling! -
Nice design, about 2 days to late for me! just got a pattern from dieselpunk! i too love the contrast stitching
-
Do you have any idea of they type of cement / glue used?
-
Sugar Skull Tote Bag
HaloJones replied to AndyL1's topic in Purses, Wallets, Belts and Miscellaneous Pocket Items
Nice contrast -
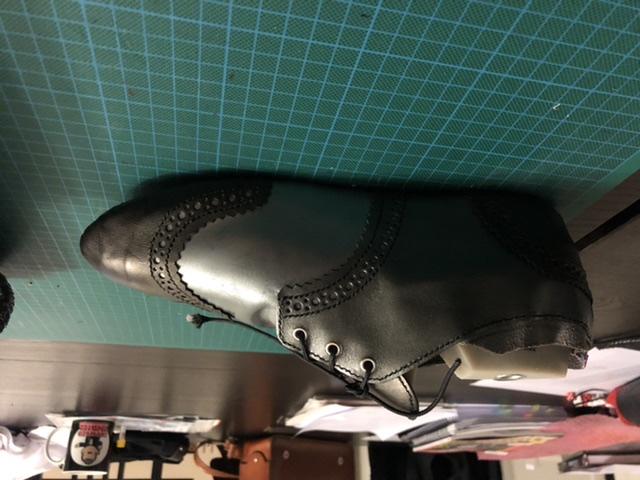
So put the uppers on the last only to realise that the heel cap was way too low down and that 70% of it would be cut off! so I un-picked the stitching & now to get some more of the thread used (the 30m I brought has just run out!) & try again..
-
Skull and Roses wallet
HaloJones replied to AndyL1's topic in Purses, Wallets, Belts and Miscellaneous Pocket Items
Spot on liner -
Yes I did
-
Watch Strap
HaloJones replied to HaloJones's topic in Purses, Wallets, Belts and Miscellaneous Pocket Items
Thickness is personal preference really, but the 2 layers on this one feels nice, in that it’s not over thick, yet strong enough not to stretch, I was able to only need 1 hole as it was the last thing I did, this I put it on my wrist fully assembled & marked where it needed to go -
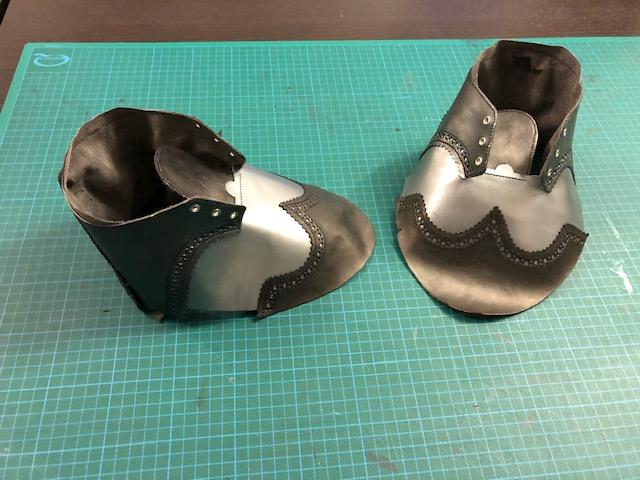
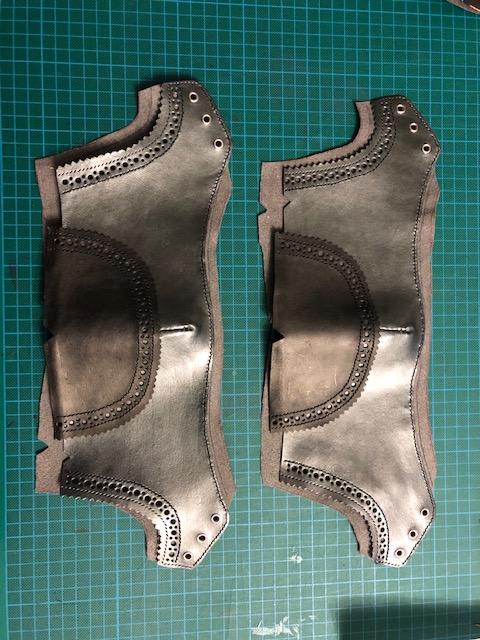
Uppers & liners sewn together - ready for lasting
-
Toe & front section sewn together & lined
-
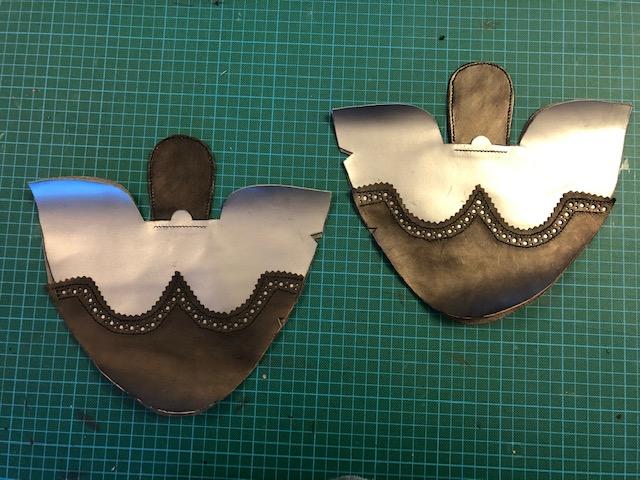
Rear section of the upper is complete: heel cap & liner stitched on, lacing eyelets fixed Liner is over-sized on the sides as it will be sewn to the front section upper liner, the excess liner at the top is used to give a fixing point to the last.
-
Joining a small leather loop to a leather cord.
HaloJones replied to OCMan's topic in How Do I Do That?
Can you trim the cord & tie it back on itself? -
New bag
HaloJones replied to NarmoDaria's topic in Purses, Wallets, Belts and Miscellaneous Pocket Items
Amazing!