-
Posts
794 -
Joined
-
Last visited
Content Type
Profiles
Forums
Events
Blogs
Gallery
Store
Everything posted by DonInReno
-
Apparently you aren’t alone - here’s someone else with a 201-r
-
The new hook looks much better than the old one! Hooks get rounded over when they run into broken needles. It would be nice if the aftermarket parts were made to original specifications, but parts today often need a little adjustment to work properly, so what you had to do doesn’t surprise me. It also might be that it was designed for lighter thread than what you are using, buts great if you’ve got it sewing ok. I’d hold onto the old one until the new one proves to be reliable. Sometimes a replacement hook is just not shaped right and will cause you fits. I’m far from a historian on everything about the 31-15, but there does seem to be a real difference between machines and some will just not sew thread as heavy as 138, but others will. When I hear someone has a 31-15 it’s been interesting to see what it will sew - it seems older machines prior to the 1940s are less likely to sew thicker thread. Up until the 1940s there was an almost identical machine, the 31-20, that had a slightly different bobbin and hook designed to sew up to 138 thread. 31-15s can easily be retrofitted with 31-20 parts and visa versa. In a WW2-era parts manual there was reference that the 31-15 could use a needle up to 23, which would only be required for thicker thread. It seems likely, at least to me, that a slight change in the hook, and maybe race, was made when the 31-20 was discontinued, even though the part numbers for 31-15 hooks and races didn’t change. Thats about all I know about ‘em.
-

Stuck with a problem - Unever walking foot
DonInReno replied to imawalkingfoot's topic in Leather Sewing Machines
....someone with a 335 will come along with which lever to readjust to get the adjustment range back into the middle of the wing nut slot. Is the machine new to you? If so, it’s not uncommon for people selling a machine to put the crappiest mismatched and barely functional parts on the machine - many of these look new, because they never worked right. Import feet of poor quality have heights that vary all over the place - it’s just a thing we have to watch for nowadays. Readjusting a machine to function with defective feet will drive you nut if you use more than one set. If this turns out to be the case, I’d be on the lookout for all sorts of worn out or defective parts - hook, tensioners, thread guides, needle plate, etc. Some machines I’ve acquired were the dumping place of every crap part in the shop! Lol -
That rust will give you fits - hopefully it sanded off easily.
-
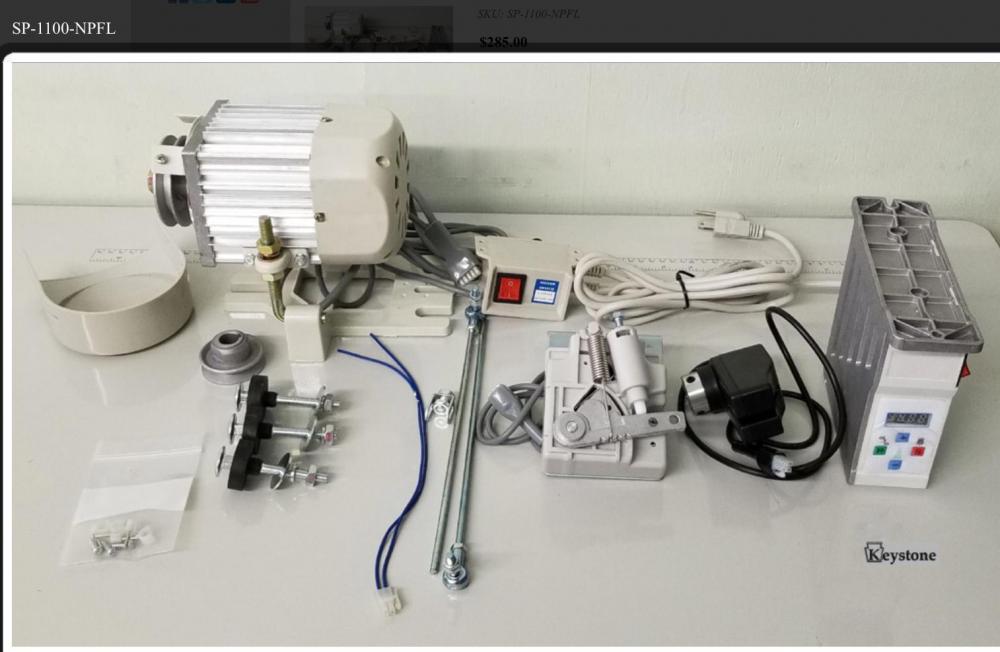
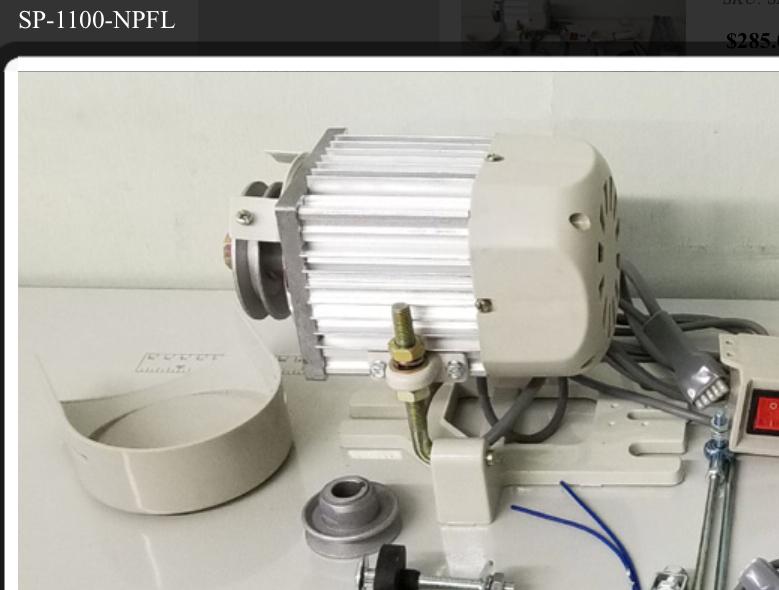
For about $300 delivered, this motor available at Keystone Sewing is my new favorite. It produces 1100 watts, which isn’t needed for most things, but it provides twice the torque at slow speeds as a servo of normal size. Twice the torque at the lower speed range is huge. It also comes with a super small pulley for max speed reduction. https://store.keysew.com/sp-1100-npfl
-

Replacement Table for an Old Industrial
DonInReno replied to ArtV's topic in Leather Sewing Machines
Searching Craigslist and FB marketplace for “K legs” will eventually turn up a base for less than $50. I’ve seen maybe one set a year listed as free within an hours drive. They are one of those things that have little value if it’s sitting around not needed. About once every other year I’ll buy a used machine just for the head and either give away or recycle the base, so I’m guessing many people across the country are doing the same thing. -
These are great old machines - sounds like you have a fun project. When you are starting a line of stitching do you hold the thread ends tight for a few stitches? Loose ends can cause exactly what you’re experiencing. I would be surprised if a new hook will fix the first-stich-goof. Replacement hooks may or may not be as good a quality as what you have now. The thread tension should be adjusted so the knot between top and bottom meets in the middle of the material - if it’s well centered but too tight then both top and bottom tension will need to be decreased. If the machine was set up for thinner thread, using 138 in it is likely to create too much tension. Edit: This manual describes all the adjustments of your machine, but it’s such a simple design very little typically needs adjustment other than the needle bar height. . https://www.militarynewbie.com/wp-content/uploads/2013/11/NAVEDTRA-14217-Aircrew-Survival-Equipmentman-1-C.pdf
-
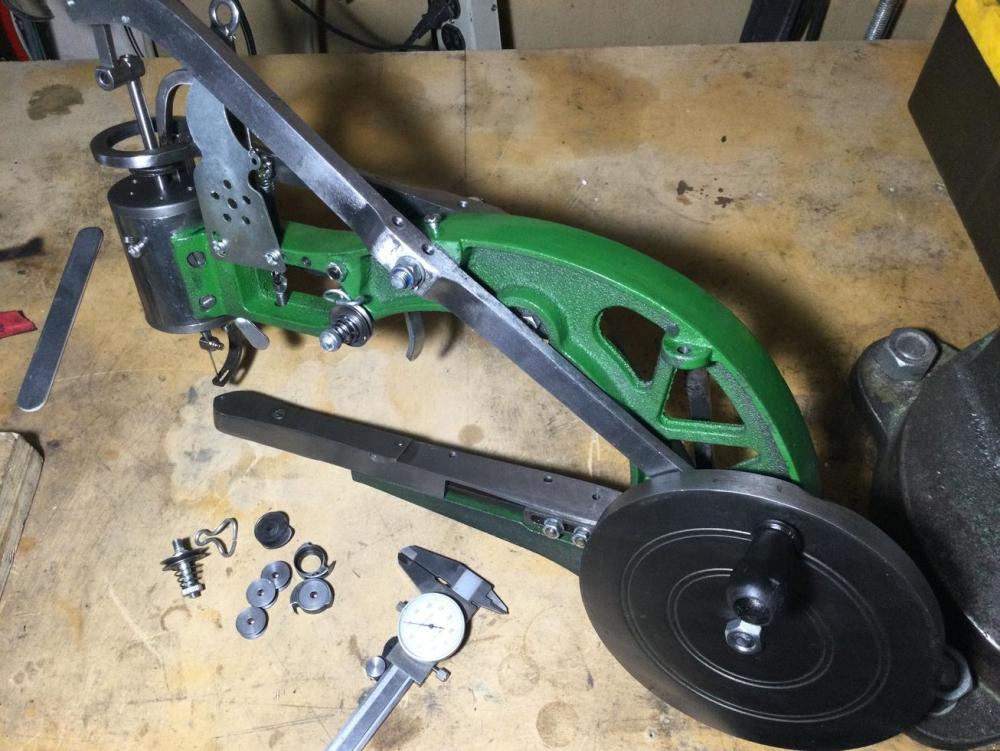
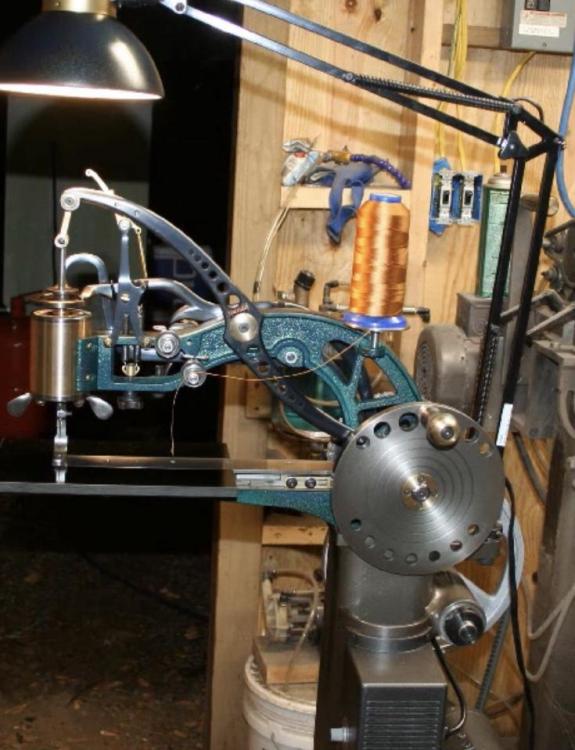
This little guy just showed up. I’ve never actually seen one in person and there’s so much conflicting information that it got the best of me. Opening the box is perhaps as fun as seeing an erector set on Christmas morning - it’s a fun collection of mechanical parts! I honestly don’t know if most of them are made in the same place or not, but I’m quite happy that this one has better fit and finish than many others and sewed right out of the box. The frame seems to be identical with most sellers, but the fit and finish seems to vary. I purposely avoided the lowest price seller and either the additional $30 was well spent, or I was just lucky and threw away the cost of a pizza. It’s not a refined machine, but it will make a stitch. It’s not smooth, it’s hand wheel isn’t heavy enough to even out stiff and easy segments of the stitch, and the small diameter of the hand wheel makes cranking more physical than you’d think - small kids would have a hard time with it as is. Stitch length can easily go up to 1/4” and it came prethreaded with 92 weight Nylon. After a few hours of sanding down rough edges the newness of it all wears off quite quickly - you have to enjoy tinkering and have more time than money. In high school I would have liked it just because it would use heavier thread and nobody I knew had a commercial machine. On the negative side, the bobbin winder is a horrible design and executed poorly so that went right in the trash - same for the three-legged base. Most fasteners are junk - poorly made soft steel. Plan on at least a couple hours of sanding and deburing, but it will turn into an entire afternoon or more if you start polishing anything for cosmetic reasons. On the positive side the upper tensioner appears to be a tension assembly off a commercial bobbin winder with good quality tension disks. Bobbins are as nice as any import bobbins. The hook is very basic, but the tension spring has a nice spring and proper hardened screw and the whole works has signs of being hardened. The cams and a toggle joint up at the needle bar are good quality molded powdered steel with hardened fasteners. The needle bar I’m guessing is generic part from a domestic machine of some kind - it’s nicer than need be. I was just asked for a recommendation for a teenager interested in little projects that require something more than a domestic machine. The first thing that popped into my head was if they got one of these patchers, once a month a different problem would pop up and I’d feel obligated to help - no thanks! Lol I’ll probably mount it to a nice oak board with little servo motor and speed reducer and bring it out if someone is curious - it is fun the first time all the levers start moving along with the clank, click, clank, click! ....it would be fun to get a restored Politype or one of the other old machines of a similar kind.
-

Thread Controller Disc Adjustment - Singer 111 / Consew 226
DonInReno replied to RWL2's topic in Leather Sewing Machines
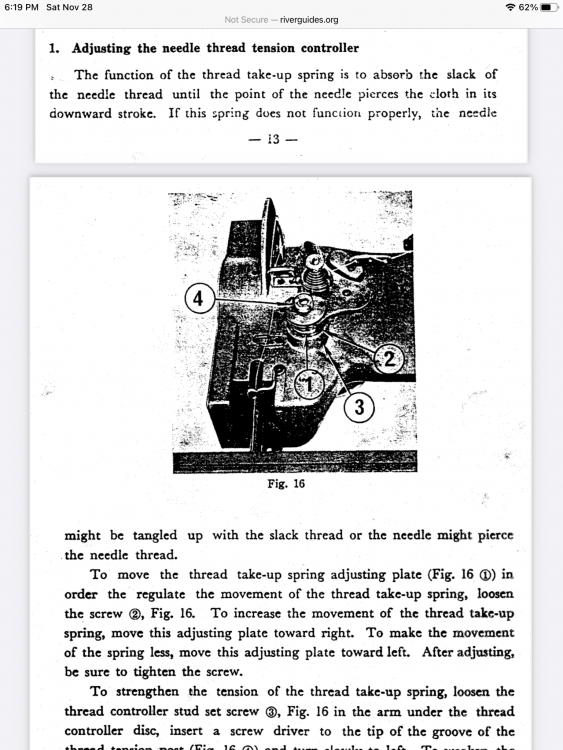
I’ve always adjusted the springy-thing just enough to take up thread slack as the needle just starts to penetrate what you’re sewing. I didn’t want to say anything until I double checked: -
Once upon a time I read a post somewhere else where a guy used a treadmill motor and a reducer with a 132k6 with what he thought was good results. Momentum in the treadmill motor keeps spinning a bit after power is cut, so that must affect how you sew a bit, and these are not known for great torque in the low rpm range so a reducer still makes sense. Technically, a speed controller with braking function can be used, but that alone is as much as a complete sewing servo setup. Having said that, ever since reading that article I’ve wanted to try a treadmill motor just to see how good or bad it would be.
-
I really like the design of the class 26 - I’d buy one if a really good deal comes up. Luckily my 441 clone will sew 138 and 346 almost interchangeably with almost no change in lower tension settings.
-
Although my big machine is normally set up with thicker thread, it’s nice to have a bobbin loaded with 138 and a set of blanket feet for canvas and vinyl seams and straps that are too thick for an upholstery weight machine.
-

What size bolts to fit servo to table
DonInReno replied to chrisash's topic in Leather Sewing Machines
-

Replacement Table for an Old Industrial
DonInReno replied to ArtV's topic in Leather Sewing Machines
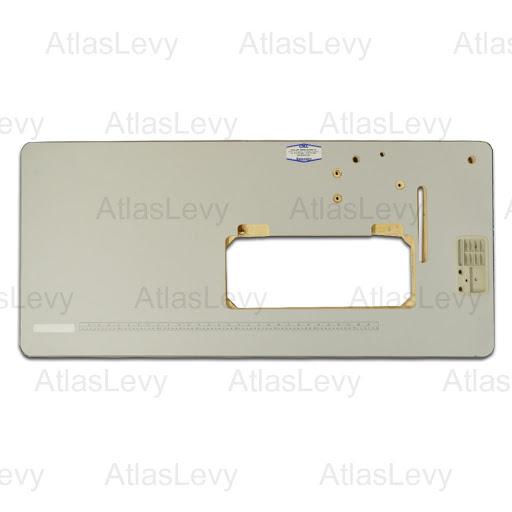
My favorite wood tops are butcher block. A 4’ piece is less than $100. Walnut butcher block looks really really nice. On the cheap, old maple butcher block is often thrown away when countertops are redone. Everyone wants to save the old butcher block until they can’t figure out anything to do with it. The old glues make these tops likely to deconstruct, but it’s easy enough to reglue. You can also get one of a hundred Formica patterns to get any color and pattern that fits your style...it is attached with contact adhesive and the edge trimmed with a flush trim router bit. The plastic edge bumper seen on commercially available tops can be ordered by the foot, or you can glue solid hardwood to the particle board edges before the Formica is glued down. Spending the time to make a good cutout pattern out of 3/4” MDF and cutting the opening out with a router and pattern following bit is quickest for multiples tops. For just one top you simply use a holesaw partway through the four corners and finish with jig saw. The nice thing about a custom size top is it fits your needs better than a standard top. -

Singer 211G Upper Stuck Presser Bar Bushing - Looks backwards??
DonInReno replied to BdB's topic in Leather Sewing Machines
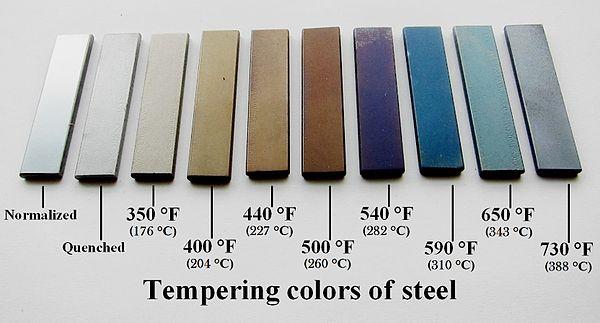
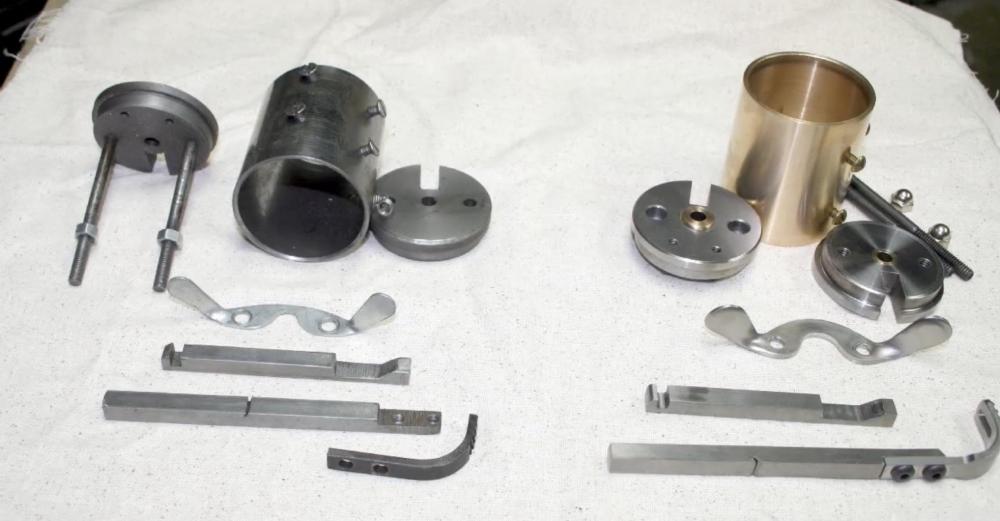
One trick to getting these screws out is to use the best fitting 1/4” drive hex shank bit, grind it if you have to so there is good contact in the bottom and sides of the slot, then with bit in a 6” bit holder/extension to give it a sharp smacks with a hammer. We don’t want to bend anything, just jar the screw a bit. If that doesn’t work, add heat and try again. If that doesn’t work Ive held the bit tight to the part with a c clamp (the type without a swiveling pad on the screw ). Turning the screw bit with an end wrench while hammering the screw of the clamp will either break the bit, or break half the head off the screw, but it won’t cam out. If the part can be held in a drill press vice, chucking a drill bit holder/extension in the chuck and using the feed lever to apply pressure while turning the chuck by hand is sometimes the least work. As with anything, developing a sense of feel for how hard you can twist things without making it worse takes practice. Personally, I clean a lot with wd40 and don’t have problems with heat treated parts if they are heated hot enough for the wd40 to smoke. This is probably in the 300 degree range. This is also in the safe range for not affecting the temper of the part but it’s quite easy to over heat, so I don’t recommend it to anyone. Any screw or part heated enough to change color is essentially ruined. The picture shows some tempering colors - essentially any color change should be avoided, but short of that we’re well out of the heat range that would affect the part. -
I joined the group you mentioned and I’m impressed with how much fun everyone is having with these things. My gut reaction is these are a really good introduction to sewing for people that otherwise would never consider a decent machine. It piqued my curiosity so I ordered one today
-

Singer 211G Upper Stuck Presser Bar Bushing - Looks backwards??
DonInReno replied to BdB's topic in Leather Sewing Machines
Here’s a link for restoring screw heads that are boogered up -

Singer 211G Upper Stuck Presser Bar Bushing - Looks backwards??
DonInReno replied to BdB's topic in Leather Sewing Machines
To be honest I was worried at first that you were jumping into the deep end of the pool, but if you put as much effort and thought into reassembly this project will work out just fine. Here’s a fun catalog - it gives you an idea of what a sewing shop can order that we can’t get online. https://supsew.cld.bz/Superior-Sewing-Digital-Master-Catalog -
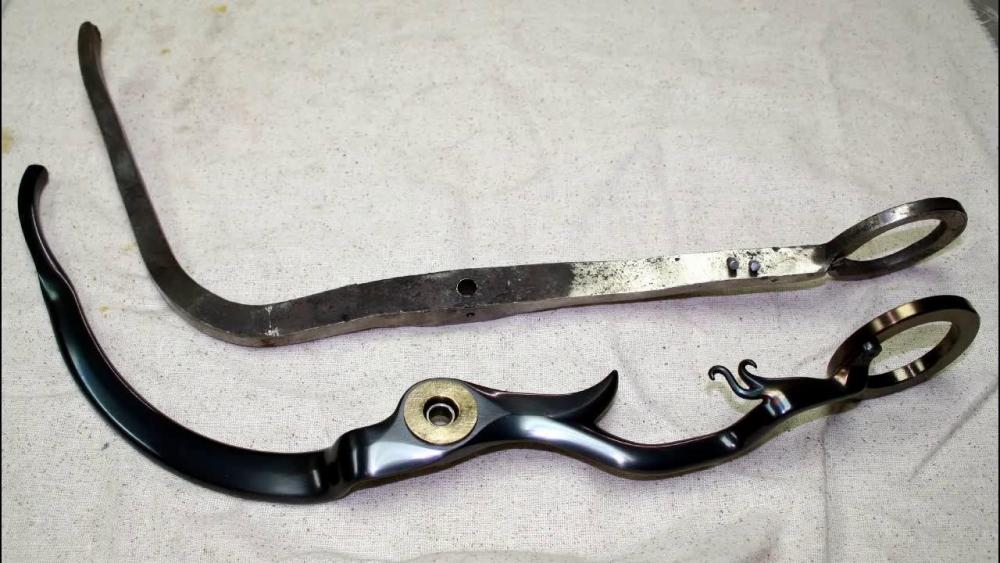
I remember watching a YouTube video of a guy who remade most of his from better quality and more artistic arms, levers and misc bits - very very nice. His stand was also well designed and finished. Must have been a motorcycle guy since his speed reduction from the motor was a chain drive! Lol
-

Singer 211G Upper Stuck Presser Bar Bushing - Looks backwards??
DonInReno replied to BdB's topic in Leather Sewing Machines
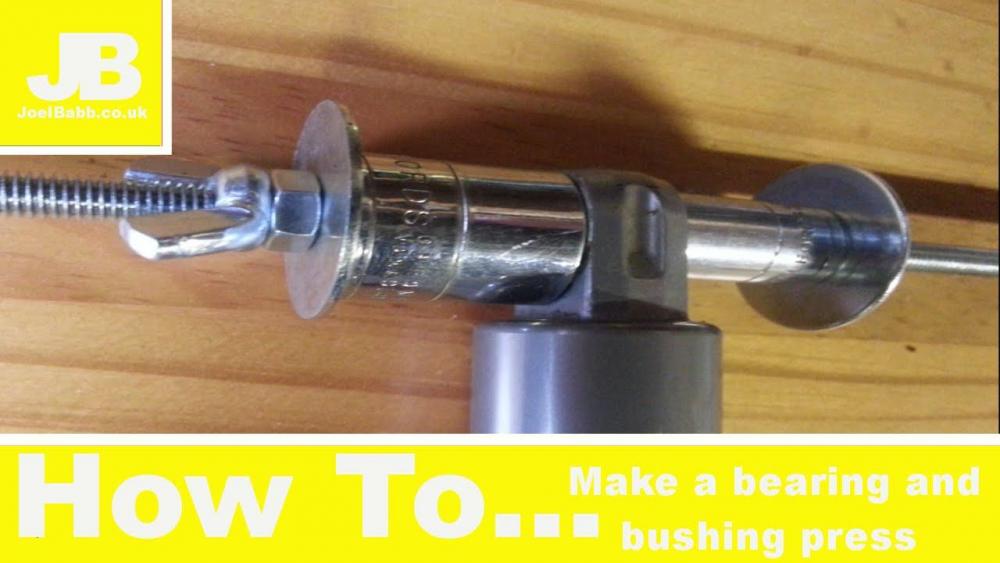
Most things stuck together with old dried oil can be freed up with heat. Even loctite will soften well before the boiling temp of water. Heating until a drop of water just starts to boil is easy, safe on any heat treating, and usually hot enough. Point and shoot thermometers are relatively cheap if you do this a lot. In industrial settings, bearings are often heated to this temp as standard installation procedure. There is a lot of mass in that area that acts as a heat sink so it will take more heat than most people think. There is no need to heat back behind the big spinny bit - just heat the face until the backside comes up to temp. If you lived locally I’d bet lunch that this would free it up! I suggest looking at a few pictures or diagrams showing how pressed in bushings are removed...it’s usually quite simple to rig up - a piece of threaded rod, appropriately sized tubing and a small washer on one end and a large washer on the other. 89D440BE-A8AE-4127-836F-A9FF833080BC.webp -
At that price you’ll always be able to get your money out of it.
-

Direct Drive Servo Motor retrofit for vintage singer 491D
DonInReno replied to JClif88's topic in Leather Sewing Machines
With the direct connect servo being fairly wide, adding another 7”-8” for an in-line reducer puts the handwheel waaaay over there. I can’t imagine it would be very enjoyable to sew with. -

Direct Drive Servo Motor retrofit for vintage singer 491D
DonInReno replied to JClif88's topic in Leather Sewing Machines
I can’t picture it. -

Direct Drive Servo Motor retrofit for vintage singer 491D
DonInReno replied to JClif88's topic in Leather Sewing Machines
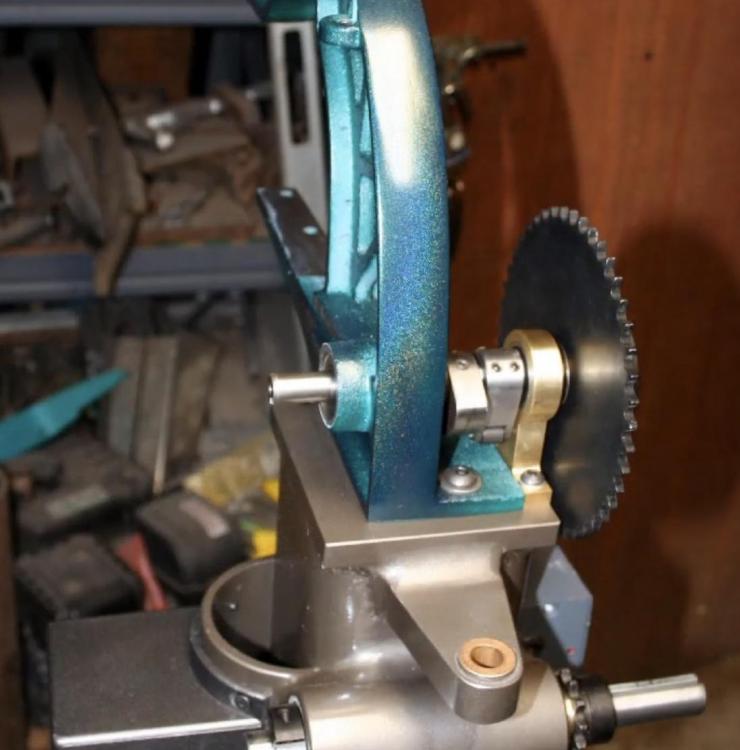
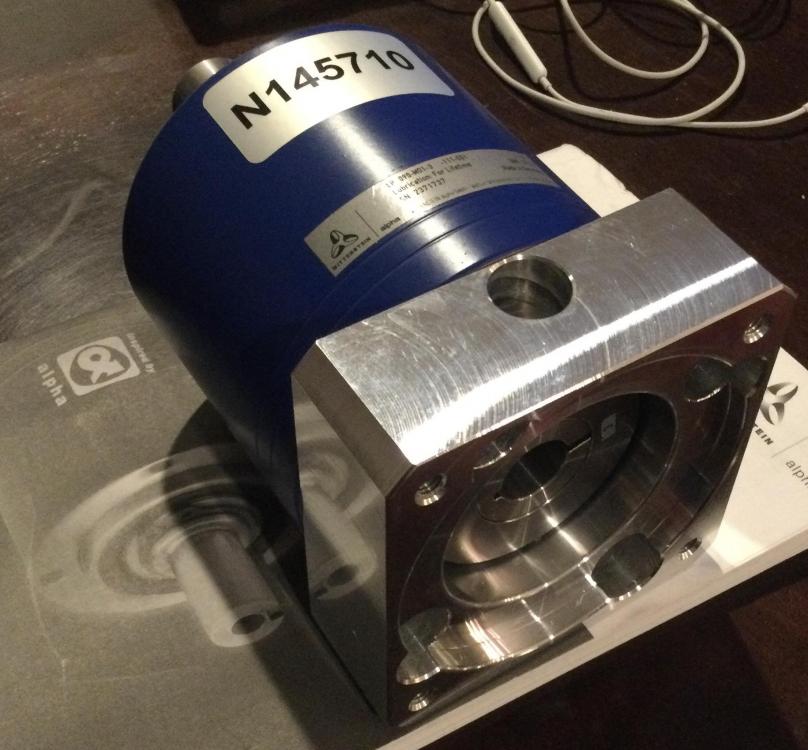
If a sewing servo had a NEMA nose so it would simply bolt up to a NEMA reducer it would be much easier! Lol My current project is a Wittgenstein Alpha 3:1 reducer off eBay and SP-1100 servo from Keystone Sewing. It seems these reducers are available in a huge range of input and output sizes, as well as base adaptor measurements, both metric and inch. This one is 5/8” input, 7/8” output, with 70mm x 70mm holes in the base. The servo hasn’t made it here yet, but an adapter plate between the two will need to be made, or at least new holes drilled in the reducer base. Other than the compact size there is no noticeable benefit over using a 3:1 pulley reducer.


