-
Posts
698 -
Joined
-
Last visited
Content Type
Profiles
Forums
Events
Blogs
Gallery
Store
Everything posted by Hardrada
-

A better quality hand splitter/skiver for soft leather
Hardrada replied to DrmCa's topic in Leather Tools
You won't have that outside of a bell skiver, which is gonna be $$$. Any other manual-operated tool won't give you the results you want. I'm telling you because I've been there. I've skived soft-temper leather with all kinds of tools—skife like yours, Japanese knives, half-moon knife, and Schärffix—and only the Japanese knife and the half-moon knife were successful in not pulling the leather and deforming it. I was hoping that the Schärffix paring machine would be just the thing, but no, it wasn't because you still need to apply mechanical pulling force and that will pull soft-temper and medium-temper leather out of shape. It's actually high end AND affordable, however impossible that might seem. I know because I have two of them and they're among my most used tools. Well sharpened, they're unbeatable. -

A better quality hand splitter/skiver for soft leather
Hardrada replied to DrmCa's topic in Leather Tools
This: https://www.goodsjapan.com/craft-sha-36mm-japanese-traditional-lethercraft-skiver-utility-leather-knife/a-19138 They also have a left-hand version. -
Right. All I used were quick grip, non-marring clamps. Till last week or so I didn't even know such things as vacuum pumps (well, other than the ones for freezing food) existed. I first came across them whilst watching woodworking videos wherein they were being used for gluing large pieces. Never did I think they could be used for leather work.
-
Thanks for posting that! Most useful video of AD 2022! (So far... )
-
Would something like this help any? https://www.goodsjapan.com/leathercraft-safety-skife-knife-flat-leather-skiver-plane/a-20561 They have planes for wood too, which might be better since they're wider: https://www.goodsjapan.com/takagi-japanese-wood-working-58mm-gisuke-hand-plane-kanna-carpenter-tool/a-19411
-

A Rhodesian type and some pancakes
Hardrada replied to Capt3513's topic in Gun Holsters, Rifle Slings and Knife Sheathes
It'd be nice to see the back of them also. -
Dry. Dry. Dry. If it's damp you'll burn it.
-
Ditto.
-

How do you deal with consistency in leather?
Hardrada replied to Piko's topic in Leatherwork Conversation
Just apply a light coating of Tokonole to the flesh side and then go to town with the edge of the glass slicker on it: ADDENDUM: I strongly recommend placing the leather on a non-marring surface (I use a scrap of soft-temper deerskin), because you'll be applying quite a bit of pressure on it and if you lay it on the table or cutting board you might end up marking it, specially if there are any leather "crumbs" or anything else under it. -
There's more than one way to do it. Which method you choose depends on the final look you want and also on how strong you need the stitches to be. https://www.youtube.com/watch?v=XQK8R0oYT8o
-
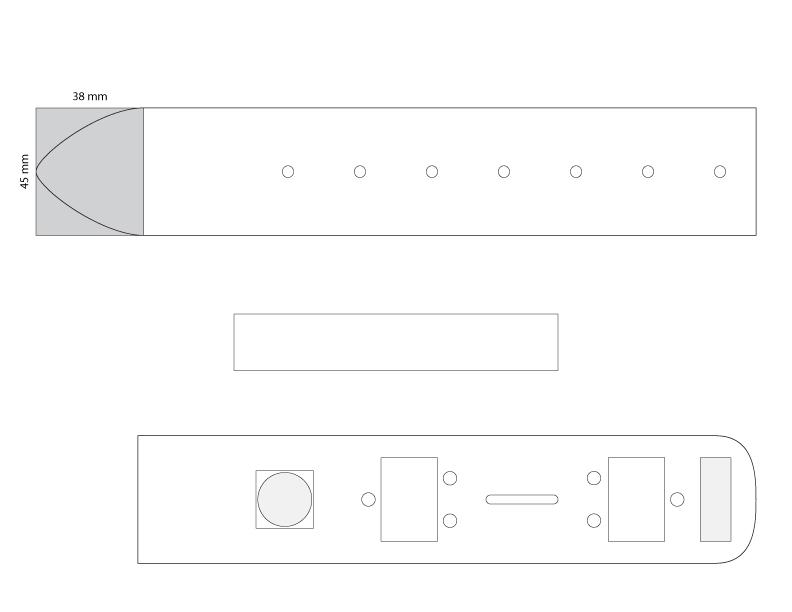
On the billet, the shaded part is the shape added to the rectangle to make the shape of the point. Yeah, that part for which I no longer have the calculations I made to determine its dimensions. On the buckle end of the pattern, the shaded areas are just cutouts on the cardstock pattern where the branding stamps will go.
-

How do you deal with consistency in leather?
Hardrada replied to Piko's topic in Leatherwork Conversation
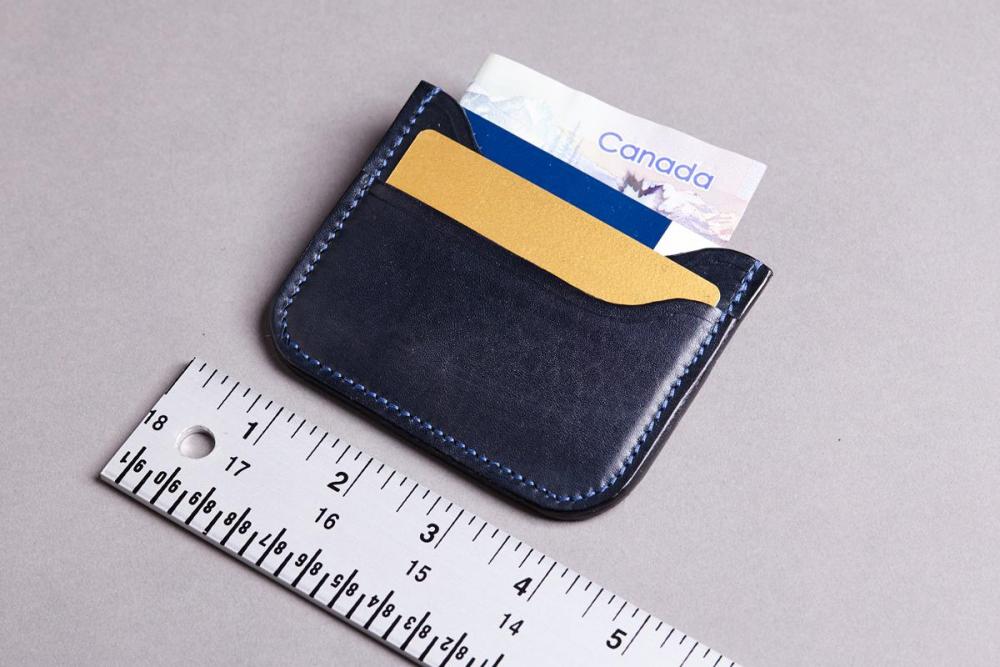
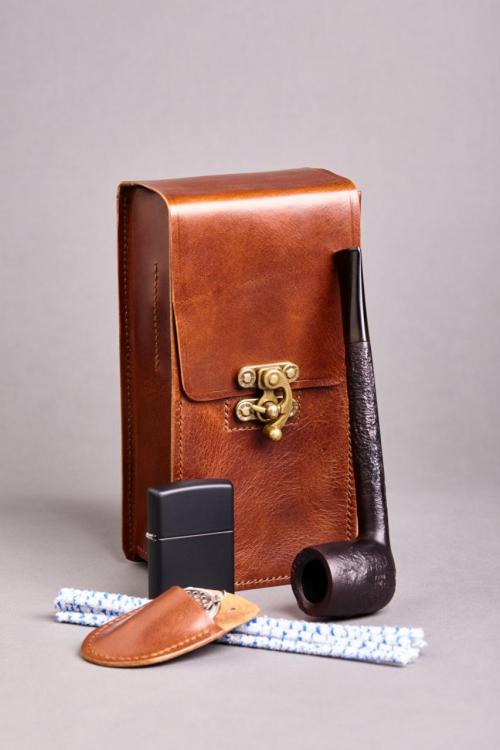
Hmm, don't you bambini do the same with alto—tall and mighty? Good-natured ribbing aside, I might have used the wrong term with "finished". What I wanted to convey was the idea of a leather that is already dyed and has had some kind of treatment applied to the grain surface so that it doesn't really require any finish such as Fiebing's Leather Balm or carnauba wax or Aussie's Conditioner to look good. You've seen tons of such leathers at RML. Pueblo, for instance would be a "finished" leather. I've also made some goods out of Minerva (the wallet) and Badalassi Carlo's Waxy (the pipe pouch): One reason I chose to use these leathers is that I also live and work in an apartment, a carpeted one to boot, and I don't really want to be dealing with dyes and chemicals that might end up on the carpet. The downside of this approach is that if your client wants a different colour, you'll have to order another piece of leather, or have several of the same type and weight in storage in order to satisfy clients' choices. I sold two of those pipe pouches, and each client wanted a different shade of brown, so I had to order one of each. Whilst I'm not trying to knock off your laser cutting, I'd suggest using a knife to cut the leather: it's neither noisy nor messy, and in many instances is just the way to go—and no fumes, LOL. Once you get into skiving or paring, you'll have no choice but to use a blade. -
You bet! Definitely expensive. I bought mine from Kyoshin Elle, either through goodsjapan.com or RML, so cheaper than Osborne, but still I only have two—1.25" and 1.5". What I did buy more of were the round ends, go figure, but even the ones Tandy sells are not inexpensive.
-

How do you deal with consistency in leather?
Hardrada replied to Piko's topic in Leatherwork Conversation
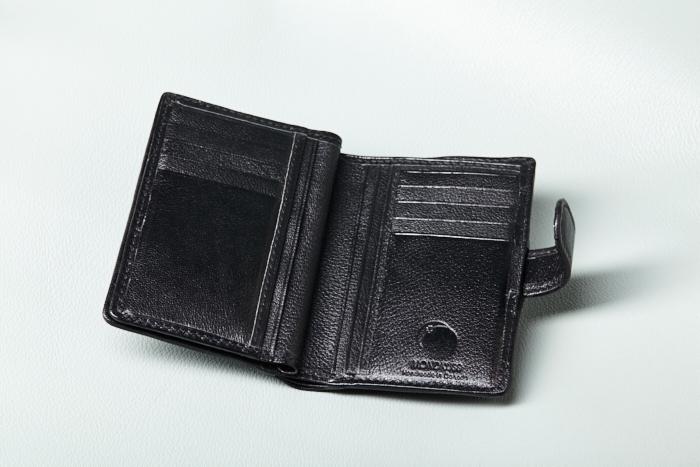
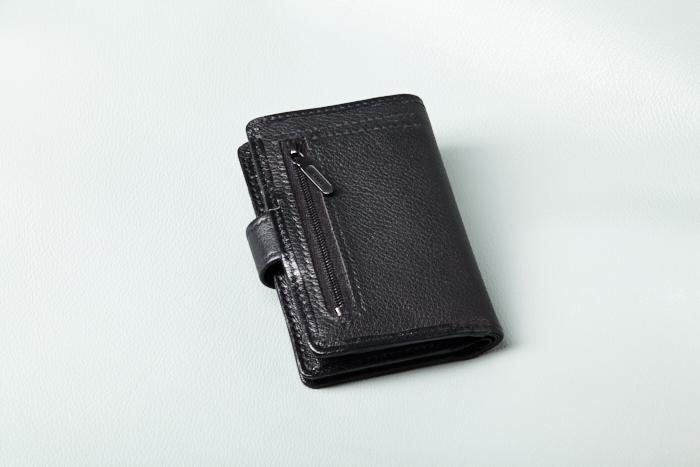
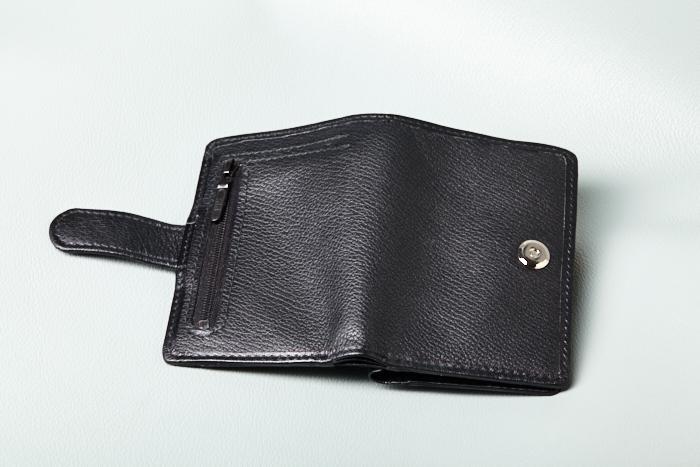
The first step in achieving consistency is to stop buying leather from Tandy. Next would be to buy better, nicer leather that is already finished, even split to your specifications. Whilst I don't work for them or get kickbacks, I do recommend looking at Rocky Mountain Leather Supply. For my small goods I buy the leather from them already split (splitting is "free"**). This is the latest wallet I produced: Do note that even with fine leather "consistency" (as in "it will ALWAYS look the same [in terms of shade, grain, lustre, &c.]") will just not happen. See the last photo: the thinner leather for the inner parts, split to 1 oz is a wee bit darker and shinier than the leather for the cover, which was split to 2.5 oz, even though they're the same Sully Chevre from Alran. No two animals will have the same skin and there are variables in the tanning process that will introduce small variations in final looks. This is NOT a flaw to desperately try to avoid, unless you definitely want the uniform look of mass produced goods. These variations, "inconsistencies" if you will, are the unique signature of hand-crafted, artisanal goods, and what gives them higher appeal than those coming from a factory. ______________ ** I put "free" in quotation marks because, technically, when you buy leather and have it split to a given weight, the splitter must give you back both the leather and the split (a.k.a. suede), but RML keeps the split. Again, technically, they're not cheating you, since it costs to operate the splitting machine and they're not charging you extra for the splitting, as others would do. -
Burnish it with Tokonole. You'll need a glass burnisher, though. If the leather isn't too fuzzy or shedding, you can always leave it as is.
-
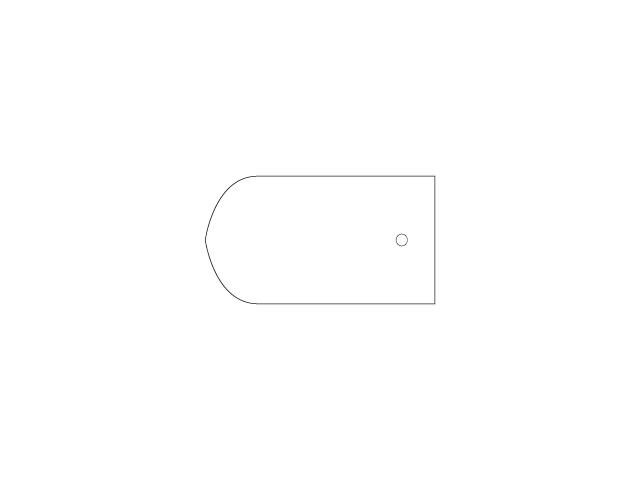
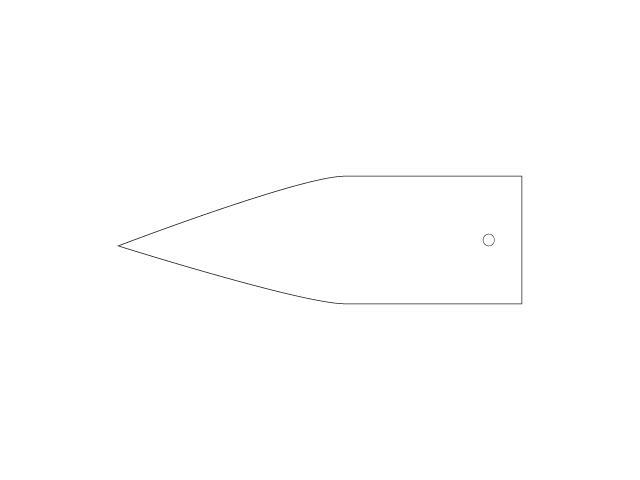
I seem to have tossed away the paper where I worked out the geometry. Here's the pattern: Regardless, ideally one'd want something that is aesthetically pleasing (harmonious). Ideally, you wouldn't want something that looked like this: Or this: Or this? Again, ideally. No, mine ain't THE way; were it so I'd patent it and charge everyone royalties.
-
Illustrator CS4.
-
Yup, that´s the only end I use for my belts. I use a punch, of course, but before I bought punches I worked out a pattern in Illustrator with harmonic proportions. Even with a punch, you sometimes need to have a way to cut an end by hand, for the odd non-standard width belt, such as this commission I got once:
-
Nice piece there! I've always wanted to make myself an apron—I even got the pattern for one—but the amount of leather required makes it prohibitive.
-
Download a head-on photograph of a gothic arch and trace over the outline with a vector program such as CorelDraw or Illustrator. Scale as needed whilst maintaining proportion. Then print that out as the pattern for the billet. Here's one example: https://en.wikipedia.org/wiki/File:PSmichel4277.JPG, though I wouldn't use this in particular as a model since the perspective is bound to net you a skewed pattern. Gothic architecture was built to minute harmonic proportions, so you'll end up with a pointy end that isn't haphazard.
-

Are all cheap strap cutters created equal?
Hardrada replied to BriarandThorne's topic in Getting Started
Looks like if the usual suspects can find a way to make things shittier, they will. Figures: if your tool were to last you a lifetime it'd ruin their whole business model. -

What kind of Hammer for stichlines and gluing?
Hardrada replied to Silvyr's topic in Leatherwork Conversation
Cobbler's hammer or fitter's hammer. I'd make a leather cover for the head, because if it ever gets scratched or in any way loses its smooth surface you'll be using it to drive nails. You don't need it to be heavy, as you don't really need to use lots of force (that would end up marking the leather too); it's more of a tap than a WHAM. -
The strap there in the middle is the one that looks best. It also saves on edge paint, and on the hassle of said paint peeling off over time and with use. RE: thickness: a doubled-up strap is also twice as strong, so, another bonus. You need to choose your leather thicknesses based on the weight of the bag. A bag like mine, the leather thickness is 1.07 mm, roughly 2.5 oz—doubled up is 2.38 mm. A heavier bag would require thicker leather. Choose your leather and then your hardware accordingly. With thicker leather, it'd be very expeditious to carve a channel round the fold line on the flesh side with a stitching groover or even a V-gouge (the former would be best if you're using soft- to medium-temper chrome tan) to reduce bulk and make it easier to fold.
-
I've held out on buying Tandy's because, yes, the pictures make it very hard to ascertain provenance. Good thing I never bought one... or will.
-

Dedicated Leathercraft Market Place
Hardrada replied to PastorBob's topic in Marketing and Advertising
Thanks for posting. Hopefully these blokes won't have any woke shenanigans like Etsy's "rifle slings are not permitted because they're 'firearms parts' ".


