-
Posts
698 -
Joined
-
Last visited
Content Type
Profiles
Forums
Events
Blogs
Gallery
Store
Everything posted by Hardrada
-
Here, mate: https://waterhouseleather.com/leather-buying-guide/ Listed as kipskin there. I'd suggest some medium to firm temper veg tan no greater than 3 oz in thickness. Here, check these out: That's for a round pouch, for a square one like yours this might be interesting:
-
Kip doesn't burnish well. It's very soft tempered. Now, I don't know how firm you want your pouches to be, so I won't dismiss it right off the bat, but I wouldn't use kip for that application.
-

Bi Fold Wallet Flop, Looking for advice
Hardrada replied to ThatTallChick's topic in How Do I Do That?
Rocky Mountain Leather Supply splits the leather you buy from them to your chosen weight. For wallets, I get their chevre split to 2 oz or even 1 oz. -

Bi Fold Wallet Flop, Looking for advice
Hardrada replied to ThatTallChick's topic in How Do I Do That?
Thinner leather. Don't go over 2 oz. -
Yup, 5 mm is more for holsters and the like; it'd look ungodly on a Bible.
-

Bi-Fold(?) Wallet
Hardrada replied to ThatTallChick's topic in Purses, Wallets, Belts and Miscellaneous Pocket Items
Get yourself a #1 and #0 bevelers, and maybe a 10 mm corner punch. The edges will look more refined and withstand wear and tear better. Keep at it! Addendum: have you tried Zelikovitz? https://www.zelistore.com/ -
You can also use bag stiffener or bonded leather.
-

Hot Creasing via Kyoshin Elle Pro Creaser Groover Set
Hardrada replied to Sardar's topic in How Do I Do That?
I would not recommend using that. I'm not saying a disaster would happen, but I'm not too keen on having the bolster too close to the flame. You're likely to heat up the guiding rod too (which would probably burnish your edge somewhat as you crease, though). I'd go more with something like this: https://www.goodsjapan.com/leathercraft-items/general-leather-tools/craft-sha-flint-leathercraft-1-0mm-2-0mm-single-line-leather-edge-creaser-beader/a-20988 Best to have a single tool for a single purpose than the one-for-all approach. -
My advice is to avoid buying leather from Tandy. I occasionally buy suede from them but not leather anymore. It's a crapshoot. The quality is all over. I buy some tools and hardware from Tandy, as well as Fiebing's supplies, but not leather. I get my leather from Rocky Mountain Leather supply (yeah, you'll have to pay duties), or from Lonsdale Leather in Vancouver: never had an issue with either.
-
Use an anvil and a cobbler's hammer. But do choose a curved, smooth edge of the anvil, because a sharp edge can cut into the leather and ruin your project. https://www.lonsdaleleather.com/tools/leather-anvil-tool https://www.lonsdaleleather.com/tools/cs-osborne-shoemaker-hammer You can use their fitter's hammer too. Ouch: glover's needles. Don't use those: worse than stabbing the leather is stabbing your finger, and it will inevitably happen. Even blunt needles can give you a nasty stab; so I'm wondering that glovers may even go all the way to the bone, depending on the force you're using. Saddler's needles (blunt): https://www.lonsdaleleather.com/tools/cs-osborne-harness-needles-5-pack Use #2 for thread that is > 0.8 mm and spi that is >6, and #4 for thread that is < 0.8 mm and spi < 7.
-
Whilst I'm not gonna take your opinions as gospel, I will, however, consider them close to encyclicals, after seeing your work ()and based on your experience. Thus, I've decided on using nothing but chevre for wallets from now on, barring any of those notable exceptions that crop up from time to time. Fortunately, the Dollaro was just an experiment of sorts, as I was trying to decide on panels shape and how much of a curve and difference in height between one side and the other I could have: So, nothing lost but something learned.
-
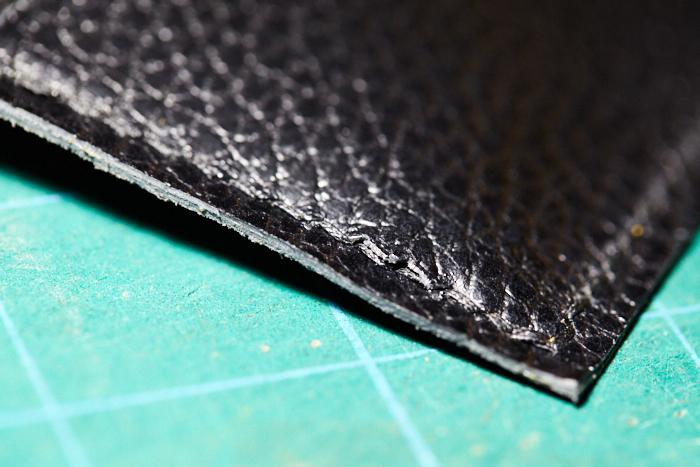
That might be done to kind of protect the very fine edge from being chipped by hitting/rubbing against the ruler.
-
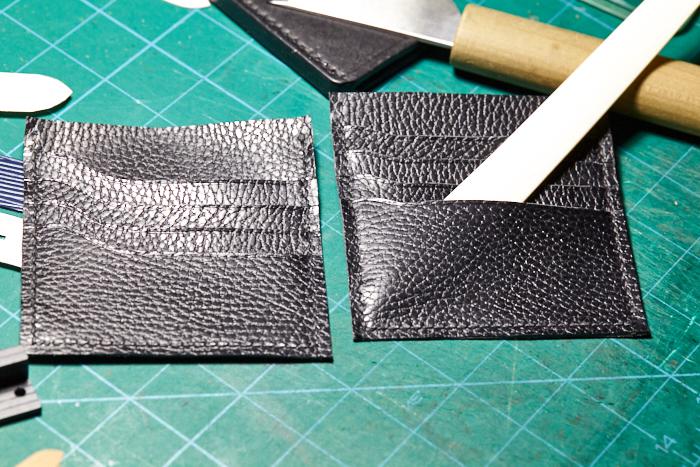
Look harder and closely at about the Rule of Thirds' lower right powerpoint. Nasty rip there, innit? Right at the 4th and 5th stitches from the bottom. Happened when I inserted the bone folder, but it coulda happened when inserting a card, I'm afraid.
-
I agree completely. And if you look at MY wallet you'll see that there's only one card in each slot. People, on the other hand, behave so unlike me that at this point I'm so frustrated at being by them frustrated that I've chosen to try to foresee and accommodate. Because, if the leather rips due to abuse their conclusion and judgement will be: "this wallet sux and so does the maker".
-
@Danne: how many cards can you cram in those slots? I'm asking because I just made a simple side panel as a test and not only are the card panels making the whole thing rather fat in the middle (even after skiving 2 oz leather), but when I insert two cards the whole thing bends and it's putting stress on the stitches: and enough stress will rip the leather at the stitching line.
-
Take a look at the pictures in the Shop section of their website and compare them. Basically, the regular punches net you holes that slant upwards and away from you when you put your punched piece on the stitching pony: / / / / / Inverse** means just that: the holes will slant towards you: \ \ \ \ \ Flat is self-explanatory: — — — — — Ditto round: ° ° ° ° ° They also offer two versions: the traditional diamond hole and the European one. The one looks like a rhomb and the other like a slit. _____________________ **The inverse punches are meant to complement the regular ones, for those cases where you must punch from the back side of the project. From the back the holes will slant towards you and look like this: \ \ \ \ \ , but when seen from the front will look like: / / / / /.
-

Hat band and knife. Making a set pic
Hardrada replied to Bawarrior's topic in Gun Holsters, Rifle Slings and Knife Sheathes
Thanks! -

Hat band and knife. Making a set pic
Hardrada replied to Bawarrior's topic in Gun Holsters, Rifle Slings and Knife Sheathes
What stamp is that one? Looks Made in Rivendell! -

Watch Strap
Hardrada replied to oakenlander's topic in Purses, Wallets, Belts and Miscellaneous Pocket Items
Your content doesn't link. I just get booted to your home page. -
Don't bee fooled by the roundness, it's sharp! On thin leather you may not need a mallet at all; hand pressure is enough to go through 2 oz. Yes, they do come out easy, although with thick layers you need to press on the leather firmly. I use a 1 square inch square piece of 1/4" neoprene to press the leather down without marking it. Just don't wiggle the punches all around like a joystick on an arcade lest you risk breaking a tooth. Addendum: Ohhh, never mind, I see what you meant now: https://ksbladepunch.com/product/round-dent-black D'oh! Interesting. Yeah, I've seen my turned pieces tear, guess it's because of the slit holes, eh? Grr, now I want a set of the round ones.
-
Yup, Sinabroks are made by someone who used to work for KS Blade and then went on his own:
-
No, no. They are described as pricking irons but they are chisels. I know because I have a set: they punch through thick layers like butter. Of course, there's a limit, but I've punched 10 oz with them with an ease that I just don't get from Seiwa's chisels (and Seiwas are darn good: they're the budget option, from goodsjapan.com). See a demo:


