


TomE
-
Posts
1,300 -
Joined
-
Last visited
Content Type
Profiles
Forums
Events
Blogs
Gallery
Store
Everything posted by TomE
-
Congratulations on your retirement, Bruce. This sounds like a great service for the community.
-
What thickness of leather, and do you need the bevel on straight or curved edges? I changed out some parts on a bottom feed bell skiver to create a beveled edge on 9-10 oz veg tanned leather. In the example below the angle is less than 45 deg. - probably 30+ deg - but I think I can get a steeper angle by adjusting the roller foot.
-
I'm impressed with how well the bridle leather submitted to your tooling. Very nice work. Mark of a pro is being able to fix things that aren't working out as originally planned.
-
I've had occasional problems with 2 coats of Barge gumming up my edges. I've switched to 1 thin coat that I heat with a gun before assembly. Produces a strong bond with less mess and it speeds up my process. It also solved a problem of glueing pieces that are cased to mold a raised leather feature. After a little heat the glue is stuck to the wet leather and the leather remains mold-able (if that's a word).
-
Some folks commented on Youtube that Makers sells a less expensive water based contact adhesive that is comparable to Aquilim 315.
-
Regarding the glueing of hides. Don Gonzales published an interesting-to-me video on glue strengths. The Aquilim 315 water-based contact cement produced a strong bond when applied to one surface and immediately assembled without drying. I use Barge but think I'll give this a try. I like cutting straps one at a time so I can check the quality and decide how to use each strap.
-
Not sure if I understand your question. You can make the narrow end of the strap as a separate chape that wraps around the front and back of the wider part of the strap. The wider strap would be sandwiched between 2 layers of the chape with the grain side showing on both sides of the strap. The wider strap could be lined.
-
Is that the Hennigan holster plate with a feed dog? How is that working for you, compared to the Cobra holster plate?
-
Mike and Gretchen Graham, the owners of Ruxtons Trading Post in Manitou Springs CO, know western saddles. They used to write a column on appraising saddles for the Western Horseman magazine. Could ask them about your saddle. https://ruxtons.com/
-

Questions on tooling English Bridle
TomE replied to DoubleKCustomLeathercraft's topic in How Do I Do That?
A Google search of this site turns up a number of threads about tooling/stamping bridle leather. "site leatherworker.net tooling bridle leather" I use a fair amount of HO bridle leather for making English tack, and appreciate that it is firm and has a smooth "moss back." In my limited experience, Wickett and Craig bridle leather has a softer temper. If you're seeing loose fibers that might not be the best part of the hide. I find that typically more than half a side of HO bridle leather is firm, smooth backed, and suitable for straps. Bridle leather is stuffed with fats/waxes that impair water adborption so it won't case like regular veg tanned. An alternative to carving/stamping would be to carve designs without stamping. Jean Luc Parisot has some nice examples on his Instagram account. -
This tack puller has worked well for me on English saddles. https://a.co/d/hplCLS2
-
I don't have experience making headstalls, but a Google search of this site using the syntax "site leatherworker.net headstall" turned up quite a bit of information. Seems folks use bridle, harness, and latigo for headstalls and some recommend doubling the leather or lining with latigo. I've been very happy with Hermann Oak bridle, harness and latigo leathers for making tack. Their bridle leather has a firmer hand than the bridle I ordered from Wickett & Craig. Beiler's Manufacturing in Ronks PA sells HO bridle and harness leathers at good prices, and a variety of unnamed bridle, harness, and latigo leathers that I haven't tried. I've been very happy with the quality of Beiler's merchandise and their service. No website - call for a catalog. There are a number of other retailers that sell HO leather and many are listed on the website of the Hermann Oak Leather Co. You can buy directly from the tannery if you order a roll (5 sides) or if you're purchasing item(s) that aren't stocked by their retailers. For example, I buy sides of chocolate harness leather in "rein selection" (big cow size) directly from the tannery. They fill orders (finish the hides) as they are received and that takes 5-8 weeks in my experience.
-
That's a handsome bag with a nice finish. I like the stitching, the handle, and how you attached the shoulder strap.
-
Smooth operator. Looks like a success story.
-
No offense taken. This job requires a sense of humor and I love working outdoors, except during a heat dome or polar vortex.
-
Beiler's Manufacturing sells line 24 snaps in 1/4" and 5/16" lengths. Can cheat a little and bevel/skive around the hole to recess the base of the snap.
-
Might be tricky to get good results with aluminum rivets using a manual rivet setter(?). I have replaced solid aluminum rivets that secure the billets to the tree of a dressage saddle using a domed rivet setter like the one shown below. It fits in an air hammer and is handy for directing the peening blows straight on the axis of the rivet. I set 3/16" solid aluminum rivets with a washer/burr using this setup and it was fairly foolproof. Need to support the back face of the rivet with a bucking bar or small anvil/dolly. McMaster-Carr sells a variety of aluminum rivets and setters. PS For halter buckles, I would sew them on. Rivets can pull out.
-
Boss says I might get a promotion before they put me in the old folks home. I trained for years at a desk job shoveling horse sh*t, never dreaming that I'd make the big show shoveling the real thing. This is better. Thanks, Jonas. The harness leather burnishes more easily than the HO bridle. I guess the waxes in the leather help the process. I can only blame myself for my previous stretchy belt. It was not heavy enough to stand up to the heat and humidity - was always damp. Thank you. I am all about sewing fixed loops and buckles on bridles, but I did manage to get some uneven stitches on this belt.
-
Thank you all for your kind remarks. I've learned a lot from the members of this forum. Sewing is almost as much fun as learning.
-
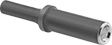
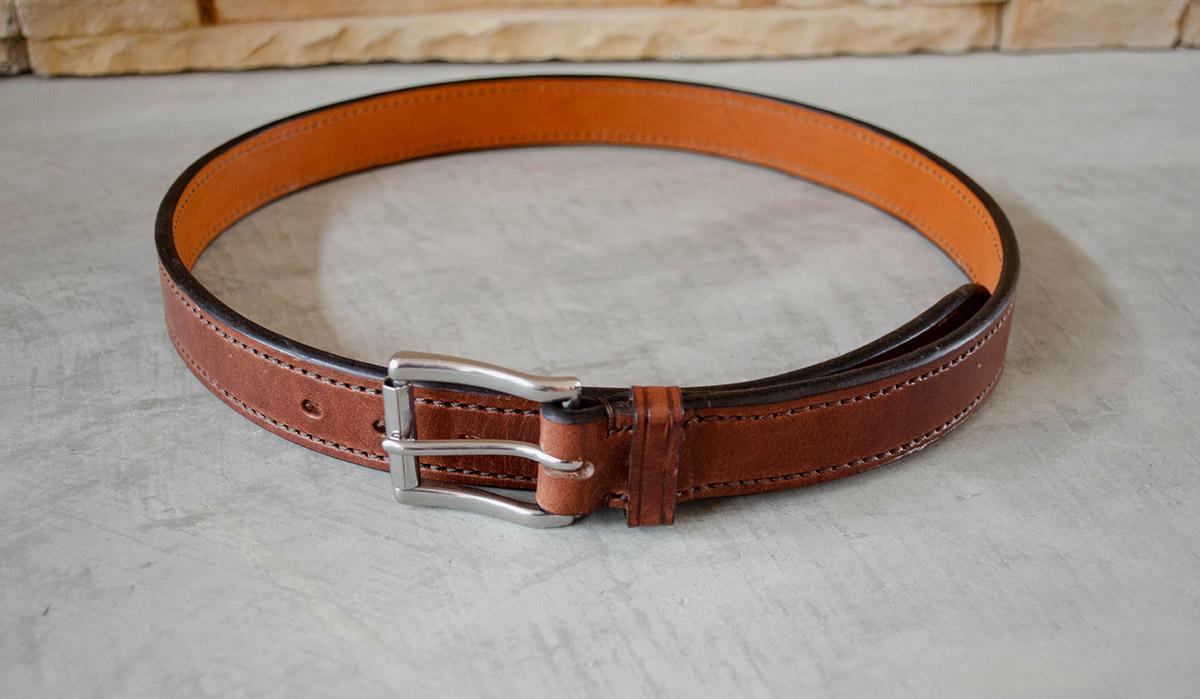
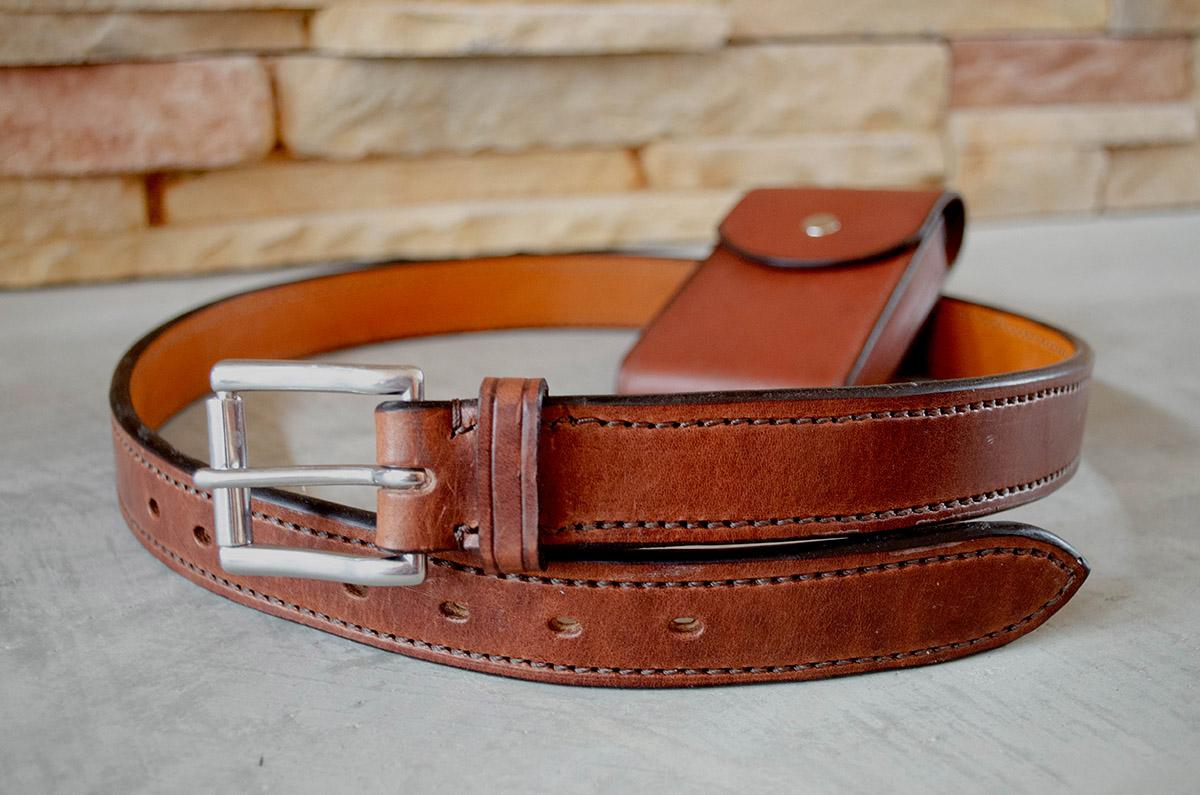
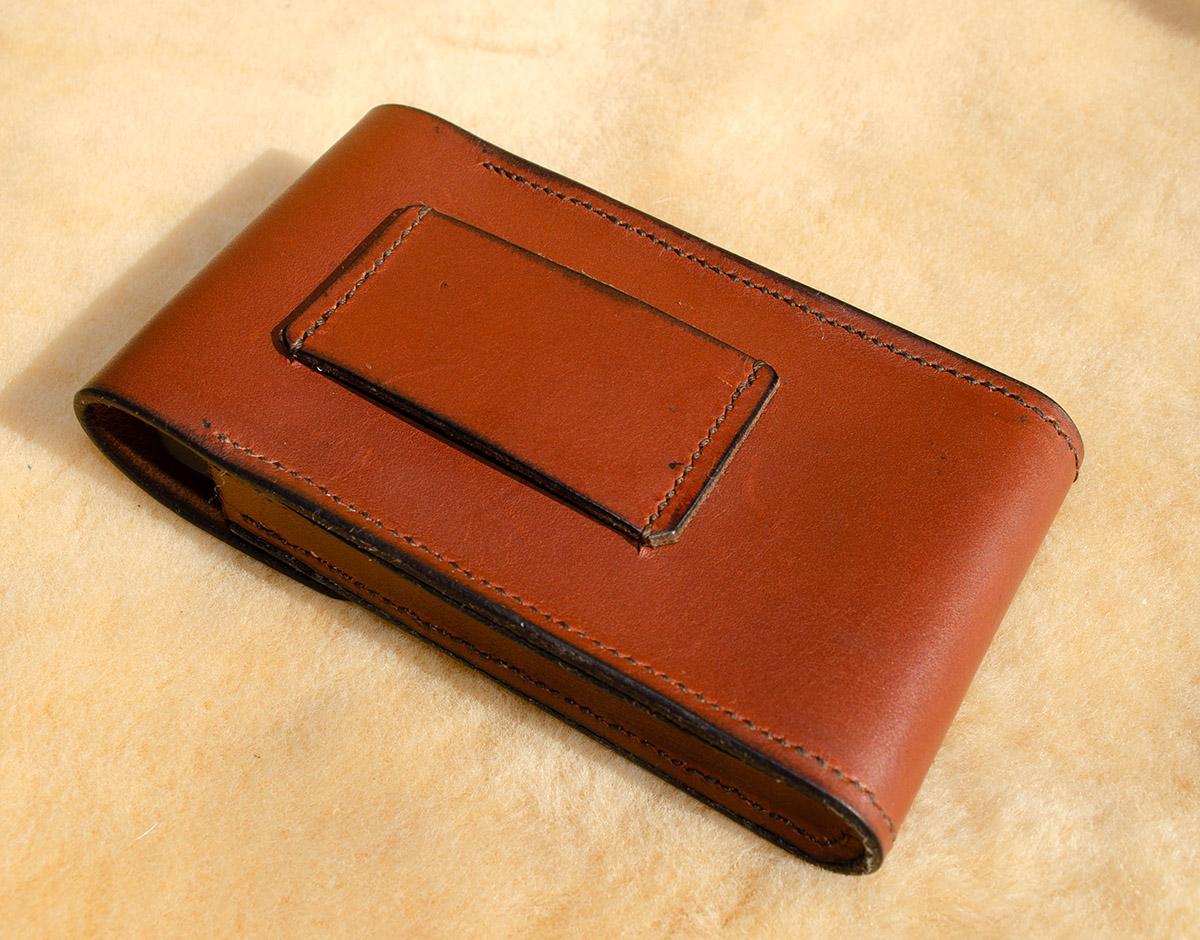
I got tired of my stretchy work belt and phone clips that break, so I made a couple of accessories for my day job as assistant mucker at Maefield Farm. The belt is made from 10 oz Hermann Oak chocolate harness leather with a liner. The phone case is made from 5-6 oz "oil tanned" leather from the SB Foot Tanning Co. The case was constructed around a block of closed cell foam, glued and sewn at 10 stitches per inch. The edges of the belt and case are sealed with beeswax.
-
I think you could adapt the method for laced reins to make this pattern. Would decrease the spacing between holes and perhaps use a lacing chisel (or a sharpened screwdriver), instead of a round hole punch, on the outer holes of the pattern. This would help to keep the lace lying flat. I'd make lace out of the leather of your choice, about 1/8" wide of 5 oz thickness. I would use bridle leather for some stiffness and tap it with a polished hammer to set the shape. Here's how laced reins are laced:
-
New pistol, new holster
TomE replied to Thadrick's topic in Gun Holsters, Rifle Slings and Knife Sheathes
Very pretty! I Iike the colors and the craftsmanship is first rate. -
I regularly sew padded straps as shown in your picture using TSC-441 clone (Cobra Class 4). I typically sew 1-2 layers of 9-10 oz bridle leather over a pad of 1/8" neoprene wrapped with 4-5 oz chrome tanned leather. The pad turns out fine with a #25 needle and #277 thread. I make English tack as well, and prefer to hand sew bridles, reins, and most repairs. I use the 441 machine mainly for halters, and it did a good job sewing new shearling on a surcingle (8-9 oz strap).
-
Beiler's lists the lengths and widths of their bag punches in their catalog. Probably standard widths. Beveling the edge of the slot with a fine edger on the flesh side can help fit the tongue in the slot.
-
Looking for a replacement for discontinued Denver Side
TomE replied to mjpaisley's topic in All About Leather
Hide house has a 4 oz FOC (free of chrome) leather in pistachio, a slightly darker green. https://www.hidehouse.com/Leather/Aspen-Cow-Full-Grain-Semi-Aniline-Finish-AS15-P.asp As best I can tell, this is similar to a chrome tanned hide but using other minerals in place of chromium.