


TomE
-
Posts
1,300 -
Joined
-
Last visited
Content Type
Profiles
Forums
Events
Blogs
Gallery
Store
Everything posted by TomE
-
That's a neat job of installing zippers. Looks very professional.
-

Problem using a TandyPro Deluxe Leather Splitter
TomE replied to Coloradoguy's topic in How Do I Do That?
If you can't find a local sharpening service, you might check with Leather Machine Co. They offer sharpening of the hollow ground blade for their Class 14 splitter. @bruce johnson sharpens blades for Osborne manual splitters and might be able to help you out. -
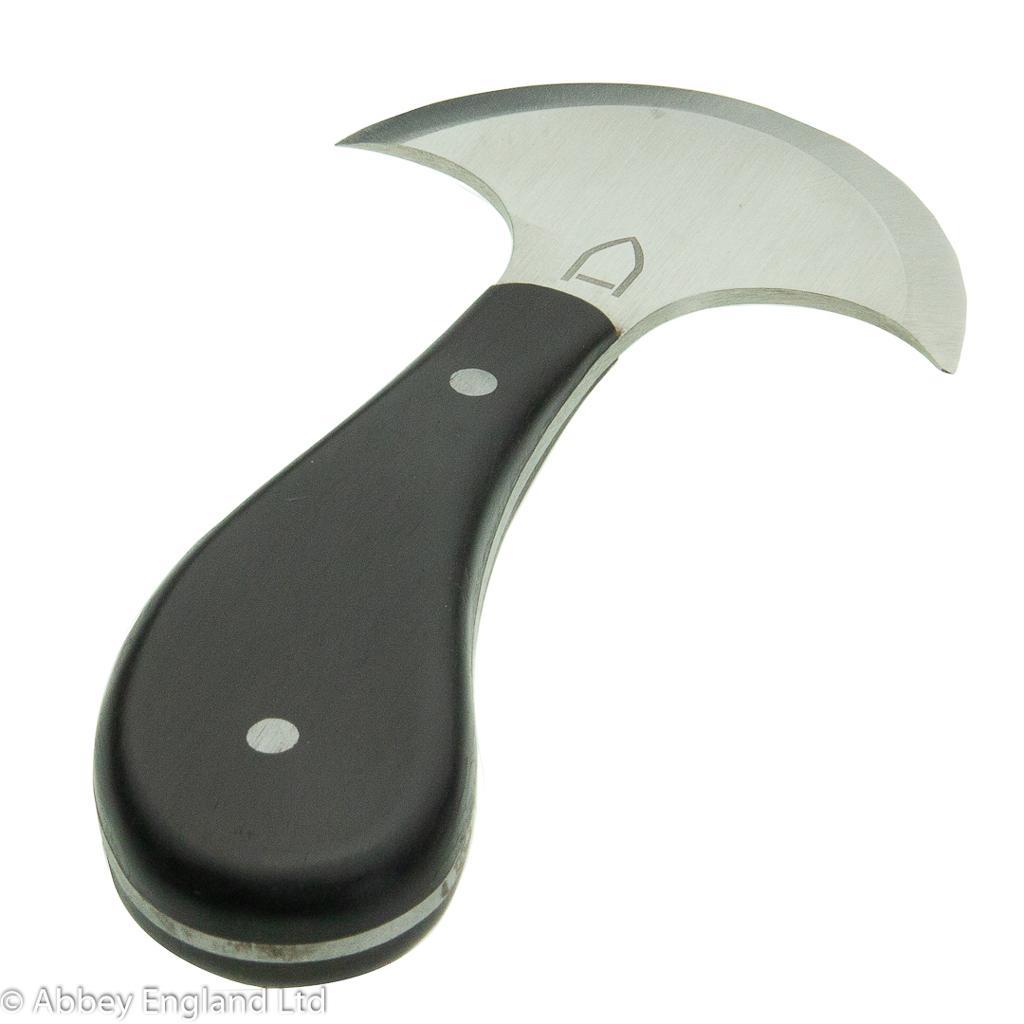
I think I have the same Chinese skiving knife. It's a winner for the price. Another skiving tool I use often is this small round knife from Abbey England. The blade is 68mm = 2-5/8" wide. It holds an edge and is handy for skiving and for cutting egg points/English points on strap ends.
-
Micro Copper Burr Rivets - A Solution
TomE replied to Stagesmith's topic in Hardware and Accessories
Innovative solution and good looking results. Thanks for posting this information. -
Problem using a TandyPro Deluxe Leather Splitter
TomE replied to Coloradoguy's topic in How Do I Do That?
My older Tandy Pro splitter doesn't have the additional depth locking screws on both ends of the roller. It seems that the strap is getting pinched on either edge and drawn up towards the blade in the middle. I don't have an idea why that would happen. Does this occur when using different parts of the blade? Have you tested different leathers of varying thickness/temper? Is the roller centered on the edge of the blade? Also, I don't understand the need for the 2x4 clamping the strap. When I split straps I don't have any pressure on the strap entering the splitter. I am careful to pull the strap through at a consistent angle, slightly lower than horizontal. -
That's an interesting point, Chuck. It seems the ability to use a sewing awl is a dying art, driven in part by the ability to market expensive punches and irons. I've been an advocate for the efficiency, versatility and esthetics of awl sewing - holes always line up, can sew odd shapes that are difficult to punch, the hole size matches the thread. I'll add strength of the stitch to the list. Strength is tested on a regular basis with horse tack. I haven't seen many examples of failed stitching. It's usually the leather breaking where it wraps around hardware. I have seen linen thread rotted out after many years.
-
Beautiful workmanship! The white stitching really shows it off.
-
New Tool Idea - Large Leather Shears - Should I make these for sale?
TomE replied to Stagesmith's topic in Leather Tools
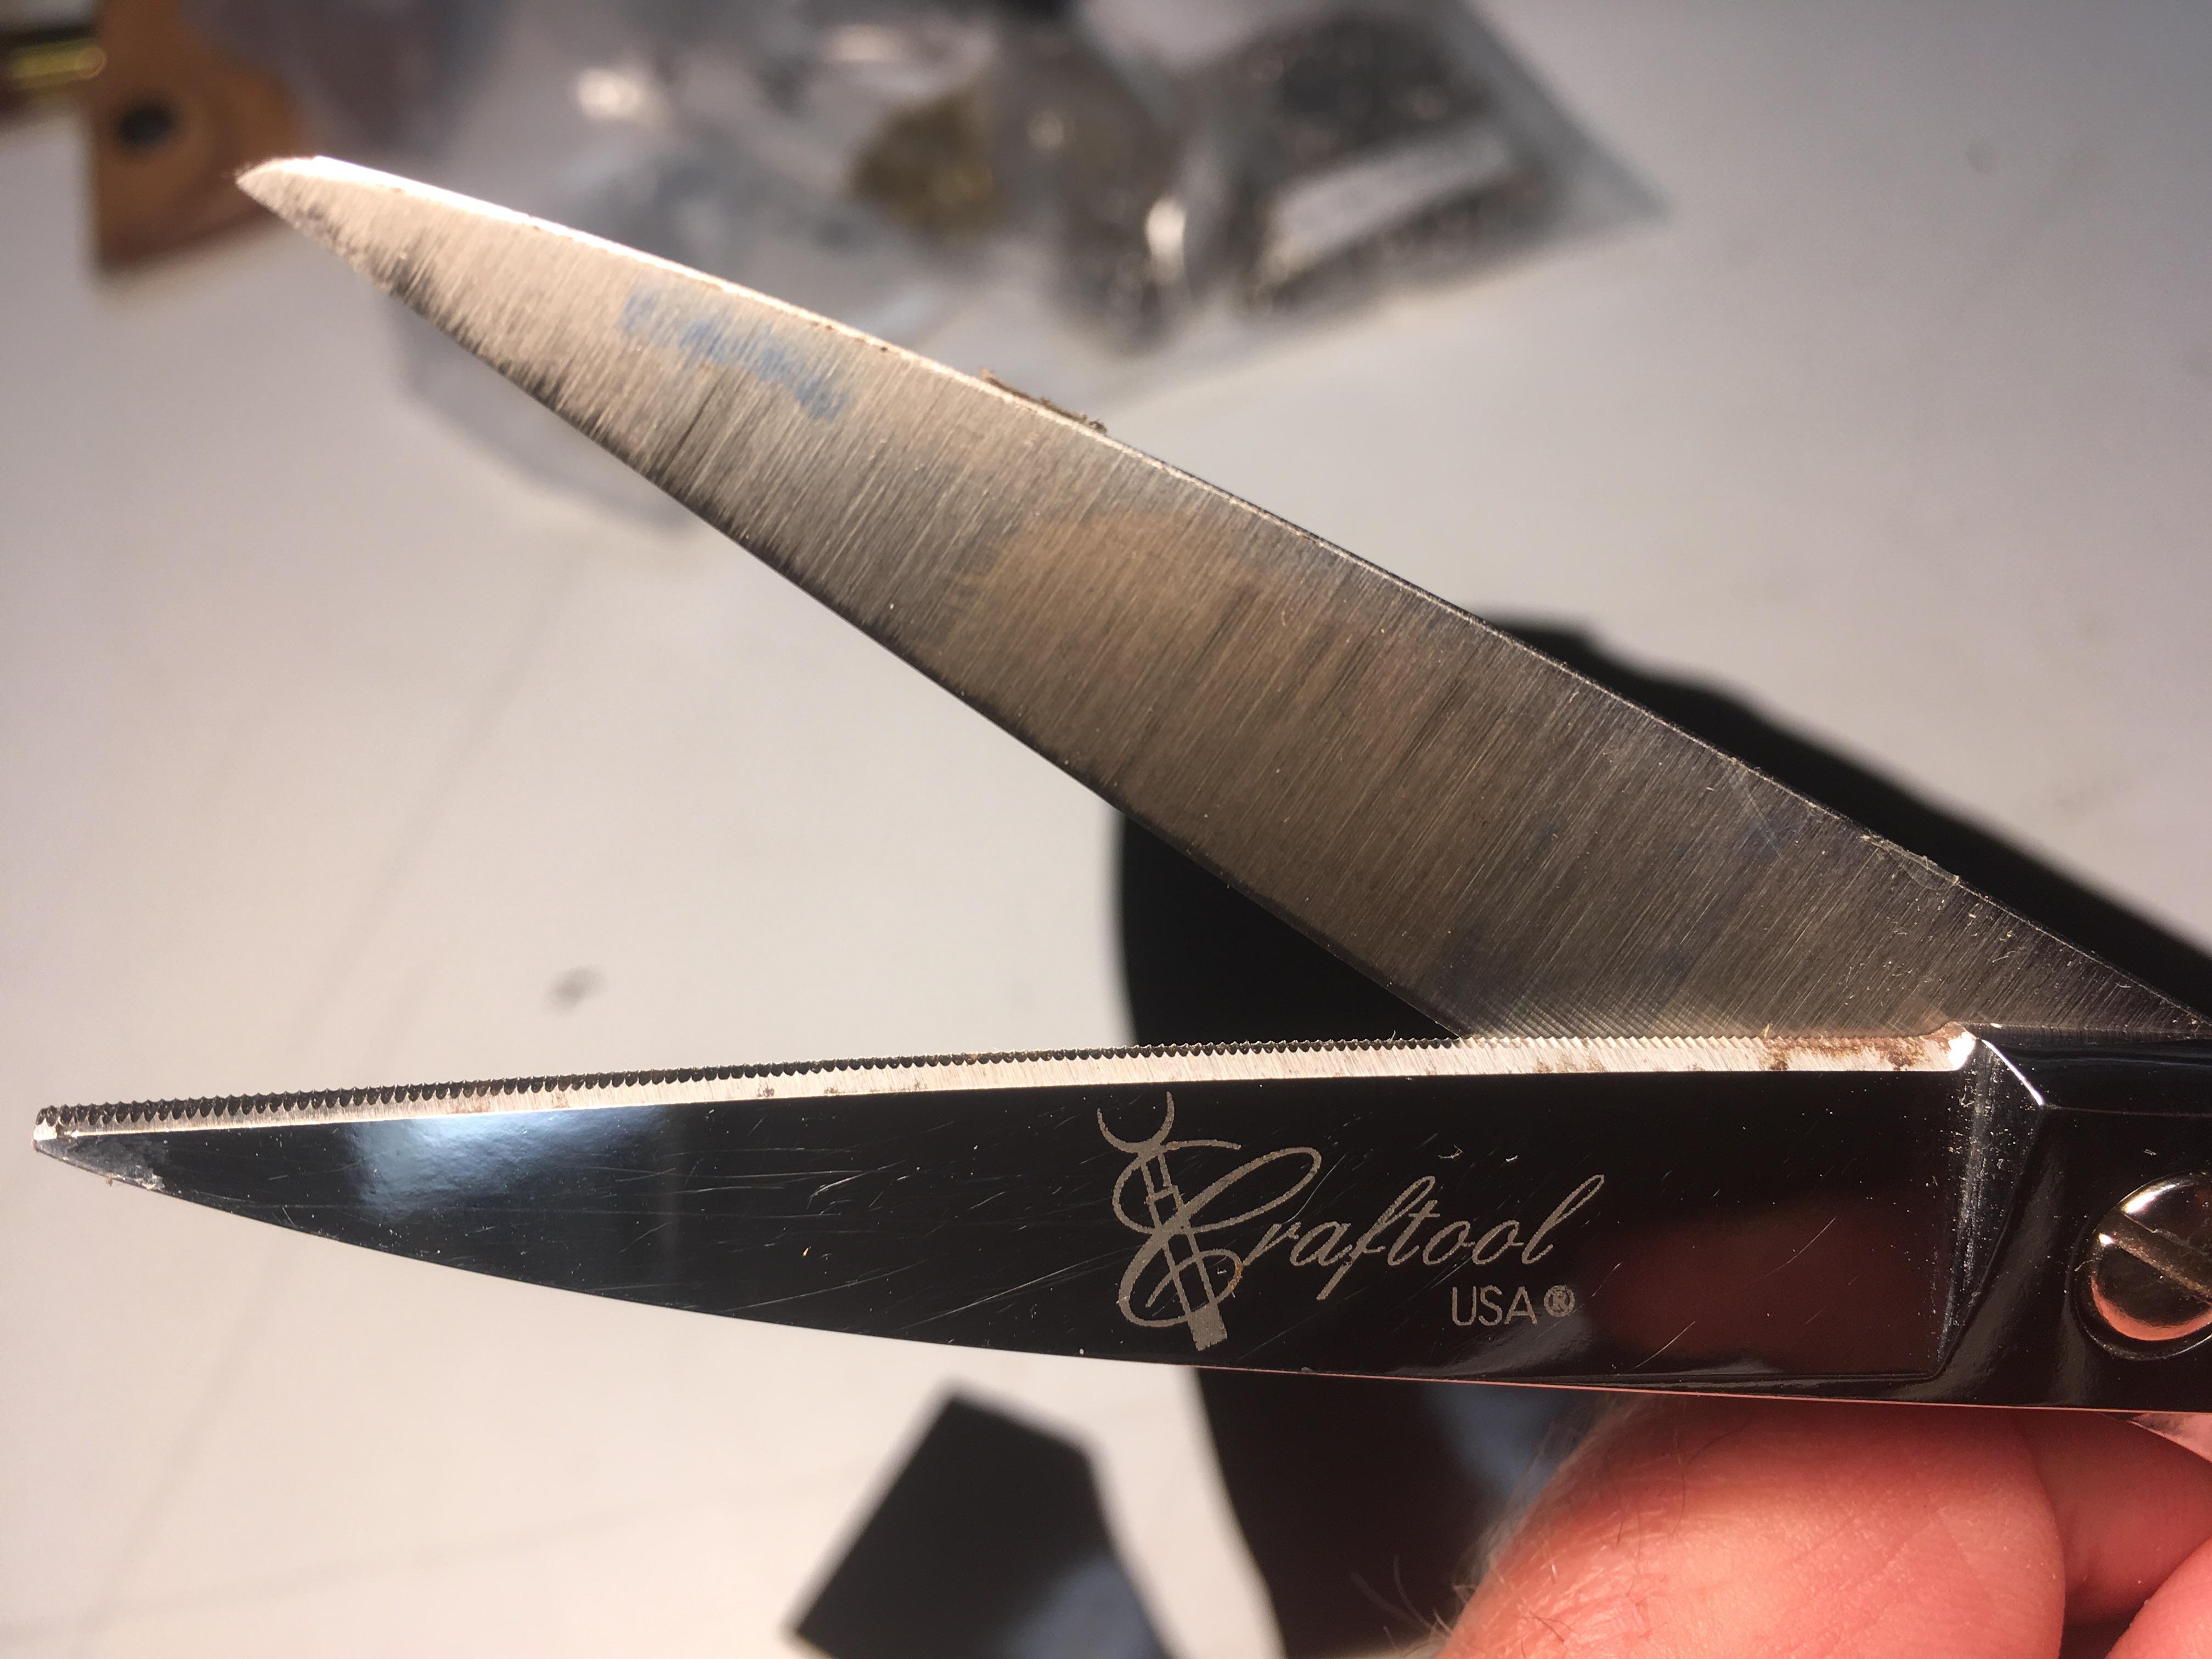
I have 9” Craftool serrated scissors that I really like for trimming light weight leathers. Tandy doesn’t sell them anymore, so yes, I think there’s a market your serrated scissors.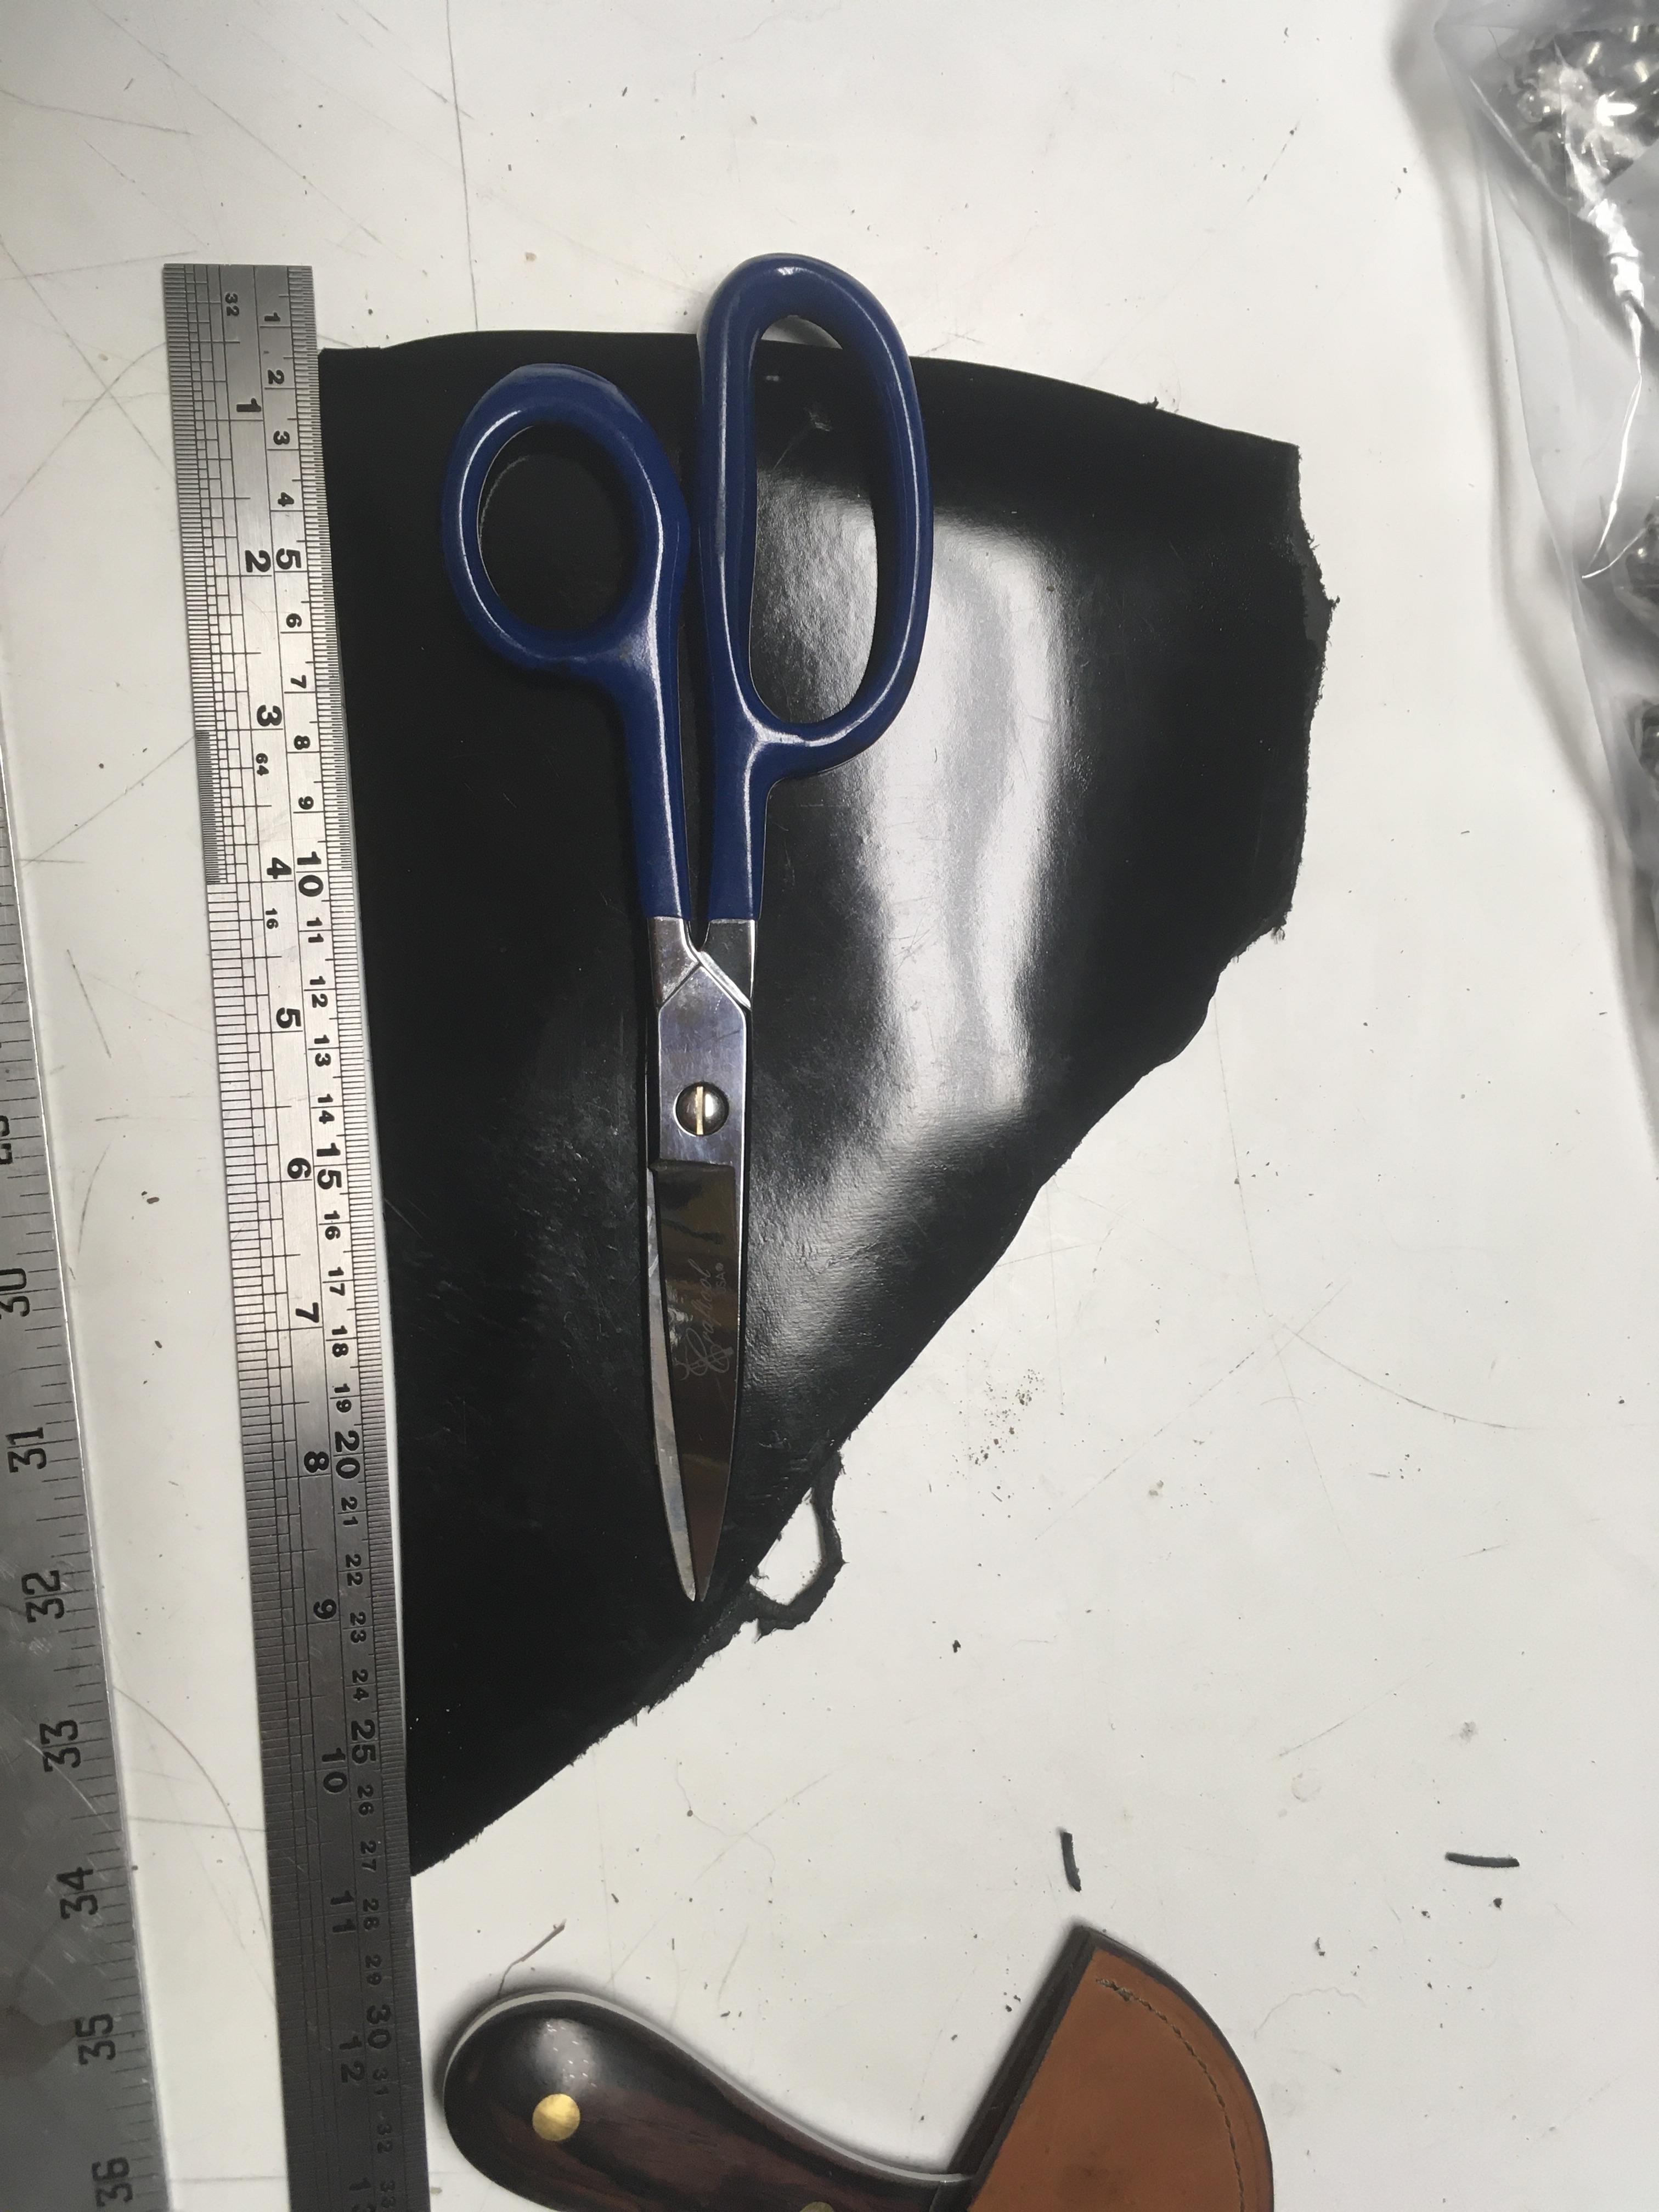
-
This thread addresses your question about a walking foot. I did a Google search "site leatherworker.net Singer 44-10" and found a lot of information.
-
Not really a shop accident, but for the last 17 years my "shop" has been horse barns with broodmares and youngsters. We had purchased a mare that hadn't been handled much. I getting to know her and trimming a hind foot when she decided to jump through/over me. She didn't make it and broke 3 long bones in my foot, although I didn't know it at the time. A veterinarian friend stopped by the next day and offered to take some x-rays. He determined the foot was broken. I made an appointment with a foot/ankle surgeon and took the x-rays along. During the appointment a thunderstorm knocked out the power and they said I'd need to come back for x-rays. I told them I happened to have my own x-rays in my backpack. The surgeon was impressed and said he gets x-rays from podiatrists that don't even look like a foot. I told him that equine vets have experience radiographing patients that are less cooperative than me. So he put me in a walking cast and sent me on my way. Twelve years later the mare and I are like two flies on a donkey's ass. She produced a pretty black filly this year and is pregnant for next year's foal. She's in her late teens and this might be her last foal. She will retire here as a babysitter of weanling foals.
-
Might contact Bob Klenda about his batwing pattern #44. https://www.klendasaddlery.com/patterns.html He's a regular contributor to the Leather Crafters and Saddlers Journal, and recently published a book on making chinks and chaps. https://leathercraftersjournal.com/product/from-my-bench-to-yours-a-handbook-for-making-chapschinksarmitas/
-
That's a handsome belt! I like the transition of the decorative stitching, continuing to the ends of the belt.
-
Do you sell the clincher links that Standard Rivet carried, or know where they might be found? Found them on your website! Will place an order, thanks.
-
I use a 3 lb Osborne maul for most every drive punch and setter. It is nicely balanced making it easier to control the force.
-
@bruce johnson has overstitch wheels in various sizes.
-
Tutorial, replacing zippers in riding boots.
TomE replied to Mulesaw's topic in Shoes, Boots, Sandals and Moccassins
Thank you for all the tips, Jonas. I've been buying a roll of continuous zipper and cutting to length then adding stops. With the Vislon/formed tooth zippers I've seen videos from Sailrite where they melt the teeth (using a heated nail or similar) to create stops. I've raised my prices for zipper replacements as I gain more experience and demand grows. I am becoming friends with my patcher as I use it more. Has a different rhythm than the compound walking foot machines. We have a visiting horse who wears rubber bell boots continuously (has an undiagnosed skin condition that is aggrevated by sunlight) and he rips the rear boots regularly. I've been patching them with 4 oz leather - they have a hook and loop closure - this seems to last and saves quite a bit of money. -
Leather covered bit, replacement of the leather
TomE replied to Mulesaw's topic in Saddle and Tack Accessory Items
Good looking stitching, Jonas. Stohlman's hand sewing book shows a baseball stitch using one needle. I couldn't get that method to look tidy, so I am using 2 needles now. Looks like you do the same. -
Tutorial, replacing zippers in riding boots.
TomE replied to Mulesaw's topic in Shoes, Boots, Sandals and Moccassins
Your tutorial is a welcome resource, Jonas. I was sewing from the top, around the bottom, and back up the other side. That was causing lots of problems with the lining and zipper moving, and breaking needles crossing the zipper to sew up the other side. I was putting a metal bottom stop on the zipper and have stopped doing that. Will try your suggestions at my earliest opportunity. Thanks a lot! PS How do you treat the top of the zipper? Do you add top stops? Do you remove teeth and fold the tape back on itself? -
It's been a few years since I priced pricking irons. These particular irons are well made and should last a lifetime for marking, not punching, holes. An overstitch wheel will do the job as well.
-
A sewing awl has a diamond profile that pairs nicely with the pricking irons. The tip of the awl is sharp and the shank is polished to stretch the hole, which closes up after the stitch is made. Enables fine stitching with the thread filling the holes.
-
I use an overstitch wheel or these pricking irons to mark holes https://www.rmleathersupply.com/products/rocky-mountain-premium-pricking-irons. I make the holes with Osborne sewing awls of various sizes. A sharp awl works well for thick leather, irregular shapes, and sewing under fixed loops/keepers. The awls get smaller as they are repeatedly sharpened, so I can match a range of thread sizes.
-
Need to determine if the uneven absorption is intrinsic to the leather versus a result of glue bleeding through to the grain. I woud check whether a scrap of the same leather takes up water or neatsfoot oil evenly, then explore other causes from there. Uneven density of the fibers in the leather can affect how it absorbs dye and other liquids. Some parts of the hide are less uniform in structure and tanning faults (= cheap leather) can also contribute. A possible remedy is casing the leather or lightly oiling before dyeing to open up the spaces between the fibers . Contaminants that interfere with dye uptake can be cleaned off the surface with a solution of oxalic acid. A few teaspoons in a quart of warm water. Oxalic acid is a mild bleaching agent used by saddlers to prep leather for dyeing.
-
Fratelli Alberti (FAV) has a wide guide https://www.fratellialberti.com/en/spare-parts/1244/ and a 30 mm roller foot https://www.fratellialberti.com/en/34-mm-presser-feet/1498-c/ . The FAV parts that I've purchased through Campbell-Randall have been a good fit for my Techsew SK-4 bell skiver.
-
https://www.wood-n-stuff-shop.com/
-
For me, the key is educating clients about the maintenance of leather items used outdoors. Some do a good job and their items last a long time.