Search the Community
Showing results for tags 'bifold'.
-
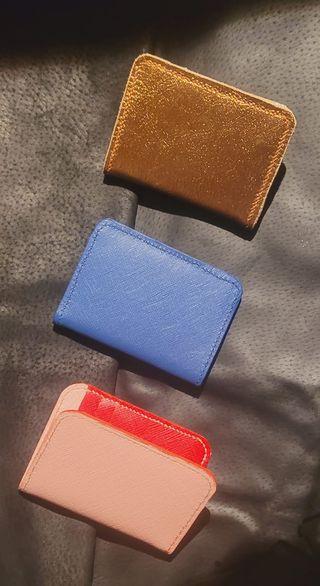
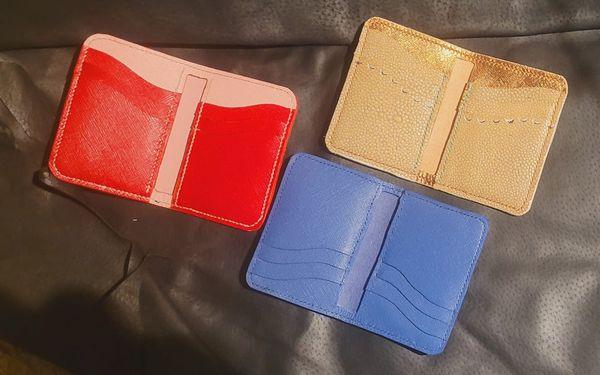
I'm building up an inventory. Here are three I completed this last week. Pink and Red Saffiano with beige Ritza thread. Blue Saffiano with blue Ritza thread. Bronze metallic Saffiano with faux ray-skin pockets, using chestnut Ritza thread. Each time, they go a bit faster and a bit smoother!
-
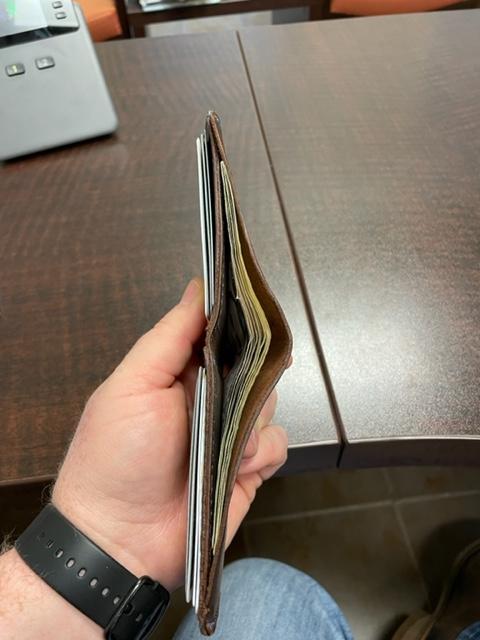
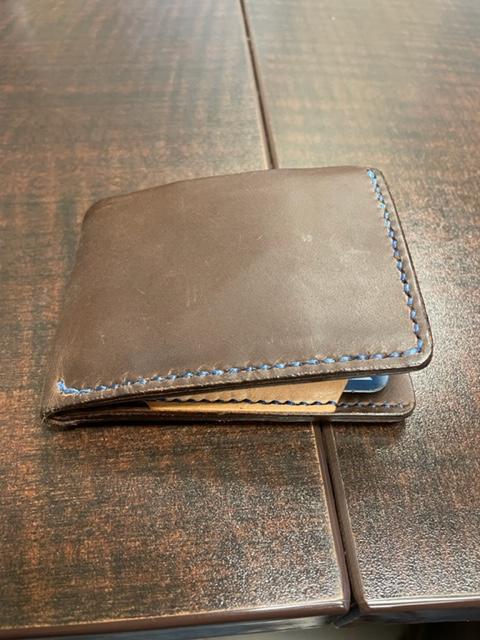
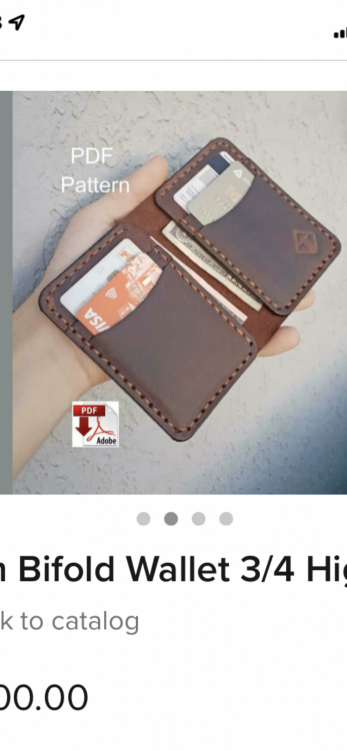
Afternoon Everyone! Me and my girls did a craft fair a couple weeks back and I ended up selling a gentleman the wallet out of my pocket that I had made for myself. So, I needed a new one. Here are some picture of it. I'm pretty happy with this design. If I made another one I would make it about 1/2" wider so the card pockets would lay better but. I have 8 cards in the pockets and my work badge in one of the outside pockets. You can see in the last picture that I put pockets on each side between the cash pocket and the card pockets. I could have gotten a little more meticulous on my corners but I knew I was making this one for myself so I called it "good enough." Let me know what y'all think!
-
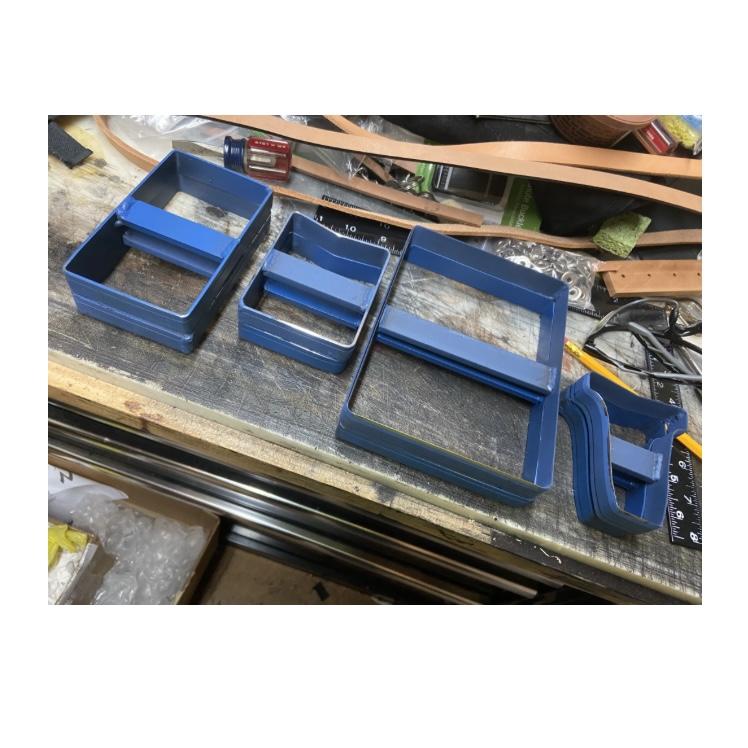
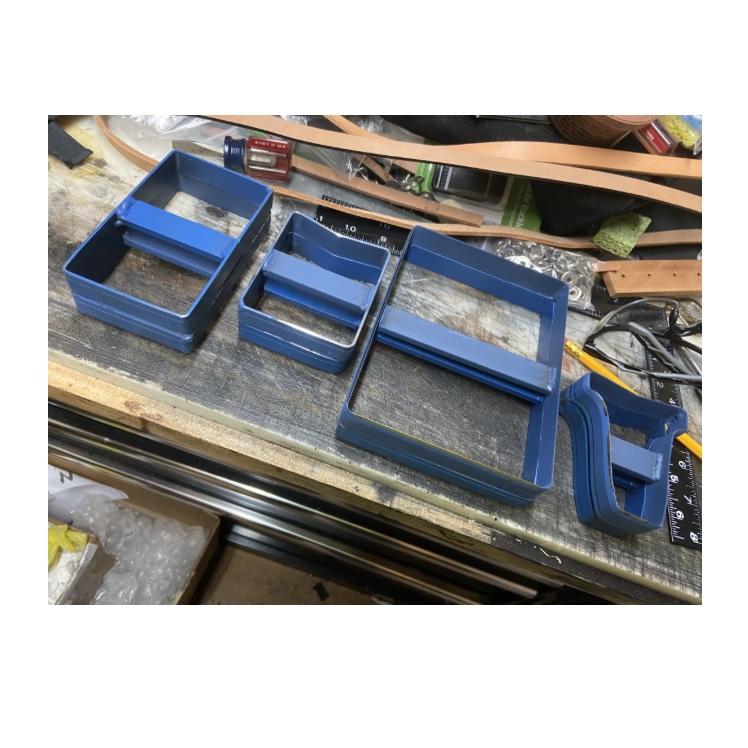
I have a new Int’l Die small bifold wallet cutting die for sale. The company was closing and kept sending me the wrong kit (3 damned times). The kit is made with 3/4 inch rule, there are 4 pieces and never used! $120 for the set, $20 shipping, plus tax if you use a credit card or debit card. No I will not send samples (ruins the “never used” status) . Price is non-negotiable! Contact me by here, DM, or call 980-621-5851 I block weirdos
-
Hey y'all, my name is Brian, owner of Upstate Handmade. Thanks for accepting me to this channel. I want to show off some of my work but my photos are to big. Please findme on instagram: https://www.instagram.com/upstatehandmade/ Would love to hear what y'all think!! Thank you all
-
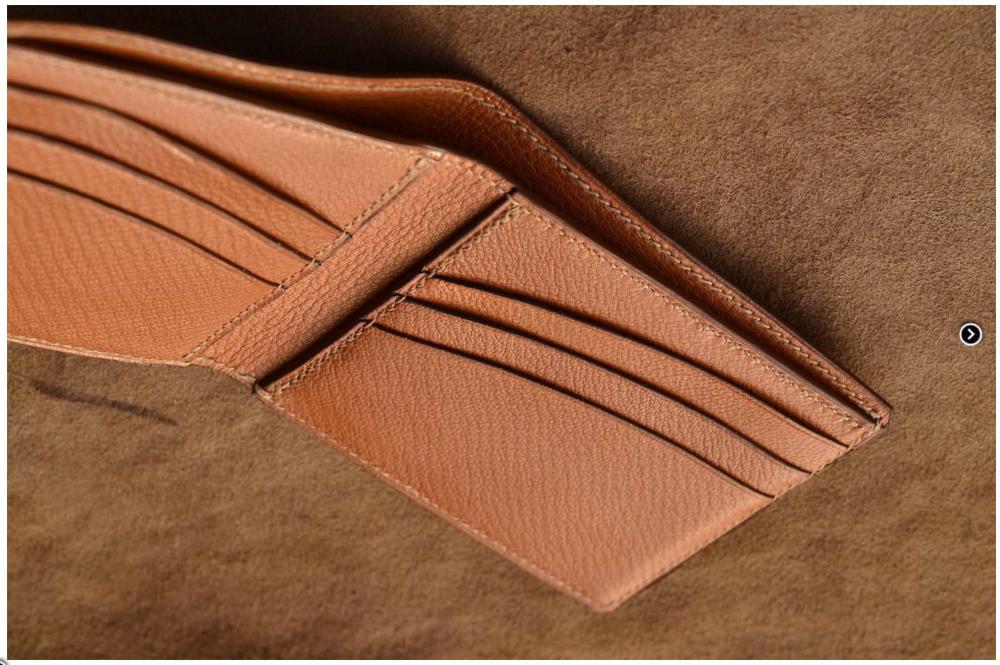
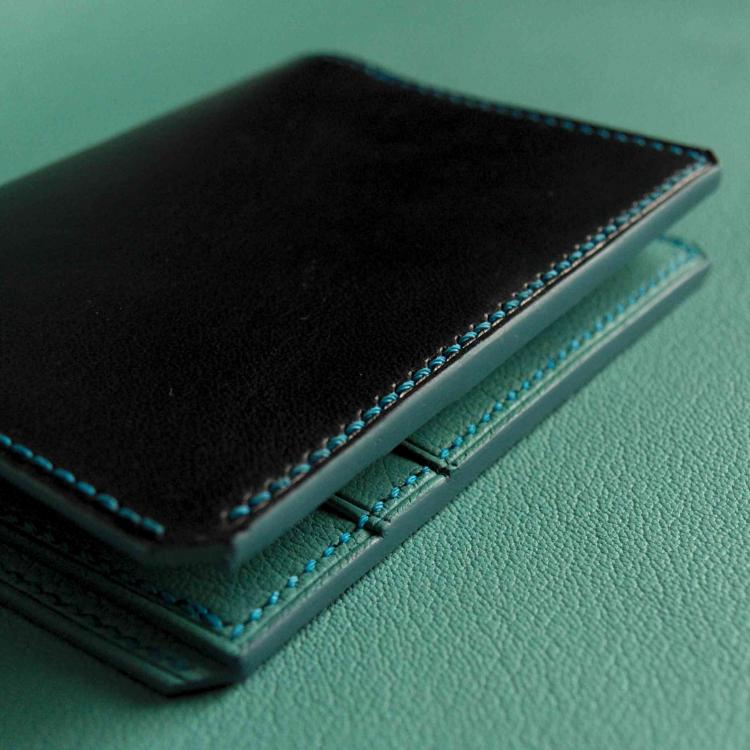
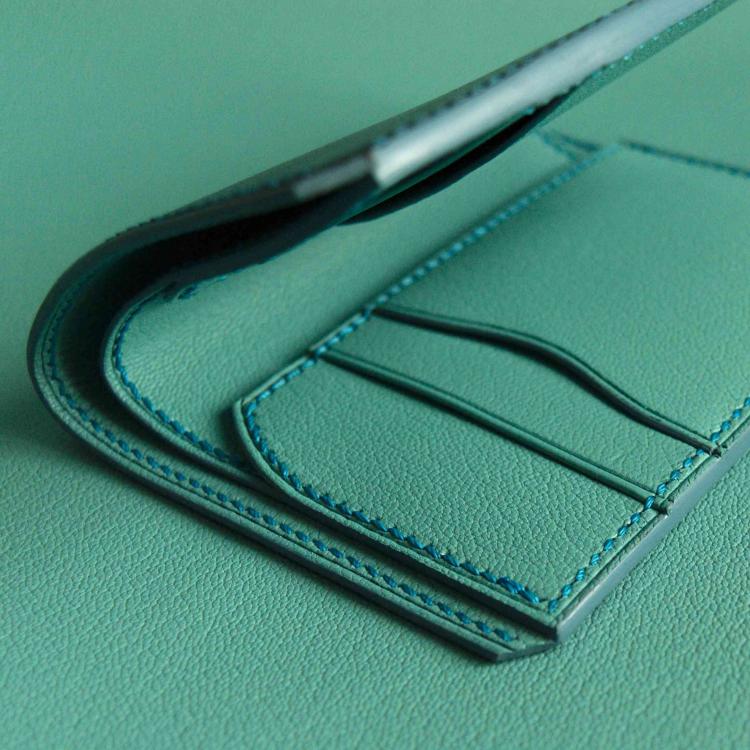
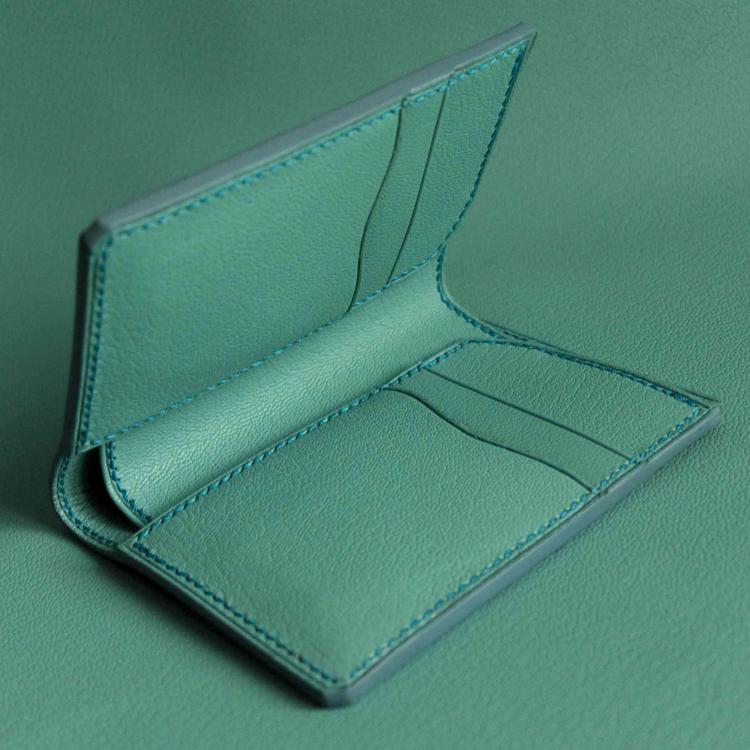
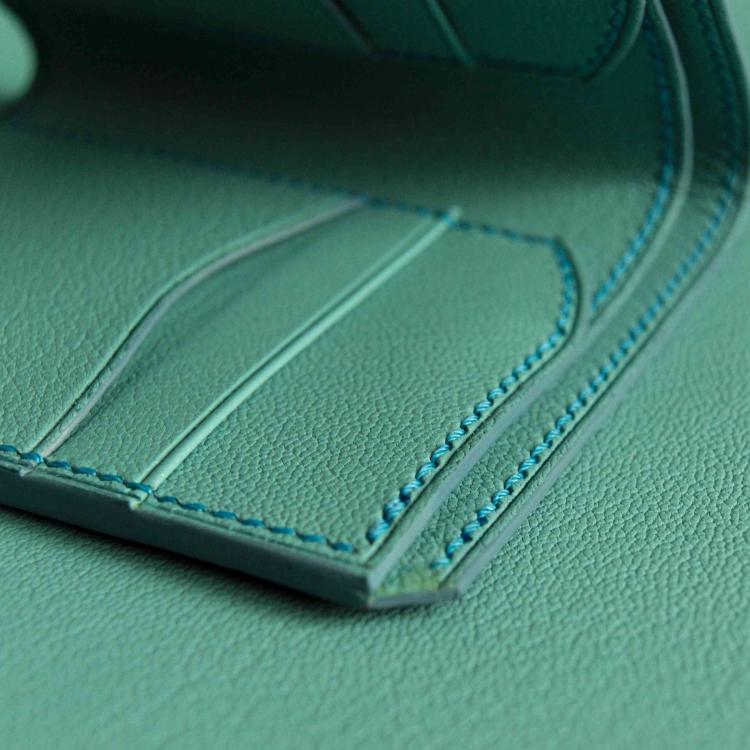
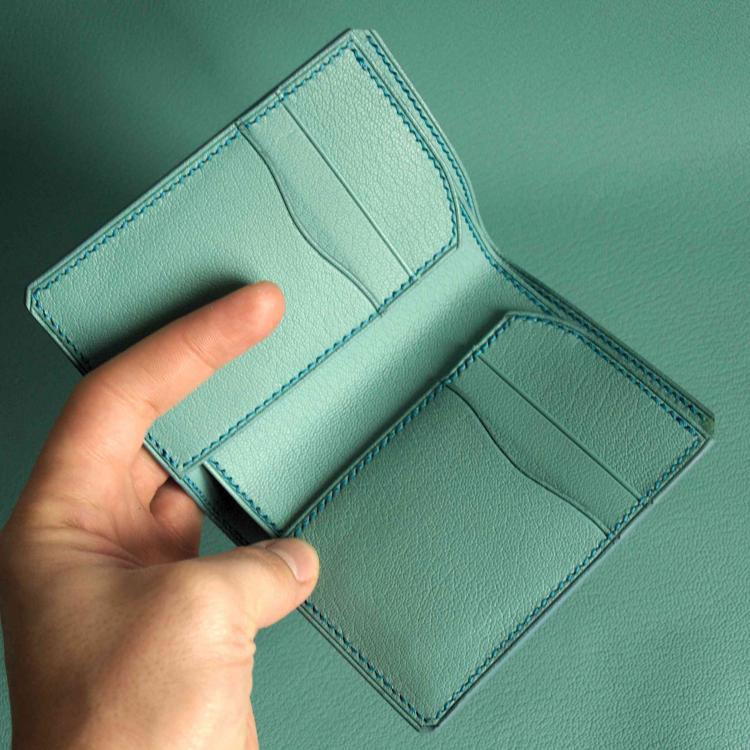
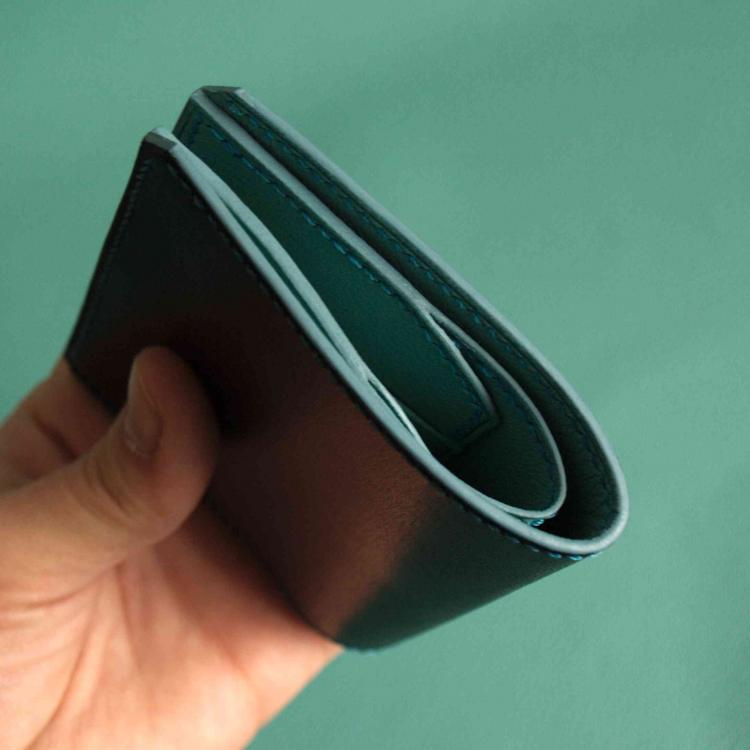
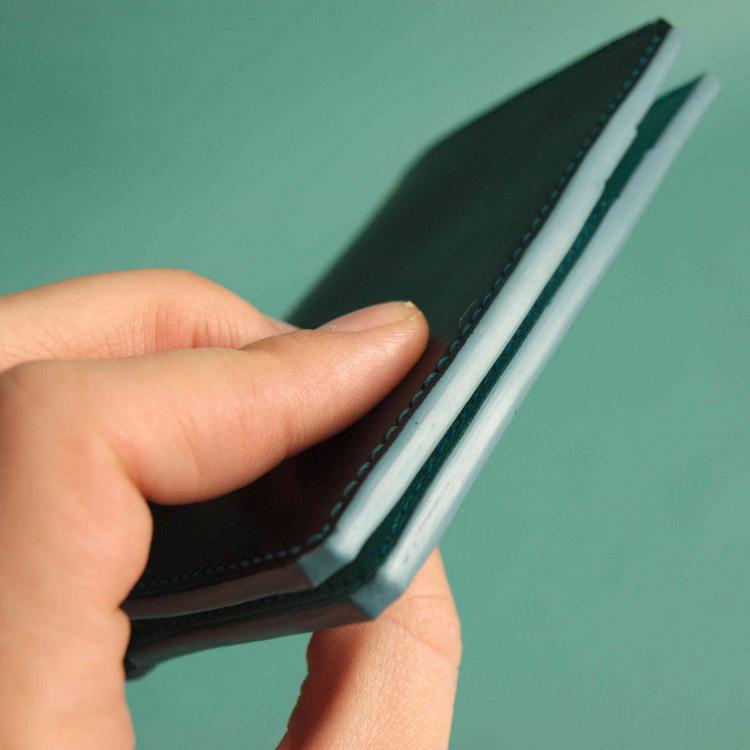
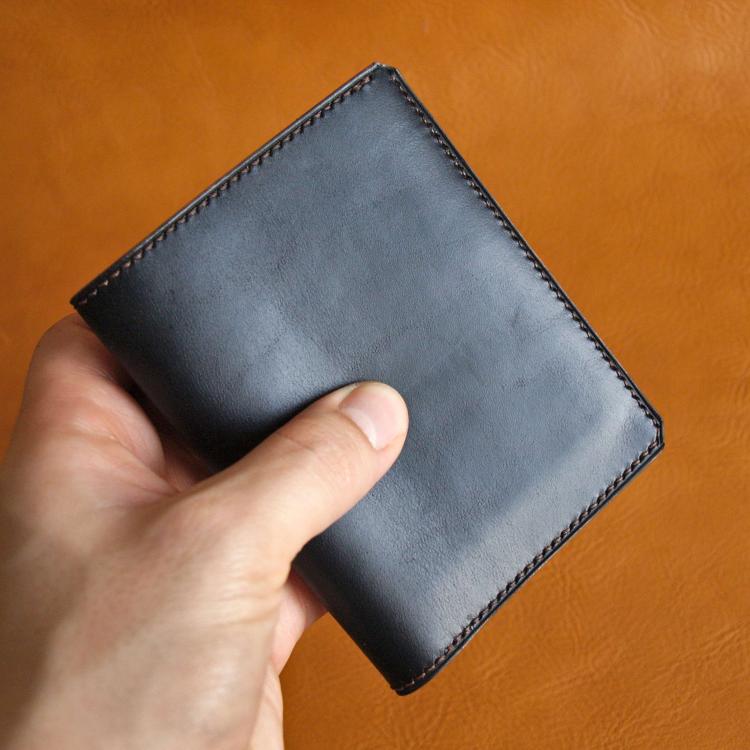
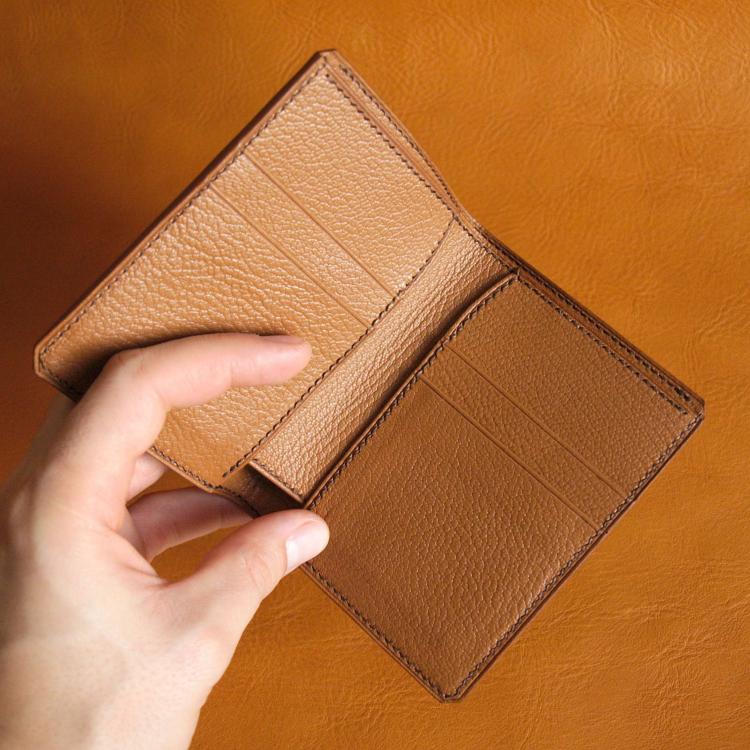
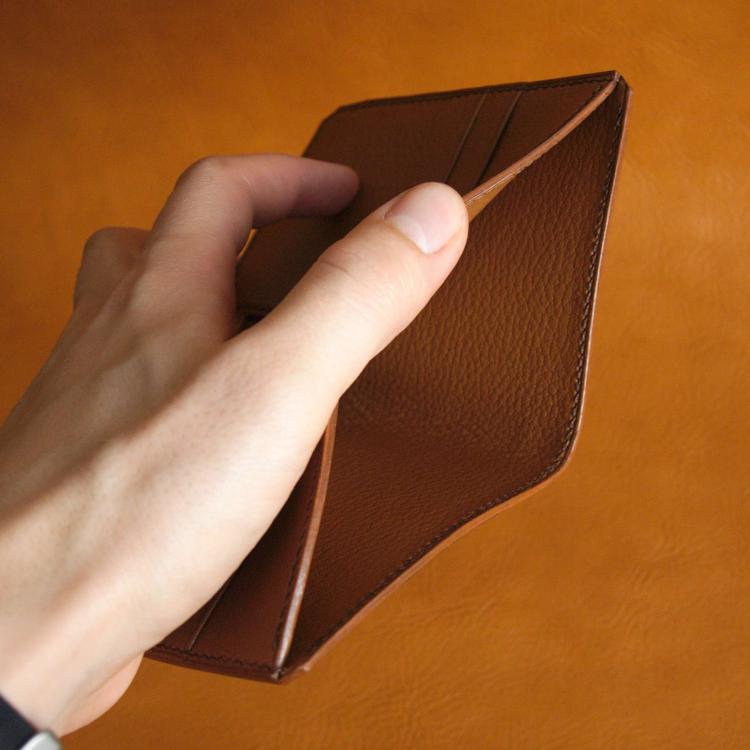
Exterior is Horween essex, Interior is Chevre sully, the wallet is fully lined. My first fine wallet, made it for myself, and plan to make a few in different color combinations for sale
- 31 replies
-
- 19 replies
-
- mens wallet
- wallet
-
(and 3 more)
Tagged with:
-
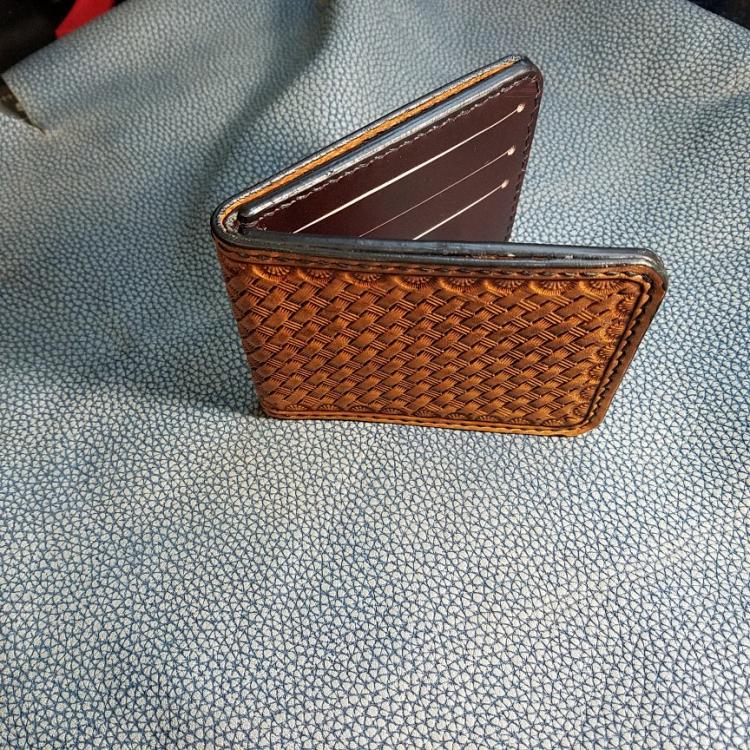
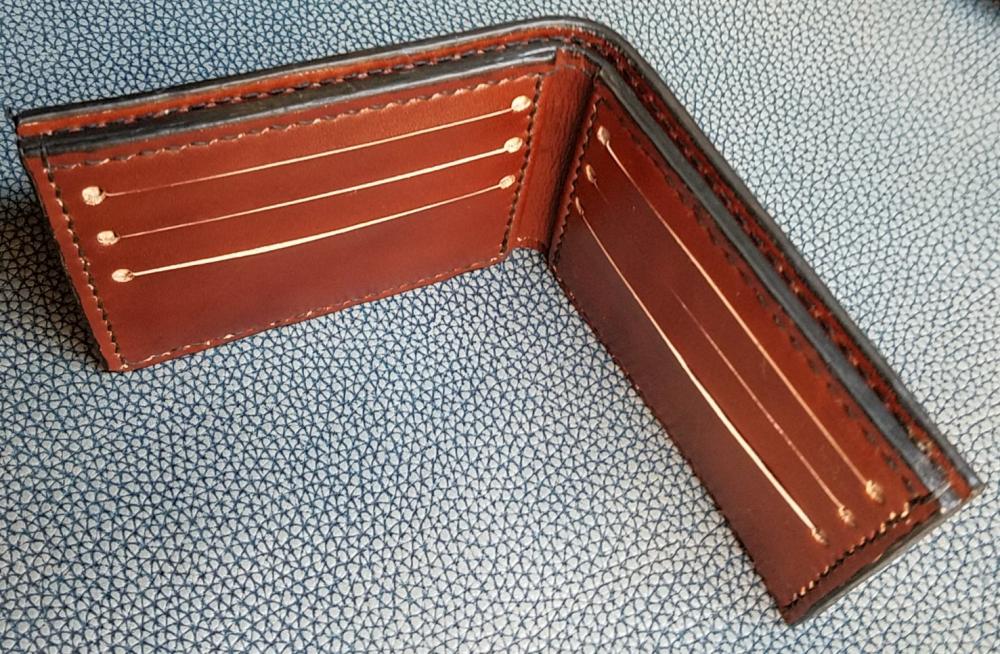
Here is another one I finished up for a customer. Simple basket weave. Wickett Craig russet 4/5 oz outer, a nice finished chrome tan dark cherry color 2/3oz inner. Painted edges due to crome tan. Lined with pig skin. As always, all comments critiques are welcome
- 4 replies
-
- makers leather supply template
- bifold
-
(and 2 more)
Tagged with:
-
Howdy folks, just finished this one up. Just a bifold for a friends uncle. I used wickett and Craig 5oz for the back and 2-3 for the interior and linings. Used an airbrush and Feibings mahogany and mop n glo to seal. Got a bit thicker than I'd like but it'll do the job. A little wonky stitching in one of the corners too. I had to fight this one a little though. Always open to critiques and comments thanks!
- 9 replies
-
- custom name
- bifold
-
(and 1 more)
Tagged with:
-
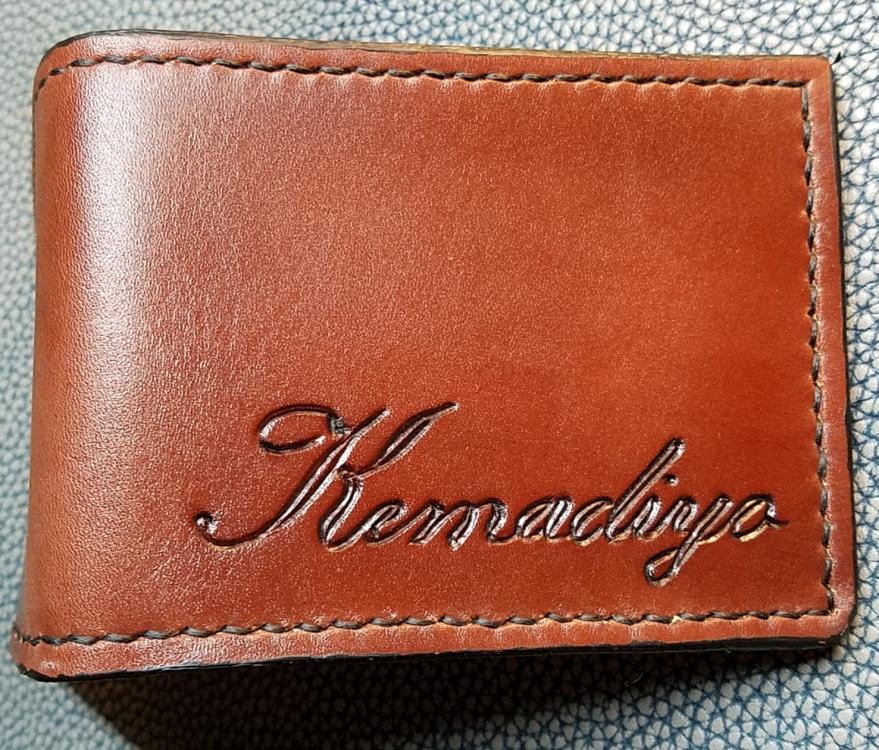
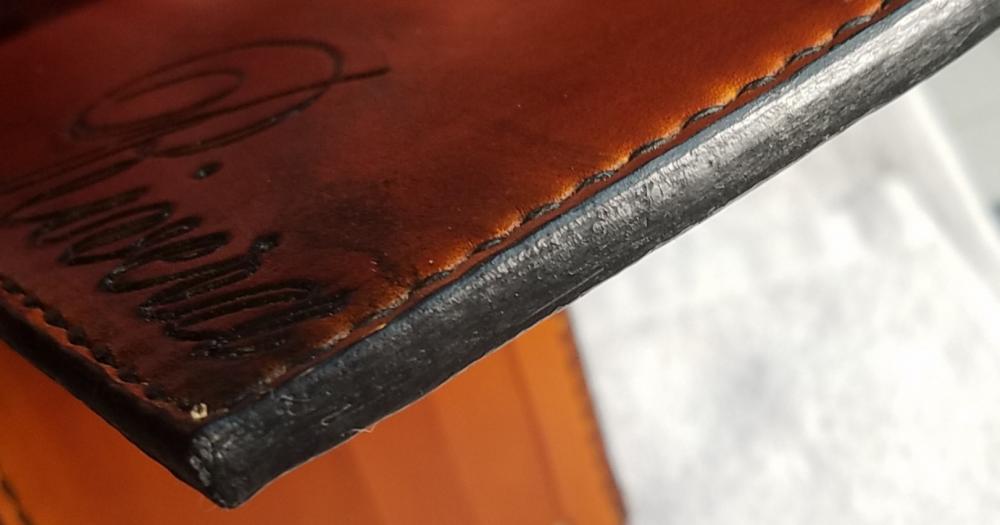
Hey guys, just finished this up. And I'm actually pleased with it. Few firsts on this one. It's a 6 card wallet with two hidden pockets. 4/5 oz wickett Craig exterior and 2/3 oz interior all lined with some pigskin I had layin around. I used fenice edge paint which is a first, and antiqued the carving with acrylic paint(also a first). Feibings Saddle tan and resolene to finish As usual, critiques welcome.
- 6 replies
-
- name carving
- script
-
(and 1 more)
Tagged with:
-
Hi, I'm Andy, I've been a reader a longer time here and I wanted to show you a wallet I recently completed. In normal life I'm an IT guy and a few months ago I had the feeling I need to create something with my hands to compensate my fully mind-based job, if you know what I mean. I came to leatherworking by the requirements that I can do it with my hands, I can do it in the apartment at home, I don't need big tools and I don't make much noise (since my son is sleeping by the time I'm working). While I now know that the last part is the hardest I came to have pretty much fun with leather so I think now it's the time that I can start to contribute here once in a while. So here's a Bifold wallet I made, the leather is veg tan kangaroo, lined on one side with some cotton, dyed by hand, finished by hand and stitched by hand with Fil au Chinois 332 blue. I started all my projects with Tiger thread and was pretty happy about it but since everyone talks about that French thread and common opinion is that this is the best thing to use, I gave it a shot. And...I hate it. I needed to wax it extra since without extra wax it was impossible to sew with and it created knots by itself all the time. Maybe someone has an advice for me, maybe I was totally doing it wrong but I breathed a sigh of relief when I was finished. Since I'm a total beginner I used Craft Sha 3mm stitching irons and a standard saddle stitch (as explained from Nigel Armitage in his videos and I watched Ian Atkinson as well). However I can't get that zig-zaggy look on both sides. My stitching is always ok on one side (I chose the outside of the wallet for that side) and straight on the inside (can be seen on the second picture). Maybe my material is too thin, but I stitched a lot (compared to the time I'm doing leather items) but I can't figure out how to get it right. I also tried the overhand knot Nigel is referring to but that isn't helping. MAybe some of you have an advice for me. C & C are appreciated. Thanks, Andy
-
Well my wallet that I had for years fell apart, and I have been wanting to try one for a while, so here it is. This is a 5 pocket bifold made from 3-4oz Hermann Oak craftsman grade veg tanned leather, in ecoflo Bison Brown with a coat of Aussie. My edges could have been better, but I'm happy with the color and the stitching.
-
- 11 replies
-
Hey guys, Finally getting around to sharing this here. My first crack at a bifold wallet with T pockets. Black cowhide outer, black kangaroo skin inner, saddle stitched with black braided polyester thread from lekoza. The cardslot is for the customers site access pass which he carries separately, and is made from kangaroo leather. Let me know what you think! Also if you like, you can follow me on facebook: https://m.facebook.com/wedgetailleather/ And on YouTube where I am sharing my leatherworking journey, as well as some tips and tutorials. https://www.youtube.com/channel/UCV1h2k3aSVrjAaLddck_NdQ
-
Alright, hello, and thank you to anyone who can point me in the right direction. So, recently I have started working with leather and I just want to master making wallets, but I'm confused as to how people do card slots. I've been following some people on Instagram and have been inspired by their work - Maybe someone could tell me how they do their card slots? Here are the examples I'm looking at: So judging by the stitching around the card slots, I believe that each slot has been cut so that each piece can line up with each other where I assume there is only two layers on the edge, a back and all the card slots lined up. Here's a T-slot! So, at this point I'm thinking, OK - Make T-slots, easy... But when I made a wallet there were "tightness" issues where the card slots at the back worked fine, but the card slots at the front were very tight - SO, do people make different sized card slots for the first, second, third and fourth card slot? Another side note, Mattnudi from this T-slot photo told me that he glues two pieces of leather together 0.5m leather x 2. IS this common practice as well?! Right moving on... Here's my biggest confusion.... So obviously this wallet is layered and T-slots are not used. I wonder if their are two pieces of leather glued together for each slot as well. Anyway, I have big problems with T-slots and whether they should all be the same measurements, and if so how do I avoid tight card slots? And how can I make non-t-slots viable without super ugly edges? Was going to include edge tips as well in this - Anyone know a good edge paint product? Sam
-
Hey guys - Here's a bifold wallet I just finished for myself. I decided on a crab design because I'm from Oregon and we love our dungeness there and am also a Cancer in the zodiac thingy. Initials are on the front, crab design on back. Traced it from a real picture of a dungeness I found on the internet. Stitching is tandy brown polyester. Edges beveled and then burnished with gum tragacanth. Made it from a 4-5oz single shoulder from Tandy but had to skive it down a bunch so it wasn't too thick. More pics at www.instagram.com/leathercrabwallet Please let me know what you think. Thanks! Ted
-
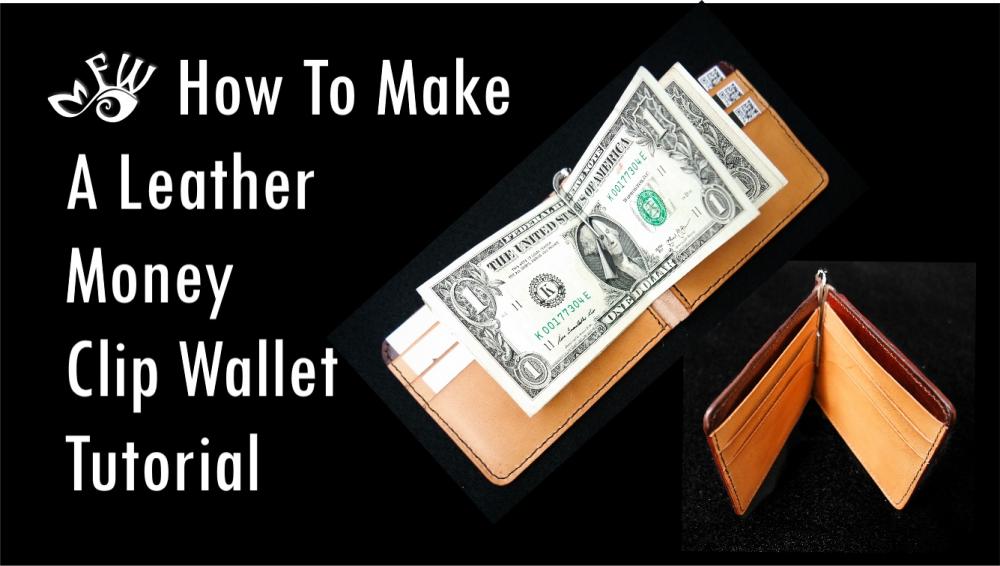
Hello everyone, I have just released my latest tutorial on an ultra thin and compact leather money clip wallet. You can visit my Youtube channel to see the new tutorial at: https://www.youtube.com/channel/UCuxgLLYGCxEJInI0NlbAgMA. Thanks!
- 1 reply
-
- money
- money wallet clip
- (and 9 more)
-
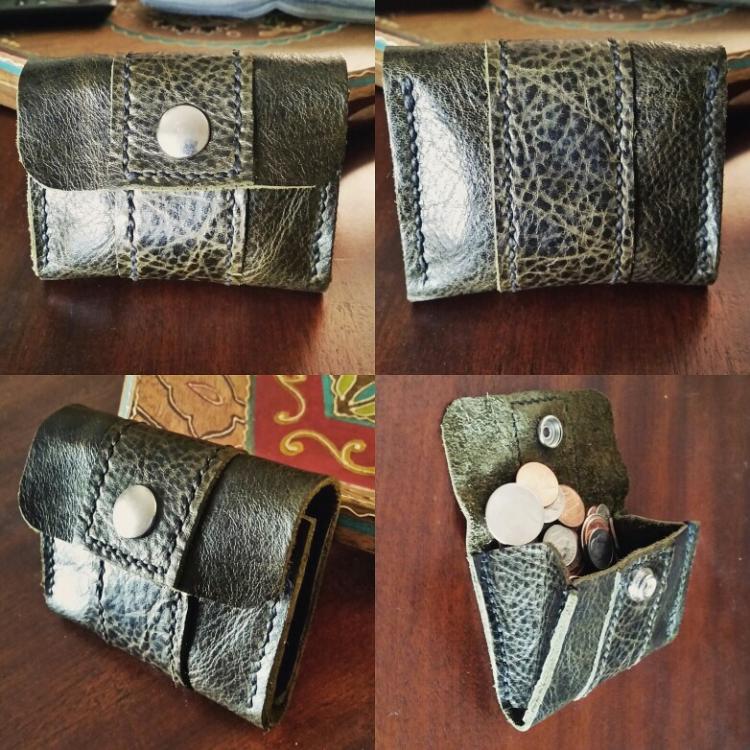
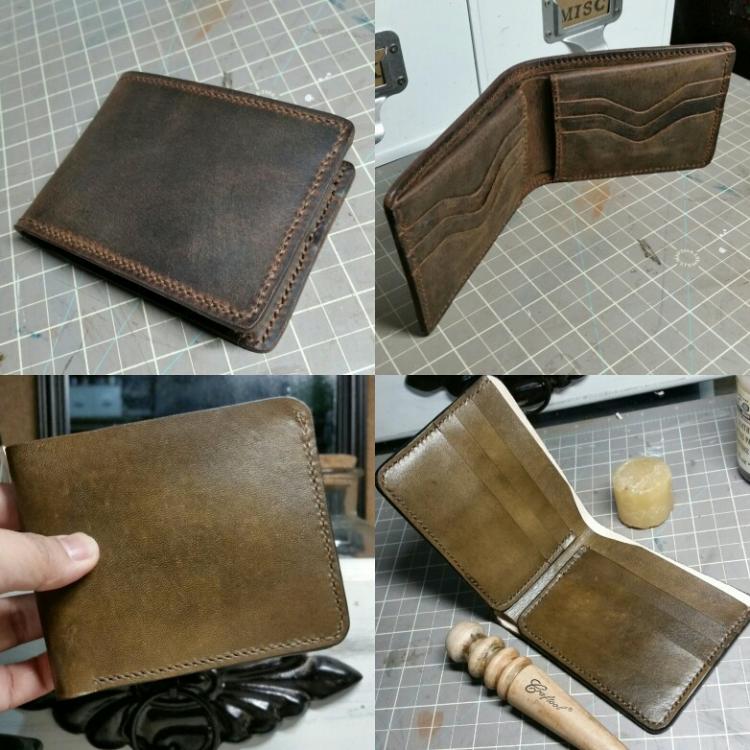
Hello! This is my very first post on leatherworker.net! I'm a beginner with leather working, and I'm finding it to be such a fun craft. My first project was a coin purse, using scrap leather I got from a big box craft store. My second projects were the two wallets shown in the pictures. The top was actually a crazy horse leather interior and wallet back from Springfield Leather. The instructions that came with it involved lacing, but I saddle stitched it instead. The bottom wallet shown was made with some 2-3oz veg tan leather. I purchased that pattern from LeodisLeather from Etsy. Not bad I think! For my next project I'm itching to make a nice bag for myself.
-
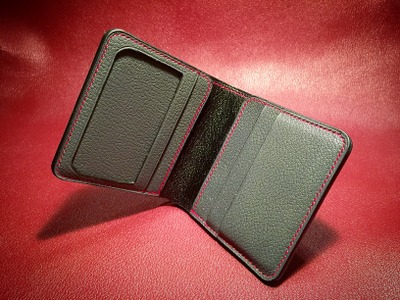
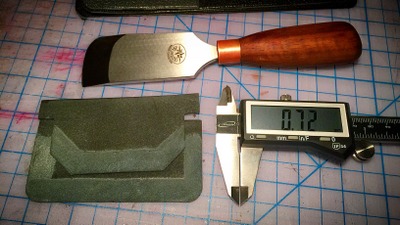
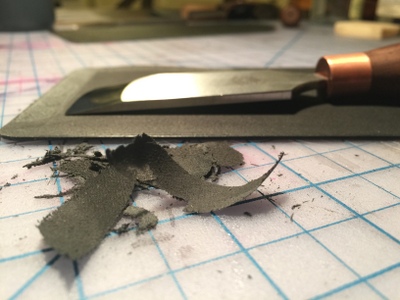
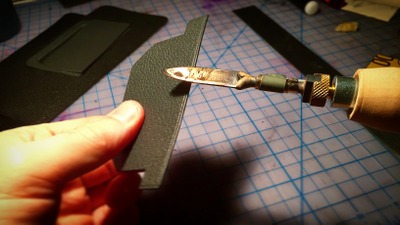
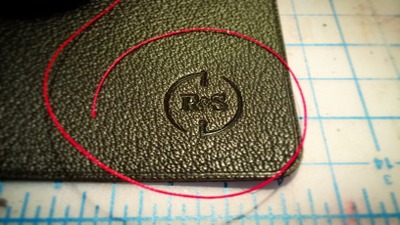
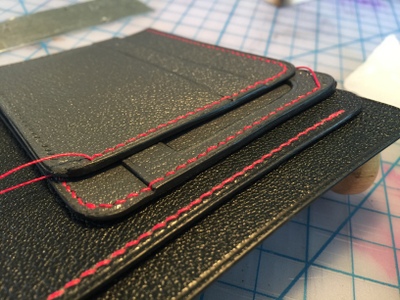
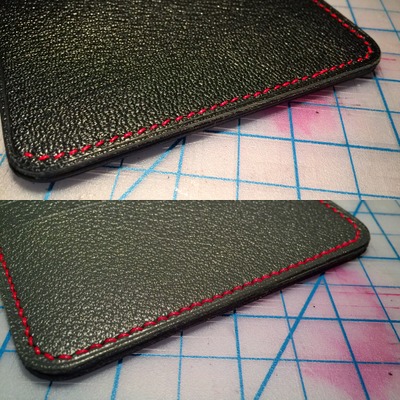
Album: http://imgur.com/gallery/4xN94/new Hey folks! So as opposed to the last build journal I did here, this journal is a tale of the things that went right. I'm really proud of how this wallet turned out and also, looking back, feeling good about where I'm going with this craft. This wallet order came from a random Instagram user who emailed me looking for a bifold with an ID window. We had a really nice, long email exchange consultation and finally landed on a variation of my usual design. He wanted additional, decorative red stitching on the inner cash pocket and the wings. I had recently done another Simple Wallet in something of the same scheme so I really liked where he was going. My goals for this build were to not repeat some of the mistakes of the last one, and to be more intentional about the application of my skills, specifically: * Skiving...I wanted this wallet to be much thinner than my previous bifolds so I was going to spend extra time skiving things down. * Edges...really wanted the edges to be clean, even, polished, and finished looking. * Stitching. I wanted to make sure all the stitching was clean and crisp. Cutting and basic construction was really quite clean and easy. The creasing went much faster than usual (not sure why...I've been feeling very confident lately in that department so I may have just creased more intentionally). The interior pocket edges were very fast, clean, and polished. I was trying to pay particular attention to where I started and stopped on these edges especially at the bottom of the cash pocket as I would be merging the wax during the final wax polishing. Once we got to skiving I applied the technique that Terrick over at Chartermade had taught me with his skiving knive. Basically you flip the knife over, and use the corner edge to "trace" the skiving line away from you, and then slip the round edge into the traced line and pull it back towards you skiving the leather away. Additionally he showed me how to feather the edges to make them even cleaner but just going back at the edge with the knife at a steeper angle. I didn't get the edges quite as thin as I'd like (went from 1.2mm to .7mm) except on the pocket insert which I got down to .5mm. We got started stitching the wing panels and the cash pocket and then looked really grand. The client chose a black foil on black chevre for the logo (my favorite, very subtle in my opinion). Once we had all that done we glued the panels together and stitched our way into a wallet! And it went really clean. I felt this was some of my best awl work yet, and the extra thinness of the panels really helped. Finally, the exterior edges, worked like a charm. I was very focused on making sure the iron, wax, buffing, sandpaper were all going the same direction and, in the end, I'm really pleased with how these turned out.
-
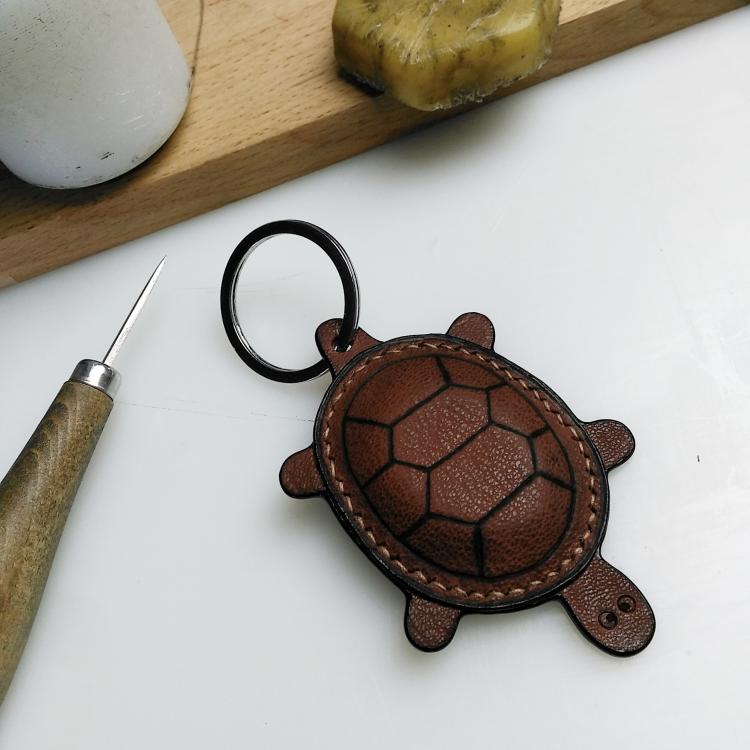
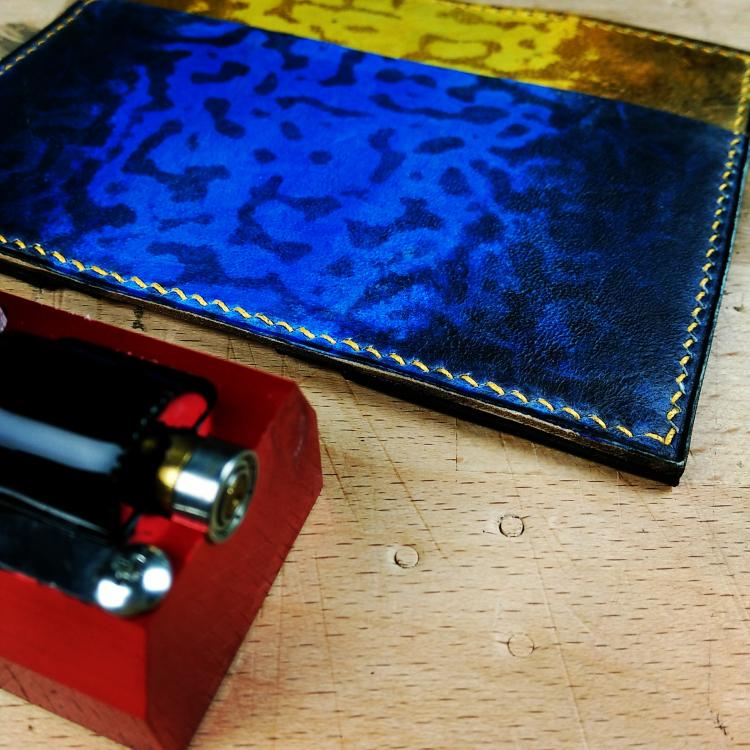
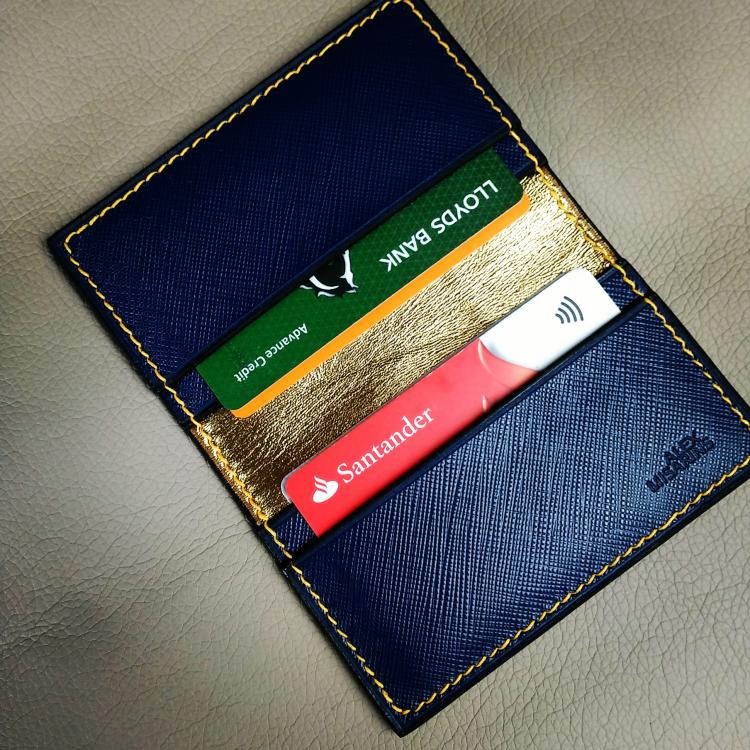
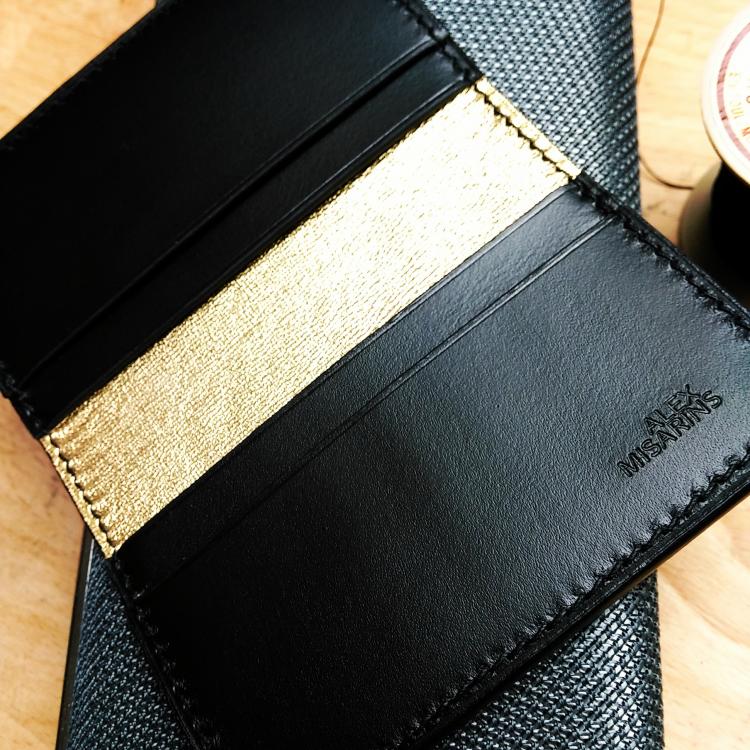
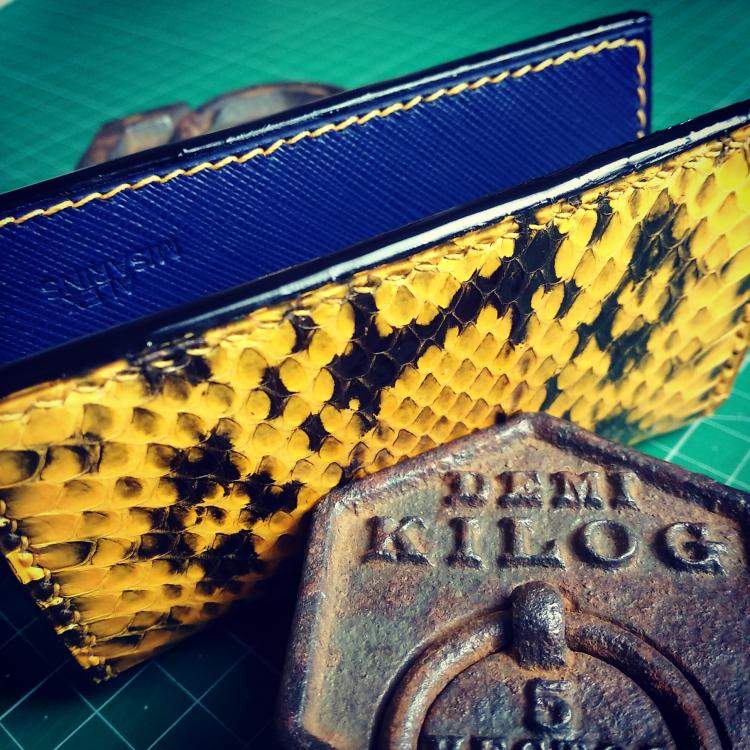
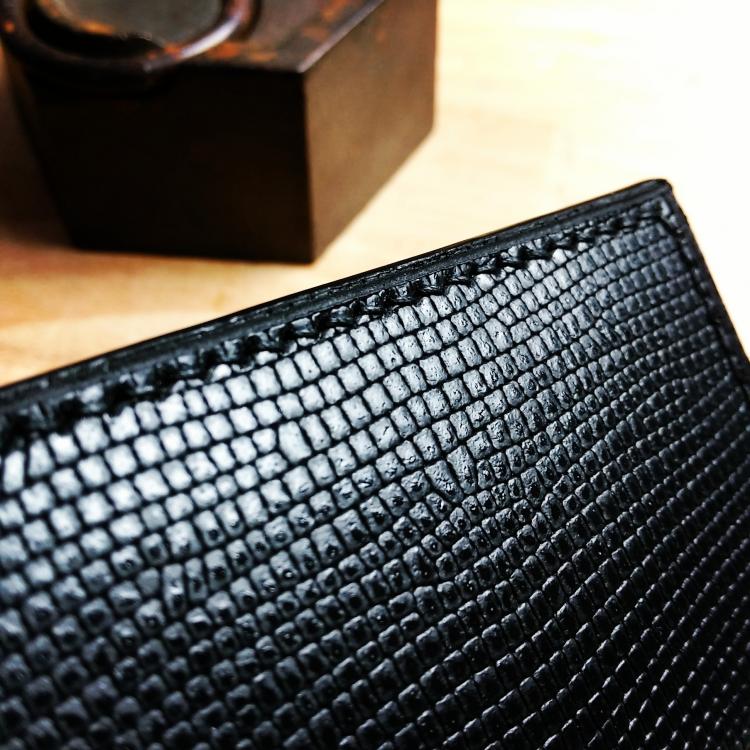
Hi folks, Just few of many updates for a last month. One of my favourite keyring so far is this cute 3D turtle. I was made of aniline goat skin in brown colour, hand drawn turtle shell and eyes, also a high gloss finish on the edge, to make it more female attractive. Also few bifold card holders were done. They are still quite popular due to gold calf skin lining, which looks just stunning. I am a fan of contrast stitching, but still have to complete orders with a monotone thread colour to match the colour of the skin. Shown bifold wallets are made of lizard, bull frog, and water snake skins. I was surprised with a bull frog skin. It is very thin, same as snake skin, but extremely durable. I will keep posting updates and pictures from my studio, just need a bit more time
- 10 replies
-
- cardholder
- wallet
-
(and 5 more)
Tagged with:
-
It's finished! Guys, it's finished. Going to have to add this one to the lineup, I think! Totally winged the pattern, so I'll have to get it drawn up. Dark brown horsehide CXL blaze orange Ritza thread 3 stiff drinks.
-
I've been wanting to add a standard 4 pocket bifold wallet to my repertoire for a while now but haven't had the chance until this week a friend requested one for her hubs as an anniversary present. Really excited with how this one turned out, I've been working hard on cleaning up my edges and stitches lately. Let me know what you think!
-
Hi LW friends I'm searching for a bifold pattern- I have only ever made wallets from kits, which IMO are pretty flimsy and cheap. I want to be able to make something that will last for a long, long time. My friend recently joined the navy and would like me to make him a wallet. He says he carries cash, a few credit cards, hunting tags, and 3 ID's for work, drivers license, and the military. All of the stuff I've found on here, Facebook groups or through google either don't have a template/pattern for me to print out and cut exactly (HEY, don't roll your eyes... I said I was intimidated of wallets! In my defense, I did TRY to make one on my own but it was way too clunky and I trashed it before I even finished it LOL) or it was for a different style of wallet (front pocket/minimalist, tri-fold, or something else). I totally respect people not wanting other LW's to steal their patterns, hard work and time, and use it as their own. So, with all of my blabbering aside... 1) I'm searching for a basic bifold pattern with a cash pocket, 3-6 credit card/id slots, maybe get semi-fancy with an ID holder. Does anyone have one, or would you be willing to share yours with me, please? 2) Does anyone know of a good material to use for an ID window? I've checked my local craft stores, which are terrible in the first place, with no luck. I read somewhere that the easiest option is to buy a clear shower curtain and cut it, but that seems like it would still need to have better reinforcement? 3) I'd like to eventually get better at making wallets. As far as lining goes, I'd like to maybe just use a handkerchief. What do you guys think works best for this? I know everyone has their own methods to their madness. When lining my belts I've tried QuickGrip all purpose permanent adhesive (I don't recommend using this for anything, FYI), and I'm currently using Tanner's bond contact cement, which I'm planning on buying some 3M spray after the cement runs out. 3a) If you've lined stuff with a handkerchief before, do you burnish the edges of the leather first, then fold the edges of the liner, glue, and sew? I'm just trying to avoid having a gap in between the leather and liner, and of course I don't want to try to have a bigger liner, glue, and cut off excess after because I can already see the liner fraying. Thanks! MP
-
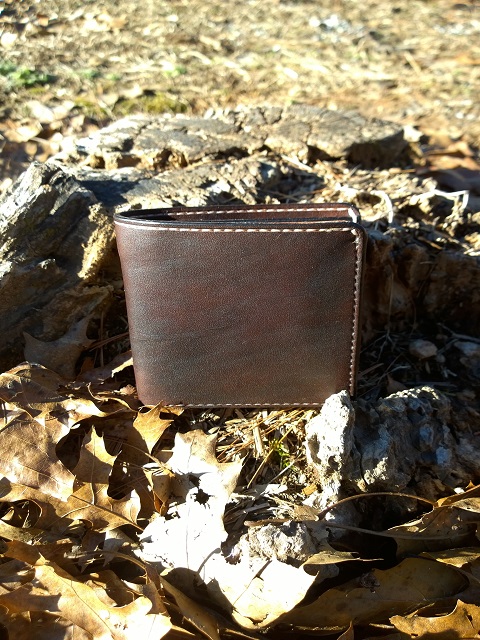
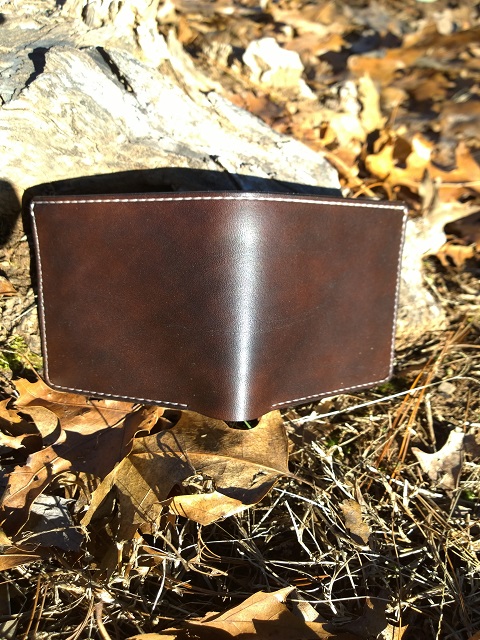
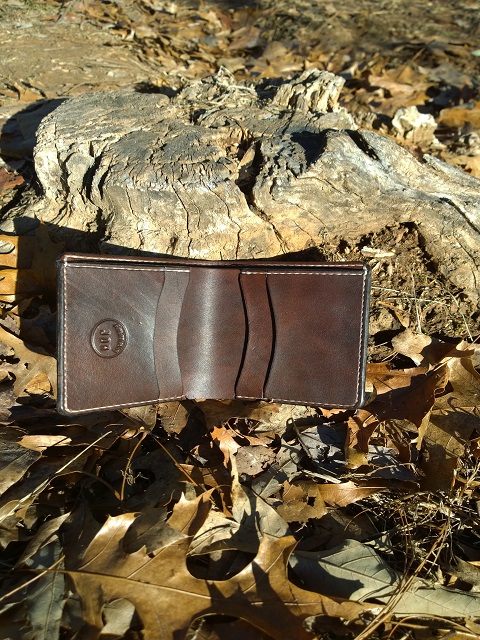
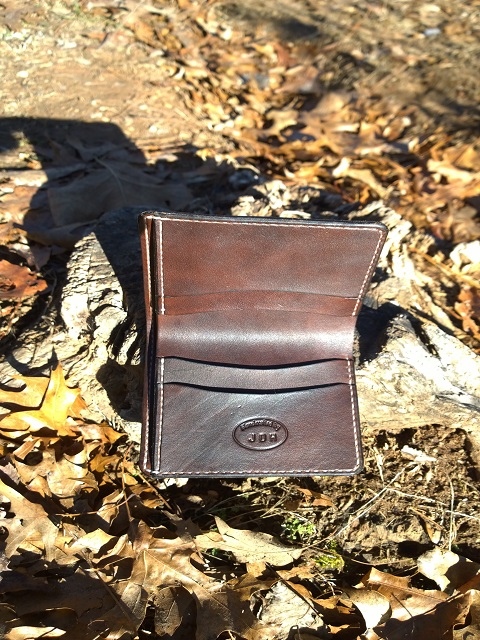
My First Wallet
JustinBrown8 posted a topic in Purses, Wallets, Belts and Miscellaneous Pocket Items
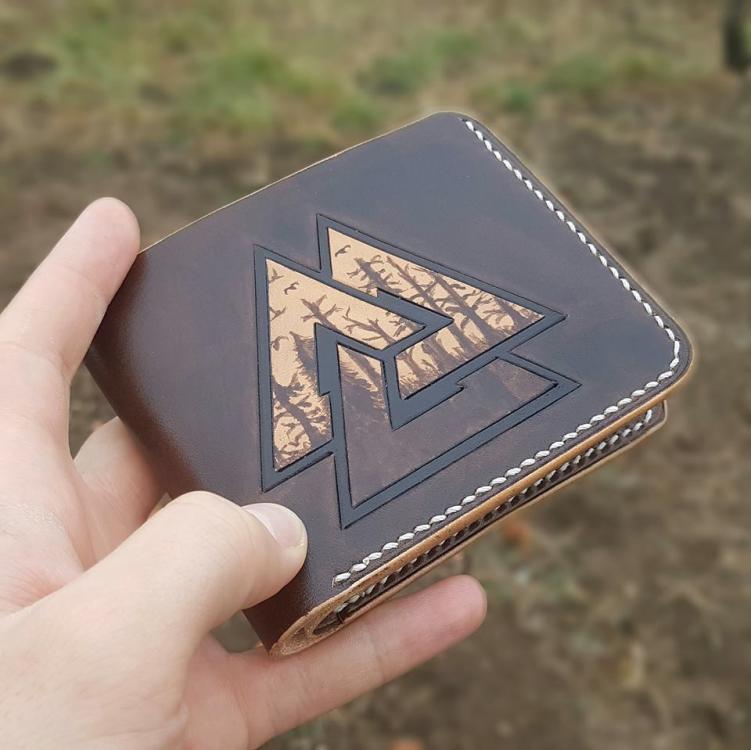
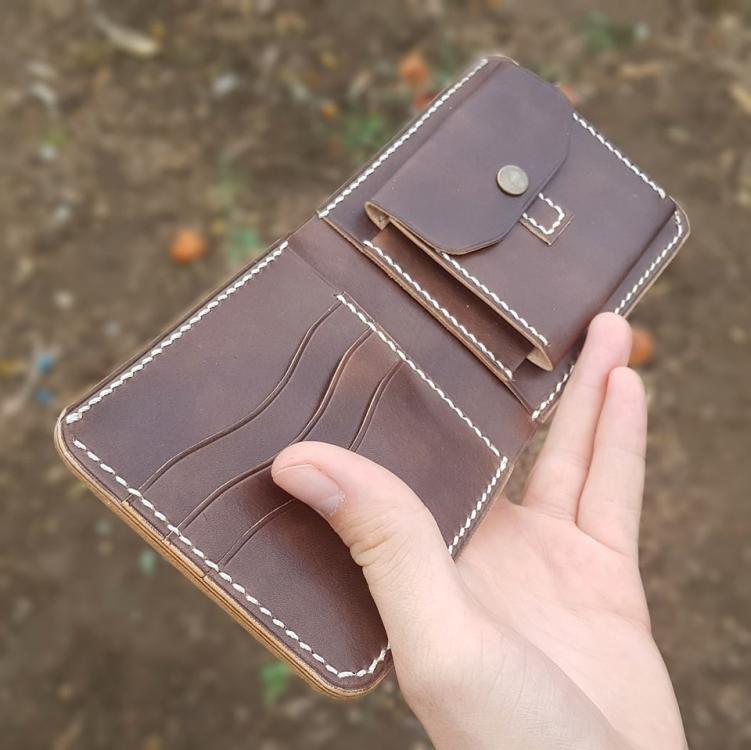
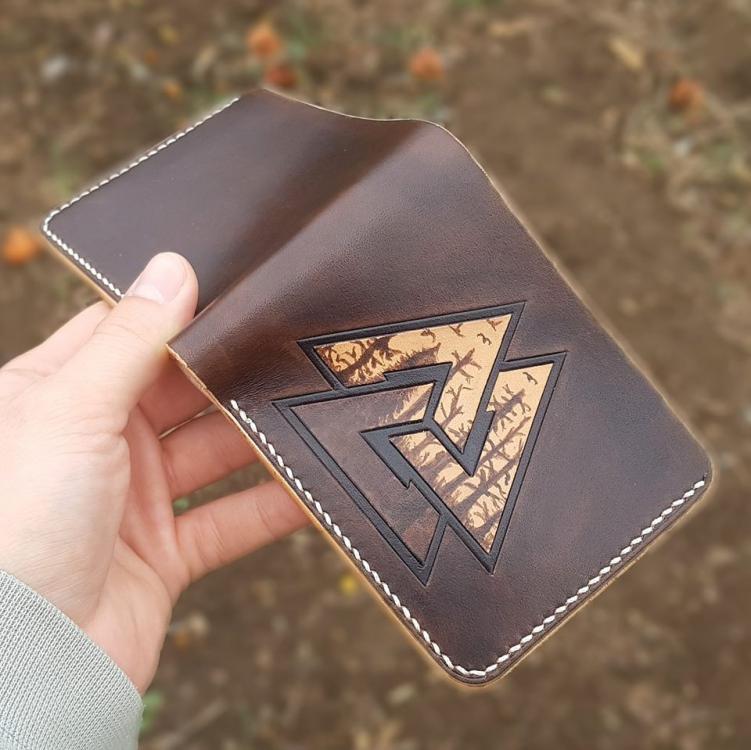
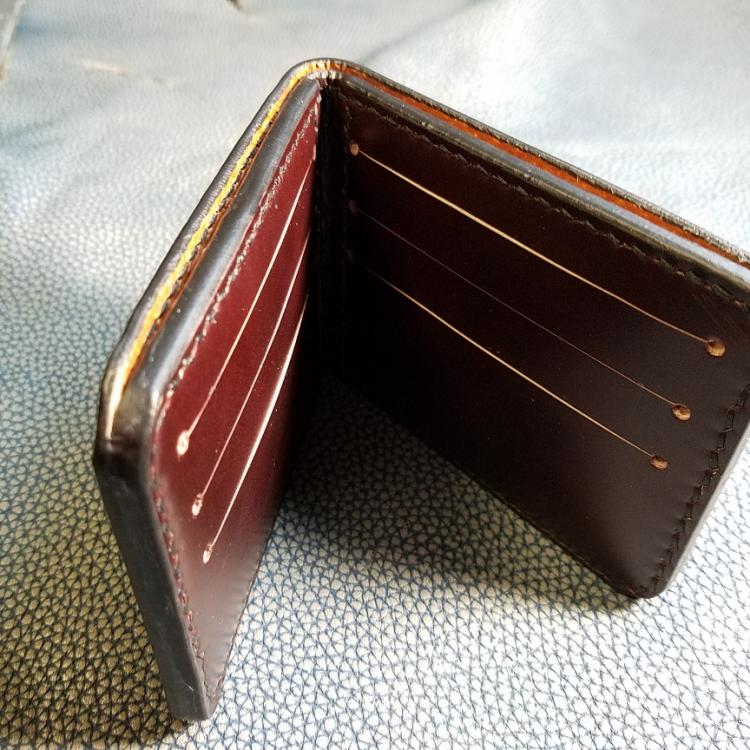
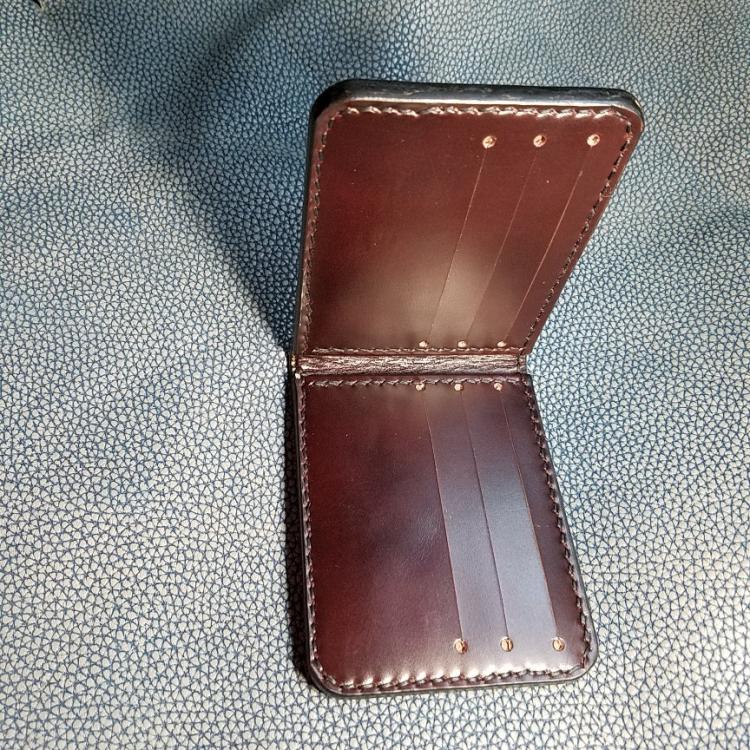
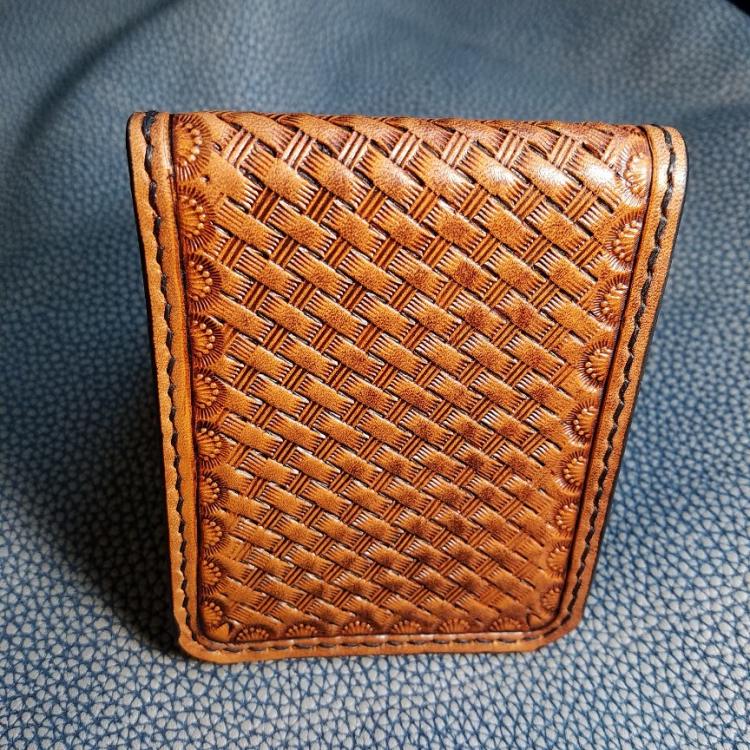
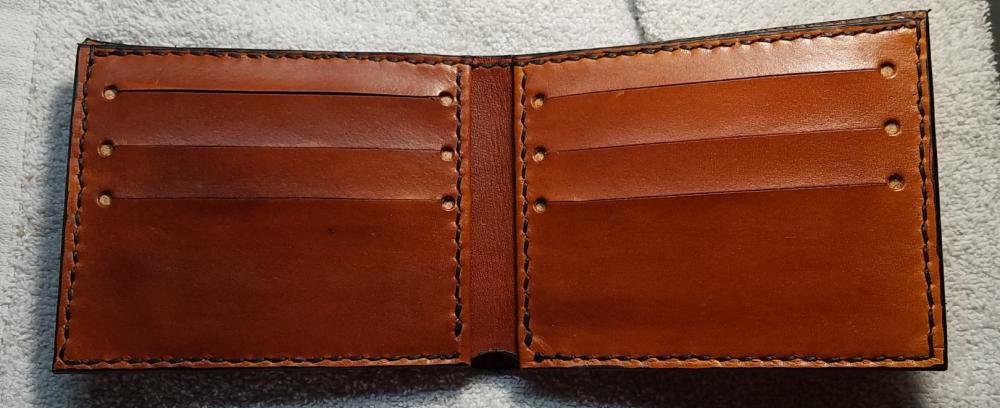
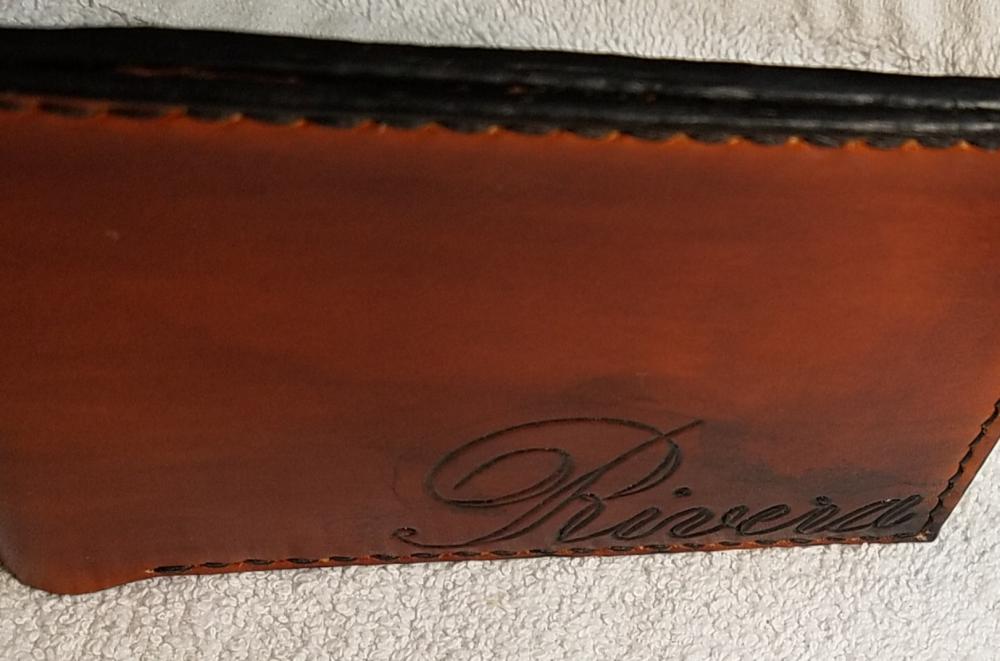
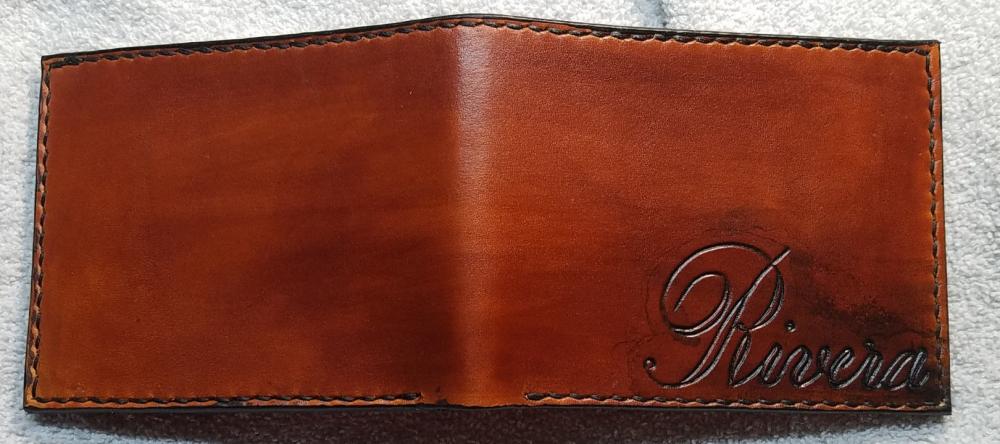
Not sure what style category this fits into, but yeah, haha. Let me know what you guys think! Heres the inside









.jpg.1cfcbf123a153b4627c6ca3626277ad4.jpg)

