All Activity
- Past hour
-
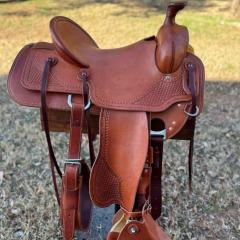
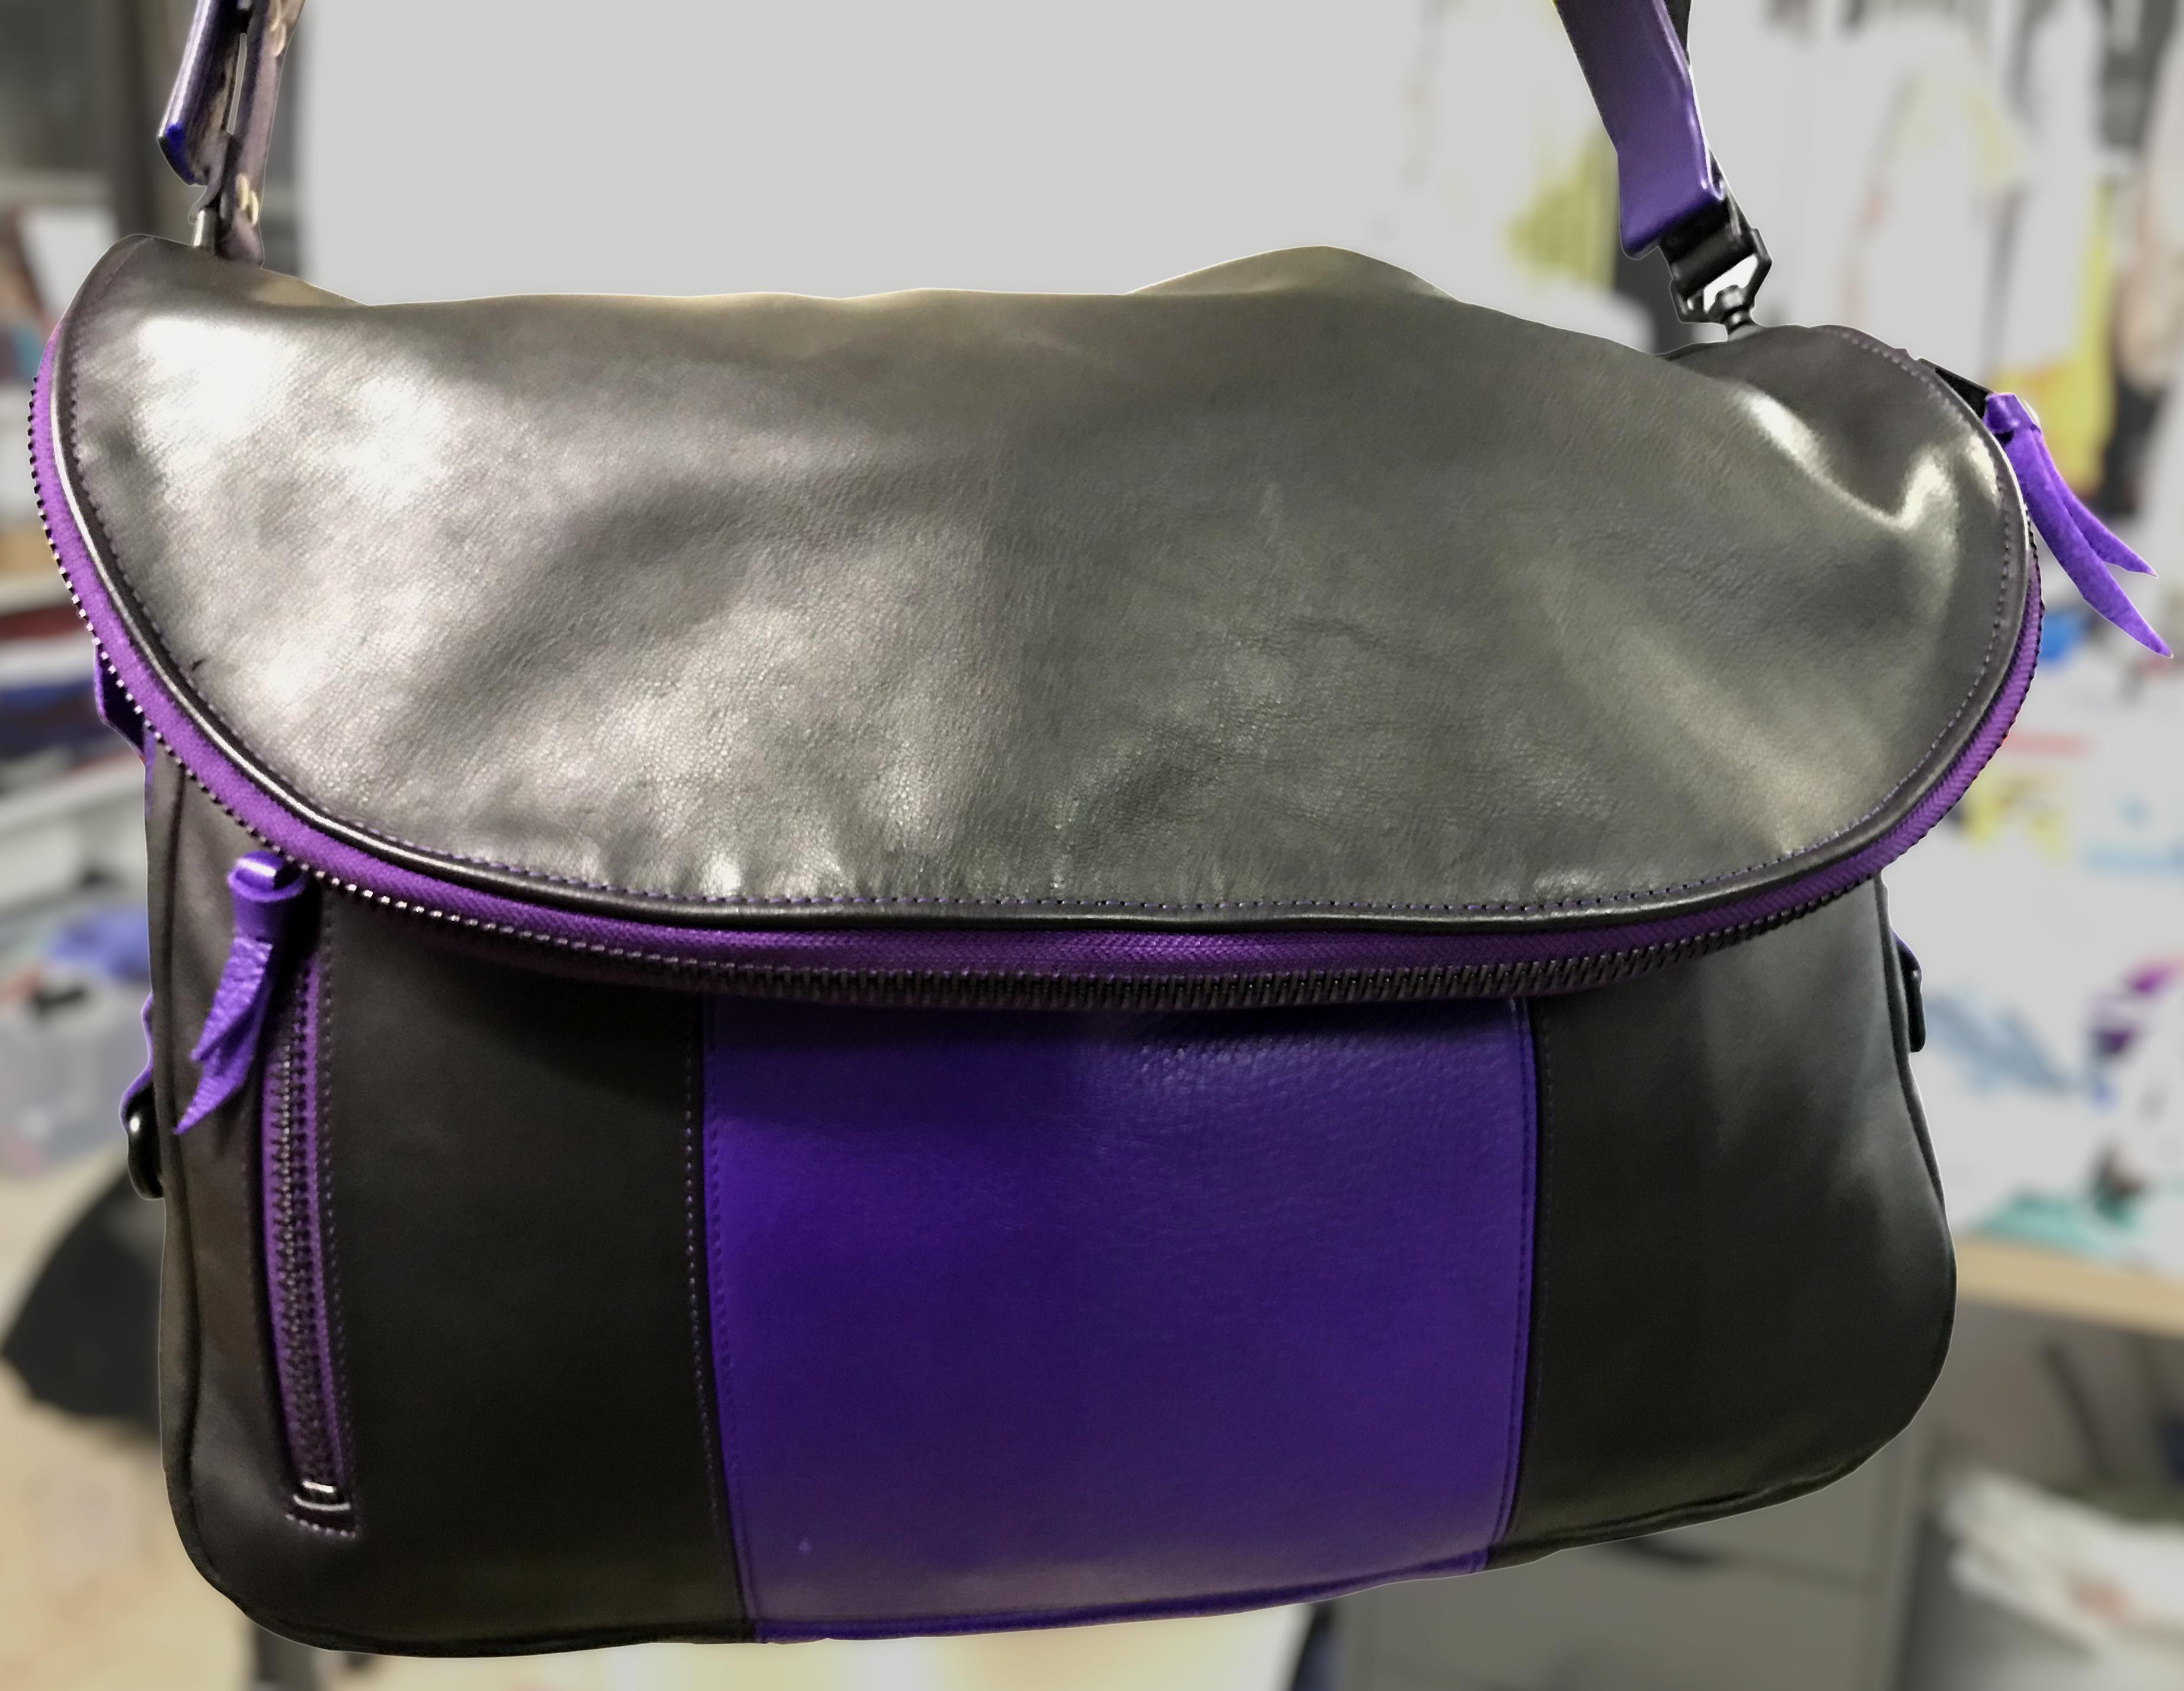
I started making bags when I first started seriously working with leather back when I lived in Barcelona. This was the first bag I finished. I'm not including the 3 or 4 attempts that needed up on the floor. Hahaha! This is still one of my personal favorite pieces.
-
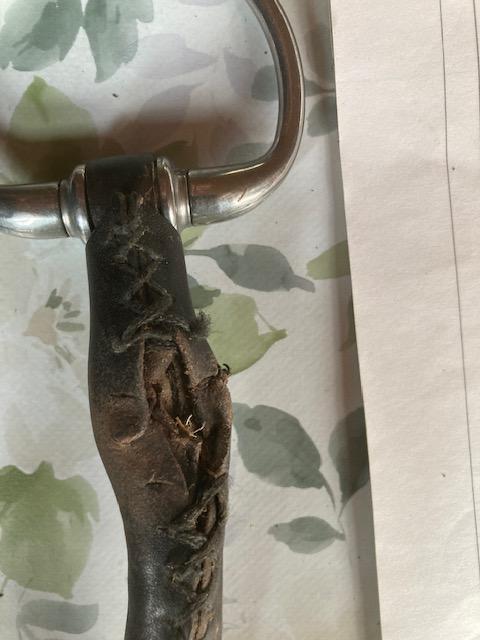
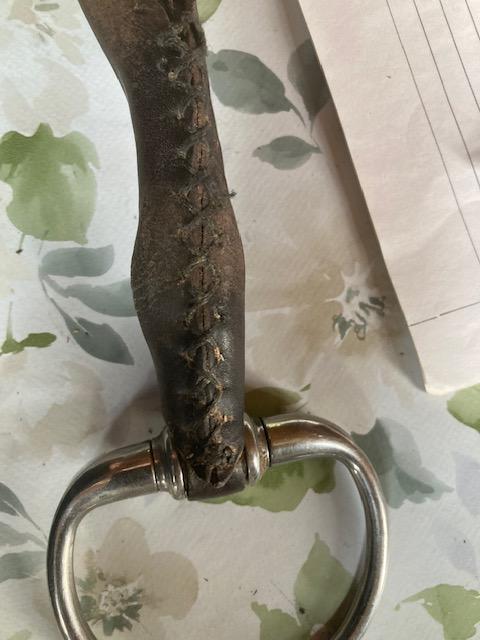
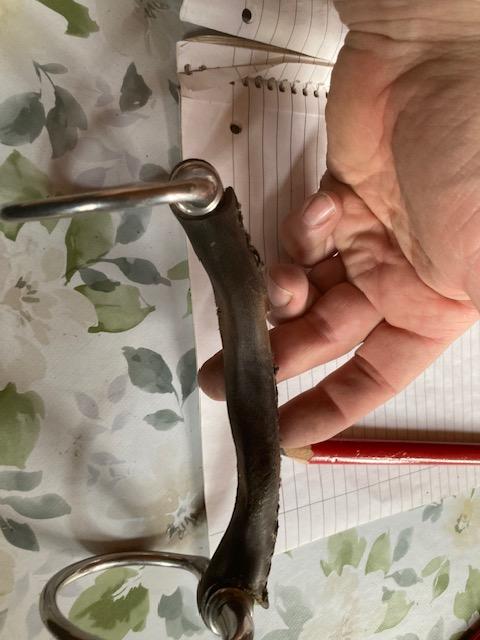
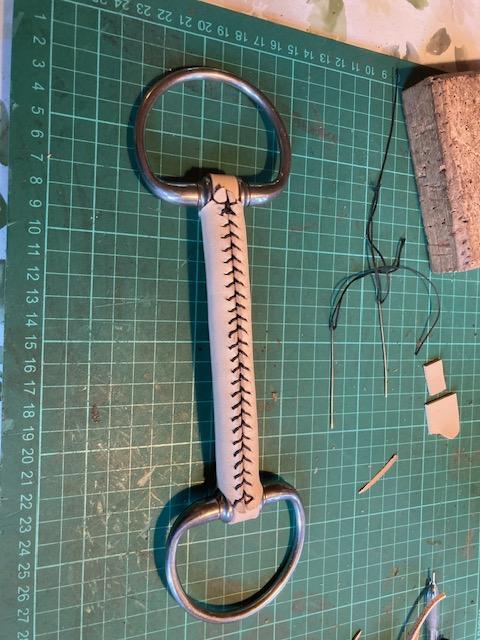
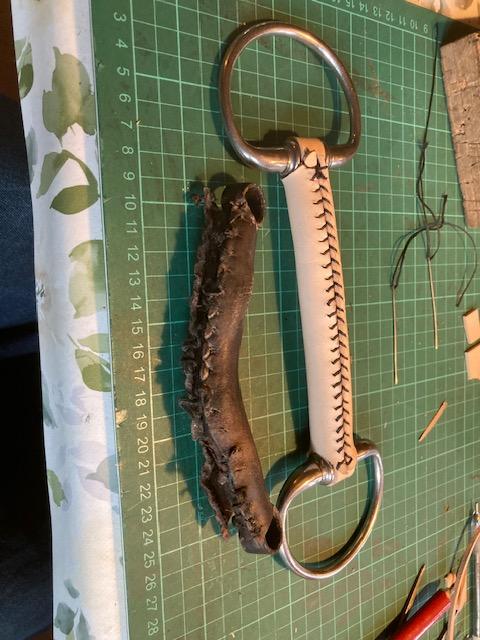
 This time at home I was asked if I could replace the leather on a leather covered bit. I gently removed the old covering and used it to make a template for the new covering. I used some veg tan since I read that it was the preferred material for the horse to chew on. THe idea is semingly that the leather is easier on the teeth and the mouth of the horse, and that sounds right to me. I opted for a baseball stitch instead of the original criss cross type stitch, In my head I am able to make a tighter sewing that way. I read on a page regarding leather bits that it was encouraged to give the leather a coat of olive oil, again as far as I could make of it all because the horse likes the taste and it is not harmfull. The process took about one hour in total. I forgot to take a picture of the unfolded pattern/template. There are two long pieces that follow the length of the bit and wraps around the rings, then the wide part is wrapped wround those to hold it all in place. Further on the inside there is a loose long strip to give a bit of symmetry on the opposite site of the long wrap around pieces. The bit is to be mounted with the stitching facing fwd, so away from the corners of the mouth of the horse. All in all a doable project with a minimal use of materials. Worn bit. New leather sewn on Comparison between old leather and new covering.
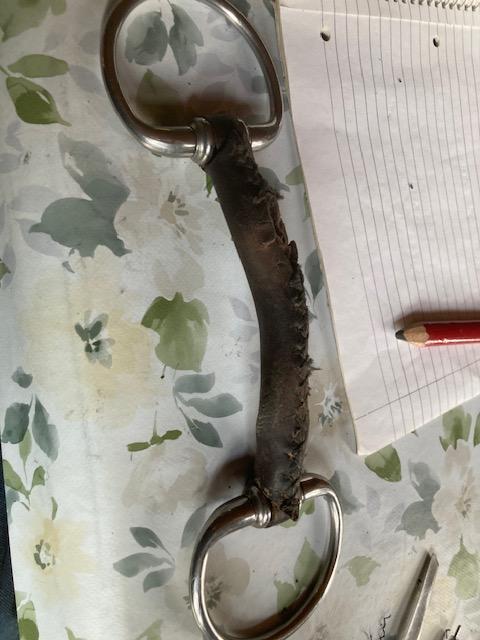
-
Indeed W&W based. Singer took over W&W in 1905 IIRC and continued some of their models for a while. Looks like you can alter the needle space by moving the needle holders. Thats cool! I restored a 51w post bed machine with about the same upper
-
Since I'm over working on it ... The last patent date is 1897 and I do think it's a W&W holdover.
.jpg.7fbdef73a700bb80fe54d31144cf259d.jpg)
.jpg.4f15546b0fbb60398408c33d20f819d7.jpg)
- Today
-
 When I was learning to drive an industrial sewing machine, my favorite thing to practice on was actually corrugated cardboard. Ubiquitous, cheap, thick, stiff. You can cut two pieces and stitch them together. Or you can just stitch on one and make a pattern. At one point I was drawing curvy lines (with some tight corners and some loose corners) on the cardboard first, then seeing how well I could follow the line of ink. For practice, I enjoy having a different color top thread than bobbin thread. That makes it easy to see tension discrepancies.
 -
 L Neal Maker joined the community
 -

Randall leather sewing machine needs a shuttle
Wizcrafts replied to Vicki Vallencourt's topic in Leather Sewing Machines
MB, when the ULS was main primary stitcher, I bought every size needle and awl available. First, I got them from New York. Later, from CR. If memory serves half right, I had needles from .5 through 6 or 7 and awls from 1 through 7 or 8. My most used combos were a #2.5 needle and a #3 or 4 awl. Some of the awls had slanted leather points. These made tighter holes for edge stitching. I was able to sew with thread sizes 69 through 554. You're right about the reason for the tool tray. I kept the round wrenches in it, as well as packs of needles and awls. Did you ever do business with Freedman (or Freidman) Harness in Toronto? That's where I learned about Campbell and Randall machines and how to operate them. They helped my with setting up my first ULS machine (from 1968). I brought that machine with me when I moved back to Michigan. I wish I had kept it. The then wife said why don't you sell that big ugly thing that's taking up space in "my" dining room. She's long gone, but so is that machine! -
Rare model I guess, some pictures may help to figure more. But I assume it is based on a Wheeler & Wilson 12w maybe you can try it this way....
-

more rounded, premium/stainless pear shaders? Not so flat -ish?
chuck123wapati replied to LakeOtter's topic in Suppliers
many of these are designed to replicate specific styles of tooling, such as Sheridan style for example. You can easily adapt them to your style with a little sanding, polishing, and elbow grease. If it doesn't fit your style, fix it so it does. -
 SteffiePing joined the community
 -
I would do a sketch first, of course, to get everything in the right place, and see if you can find any photos to use for reference. Good luck!
-
I love my Robert Beard pear shaders. Randy
-
@fredk Those goth boots I spoke about a looooong time ago? I've done them. They're lethal . They get a lot of looks at the markets. I just need to work out how to up load a pic on here using a hand held device . I'll figure it out eventually . HS
-
Randall leather sewing machine needs a shuttle
mbnaegle replied to Vicki Vallencourt's topic in Leather Sewing Machines
All good notes. Needles and Awls are still available for the Campbell/Randall lockstitch and Union lockstitch machines in the more popular sizes. There are a couple less popular sizes that we haven't replenished stock yet since needle manufacturers often have minimum orders of 10,000+ pieces, so we have to budget when we're going to stock-up for the next 100 years. In those cases, if someone needs something there's always a half size over or under in stock that can do the job. You're right about the awls too. Needles are sized by the thread you are using (the manuals have charts telling you which to use), and your awl needs to be one size over to account for the hole it punches closing up a little bit (some materials may even require an even larger awl). If you wanted to sew with a 277 thread on a Campbell for example, you would want a CHS #1 1/2 Needle and a CHS #2 1/2 Awl. The needle systems and sizes are different for every machine and the size numbers don't correlate to any measurable dimension. Union Lock needles and awls only work on Unions, but CHS Needles and Awls can be used on other lockstitch machines with some modifications. The needles will work in Landis 3's and 16's, while the awls require the awl bar hole to be reamed out (slightly larger shank). I believe the same is true for Champions, and you may need to grind 1/16" off the back of the needle. I believe they'll work in American Straight Needle machines without modifications. -

spring flowers and good food
Handstitched replied to chuck123wapati's topic in All About Us and Off Topic
Thanks heaps to all at LW HS -
spring flowers and good food
chuck123wapati replied to chuck123wapati's topic in All About Us and Off Topic
🍺 you rock!!!! -
Fair. I was scared to try on the first portrait, but think I'm going to give it another go to see if I can get the eyes behind the glasses. I think I may try to dye the background to increase the contrast.
-
https://www.weaverleathersupply.com/products/chahinleather-holster-leather?variant=44039388397708 Weaver's Chahin leather is pre-dyed and still will case and stamp. I've used it for guitar straps using simple stamp patterns and it works well.
-
Die Making Supplies & Tools Special offers
-
 A couple of questions and suggestions. 1. What size of thread are you using?? 2. What size of needle are you using?? There is a good needle to thread chart: https://www.tolindsewmach.com/thread-chart.html Going around a tight corner you may want to hand-wheel through and after each stitch raise the presser foot ever so slightly. Just enough to turn the leather a touch. I do this with the needle just on it's way up from the bottom dead centre position. That allows the needle to hook the bottom thread otherwise you will skip a stitch. The tension on your top thread is not high enough to pull the bobbin thread into the leather so you get a seam like your last photo. Suggestions: 1. Check you are using the correct needle for the size of thread you are using. 2. Check your top thread path from the thread spool to the eye of the needle is correct. 3. Suggest you first check the bobbin thread tension, do a drop test. 4. Increase top thread tension as needed. Use scrap leather in the same thickness as your project and do a few four to six inch seams. 5. At the start of your stitching hold both threads for the first three stitches and while still holding the threads reverse back to lock the threads then do your seam otherwise there is no back tension on the top and bobbin threads. You need a thread anchor point otherwise you can get some funky stitching as the thread tensions will vary. 6. Back stitch the end of your seam to lock the stitching. kgg
 -
Springfield Leather (SLC) is close by so I normally go there. When I don't want to make the drive, I order my needles from them and are delivered in several days.
-
Try Weaver supply
-
I have used the 12/13oz bridle leather and it worked out great.
-
one is the 215 and the other is just called pear shader.
-
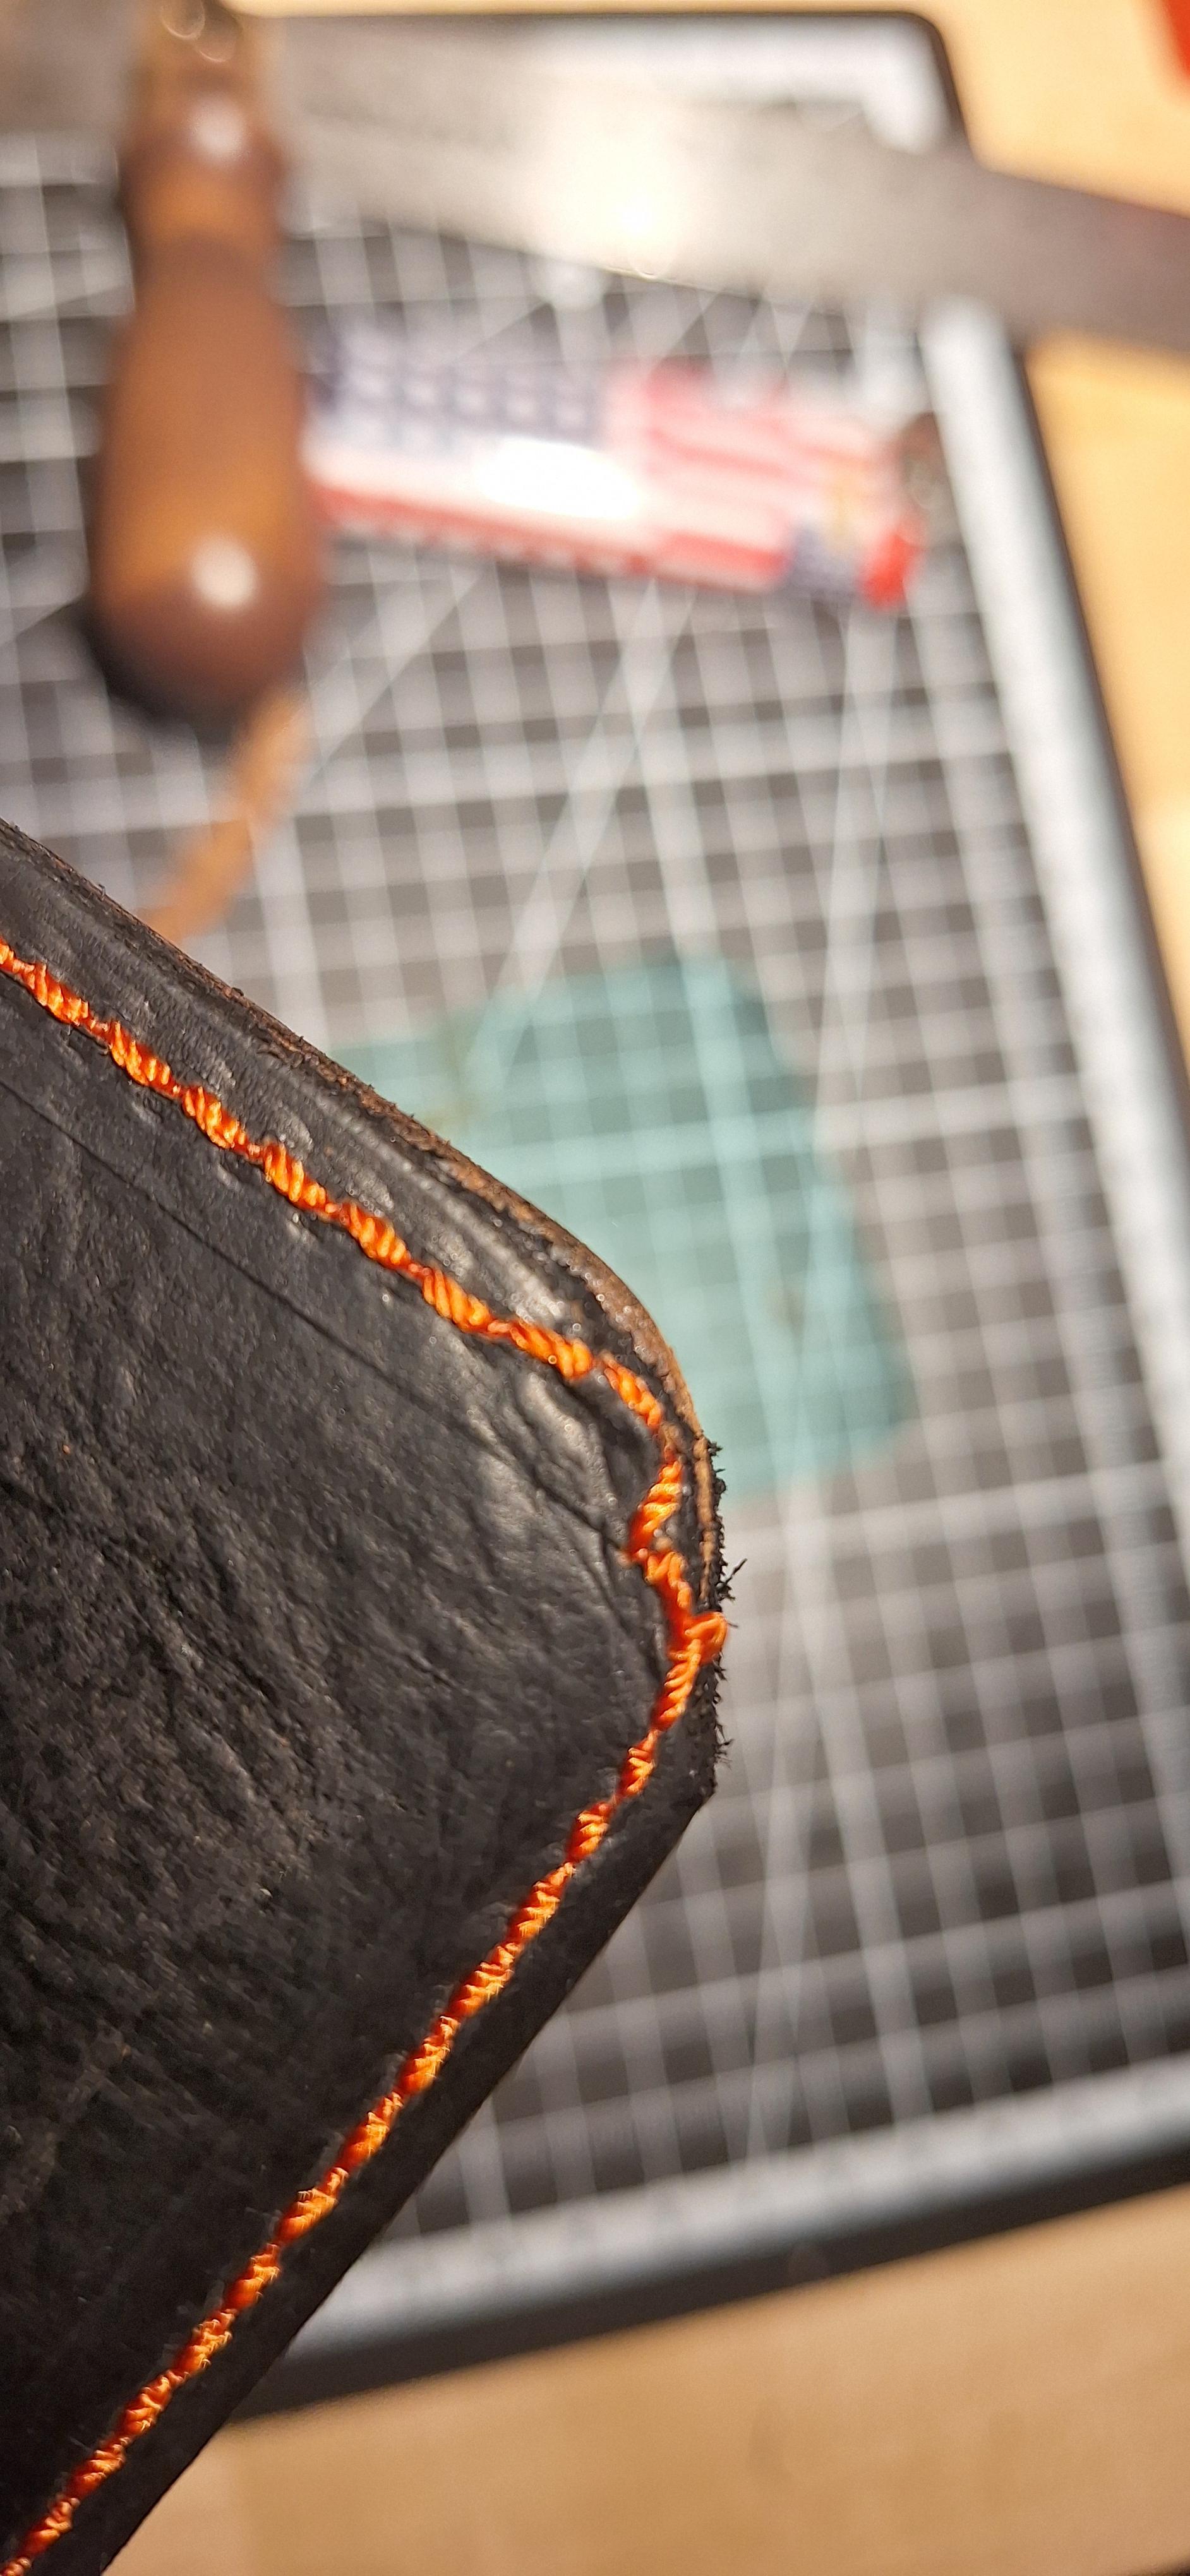
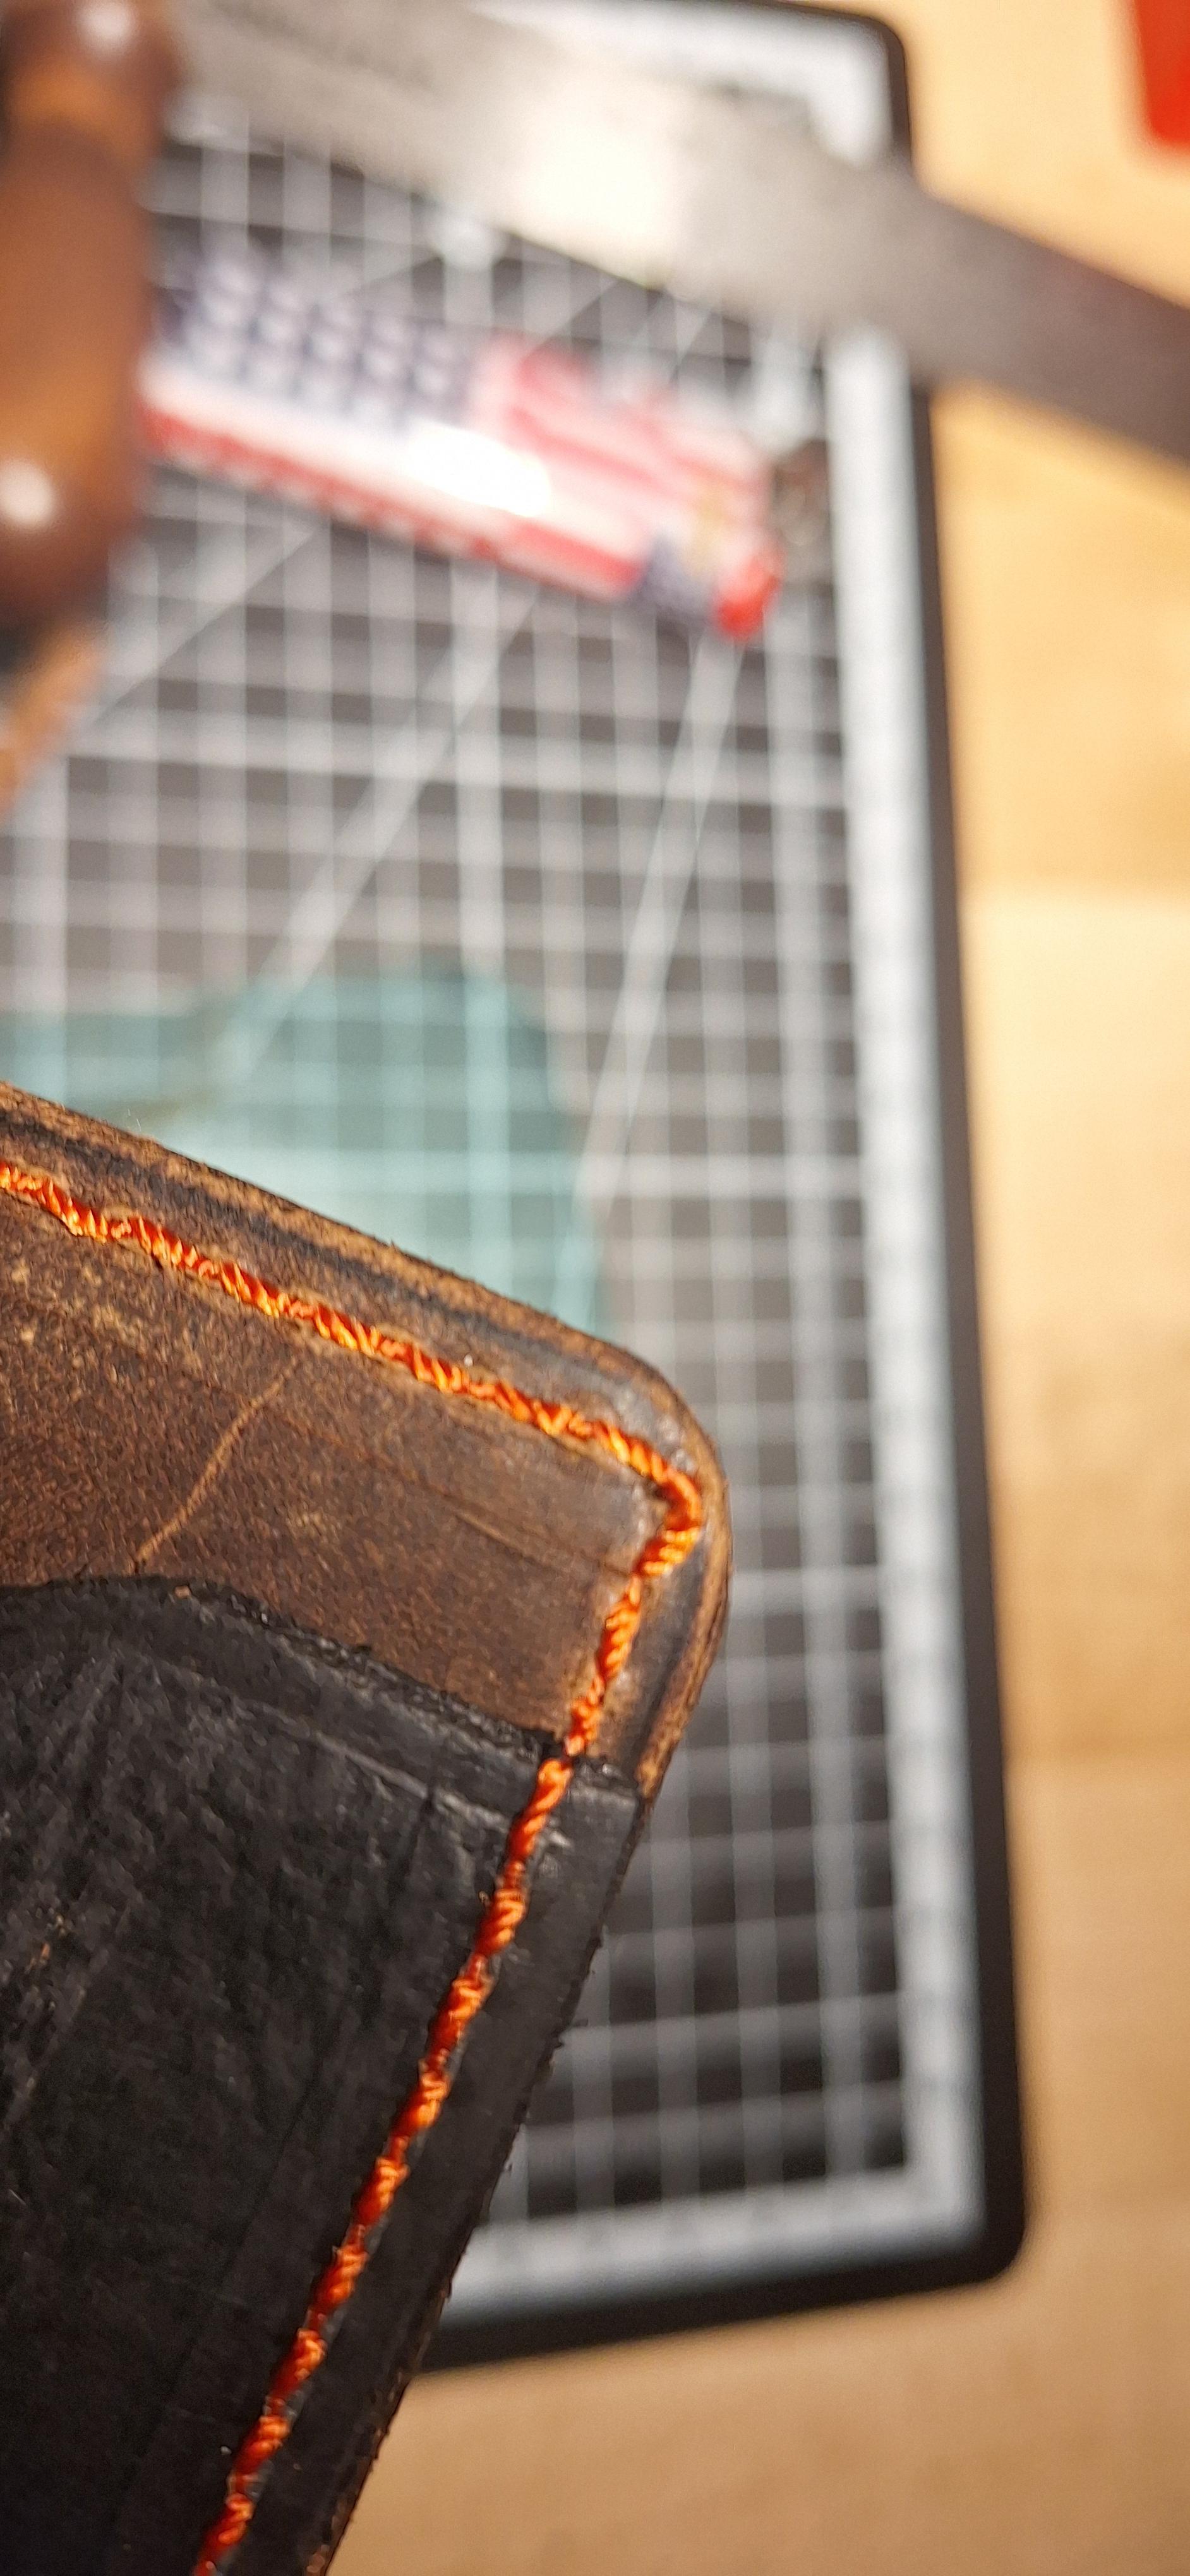
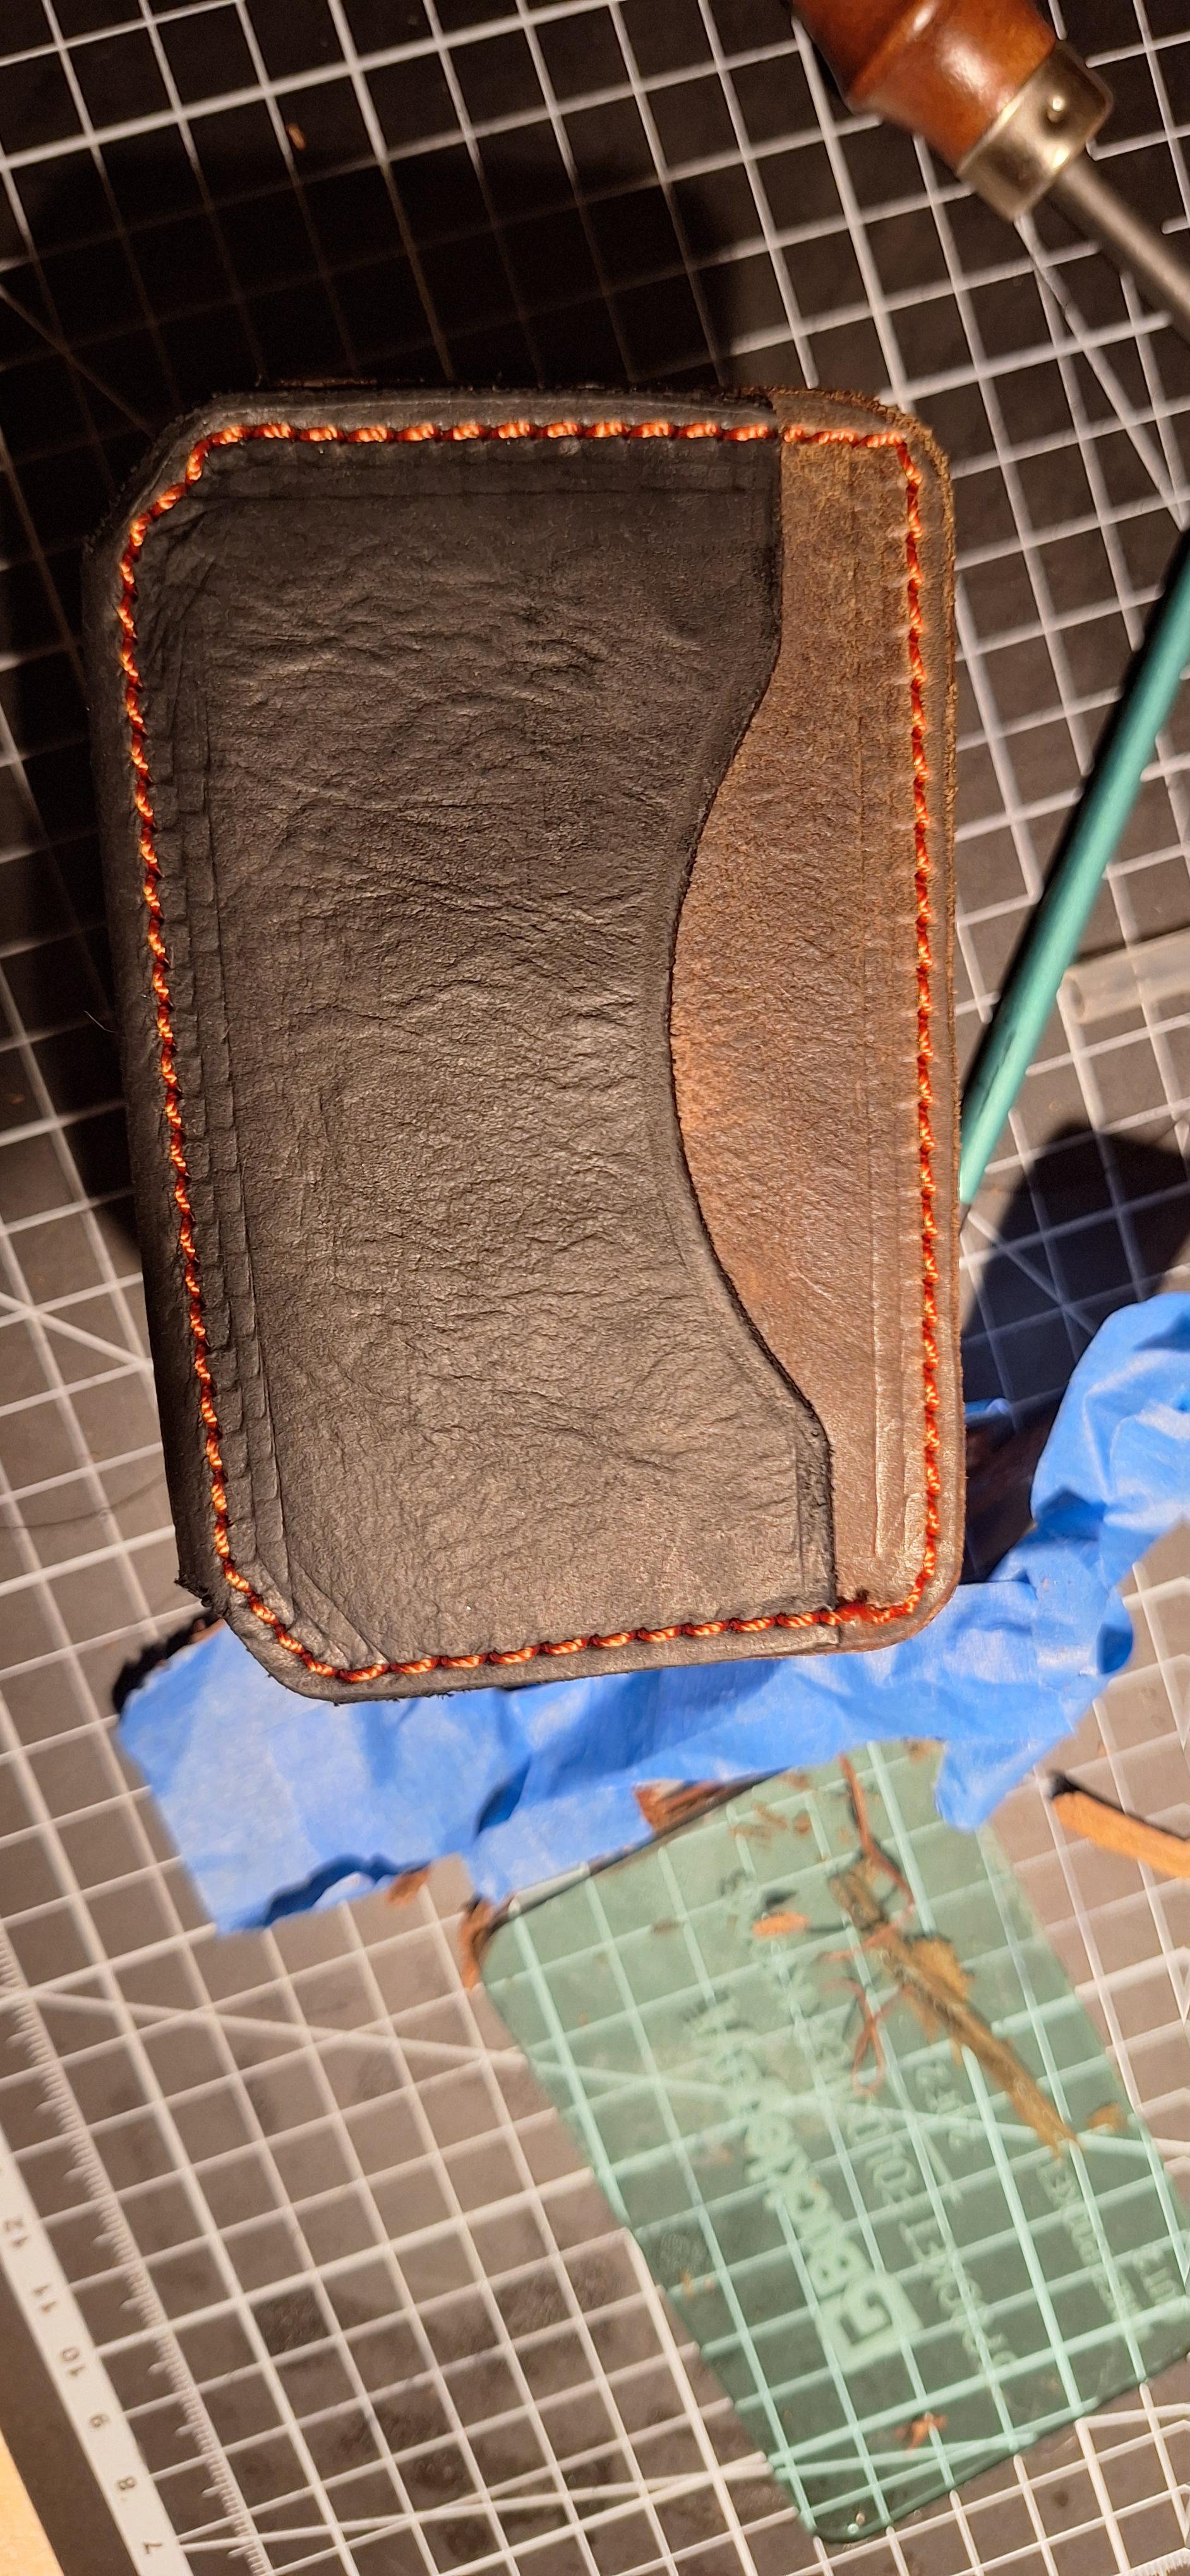
 Bottom - Disaster ( Straight lines were very different from the stitching on top - much more clean on top ) Corners - Complete disaster Any advice on how to turn around on wide round corners ? or Why the bottom stitch was not as clean as the top ?
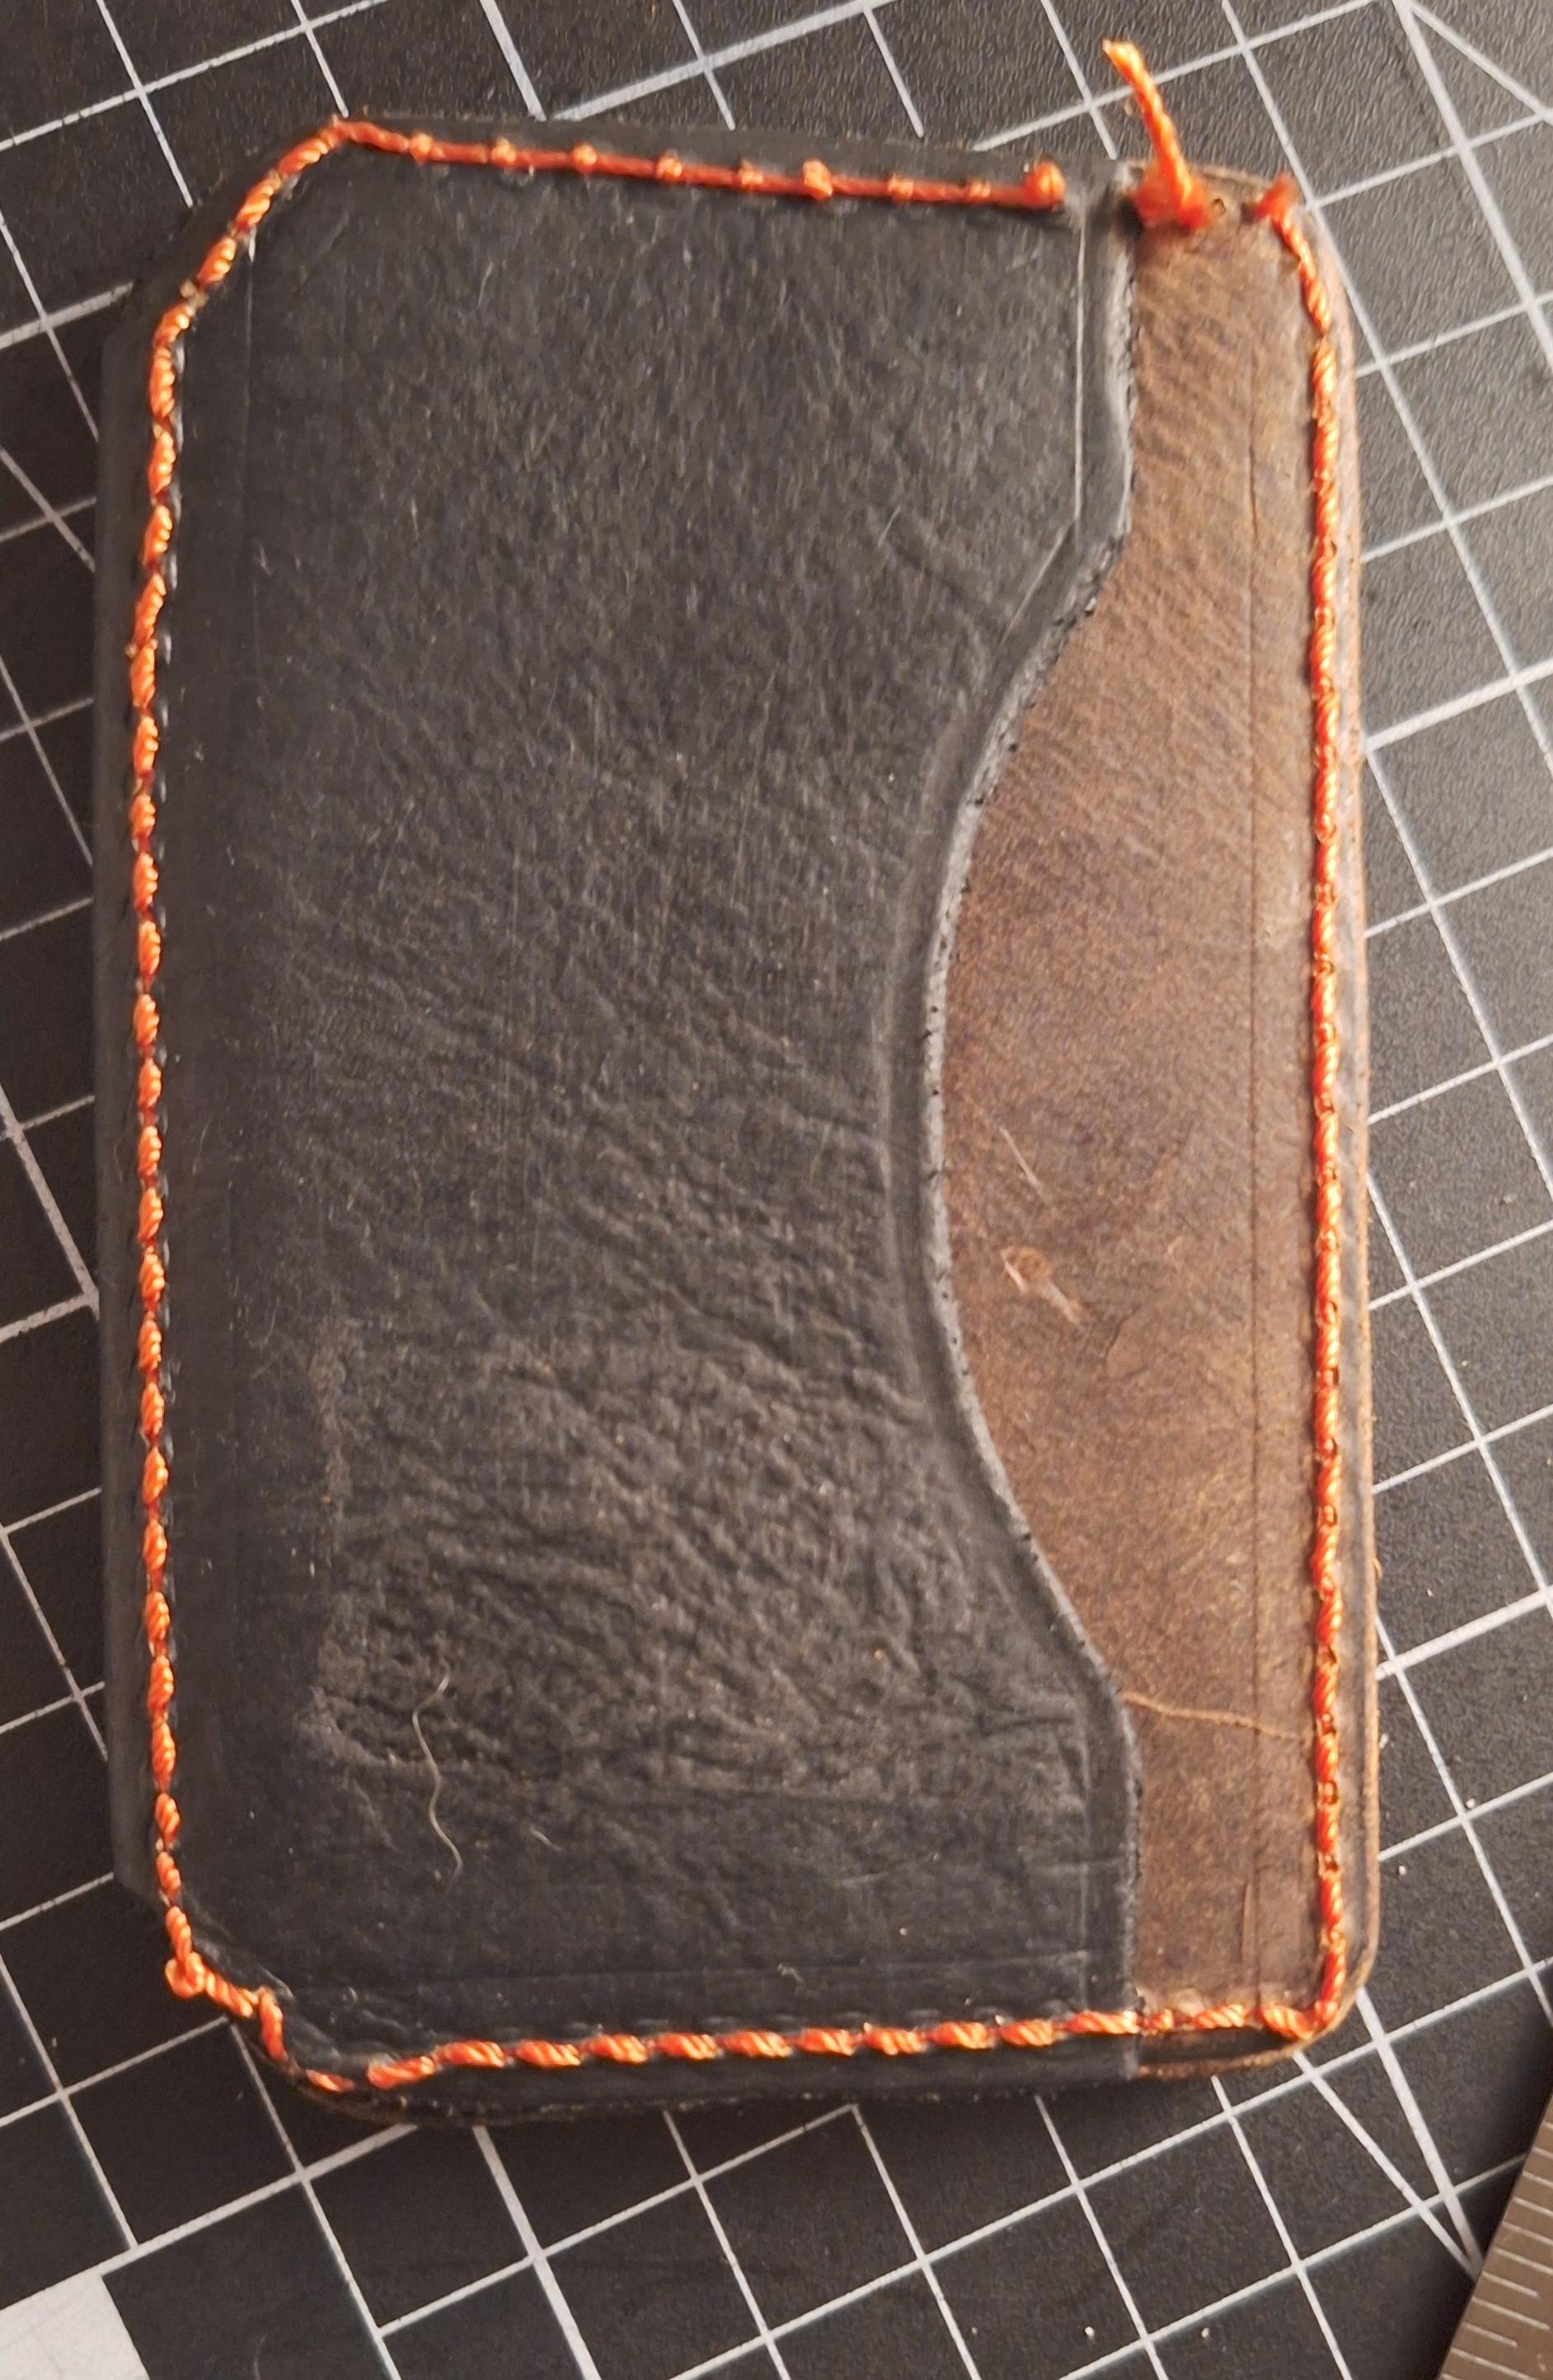
-
It looks like you have the bell too far forward and it is under the presser foot which will stop it from working. Also I think I see a large chip out of your blade which will need to be sharpened out. Follow through the steps in this video I made and note the distance from the presser foot to the bell edge is adjusted correctly and then again after you have sharpened the chip out.
-

more rounded, premium/stainless pear shaders? Not so flat -ish?
FrankHester replied to LakeOtter's topic in Suppliers
@RWentz Would you happen to know the number(s) of the tools you are referring to? Thanks in advance.