Spinner
-
Posts
1,373 -
Joined
-
Last visited
Content Type
Profiles
Forums
Events
Blogs
Gallery
Store
Everything posted by Spinner
-
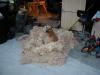
Here's a slightly better picture of the bib showing the yellow a bit better. It's still looking brighter than it really is due to the shop lights. The gas tank in the photo is actually painted with a wash of the same color from when I did my color tests and as you can see, it matches pretty well.
-
no problem! I looked up the color notes for the project and I used Citadel Flash Gitz Yellow (http://www.games-workshop.com/gws/catalog/productDetail.jsp?catId=cat800003a&prodId=prod1500072a) over a Golden Fluid Acrylics Primary Yellow base coat. The base coat is about 5 layers and the top is another 5-6. Both were thinned 60/40 with Golden Airbrush Medium.
-
Haven't tried nail polish, as a rule I don't keep any handy. nail polish tends to to on rather thick though and becomes fairly brittle rather quickly (based on the way it chips off fingernails) so I suspect that the pigment binder is rather weak making it easier to clean off the surfaces. That's just a guess though. If you try it, try it thinned to various consistencies as well to ensure good adhesion. I have seen acrylics over vinegroon work just fine as long as the 'groon is completely done drying. One gent I talked to about it at a craft show said he seals his piece in between 'groon and acrylics to help keep them from interacting. Acrylics being a top coat and not a penetrating medium, don't care if the piece is sealed or not. It simply needs enough tooth on the surface to adhere to. Yuo will need more light coats than normal of pretty much any color to get them to show close to true as the black/dark grey background will cause them to be muted until enough coats are applied. Either that or you'll want to lay down a thin base coat of white to the area being painted. Cheers, Chris
-
They are acrylics and work pretty nicely. They are actually thinner by about 10-15% in consistency than fine art acrylics which makes them very usable for leather. Thinning with water or an airbrush medium worked just fine too. As for the Hot Rod Yellow, I'll have to check that out when I get home. I bought 3 possibles to test out as they were all very close looking at the picture. The lacquer based automotive paint color Hot Rod Yellow, as it turns out has a hint of orange to it so direct on it's yellow, direct light on it makes it almost white-out and shadows appear a ember orangy color. I was shooting for the mid range yellow.
-
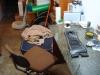
I have a custom bib on the bench right now that the client asked the color being applied match the color of his bike. Described by him as "Hot Rod Yellow", I was trying multiple brands and such to either buy or custom mix it myself without 100% success. So, being the persistent guy I am, I started thinking of where I could find an array of colors not normally found at the standard art store. As luck would have it, I remembered being in game stores in the past and all of the younger folks playing RPG board games like Warhammer 40k and how brilliantly some of them had painted their army models. So I stopped by my local Games Workshop and lo and behold, there were two racks one for Citadel paints and one for Games Workshop paints. The GW stand had 145 colors and the Citadel had another 50 or so. You have to smile at paint color names like, "Rotting Flesh", "Blood Red", "Fiery Orange" and "Lich Purple". There are a couple of other brands as well available elsewhere. Oh, something else to note, each company has a range of 3-6 flesh tones that are very nice and can be blended to create even more variations. here's a link to the Games Workshop website, I'm sure they are available elsewhere like Amazon and such: http://www.games-workshop.com Another good brand from what I was told at the game store is Reaper Master Series. Here is a link to a store with the complete color list with swatches: http://www.ccgarmory.com/remasepa.html And for those curious few, here is a progress pic of the piece that initiated the search... Cheers, Chris
-
The link to the Directory at the top of the page will get you there. Here's the direct link to create an account: http://leatherworker.net/pmd/members/user_account_add.php
-
Something that will defray some of the cost and help the resolene perform better is to cut it 50/50 with water. I use it on all of my solid colored tank bibs by applying with a soft lint free polishing cloth (available at any auto parts store) that has been dampened and wrung out. Saturate the rag with the cut resolene and then wipe on light coats in a overlapping circular motion, make sure to keep the cloth damp with the resolene, as it dries out it can make swirl marks. 2-3 good coats, letting each one dry in between. Makes for a great durable finish when completely dry. Apply a bit of leather dressing/soft wax like Pecards over the top of it, buff and ship. Mechanical buffing works well to reduce the shine if desired. I've had clients ride through massive rainstorms, snow, high desert temps and one even spilled gasoline on a piece and all have survived nicely and just needed a fresh coat of Pecard's to keep them looking good.
-
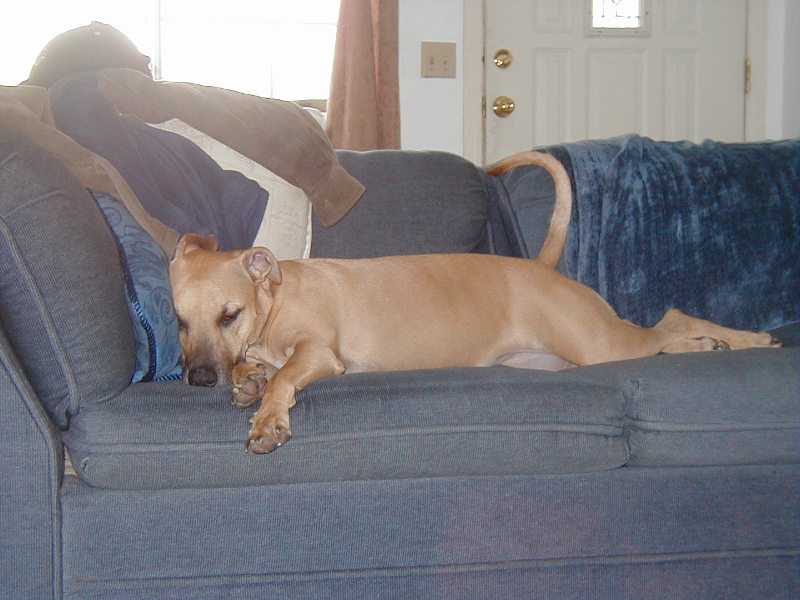
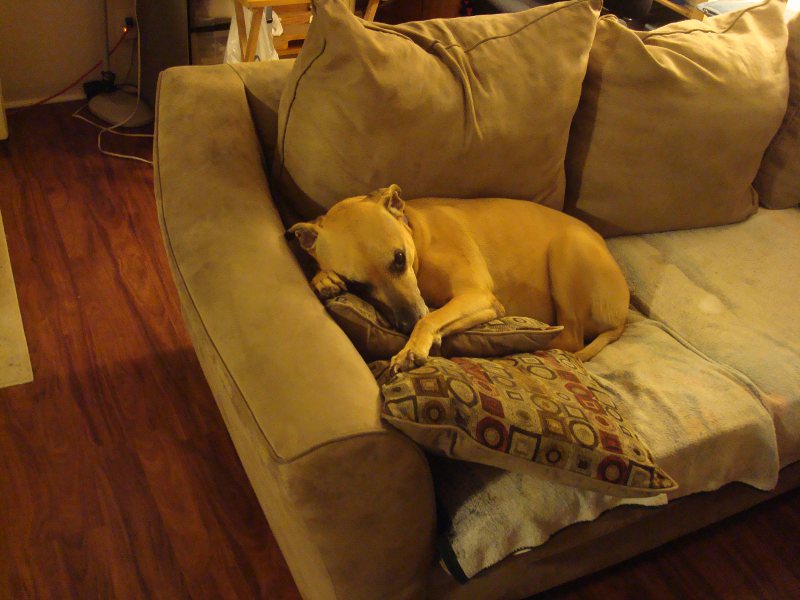
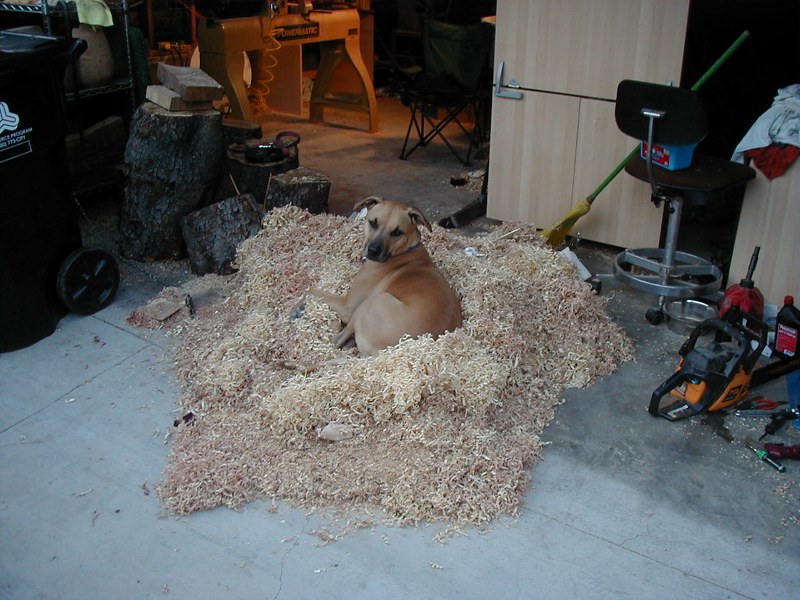
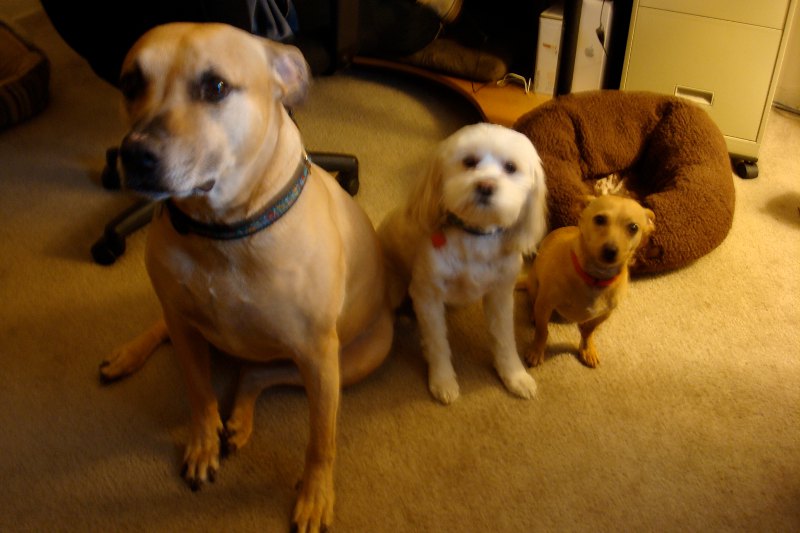
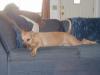
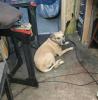
Thanks for all the posts, kind words and thoughts folks they are appreciated. Chloe's ashes will be here next week sometime so I'm already working out the details for a proper urn for her to continue to watch over the shop. If all goes to plan, there will be some woodwork, some leatherwork and some metalwork involved as she supervised all three activities over the years. Otto is a little depressed, as are we all, missing her and has been doing his best to take up the lone post of shop supervisor. He's not quite sure what to do yet but he's trying. Good thing I'm not into large scale woodturning anymore, he'd never be able to help pull large logs into the shop like Chloe happily did. She was the dog world's version of a draft horse if there ever was one and loved getting a good work out moving stuff around the shop.
-
Thanks for the comments & wishes & prayers everyone, they are appreciated.
-
It is with deep sadness that I inform my family & friends that my best friend & vigilant shop supervisor Chloe passed away tonight at 8pm. Chloe went in for a recommended surgery to remove a cyst on her right hip and passed away quietly tonight at home due to unknown complications of what was a “complicated but routine and non-internal” cyst removal operation. Chloe has been a huge part of my life for the last 11 years and was by my side in the shop all those years creating saw dust, shavings and leather scraps. The shop will never be the same again, I miss my friend already. Safe travels Chloe, say hi to Shyloh for me when you get there. Rest in Peace. Love ya pup! I'm at the point that I don't know what to do aside from share her life with the people I know. It's killing me to think she won't be coming home again. She would have turned 11 this week.


-
Air Brush
Spinner replied to jayjay's topic in Dyes, Antiques, Stains, Glues, Waxes, Finishes and Conditioners.
+1 to the brands Roo mentioned and I'll add Golden Fluid Acrylics. Mix with their airbrush medium to thin instead of water and they work great. Angelus works but I find it doesn't look as vibrant when thinned to airbrush consistency as it does straight out of the bottle. For most acrylics a paint to water ratio of between 50/50 to 30/70 is common for airbrushing. The less water you need to use, the more vibrant the end color will be. Lumiere, Creatix and Golden all start fairly thin with Golden being the thickest of those three so they need less water to be able to spray. You'll also want to use a higher air pressure setting when switching from dyes to paints otherwise you won't be able to get the pigment out evenly. -
Hermann Oak Question
Spinner replied to IngleGunLeather's topic in Gun Holsters, Rifle Slings and Knife Sheathes
Well hell, been ordering from Cheryl & co. at Goliger for months now and didn't even think about asking about those. I'll have to check those out with next week's order. -
Some good looking rigs there! Now it makes sense how you're coming along so quickly.
-
Email on the way!
-
Looking good JJ, you keep getting better at this and I'll have to worry about my market on that side of the pond! Keep it up buddy!
-
Hermann Oak Question
Spinner replied to IngleGunLeather's topic in Gun Holsters, Rifle Slings and Knife Sheathes
I noticed the same thing Shooter, I bought 2 sides of black tooling leather last year, one in the standard 9oz and one split down to 6oz. The 6oz was the same way, skived after dying so the flesh side was only black where the dye penetrated through, the rest was grayish & natural blotches. Luckily the flesh side isn't seen in my work but otherwise it would have been a pain. Still tooled & wet formed well though so no complaints there. -
Latest Update: I got to see the first batch of burnishers off the lathe from the Bears and they look great. As expected, Ed has put his own spin on things here and there and I think everyone is going to like what they see. Official announcement from Ed should be hitting the boards sometime soon. Cheers, Chris
-
Hermann Oak Question
Spinner replied to IngleGunLeather's topic in Gun Holsters, Rifle Slings and Knife Sheathes
I'm thinking the same thing Joel pointed out, might be the grade or supplier's stock. I'm on my 11th side of HO for this year and have had good luck thus far. In the last year in my search for the right leather I've bought and tried: Tandy's Craftsman Oak & Royal Meadow SLC's Herman Oak W&C overstock and #2 & #1 in both the russet and black ALD's #1 russet back Goliger HO #1 Sheridan Leather HO #1 So far out of all of those the HO #1 has been the best all around. Tools beautifully, good color and wet forms nicely (and I do some pretty big wet forming over compound curves). I have tried it from a few places trying to save $ but in the end found that Goliger and Sheridan Leather carry the cleanest #1 HO stock outside going direct. I typically go with Goliger due to the shipping being next day for me and $20 cheaper since they're only a few hours away. -
I use Barge contact cement on the leather wrapped side covers I make and it holds up really well. Make sure to coat both the leather and bags with a good coat, allow to 'dry' and then stick them together. Make sure you have a good way to line things up one the glue is applied because it's a bear to get the leather back off once the two pieces stick together. Rub down to flatten any bubbles and smooth it out and let sit for half a day or so. They should be rock solid after that. Cheers, Chris
-
Trigg Brothers have some excellent ones that I have used a number of times. The two-tone and antique silver USMC logo conchos have great depth and detail. They also just recently added the USMC Bulldog logo concho, a Semper Fi concho and a few other news ones (non USMC) like Fire & Police. Here's the link, let it sit for a second and it will scroll down the page to the right section once it loads. http://triggbrothers.com/conchos3.html#usa Chris
-
Thanks Paul, hoping to learn well enough to be able to add metal inlay pieces to my lineup and maybe conchos later on. As always, new hobbies are fun because of the discovery phase even if they don't go anywhere.
-
Thanks Thrasher, I actually picked up individual tools from Contenti.com to try out. Didn't want to spend too much in case it doesn't take but should be interesting as I have a background in pointilism drawing and scratchboard art using quill and pen as well as woodcarving, pyrography and leather carving. I also have a decent stock of copper, brass, aluminum and titanium sheets in various thicknesses to play with. I wouldn't mind the info on classes though in case it goes somewhere and I want to take the next step.
-
Glad to share. I stumbled across them while looking for an entry level starter set of hand engraving tools to play around with.
-
Another source would be Wickett & Craig. They have their overstock selection of veg-tan that is generally usable leather and sometimes can be a nice surprise. $107 for a full side usually runs about $125-$130 with shipping and that's for about 25 sq.ft and the quality is better than the affordable ranges of Tandy leather. There is also American Leather Direct, theirs is in the decent range also, a full back of #1 grade (similar to #2 grade HO) ran me $153 shipped to CA and was pretty clean. The temper of the ALD is similar to Tandy's Royal Meadow that runs about $180 without shipping. A back will be about 20 sq ft in size. I believe a side is $1 less per sq. ft than the backs are (so about $135 per hide or so). If you were to go with their #2 or #3 grades, the price gets even lower.
-
I was searching for a pattern I made & shared awhile back and stumbled across one of my very first posts, I believe my first post with a picture of a tooled leather piece, that I ever posted. I was kind of blown away how far I've gotten in less than 3 years but it was fun to look back at the noob me: http://leatherworker...showtopic=17186 Kind of makes me want to go back and find that first pattern now and do a then/now comparison.