TomG
-
Posts
1,025 -
Joined
-
Last visited
Content Type
Profiles
Forums
Events
Blogs
Gallery
Store
Everything posted by TomG
-
 Thanks Wiz. I do have an airbrush that I can do gradual fades with.. If I can find it. I remembered block dye technique which actually worked better for the streaked, ragged appearance she wanted. But, my original question had to do with mixing colors of dye to get a different color. As in red and yellow make orange, type of mixing. I found the dye online though I still need to find time to experiment with color mixing.
 -
I don't know about removing your tokonole, but lemon juice is often used to kill mildew from leather. You may just have to experiment with this. I might suggest that you somehow block the project and not have to hold it. Or, just wait until one side dries before doing the other.
-
Thanks. that's what I was looking for.
-
Well, some time ago, I recall seeing some info on making a slide-on for the cylinder arm to make it like a flat machine. I can not find it. Does anyone remember it or what the title MIGHT be? I've searched using a variety of word, with no luck. Thanks
-
I got an email notice of your post wit some mix info. Did you delete it or did the forum have a memory loss <g>? I was going to ask if you had a basic idea of ratios for a starting point?
-
Thanks. I've used this technique and love the look. But in this case, it's a linear, streaky, splotchy, fade from medium green to a washed out, almost natural with a tinge of leather. Same with the Maroon/Chestnut combo (2 products). The green is not really the issue. The Maroon was. But Frodo pointed out eBay and I've got some coming. The chestnut, they may just have to live with a saddle tan or other shade. This customer is having me try to match colors off pictures she's seen online. I've already explained the facts of leather life to her. She's pretty flexible and she's a consistent customer as she orders large numbers of another product every couple of months. So, I'm willing to go the extra mile for her. Ahh, the life of a leathercrafter.
-
Is there a tutorial somewhere or can someone help me out here? I am trying to dye some straps in Maroon and in Chestnut. I can not find either color in Fiebings. I did some testing using multiple coats of diluted Oxblood and got a sort of Maroonish color, but not a true Maroon. The main issue is that the customer want the dye to be variegated/faded dark to washout and striated/streaked. I know of no way to do this with having to apply multiple coats of dye. Suggestions or advise? Thanks
-
Here's a couple of links. https://sawmillcreek.org/showthread.php?250610-How-to-round-over-the-end-of-dowels https://sawmillcreek.org/showthread.php?226647-Rounding-over-dowel-rods-revisited-with-new-jig The second one has photos of a jig that he discusses. You'll have to join the group to see them. Jigs are key to repetition work. I used to make dog agility equipment out of PVC. I used 3/4" Tee's and had to bore them out slightly to slide over the pipe. Then I had to cut them in half exactly. To do this, I had to make jigs and fixtures. Plus I had to grind down wood bits to just shave the insides of those Tee's. Good luck
-
Thanks!
-
I have used brass plated double cap rivets for years now, but now need to use the solid brass for one of my customers. My question is, how strong are they compared to the plated rivets. They will be putting a lot of force on them. Thanks
-
I don't supposed that you'd want to share the recipe, would you?
-
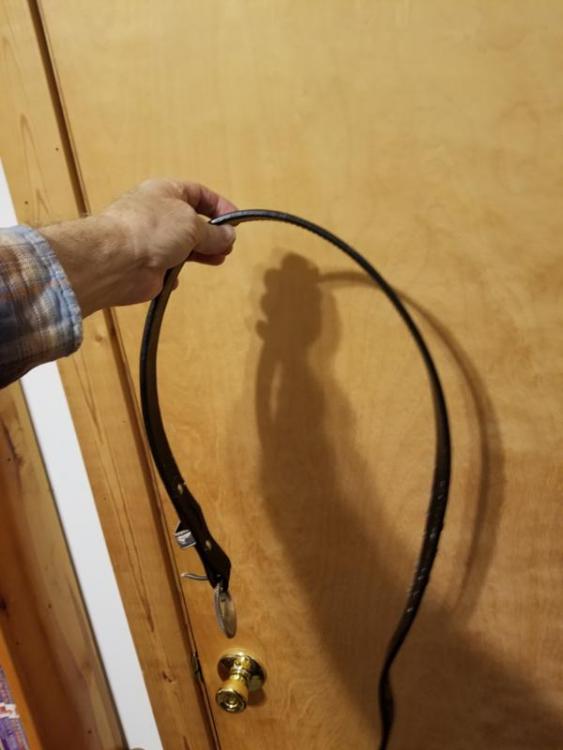
I use 1 of 2 products. My standard is Leather Balm with Atom Wax. I rub it in heavy on the back not quite as heavy on the front. After each side, I roll it and flex it that turns my strap from stiff and dry to limber and flexible. I've also used Mink Oil Paste with the same results. That also makes it a bit waterresistant as well.
-
I use Leather Balm with Atom Wax (Fiebings) and after rubbing in front and back, pull the belt over a smooth, rounded desk edge on top and bottom. For super dry leather I've also use Mink Oil Paste with great success.
-
Cool. That's why I suggested checking When I was looking at a new Consew 226 at a local dealer, it had the servo with the knob. I saw several like that, but this one was the main one I remember was on or off and not variable.
-
Looks good, but I've seen them for a little less from time to time. My only concern would be that servo motor. The ones I've seen with that knob on the front can vary the speed with the pedal pressure. The knob sets the top speed. The pedal is just on or off. You might want to ask the seller. Since it was installed by a commercial place, they may have a different version or had modified it.
-
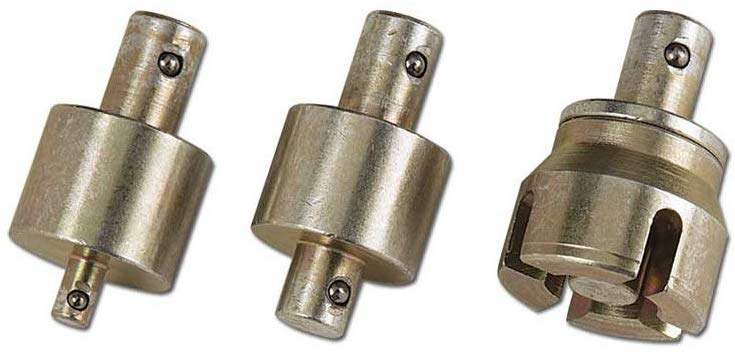
Does anyone know where I might find a set of these adapters? Tandy has discontinued them. I mainly need the one on the right. I want to cut off the post and attach it to a heat embossing machine to heat emboss and foil stamp
-
time for the next level using computer software
TomG replied to wydfuqnopn's topic in Patterns and Templates
Inkscape is free, very popular, VERY powerful and has lots of YouTube tutorials. I'd suggest getting the Fusion 360 (free version) and Inkscape and try them both. Do 2-3 tutorials for each and see which suits you. Personally, I use Coredraw as we also do custom screen and sublimation printing. I learned it fairly easily, but I had tried Adobe Illustrator and had a mental block with it for some reason. -
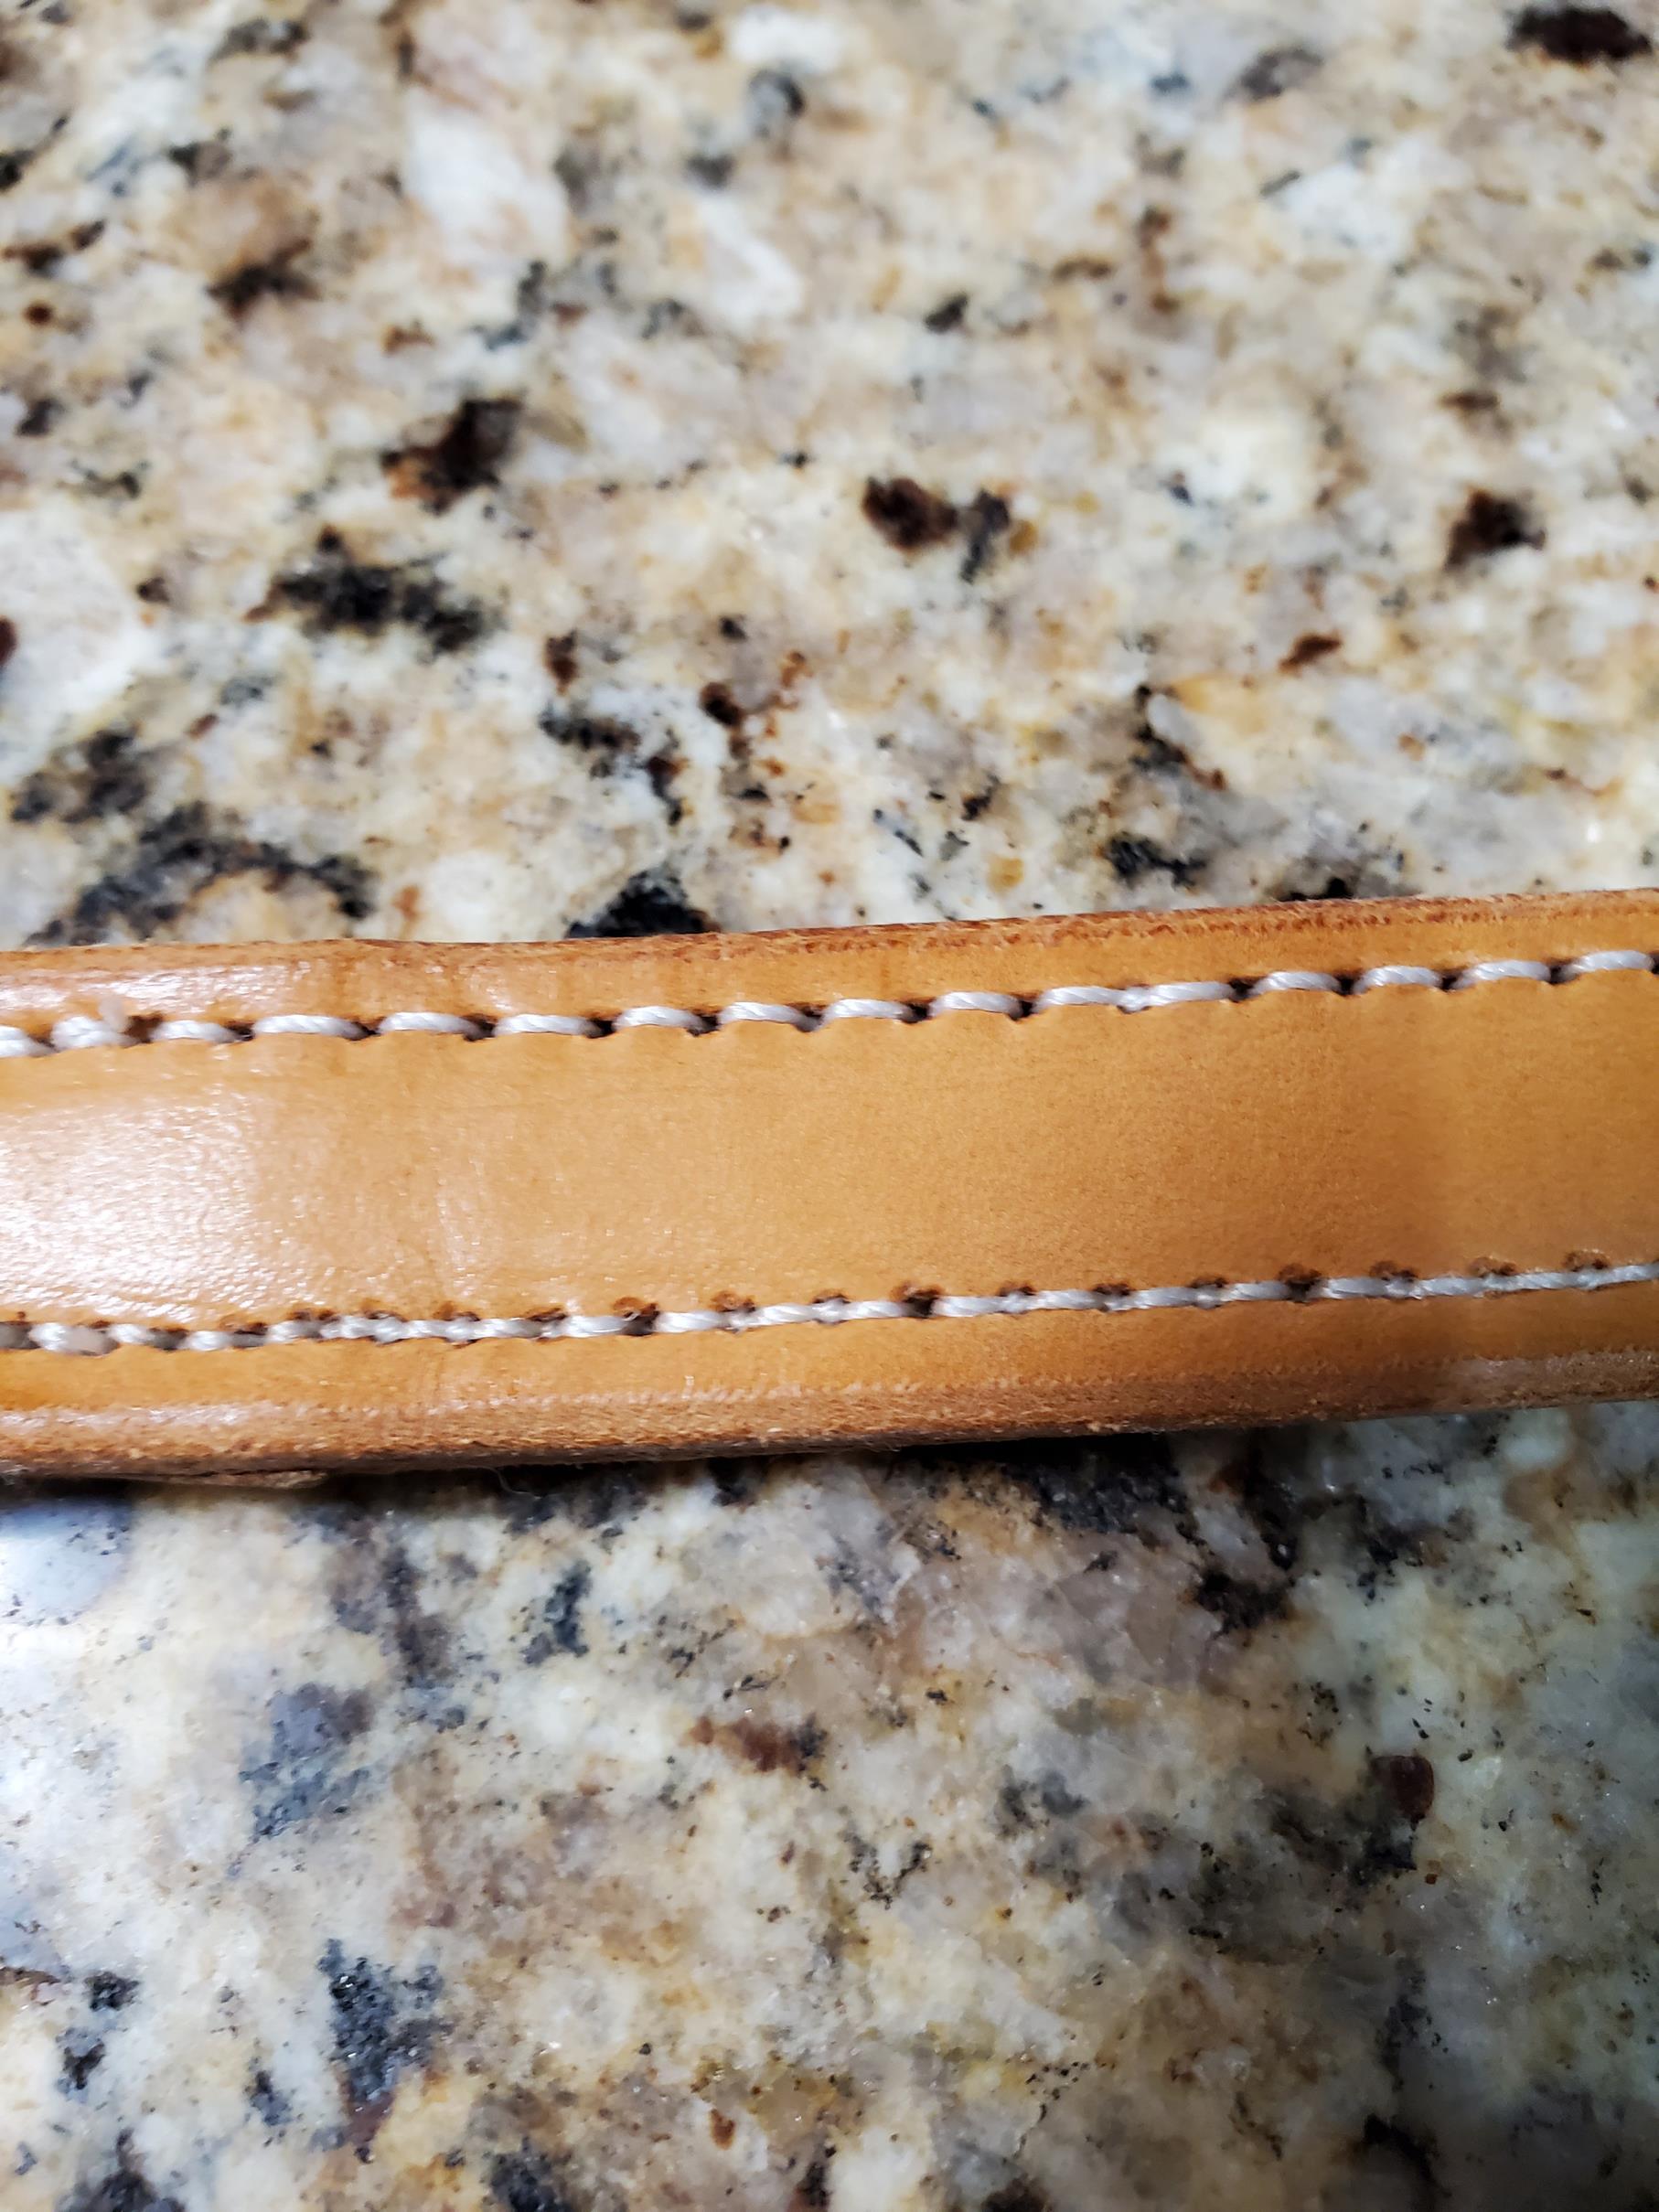
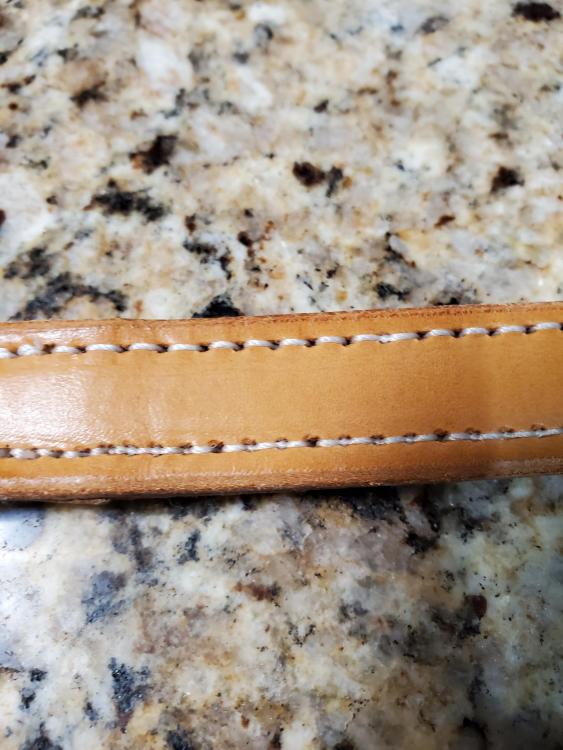
Howdy all. I have a relatively new Consew 227-R2. I was sewing some dog tag leads and the needle must have hit a hard spot in the leather and shifted, making the needle slam into the bottom dogs and snapping the needle. Had it happen before, so I figured no problem. Well, Problem... It had apparently pushed the needle bar up, because I couldn't pick up the bobbin thread. I checked the timing and the needle was well above the hook when the hook was at the needle. I had a marked needle that I used some time ago when I had to replace the needle bar, so I inserted it properly, positioned the hook and adjusted the needle bar to the mark. It seemed to sew OK but I quickly found I have 2 issues, 1) When the presser foot is all the way up and locked in place, the guide at the bottom of the needle bar hits the presser foot as I raise the needle to thread it. 2) As the bobbin gets low, it begins showing in the top threads. When full, it is nearly perfectly centered between the pieces. No tensions were altered. So, why would the needle bar hit the presser foot when it didn't before? And, how do I adjust that? Did I do something wrong when adjusting the timing? Any ideas as to the bottom stitch coming up? Photo attached.
-
There is homopolymer and copolymer type of Acetal. Homo is Delrin and CO is not. There is also HDPE. You want the Homopolymer. Check and see exactly what you bought from each. Please let us know what you find out.
-
A couple of things here. First, I would dump the deadblow hammer. You can still get bounce with them. Get a 2+ pound Maul or Hammer. rawhide is bet, but the new Poly Mauls work well too. Next, don't just moisten the leather. Wet it thoroughly and evenly. Allow it to dry until it LOOKS almost dry, but is still cool to the touch. Use your cheek on the back side. Now, he's a key to getting better impressions on thin leather. Put a piece of 8oz or thicker under it and stamp. The thinner the leather, the less fibers you have to compress into a the image. The scrap piece lets the impression hold better. So.. Yes, you CAN wet the leather and stamp it while soaked, but you will find that many times you get squishy impression edges and the details will fade as it dries. You can also see the leather distort and do other weird things as it dries. You can also spray the surface and let it dry a bit and then stamp. The key here is to properly case your leather. Casing is basically getting the moisture to the core of the leather but have the surfaces almost dry. You can get away with these shortcuts on thicker leather, but thin benefits from using the proper method. For heating, you can use a gas stove, alcohol lamp, or even a propane torch. But beware. The newer Tandy stamps are pot metal and even a gas range (stove) can actually melt them. A propane torch will turn them to slag in a heartbeat.. For now, just case as I described and use the heavy scrap leather under it and on top of your granite slab. Oh. You can dye first, but leave and top coats or treatments off. They can block the water being absorbed.
-
I use Leather Balm.with Atom Wax to coat and seal the leather. i then mix neutral Fiebings Antiquing Gel mixed with white acrylic paint (or choice of other color) and apply with a dauber. i let it sit for just a minute and then use a cloth folded into a stiff pad to wipe it off. Think Block dye technique. Refold to a clean side and flat wipe again. Repeat until no more comes off. You will likely see speckles of White in the pores of the leather. Most of this will probably come out later. Let dry well. Use another stiff pad to apply 50/50 Resolene using same method.Flat wipe. You are not trying to get it in the depressions right now. You should see some or all of the speckles disappear. Some leathers just seem to have pores too large to get all of the color out. but most look pretty good.
-
I no longer use SS. I use Leather Balm with Atom Wax. 1 coat only. Apply your antique. Personally, I prefer the Fiebings version. The EcoFlo stained through the LB at times. I leave it on just until the surface starts to turn dull. I then wipe it off using a thick, firm pad of cloth as if I am block dying a piece. I don't want it digging into the impressions and wiping the gel out of them. I let it dry overnight. I then use 50/50 resolene the same way. Like a block dye. I wipe it once, turn my cloth over so it's a fresh side, wipe it a second time and then let it dry overnight. Done. Understand that Resolene is essentially Acrylic floor wax and hasx ammonia in it. By its nature, it will strip the gel out every time you wipe it. It cuts through the previous coats and take them off or smears them. If you need another coat after the first ones dry, use a brush and stroke in 1 direction only and only once. But it's tricky. There is a frequent poster here by the name of Dwight who I believe has a lot of experience doing just that. You might search for him and ask him. You can also do a search in the forums. This question has been answered a number of times before. Good luck
-
I think they are referring to the Black LB/AW. Fiebings has stopped making all flavors except Neutral. I spoke with one of their chemists a year or so ago. He advised me that you can take some of the EcoFlo leather dyes and mix then with the neutral LB/AW and have an equivalent for the discontinued products. He didn't know the ratios and advised me to just do small samples and start with maybe 5% dye to 95% LB. What I did was make brown and black. I dyed some sample pieces and used my test batches to see the results. To be honest, I actually found little difference between the Neutral and the "best" brown batch and on the black, I saw virtually no difference whatsoever. So now, I just use the neutral for everything. BTW, I make a ton of dog collars, belts, key fobs and such. I use the LB/AW for almost everything and love it. I put it on after the dye and buff it well, then, if I have any stampings/engravings, I apply my antiquing on top, let it sit until I see it just start to lose it's "gloss" and then wipe it off as if I was block dying a piece. After it dries overnight, I apply 50/50 resolene, again, using a block dye technique applied quickly. This takes off any excess antiquing with ripping the stuff out of the impressions.
-
You can use deer skin to line them, but why bother? Lightly sand the back. Use Leather Balm with Atom Wax top and bottom and rub in well. That makes for a fairly smooth finish on the bottom, unless it's an absolutely crap piece of leather. Follow up with some Mink Oil paste or SnoPruf. That will help waterproof it to a degree. You'll find that the collar will also absorb oil from the dog's skin and soften up nicely in short order.