TomG
-
Posts
1,025 -
Joined
-
Last visited
Content Type
Profiles
Forums
Events
Blogs
Gallery
Store
Everything posted by TomG
-
Denatured Alcohol. About $10 a gallon at the hardware store
-
I've cut a couple of things with a vinyl cutter. 1) You're limited to thin leather.. about 3oz max. 2) You cut very slowly 3) You need to make multiple passes 4) Leather need to be securely attached to a carrier sheet. 5) Blade needs to be extended to slightly longer than the thickness of the leather Here's a link to my video of the cut.
-
I bought some leather and tools as part of an estate and everything was exposed to mold and mildew. I took the shearling, veg-tan and upholstery hides and used a brush to get the loose stuff off. I then used a 50-50 lemon juice/water mix and a sponge to wash the leather, front and back, followed by a sponge rinse (except the shearling which was the back only). I didn't soak it, just lightly to kill the loose stuff that might be left. After they had dried very well, I laid them all out so air could get to both sides and turned on an Ozone generator for about 3-4 hours. 6 months later I still can not see or smell any mildew. Be very careful to do all of this except the ozzone treatment, outside and wear gloves and a mask.
-
That was it, Wild Bill. Thanks...
-
Nope.. It's not a Mystery Braid. I've heard it called a Slotted Plait, Slotted Braid and a few others. But nothing shows up on any of those search phrases
-
I am trying to do a flat braid, plait or whatever. I really don't know the proper name for it. I need some instructions or direction please. I've tried a bunch of different slot and connector length combinations, but just can't seem to get the proper combination to make it look right. Thanks in advance
-

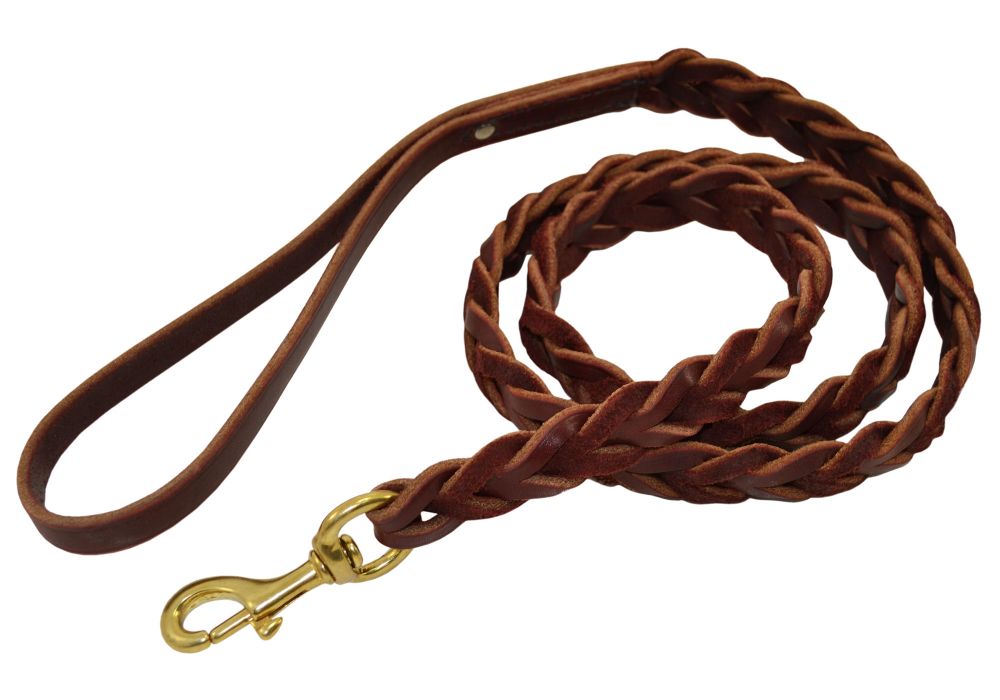
Braided dog leash (magic braid?)
TomG replied to TeriYool's topic in Collars, Cuffs, Leashes and Leads
Do you have a cut pattern or directions for this? I've been looking all over for it. -
Dye problems.
TomG replied to bvc79's topic in Dyes, Antiques, Stains, Glues, Waxes, Finishes and Conditioners.
None of the above... Always cut the dye 50/50 with alcohol. Denatured is preferred but 90% rubbing alcohol will work too. Tom -
Does the stamp have more than 1 curly at a time? I looked at the photo again and it still looks like the shape of the curves are different. Good luck in finding it. I suspect it might be a custom 1-of-a-kind
-
Are you sure it's a stamp? Some of the swirls look different.
-
I am resewing 2 leather chairs. The stitching is around the perimeter of each piece. The arms took me about 3 hours each. And a day or 2 to.let my hands recover. I bandaid my fingers and wear Gorilla Grip gloves from home depot. That helps a whole lot. Still have the backs to see and then I'll be done
-
I recently bought some leather supplies from an estate. One of the items was about a dozen bottles of Dr. Jackson's Leather Conditioner. I opened one tonight to try it on some stuff and it looks like it might have been frozen. I've shaken it until my arm is ready to fall off and it still looks clumpy with a clear fluid and blobs of what appears to be wax floating in it. Does anyone know of a way to reconsitiute this stuff?
-
Thanks. I got it. And it was pretty close to the figures cowboycolonel gave. Now to the tedious job of sewing all this stuff up. Hope the arthritis holds out <g>
-
I haven't sewn by hand in forever. I need to resew some leather armchairs but can't find my reference on how long to cut my thread for a strap. 3X the length, 4X? Thanks
-
Understand that! He sent me a 3D hand drawing.. pretty good visual... What I'm planning is to make a full sized pattern from his drawing and dimensions and make a paper copy first for his approval. I'll just leave the type of stitching up to him. Still struggling with a price range. I'm not sure how long it will take to make. But, I'll figure something out <g>
-
I have a customer who wants me to make him an “authentic” 1810 era Sequoyan carry bag. He is supplying the leather. He has sent a pretty detailed drawing of what he wants. No modern threads or machine sewing. All hand punched holes and rawhide lacing. It’s a pretty big bag, with gussets. I don’t have any real problems doing it, per se, but I have no idea of what a 19th century Indian bag would look like and Google has not been my friend. I have 2 questions, if anyone can answer either or both <g> 11) Do you think the stitching should be inside or just butting the edges together and whip stitching it. I doubt that the early Indians had saddle stitching or anything fancy, but I could be wrong. 2 2) How do I price something like this? Having never made one, I can’t even begin to know how long it will take..
-
Are you sure they are all strap end punches? the 3/4" and the 1-1/2" ones almost look like Oblong for slot punches. How much are you asking fo them?
-
Extreme confusion
TomG replied to WoodysWorkshop's topic in Dyes, Antiques, Stains, Glues, Waxes, Finishes and Conditioners.
What all of the previous posters said. There is a TON of information on this subject here. Not sure why you didn;t find much. What you will find is there are a number of ways to finish. You should try several on test pieces and use whichever one suits you best. Personally, I almost never use NFO. Maybe I should but I go a different route. I case and do my impressions/stamping. Then I apply resist if needed. Then I dye. Next I apply Leather Balm with Atom Wax. Followed by Antiquing gel if needed. Finally, a coat or 2 of Resolene or Acrylic Floor Wax, diluted 50/50 with water. Works for me. -
Does anyone have any tips on how to clean shearling that has gotten wet and possibly developed mildew or mold? Thanks
-
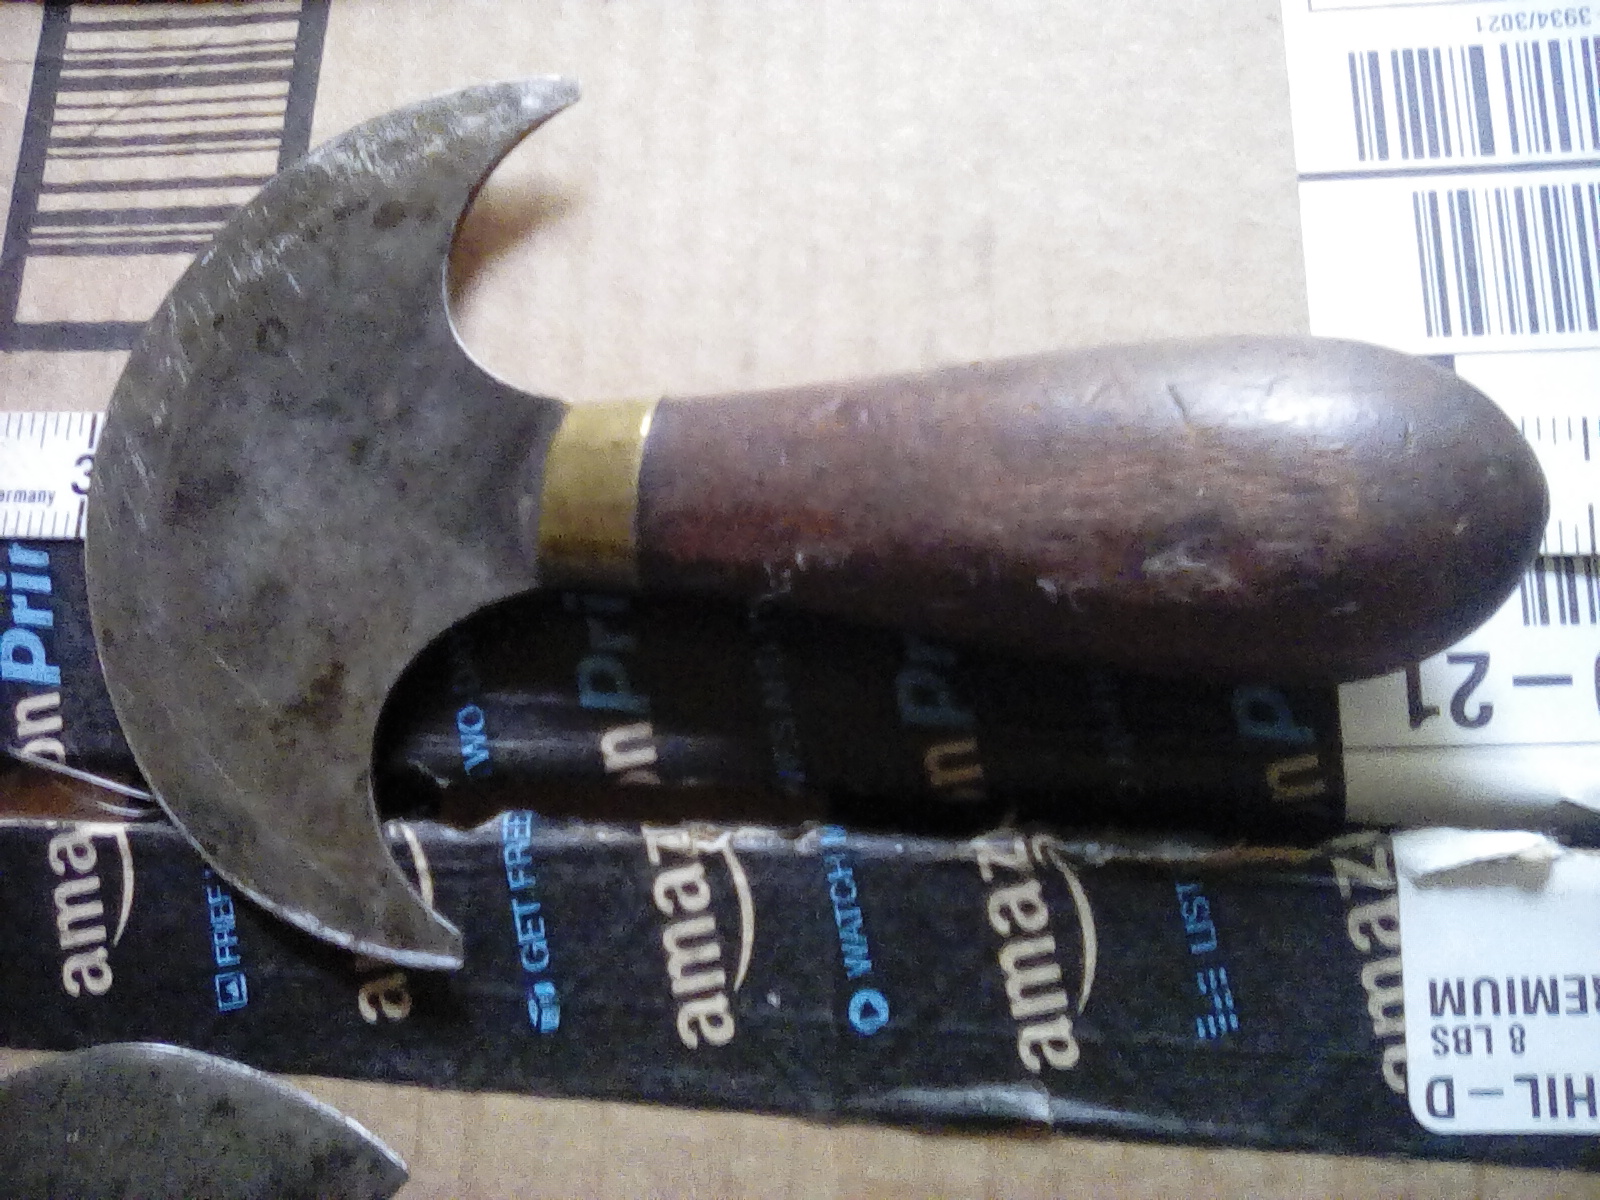
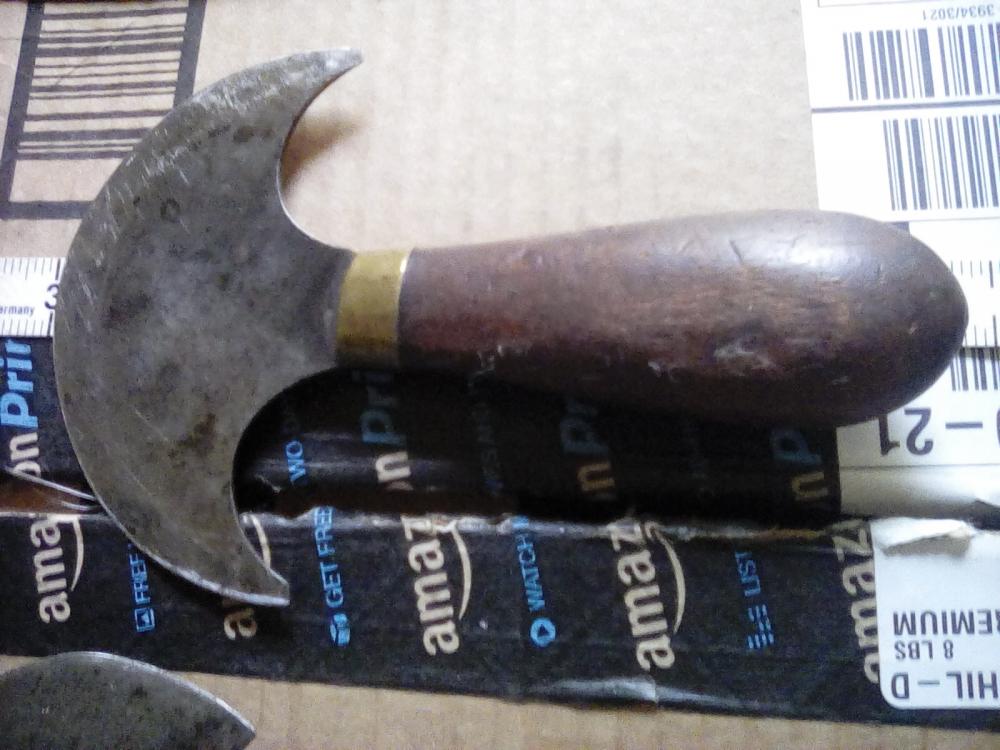
I am interested in one of the Bluegrass edgers. If you have one for sale at a reasonable price, please let me know. Thanks
-
Funny. I've done something similar. I have a pebbled stepping stone I use and after I wet it, I aly it on and put a board on top. then I walk on it and bounce a couple of times. Similar result. Good use of the Res and dye though. I like it..
-
If not, check www.sewingmachines.com. They have a good stock of the needles, bobbins, and parts
-
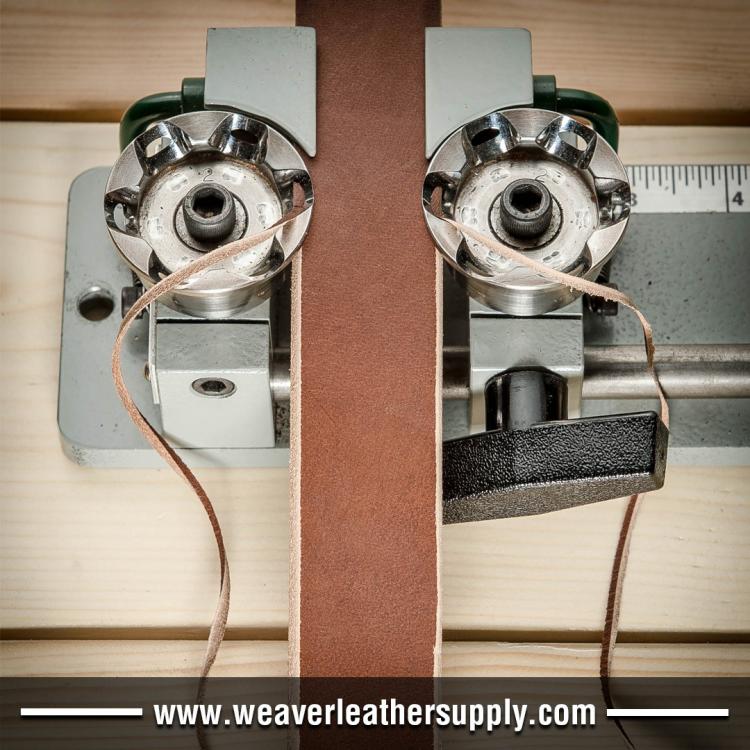
Did the strap have some curvy spots? that's what you usually get when you cut on a curve. Someone told me that they thought the Amish craftsmen had a way to drag it over a ceiling joist or door and straighten them out to a degree.
-
Oh.. Those supplying super log straps are either cutting a side in an oblong or oval, or bevelling and splicing
-
I have a new customer that I make custom service leads for. He requires 80", finished, and the design requires 95"+ strap lengths. I have to find leather suppliers who will do some measuring and hand selecting for me. It is a challenge. Good luck