-
Posts
1,025 -
Joined
-
Last visited
Content Type
Profiles
Forums
Events
Blogs
Gallery
Store
Everything posted by TomG
-
Thanks, I've ordered stuff off Etsy that came direct out of China, and times run around 3-4 weeks. Unless it's over one of their national holidays.. I'm not sure of the exchange rate from AUS to USD, but as heavy as these are, I would think shipping from there might be prohibitive. But, it's something I'll look into
-
Has anyone had experience ordering hardware directly from China? Since Covid hit, I have been struggling to get brass hardware for my dog collars and leashes. Especially the 3/4" brass snap swivel bolts with the square eye. I spent hours searching my normal suppliers and new sources and found everyone either sold out or 3 times the normal price. I've checked OTB, Buckleguy, CDW, Batz, Beiler, Ravenox, Amazon and a few others I can't remember of the top of my head.
-
I used to use blue tape on the back, but with some leathers, it pulled up the fibers and made it sort of fluffy, for lack of a better word. How much, if at all, depended on the quality of the leather and what part of the side I was cutting it from. Since then, I dip dye 95% of my work - mainly strap type of products. I then use Molotow 15mm markers to apply an edge color of my choice and after that dries, to apply a little liquid glycerin soap to burnish the edges with. Makes it super easy, effective and most of all, clean. https://www.amazon.com/dp/B008H47HP2/ref=twister_B07GBDY6LH?_encoding=UTF8&psc=1
-
Projects from Leather Scraps and how to finish the leather.
TomG replied to Silvyr's topic in Getting Started
Shoot them an email and ask them. It's their leather scraps and since they make boots with it, they would be the best ones to advise you. Be sure to show us some of your finished product! -
Shoot us a photo when you finish!
-
Years ago, the letter sets like Tandy's were made of a different metal than todays. Lots of folks heated them up on a gas stove to do this, even going so far as to burn the letters in. In the past 10+ years ago, they have gone to a zinc pot metal that melts pretty easily. I have one of the inexpensive heat presses off Amazon and it works like a champ. I use 125 degrees C (257F) and press the foil for 2 seconds. Works great. If it were me, I'd try it by heating the stamp on an electric stove, skillet, etc, that I can adjust the temp on and measure it. Put the letter face down (no handle) for a few minutes, checking it frequently, then stabbing the handle on and quickly doing the stamping on some scrap. Another remote possibility, depending on the letter size, is to check eBay and see if you can find individual brass letters and just buy those. They can heat up nicely. Best of luck!
-
Already checked with the 2 folks I know in my area. No luck. Moot point now anyway. She decided to go with the standard western set, so it's all good. Back when Chuck Dorset and John Pribbenot ran the local store, I could have done that, as I was a distributor back then. Since then most won't allow it. Moot point now anyway. She decided to go with the standard western set, so it's all good.
-
Thanks to both.. I can get one at Tandy for $42 USD with my business discount, but really didn't want to spend that for a set that I will likely never use again. Not worth it for a $35 dog collar. Early on, many years ago, I'd go ahead and buy it, expecting to use it down the line, but I am likely going to be shutting down in the near future. Getting too much arthritis in the hands. Later.
-
I'm looking for this set for a reasonable price. I need it for 1 project and don't know that I'd ever need it again, so don't want to spend a ton on it. Thanks
-
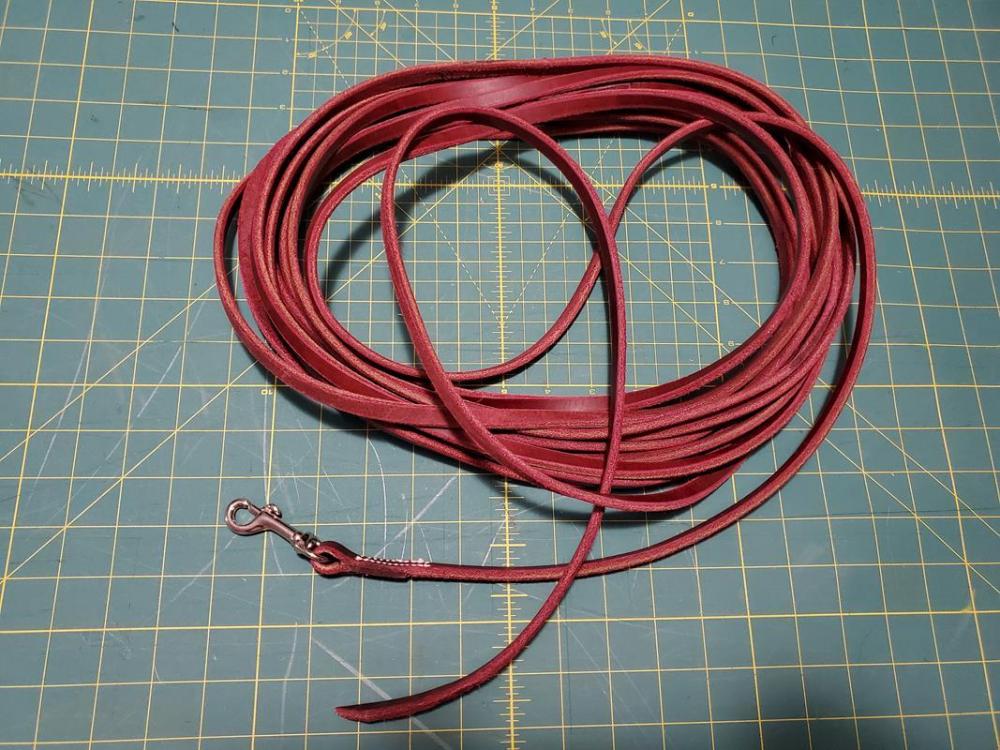
Might help to know what kind of leather. I've made 30-40 foot dog training leads from Latigo and VT. I skive the ends down on opposite sides and the use contact cement to glue them together and them do a running stitch up each side at the splice for strength. For a bag, you'll probably want to stitch the whole length of the strap for aesthetics sake as well as strength.
-
Does anyone know the proper way to adjust the 2 knobs on the front of this item? They don't seem to do anything except adjust the gap and avoid the roller from twisting on the horizontal access. How to I find out the proper relationship of the blade edge to the roller? I've had it for a good while and it cuts OK, but not as well as I want. I need to fine tune it, so to speak. Thanks
-
I think I found it. I believe that she had it made here: https://www.atlatt.com/ Call and tell them what you are needing and they should be able to advise you.
-
It does seem like it. But I was just passing alternate info. I believe her attachment was basically the same, but did indeed have a feeder for the wire to be inserted. I think she said that she had it made by some custom binder maker in maybe Atlanta?
-
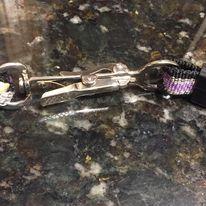
Thanks HS. Not a Scissor hook snap, but you pointed me in the right direction. They are actually Sprenger Hunting Quick Release Snaps. Now, to find a distributor here in the states, LOL. Sprenger now has a US distribution office so maybe they will answer my contact form request. Thanks again.
-
Can anyone identify this snap. It's a quick release, safety snap and I'd like to incorporate it into my collars, but can't find a name or source.
-
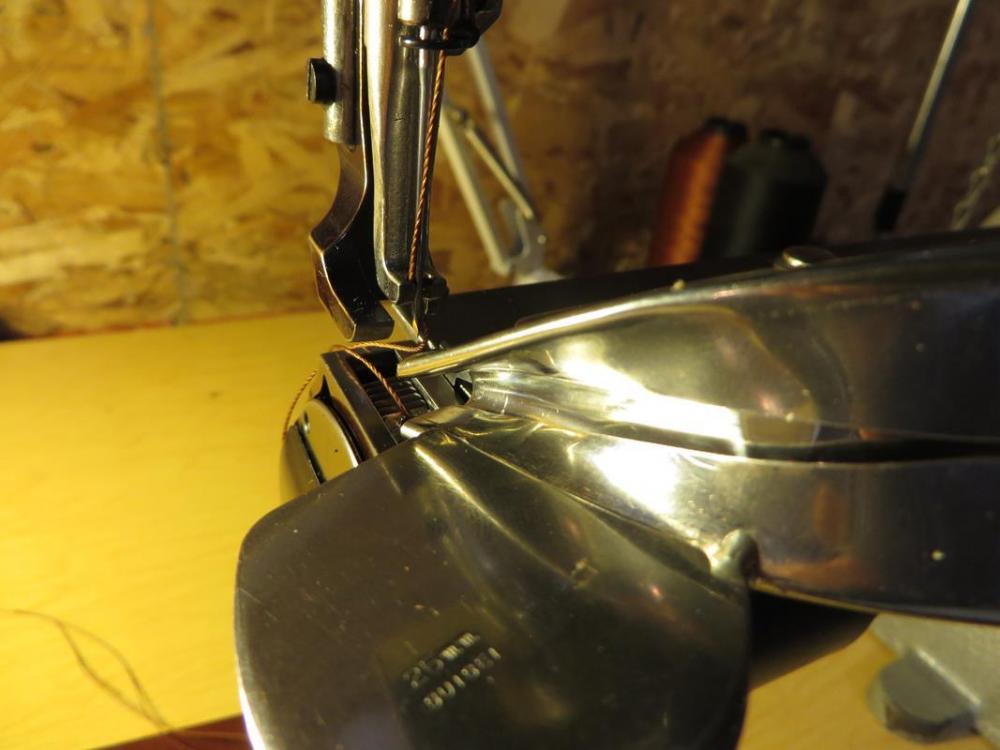
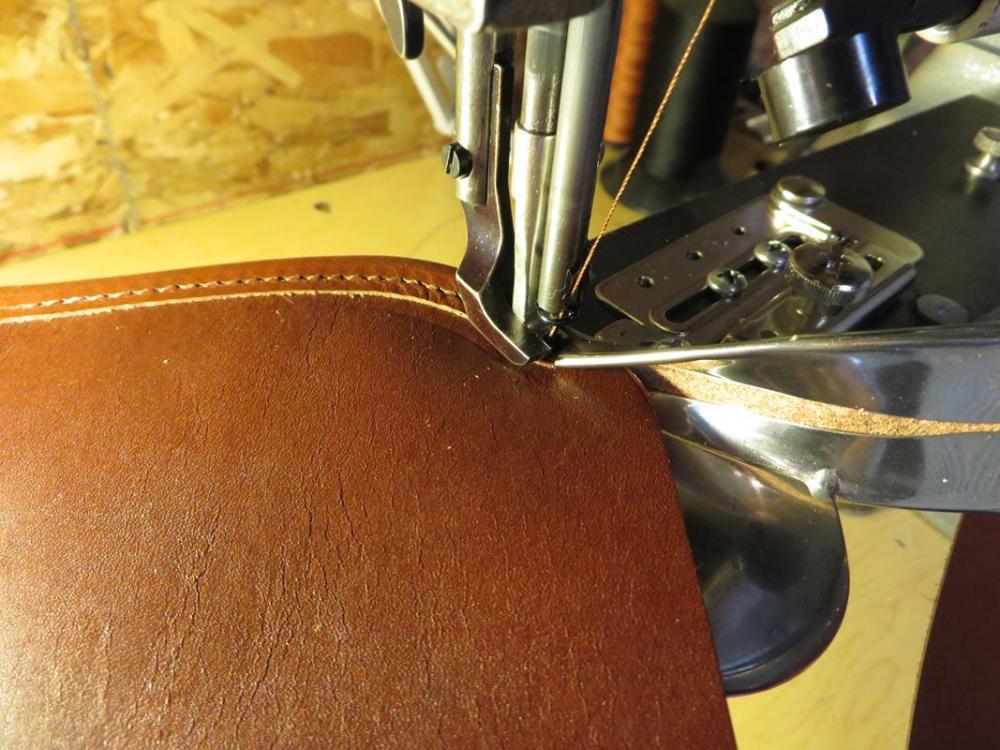
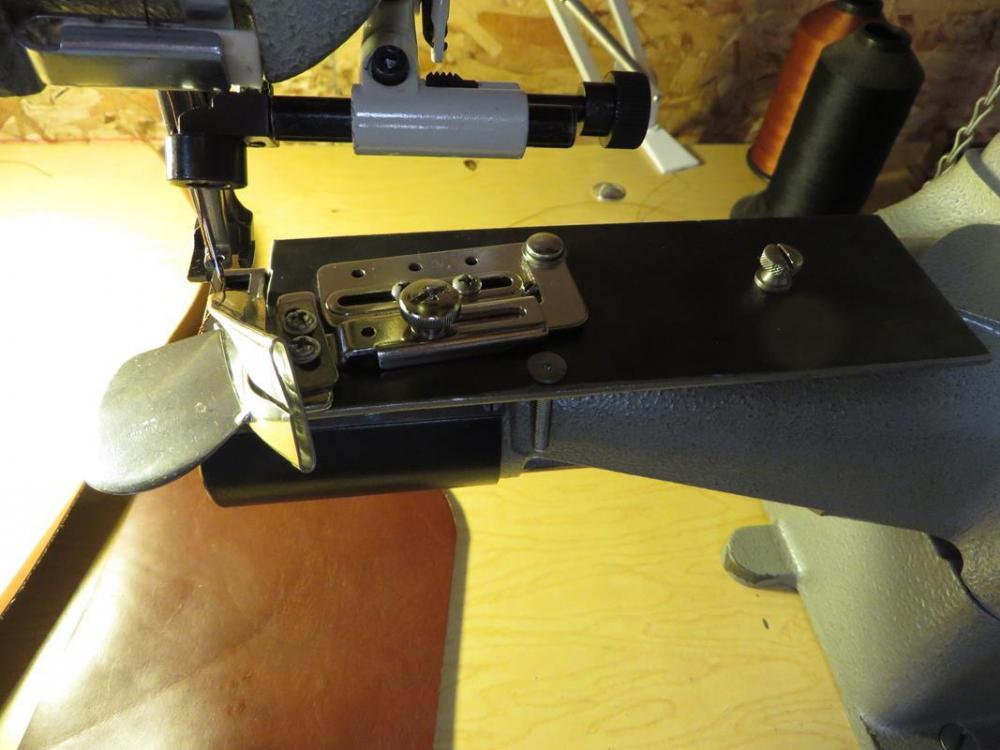
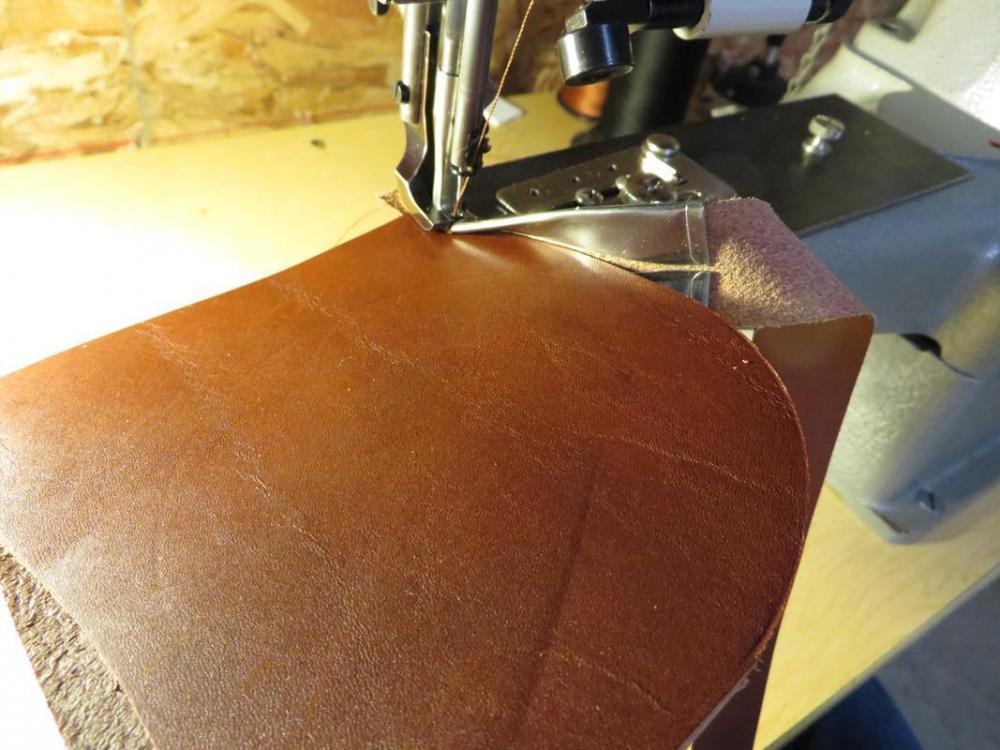
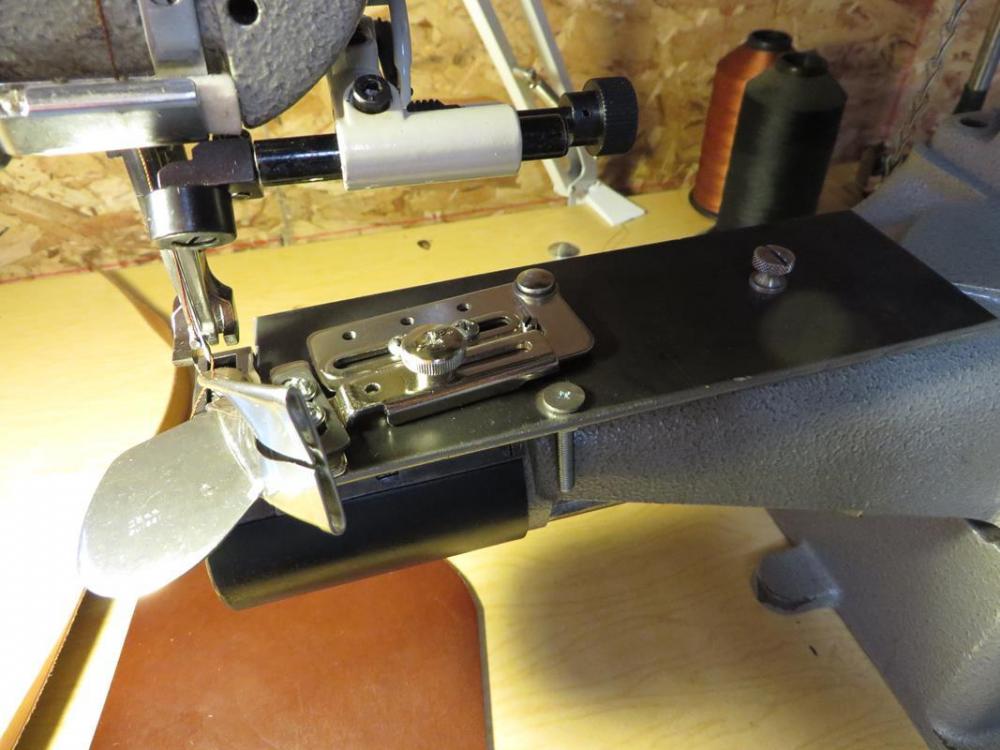
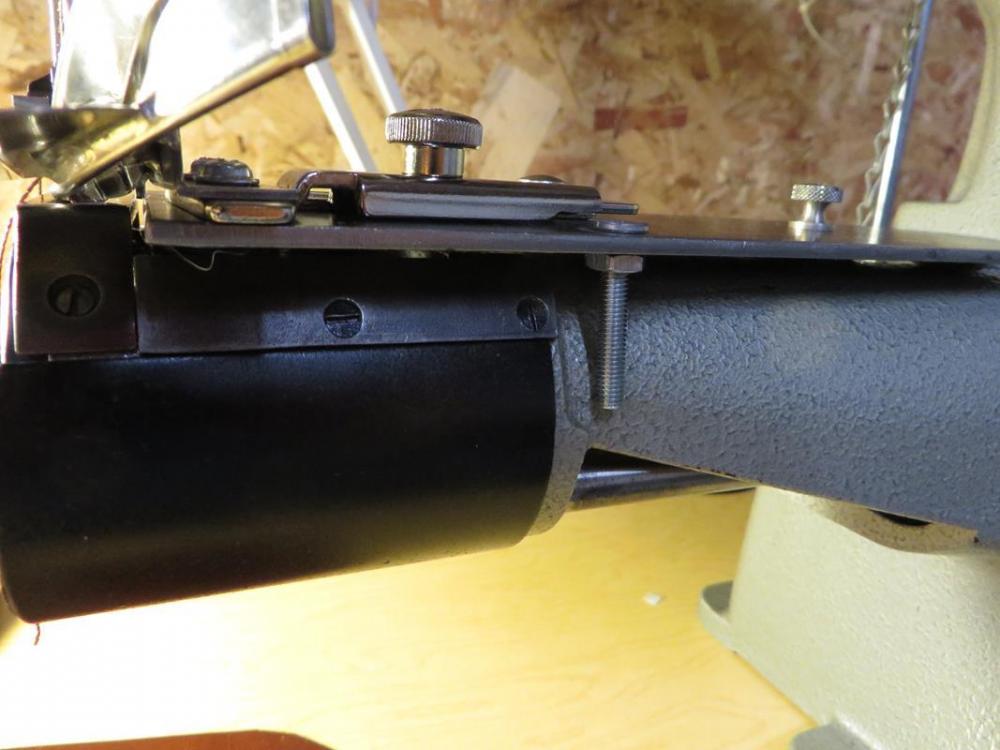
Sorry Dave, I totally forgot to look. However, I DID look this morning and all I found was a couple of photos of a leather edge binder attachment. It is similar to one I have, but seldom use. You may be able to adjust the amount of 'tunnel' that it leaves and then pass a wire through itm then had sew the rear opeing closed. Be sure to overlap the end though. As for the wire feed binder, it seems that she had them in a Picassa folder, but apparently, her brother or other family member deleted her account there. A real shame as she was the most sharing lady I ever had the pleasure to meet. MY wife and I would go visit her and enjoyed just shooting the breeze with her. But she had tons of patterns, photos and other stuff on Picassa that is now forever lost. Anyway, I'll post the pics of what I do have here. Tom
-
MikeRock, I suspect that those are either custom made stamps or likely engraved plates. I had an engraving machine a while back and it resembles one of the font sets that I got with it.
-
A good.friend of mine did lots of hats and she had a device to attach to her sewing machine to do just that. I believe she said that she had it made at a custom sewing machine attachment company. It's a wire binder foot. Unfortunately she passed away a few months ago, so I can ask her. We did discuss it a number of years ago and there is a very remote possibility that I archived the info. I'll look when I get home
-
That was my first thought but not sure if I need to do some prep the the materials or not. I've never used it on rubbery stuff.
-
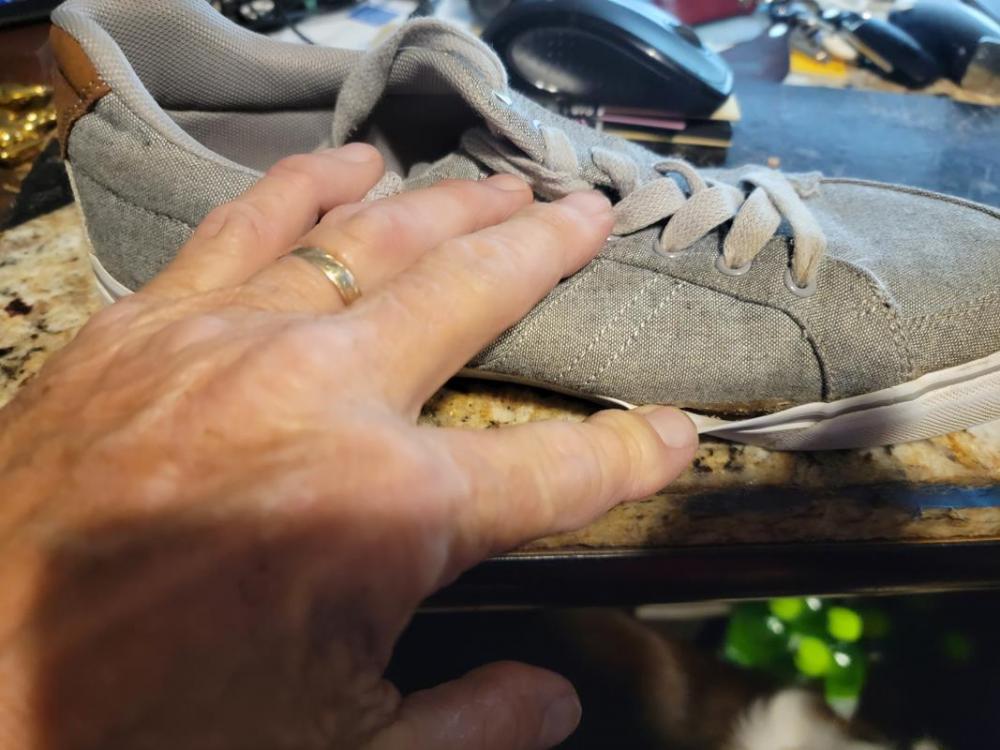
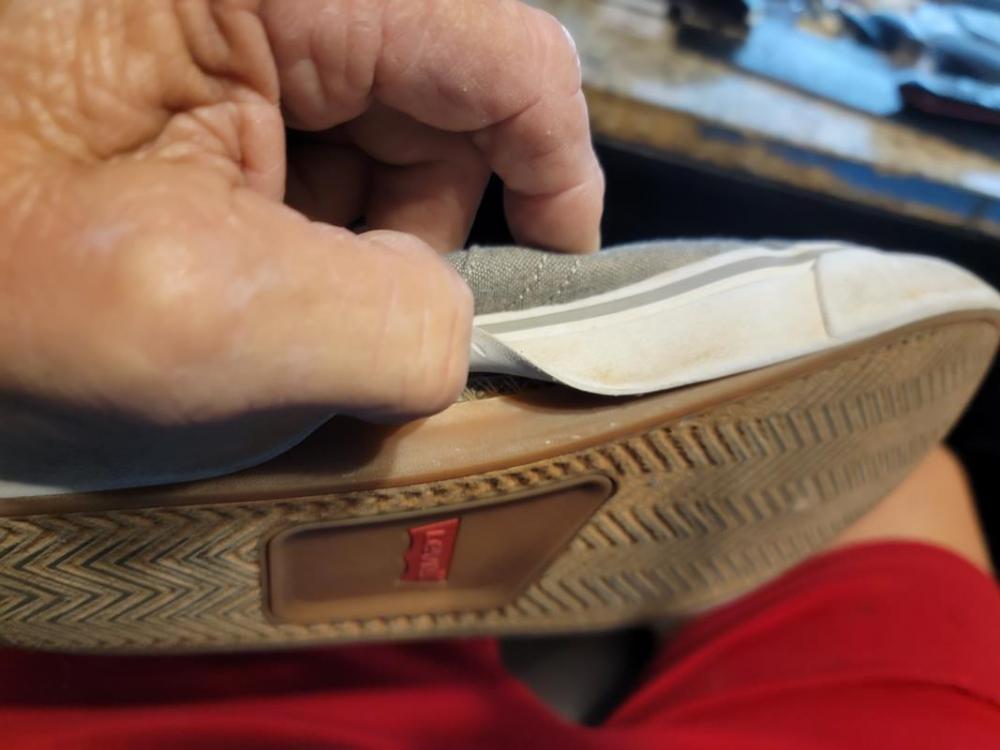
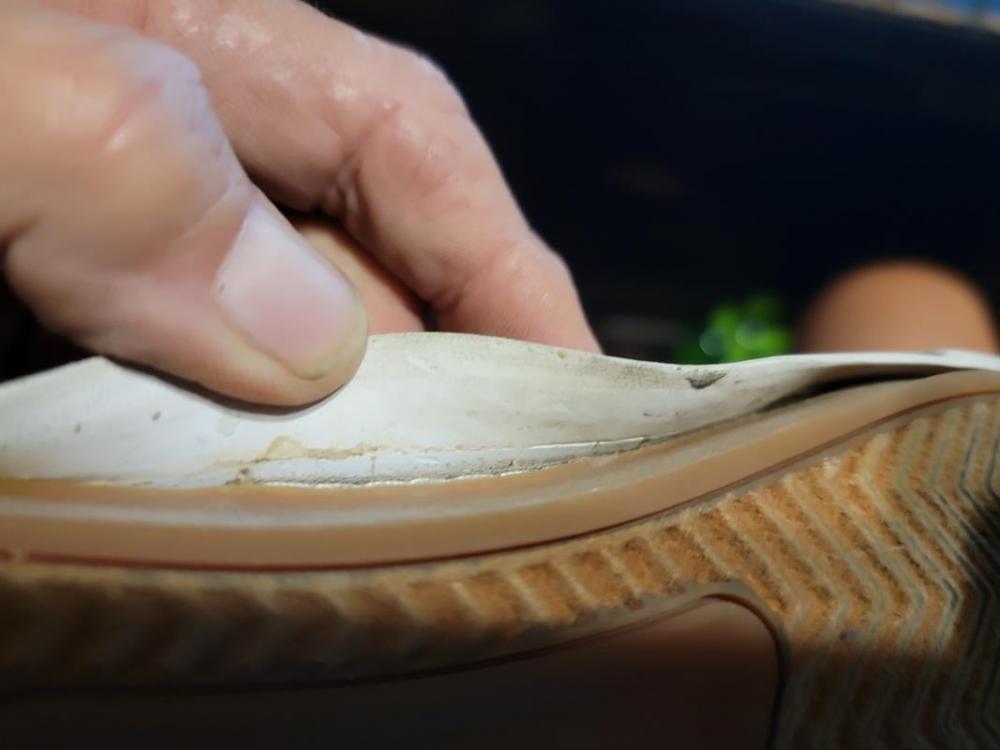
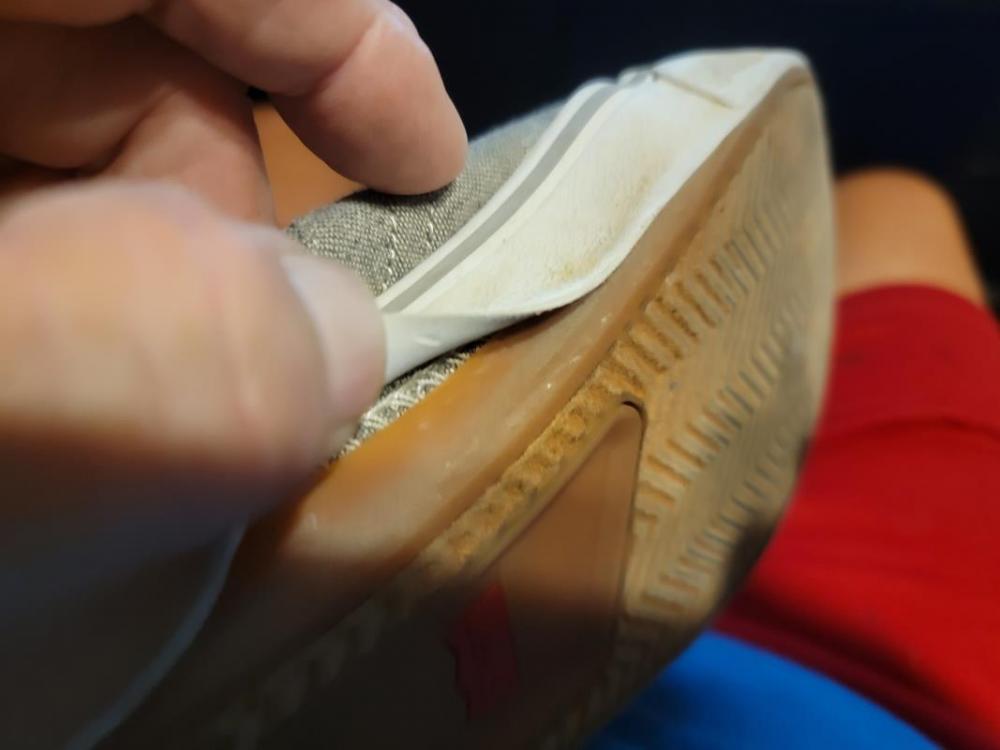
Not a leather question, but a shoe question. My grandson has a like new pair of canvas shoes that are coming loose at the sole edges. The edgers are a rubberish material and the soles look almost like gum rubber. What would be the best glue to reattach the two?? Thanks.
-

Dyeing in bulk
TomG replied to WyoMan's topic in Dyes, Antiques, Stains, Glues, Waxes, Finishes and Conditioners.
I'd use a dip dye technique. So some test strips and dilute the dye with Denatured alcohol to get the color that you want. I dilute all of my dyes at least 50/50 as a rule. I think Tandy has or had an all in one dye/sealer called EcoFlo or something. Never used them but if they are still.available, it might be worth a try. I personally use Leather Balm with Atom Wax as a top coat conditioner and sealer. Tom -
Try the buffing and top coating to see if the purple goes away. As for the marbling, have you bought this particular cut before? I have a side of VT that I just bought and it has the same fatty texture near the belly. I can see it before dying. But, my customers seem to like the effect, so it's not an issue on my end.
-
The texture appears to be marbling from the fat in the leather. As for the purple hue, buff it out, and hit it with some leather balm or resolene on a test piece or the buckle end that will be on the underside of the belt. I have seen this before with black. Make sure that you have shaken the dye well before applying. I have noticed that the dyestuffs tend to settle out with black more than other colors.
-
I've been using the popular strap cutter for many years and have meant to ask this question, but never remember when I am on the boards <g> Whenever I buy a new side, I use a straight edge and clamps to cut a perfectly straight edge. As I cut my straps, that edge begins to curve inwards. I have racked my brain trying to figure out why and how to stop it. Any clues or suggestions?


