


Sanch
-
Posts
699 -
Joined
-
Last visited
Content Type
Profiles
Forums
Events
Blogs
Gallery
Store
Everything posted by Sanch
-
Thank you most graciously I was looking for the more rounded or spear taper shape for lack of better explanation. Lol yea I could have my buddy cnc them out of 304 SS sure but why if I can print them and cut them out of wallymart cutting mat for 4 bucks. Oh and for the record I have access to lathes and mills I don't own any! I am familiar with the Bridgeport mill and the Hardinge lathe never claimed to be a machinist! G code and the like is still foreign to me.
-
It was new
-
I am looking for a printable strap end template for belts and other straps I am hoping someone here in the hive mind can lead me in the right direction and no I do not want to purchase any laser-cut fancy gizmos I'm just looking for something that I can print as I have the material and the ability to cut the template out myself I just need a proper template thanks for any input
-
Watch band turned cuff
Sanch replied to Sanch's topic in Purses, Wallets, Belts and Miscellaneous Pocket Items
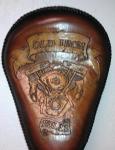
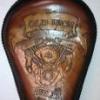
Thanks from him of course his whole setup matches as he did all of the airbrush work on his wallet his puukko knife sheath and his belt! -
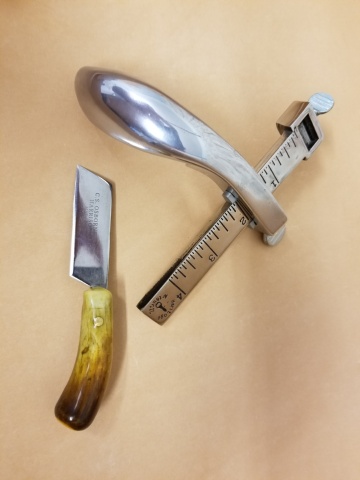
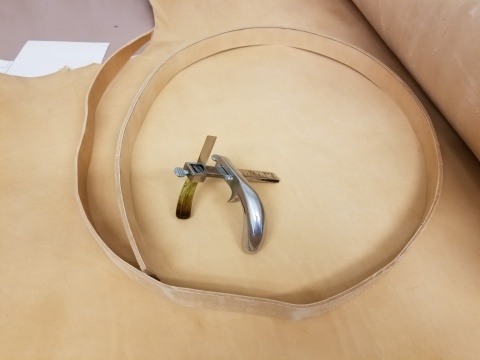
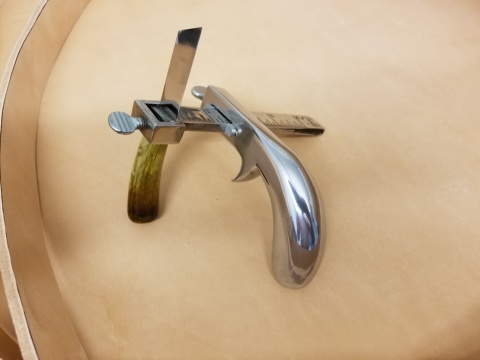
Quite some time ago I purchased a aluminum frame draw gauge I don't recall the name brand but it did come with a Osborne blade. I am just now starting to use it to cut Belts. When I purchased it initially the Osborne blade that it came with needed a good sharpening and had a very small Tang to it so I added a deer antler handle to facilitate the sharpening process, it works fantastically. Here is a picture of the gauge and the latest belt that I cut out its a 50 inch length out of 12 oz saddle skirting yes it's for a big boy! also I refinished most of the handle as when it came to me it was pitted and didn't look all that great so I polished it out. Thanks for looking!
-
Watch band turned cuff
Sanch posted a topic in Purses, Wallets, Belts and Miscellaneous Pocket Items
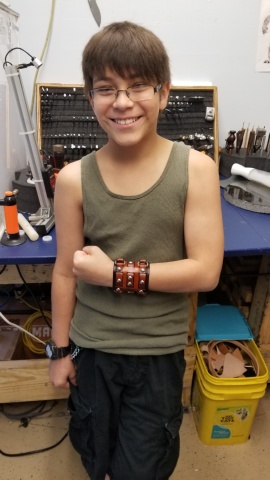
My younger son wanted a cuff but wanted it to look like a biker watch cuff with the intent of not using it as such, we found the hardware (buckles etc..) and went to work..He did all the airbrush work as well as cutting the design with the small head knife I made. I helped with the straps on the strap cutter I made. And helped him with final construction these are the results.Thanks for looking!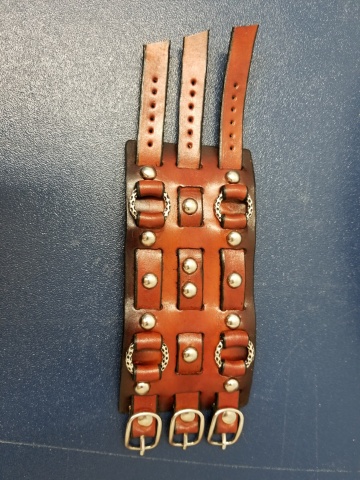
-
Depending on the amount of vacuum you can pull it'll work. Not for long though the vac bags are cheap thin material.
-
The bag system that I use is a handmaid vac bag that I made a couple of years ago. As far as getting the smaller lines in it just takes practice and knowing where to start. I usually look at the firearm for a little while before I actually start doing any of the bone work plus after the first cycle of vacuuming you can usually see where the small lines are on the inside of the mold.
-
Very nice work as you said its a labor of love and you definitely have it nailed down!! I just can't see me ever doing shoes! I've made all kinds of weird stuff even wrapped a motorcycle gas tank but shoes SHEEEW! Way out of my comfort zone! Great job!
-
I have been fortunate and I have been able to use an oven very very low temperature 15 minutes at a time. So the cycle goes like this. Wet form under vacuum, keep under vacuum for 15 minutes. Release vacuum after 15 minutes let Air dry 15 minutes, vacuum form again leave under vacuum for another 15 minutes. Set oven to lowest temperature place on rack leave oven door cracked, leaving oven open helps with overheating. Warm holster for 15 minutes. Vacuum form for a third time leaving under vacuum I then use a bone creaser and do all my bone work during this third vacuum cycle. then place in the oven one more time for another 15 minutes same as above. Once the leather feels completely dry I then go over it one more time with the bone creaser. That's it! Thank you kindly!
-
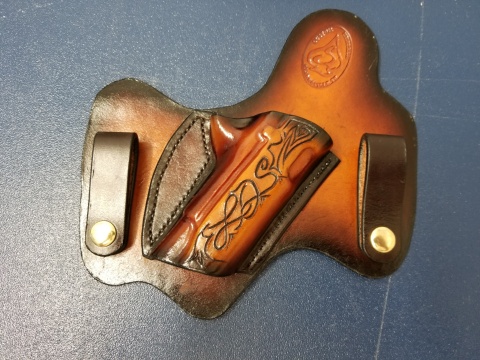
Thanks for the kind words the opening is plenty stiff the face is 10-12oz vacuum formed and heat set, with this design its of little consequence though, because if you're pulling the pistola to use it the bad guy don't care if you can get it back in easily and it's a more comfortable option than just tucking it into your britches! Realized the loops in the pix are in the bottom holes and upside down, there is a set of kydex clips that go in bottom holes!! Doah!!!!!
-
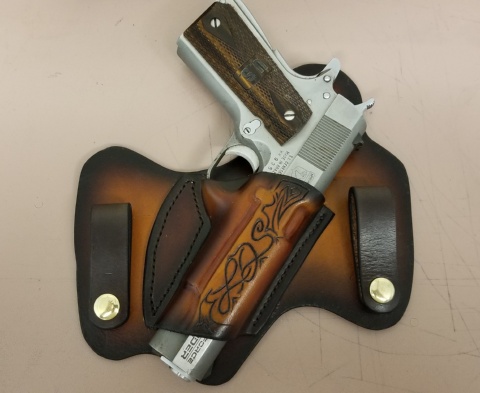
Here's a quick iwb holster that I did for a 1911 Springfield. don't ask why the customer wanted his initials on it as it is an iwb but it's what he wanted so that's what I gave him. Thanks for looking
-
New tooled belt
Sanch replied to JKHelms's topic in Purses, Wallets, Belts and Miscellaneous Pocket Items
The color of the tooling and stitching all look great, but my eyes immediately went to the edge I'm hoping that is just a flash from the camera if not you might want to revisit that edge! -
Latest off bench
Sanch replied to Sanch's topic in Purses, Wallets, Belts and Miscellaneous Pocket Items
Used Liquitex acrylic as antiquing Thanks! Customer liked it too!! -
Michaels has them!
-
Latest off bench
Sanch replied to Sanch's topic in Purses, Wallets, Belts and Miscellaneous Pocket Items
Thanks four three kind words! -
Latest off bench
Sanch replied to Sanch's topic in Purses, Wallets, Belts and Miscellaneous Pocket Items
Thanks the tattoo fonts are one of my favs. Thank you! Its all swivel knife work, thick blade weigh heavy bevel and sharp! thanks! still fighting the good fight brother! Thank you! -
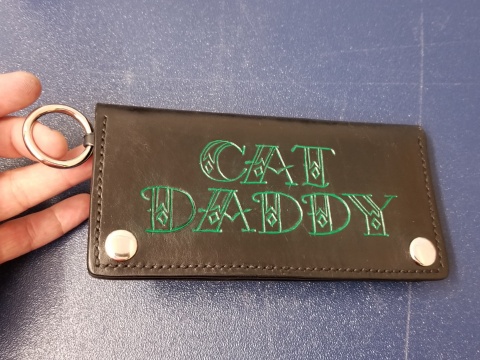
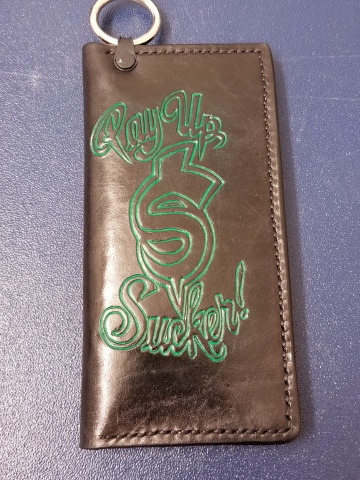
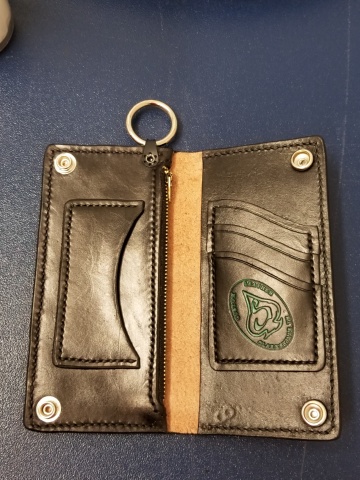
Hers my latest biker billfold. 4oz, ISMC BLACK, green antiquing.
-
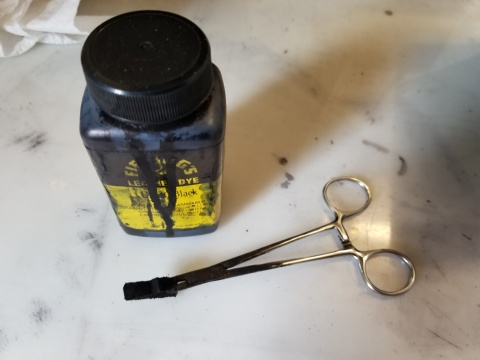
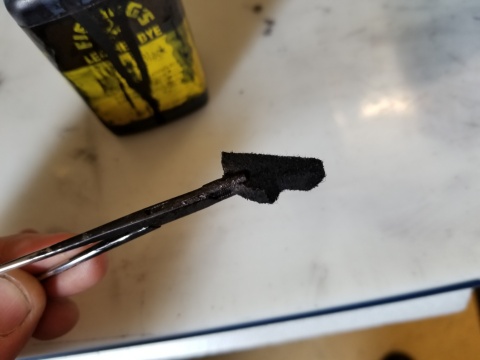
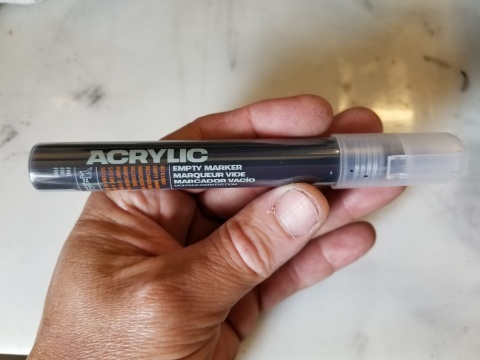
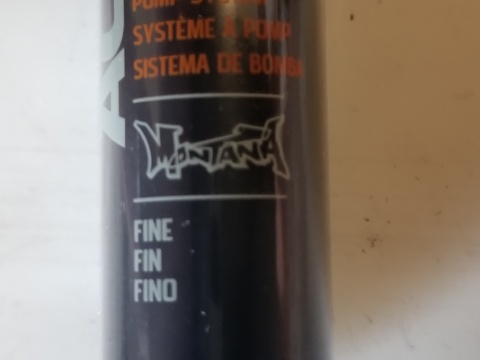
So after reading the post about the edge dye rollers I decided it was time to make my old process better. Here's the old process . it's a chunk of heavy felt clamped in a set of forceps, dip in USMC BLACK rub on edges, make a mistake, say things that cannot be unsaid. Fix mistake. Move forward 20 minute later. Lol! Here's the new. $5 empty Montana marker, fill with USMC BLACK (filler cap for tip is reverse thread) get dye to flow to tip after a good shake, apply to edges, go to burnisher done 7 minutes! Very happy with results thanks to those who lead me to try this out.
-
Any ideas what rotary edge paint tool is used in this video?
Sanch replied to tossik's topic in Leather Tools
Yea I've been looking at them thanks! -
Any ideas what rotary edge paint tool is used in this video?
Sanch replied to tossik's topic in Leather Tools
I guess for something that is thick other than alcohol-based dye these things would work I just don't see them working on any type of thin dye. My current method works for me (chunk of heavy felt clamped in forceps) but they are intriguing! Curious to know if they work with thinner media? -
few new holsters
Sanch replied to diibbles134's topic in Gun Holsters, Rifle Slings and Knife Sheathes
I like all three of them I'd like to know if they're hand-stitched or machine sewn? -
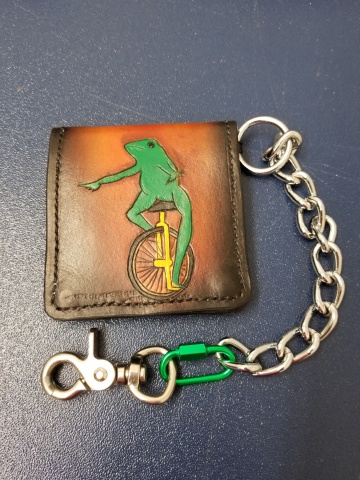
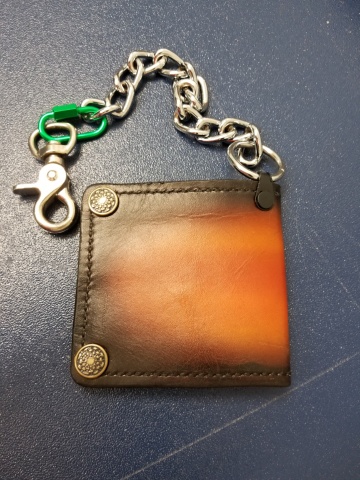
That's my lil boys thing he loves frogs!, thanks for the kind words from him of course! Randy says thanks! He's got the artistic eye for sure! I got 2 someone's! Just gotta stay with them!Thanks for the kind words from my son!!
-
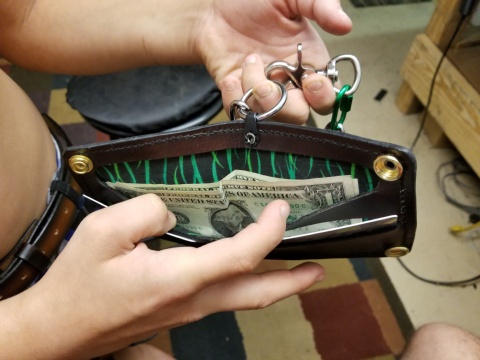
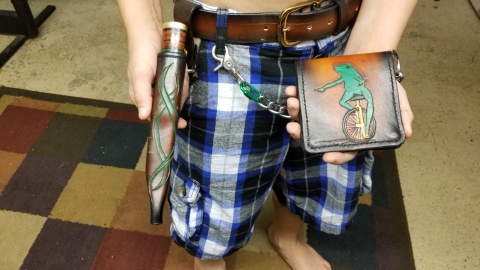
my youngest (10 soon 11) son finally got around to making his "anvil style" wallet hear it is! Only the carving is me. He did all the rest with dad watching and coaching. and the last one is his whole rig. belt, Puuko, wallet all matching sunburst airbrushed by him ! I helped with the construction of the sheath and belt. The antiquing and coloration on the wallet are Liquitex acrylics. Enjoy!
-
Puuko knife and sheath
Sanch replied to Sanch's topic in Gun Holsters, Rifle Slings and Knife Sheathes
You shoulda got a bader! If you plan on starting to make knives 2 x 72 is the only way to go. My homemade grinder has a 6 inch Drive wheel which changes the lower RPM speeds when you run small idler Wheels obviously making them run faster with the freq drive that I have I can run it down as slow as 5 revolutions per minute also mine is running a 1 horsepower motor still by industry standards that is underpowered! But my grinder will hog Steel with the best of them!