


toxo
-
Posts
2,263 -
Joined
-
Last visited
Content Type
Profiles
Forums
Events
Blogs
Gallery
Store
Everything posted by toxo
-
OMG! You said, "you can't just wrap a single strand of top thread around the bobbin thread without the entire bobbin spool passing thru the loop of the top thread." That's EXACTLY what happens every time a stitch is made. The bobbin doesn't move AT ALL. The only thing that moves is the hook. Show me where the bobbin leaves where it sits and passes through anything? If you're talking about the thread going AROUND the bobbin CASE that also doesn't move, I'm not suggesting that that will change, in fact nothing will change from the way it works now except the thread coming up from the center of the revolving hook.
-
Of course that's relevant and I don't understand what goes on underneath the hook but can you not agree that IF you could get a sealed tube coming from below, going through the center of the hook so it doesn't interfere with it and coming out where the bobbin current sits it at least SEEMS like it would work?
-
This makes no sense to me! Are you suggesting that the whole bobbin has to move somehow?
-
Woah! Where did moving shuttles come from? I'm talking about a standard machine where the bobbin simply rotates as a reaction to the thread being pulled by the hook. apart from this rotary movement the bobbin doesn't move at all. It sits inside a bobbin case that doesn't move at all. the bobbin thread goes through a slit and a tension mechanism that also doesn't move. In short, the ONLY thing that moves is a revolving hook. Now imagine a bobbin that doesn't move at all. In fact imagine NO bobbin at all, just a thread coming from a cone somewhere and going through the same slit and tension mechanism as normal. The only fly in the ointment that I can think of is getting the cone thread coming up from below somewhere into the tension mechanism WITHOUT interfering with the hook and I'm sure there are many minds greater than mine who can work that out.
-
I can't understand what you're saying!!! We are talking about a normal walking foot machine with a horizontal bobbin right? The bobbin thread comes from below and interferes with nothing. Everything is normal. The hook comes around, picks up the bobbin thread, puts it through the needle loop and carries it around the static bobbin case for the next stitch. Explain what I'm missing.
-
Everything you've said above is ok except for handmaking the product. Buying product from China (say) would work because you can buy to test and if it doesn't work you can junk it and choose something else until you light on the items that sell. Making something by hand that might take an hour or three or four or a day is a different thing altogether. To make enough product to go through what you're advocating would take some time and at the end of the process it could come to nothing and you've wasted a lot of time. I have a very logical mind and so wish it was as easy as you say but the variables when handmaking are different. When you have supermarkets and online stores sell substandard stuff it's hard. As I've said before many of the public don't know or care where it comes from or what it's made of and some of those that do simply can't afford hand made stuff. This why I've said that where you market your product is really important. Of course, a couple of years down the line, if you're doing a good job you might start getting commissions and even small contracts but until then it can be hard to even get back what you've put in.
-
I think you're over thinking it. The only reason that the bobbin turns i to deliver thread. The bobbin case doesn't turn. A thread coming from below into a static bobbin and coming out of the same hole as normal achieves the same thing and doesn't interfere with anything. Everything else remains the same. The hook still picks up the bobbin thread and wraps it around the bobbin case for the next stitch as per normal.
-
Don't get it! Leave the bobbin and bobbin case where it is, just static have the thread come out of the same hole of an empty bobbin.
-
I've only just seen this thread and forgive my simple and sometimes logical mind but why can't the bobbin thread come from underneath, through the same hole in a static bobbin (eventually no bobbin at all)? Everything else would work as normal. I think I must be missing loads.
-
Wow! That's a question and a half. Until you get established be prepared to work hard with small profits. If you sort out decent ways to promote and sell your work you'll still need to make your work stand out against all the other sellers out there. If you can do that you're half way there but you're up against other countries who churn out inferior product that many people find acceptable. Fortunately there are people out there who appreciate hand made, well turned out products but you have to get your work where they can see it. And when it comes to pricing, don't be mislead by the prices you see online. A product listed online for a good price doesn't mean that product actually sells for that price. A couple of points, when you find something to make, do 5 or 10 at a time. I've noticed a lot of eye catching stuff I see lately has an eye catching painted design so something to look at.
-
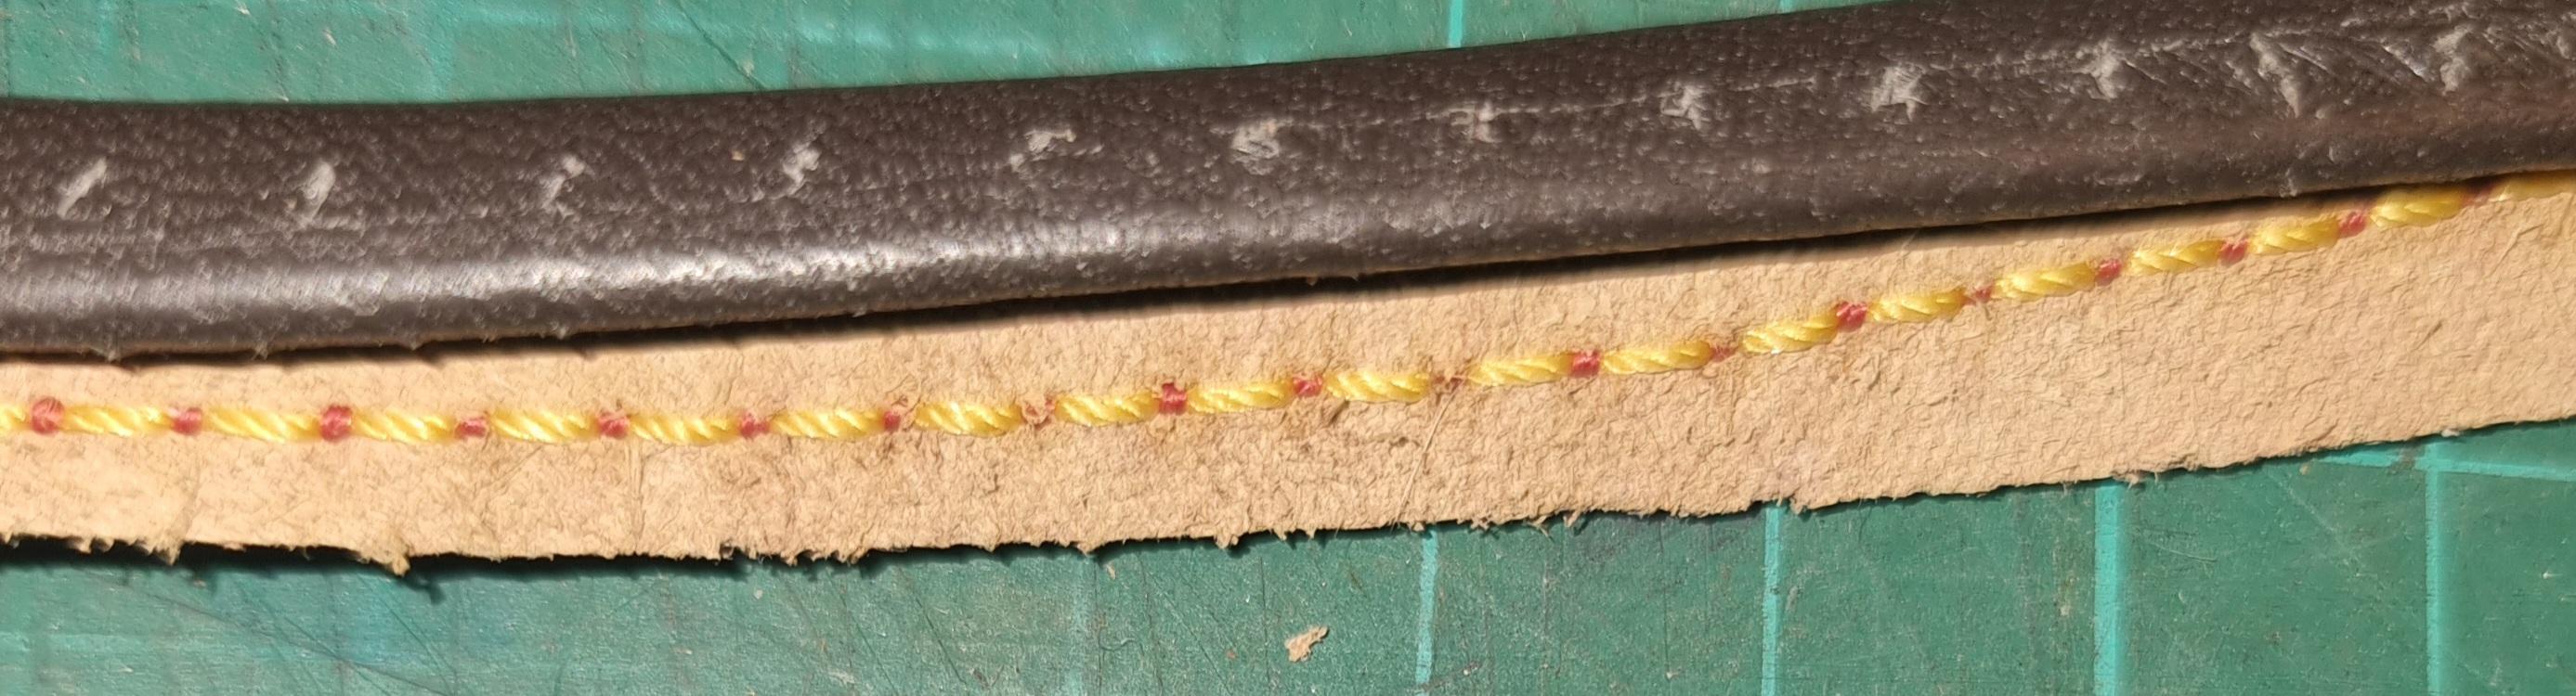
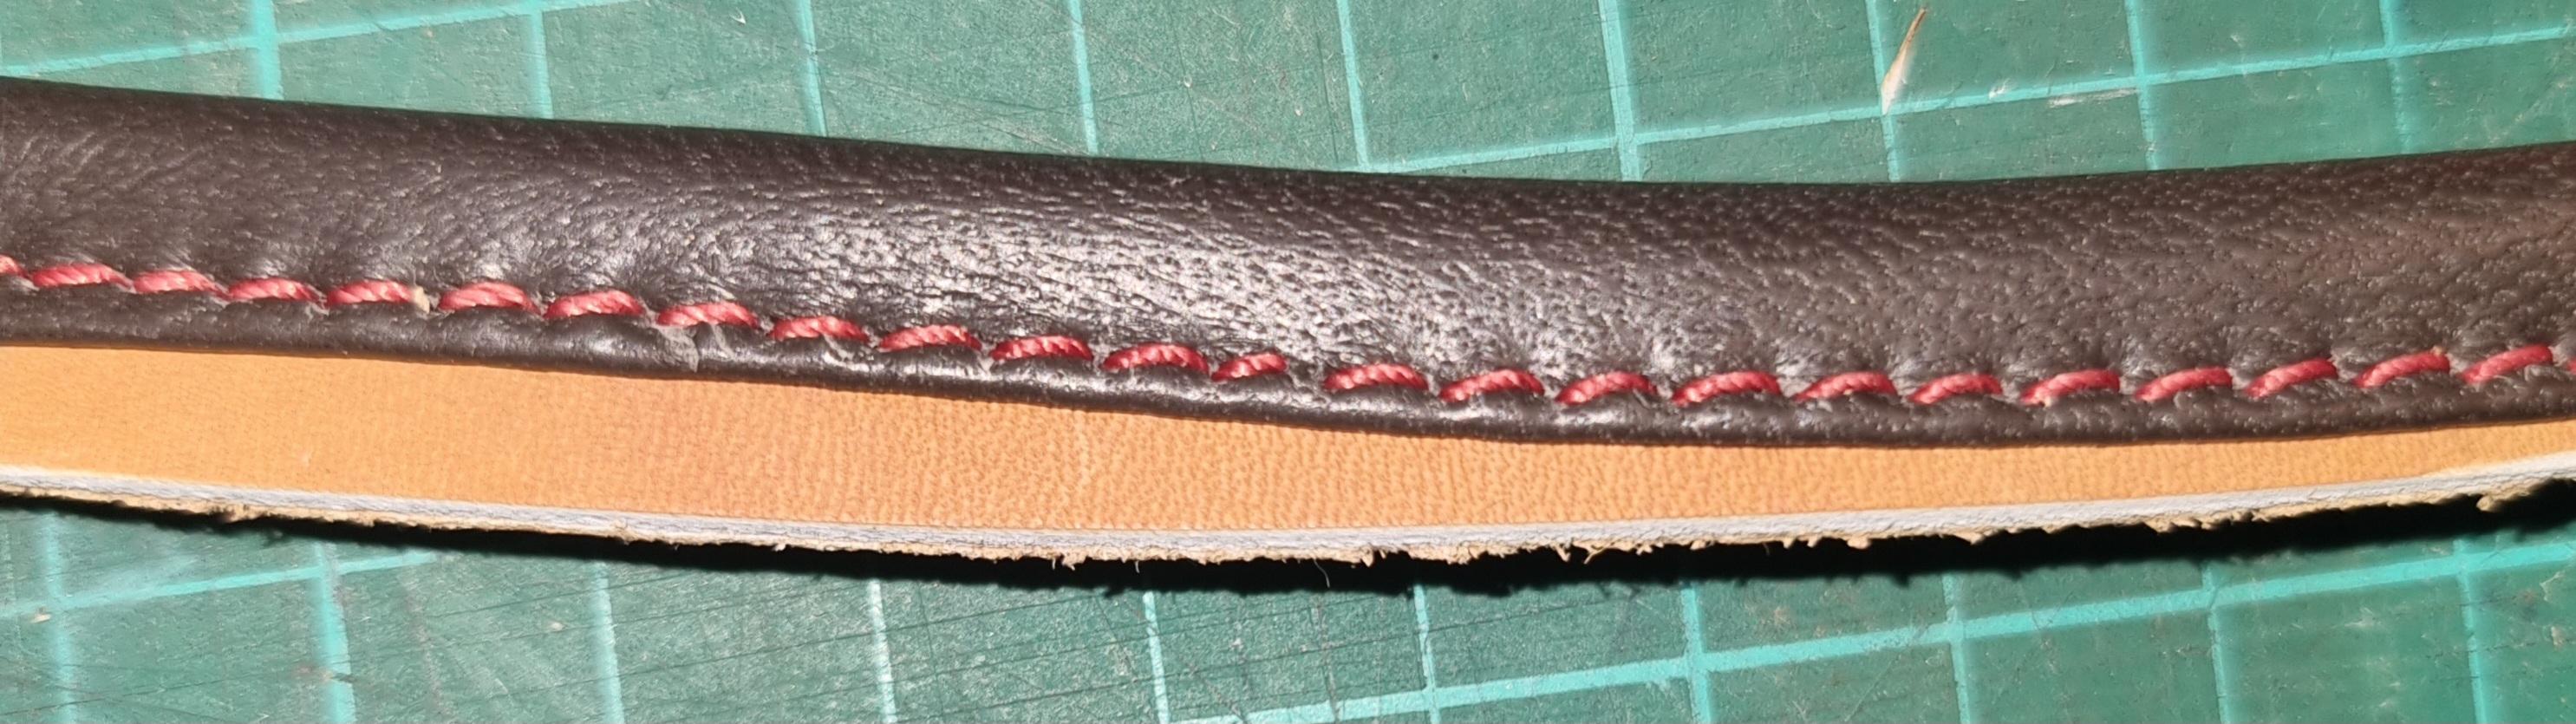
I don't think that's right Keith. Take a look at these pics. Same 1.6mm leather but too far from the edge. The binding is 0.7mm and I have all sorts from 0.5mm and up. It was after manouvering to correct this that things went wonky. Can't get consistentcy. Obviously if using thicker leather a different folder is needed. This one is 36mmright angle but I'm not after binding 1,6mm leather, I have a 45mm and a 50mm coming and don't have a clue where they'll take me. The whole thing started with me wanting to bind two pieces of bag leather but as I say, no-one is sticking their neck out to say what type/size binding for what thickness of leather so it's very much trial and error. It's a good job I like pottering and have some patience. A big part of the problem is that I can't get the binder where I think it's supposed to be and at the moment, to get everything lined up it has to be further away than I'd like but the edge guide helps and as you can see it sorta works. The big question is how to angle the binder so both sides are equal????


-
It doesn't really matter what the size is. It's determined by the thickness of material you're binding. The question is how to ensure that both sides are equal. the binder in this case is a 36mm double fold.
-
Still trying to get the binding sorted out on my 341 clone. Got the swing away binder holder and the alternate front plate and feed dog but still can't get it to work. First let me explain what I'm trying to do; Want to use thin leather rather than tape. Have lots of upholstery leather in lots of colours for contrast. Want a double fold to leave a nice turned edge. First problem was couldn't get the swing away attachment to get into position without removing the bobbin slide cover. Then, after a lot of fettling o get the binder in line, I thought I'd cracked it. Then I turned it over and found this. Two things here, Firstly note my secret decorative stitching and secondly, the holes in the black stuff are from a previous attempt. The problem now is what to do with the holder to get a balance on both sides. I'll keep trying but wondering if the holder needs modifying or do I look for another? I have to say there's precious little help online. Not even a cut size for a given thickness of material for singl or double folds. As usual all the Youtube videos use the basic easy stuff. Any advice would be extremely welcome. Thanks.
-
The inline foot is obviously worth a look. Using a zipper foot would be my first go to simply because I already have em.They come in right and left flavours. Another approach would be to build the flanges oversize and cut to size after sewing.
-
Gotta love a practical repurposing. Well done.
-
Thanks Chuck. Don't know why I didn't do it long ago, been bugging me forever. @Darren8306 Grinder.
-
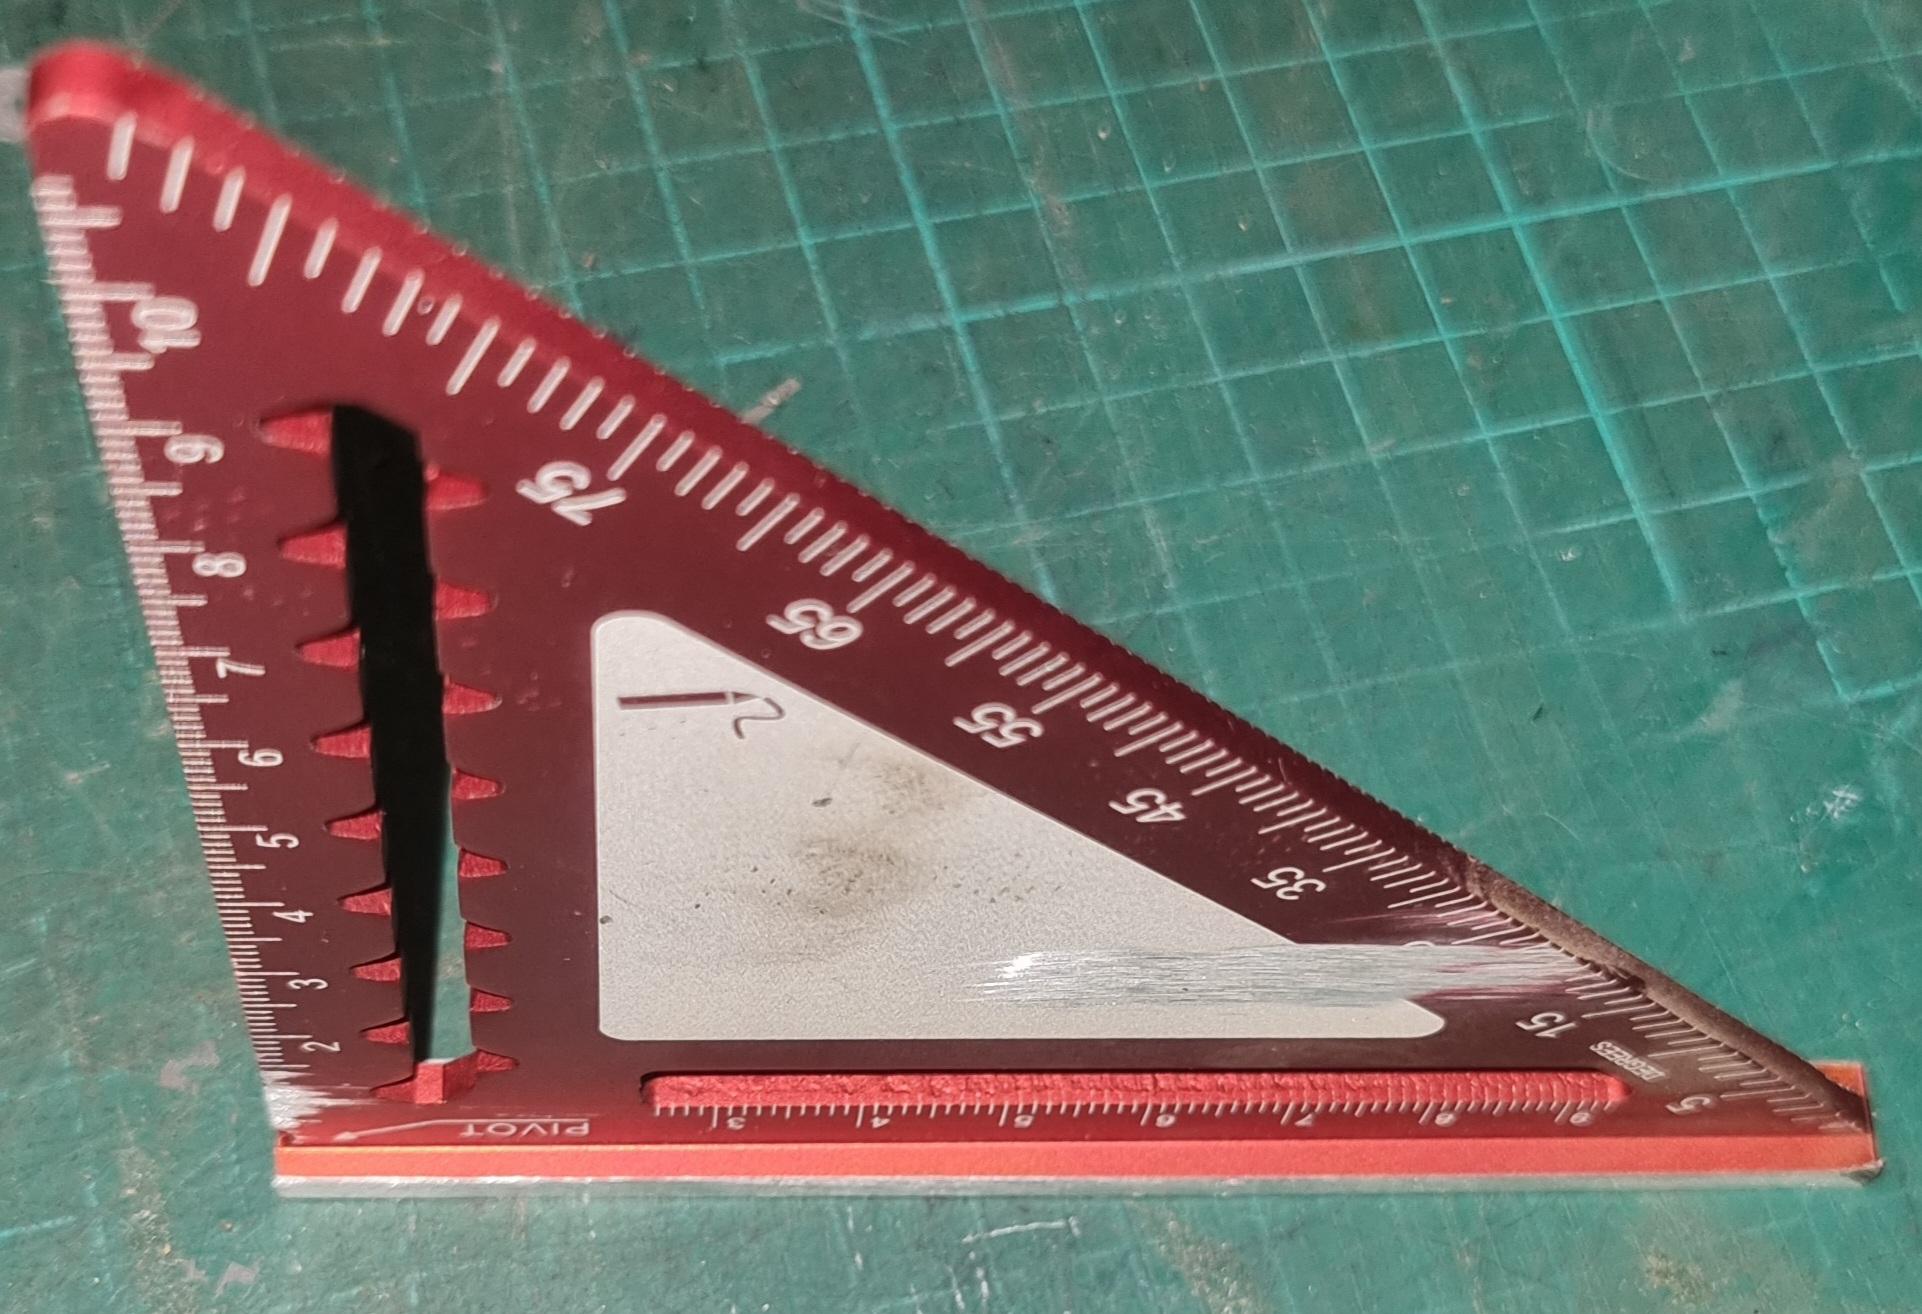
Something that's been bugging me for a loooong time. My engineering try squares have big lumps on em so don't lay flat on the leather. The plastic ones don't have anything on em. I found these small ones on line but the wings are too big. Eventually I cut the wings down so now they're perfect for any leather (except maybe upholstery) and give a quick, flat right angle in a trice. Just thought I'd share.
-
This probably won't help but I find most peeps are a bit frightened of going too far with leather. It's a lot tougher than you think. I've decided to get back into fishing and was looking for my shooting boots. Gave up shooting a long while back so haven't needed themm After searching the house for two days I realised that they must be in the garage That I don't use and was flooded a couple years ago. Sure enough that's where they were. And this is how I found em. I thought about binning them but I liked these boots and they were worn in. They went straight in the washing machine. (Not a full cycle) After sloshing about a few in the soap and a bit more rinsing. I got em out and dried em on a radiator for 2/3 hours, they were still soaking on the inside so I stuffed em tight with dry rags tied everything together and bashed all the folds and creases out with a hammer. This is how they look after a second coat of Neetsfoot oil. They'll stay like this for a couple days then I'll prolly give em some dye and seal em when they're dry. Prolly re-do the leather around the top also.


-
You scratched an itch dikman, well done.
-
Am I right in thinking that you want to do this to create a chesterfield/pillow/quilted type look? If so it would be a lot easier to use foam. I used to buy 7x4 sheets of 1/4"-3/8" foam to make the modern square typr archery targets. You can get it in various densities to suit your purpose. If I'm right, look on YouTube For Cechaflo's channel for inspiration.
-
You don't say how this would be carried. I'm guessing in maybe a briefcase rather than a pocket. Maybe 12 pens wide may be a bit unwieldy so maybe think about a staggered double decker. That would look cool. As for spacing, you have one pen. Is all you need, you can't cater for every size that's out there so just allow a little leeway. Ive just built a 56 loop bandolier and the loops were based on one shell case. Start with a pen and paper, it won't come to you immediately but it will come. Then maybe some card templates. Your pic shows a thing of beauty but doesn't tell all. Is the brown bit seperate and able to come out? If so maybe one green bit and two brown bits to cater for the 12 pens?
-
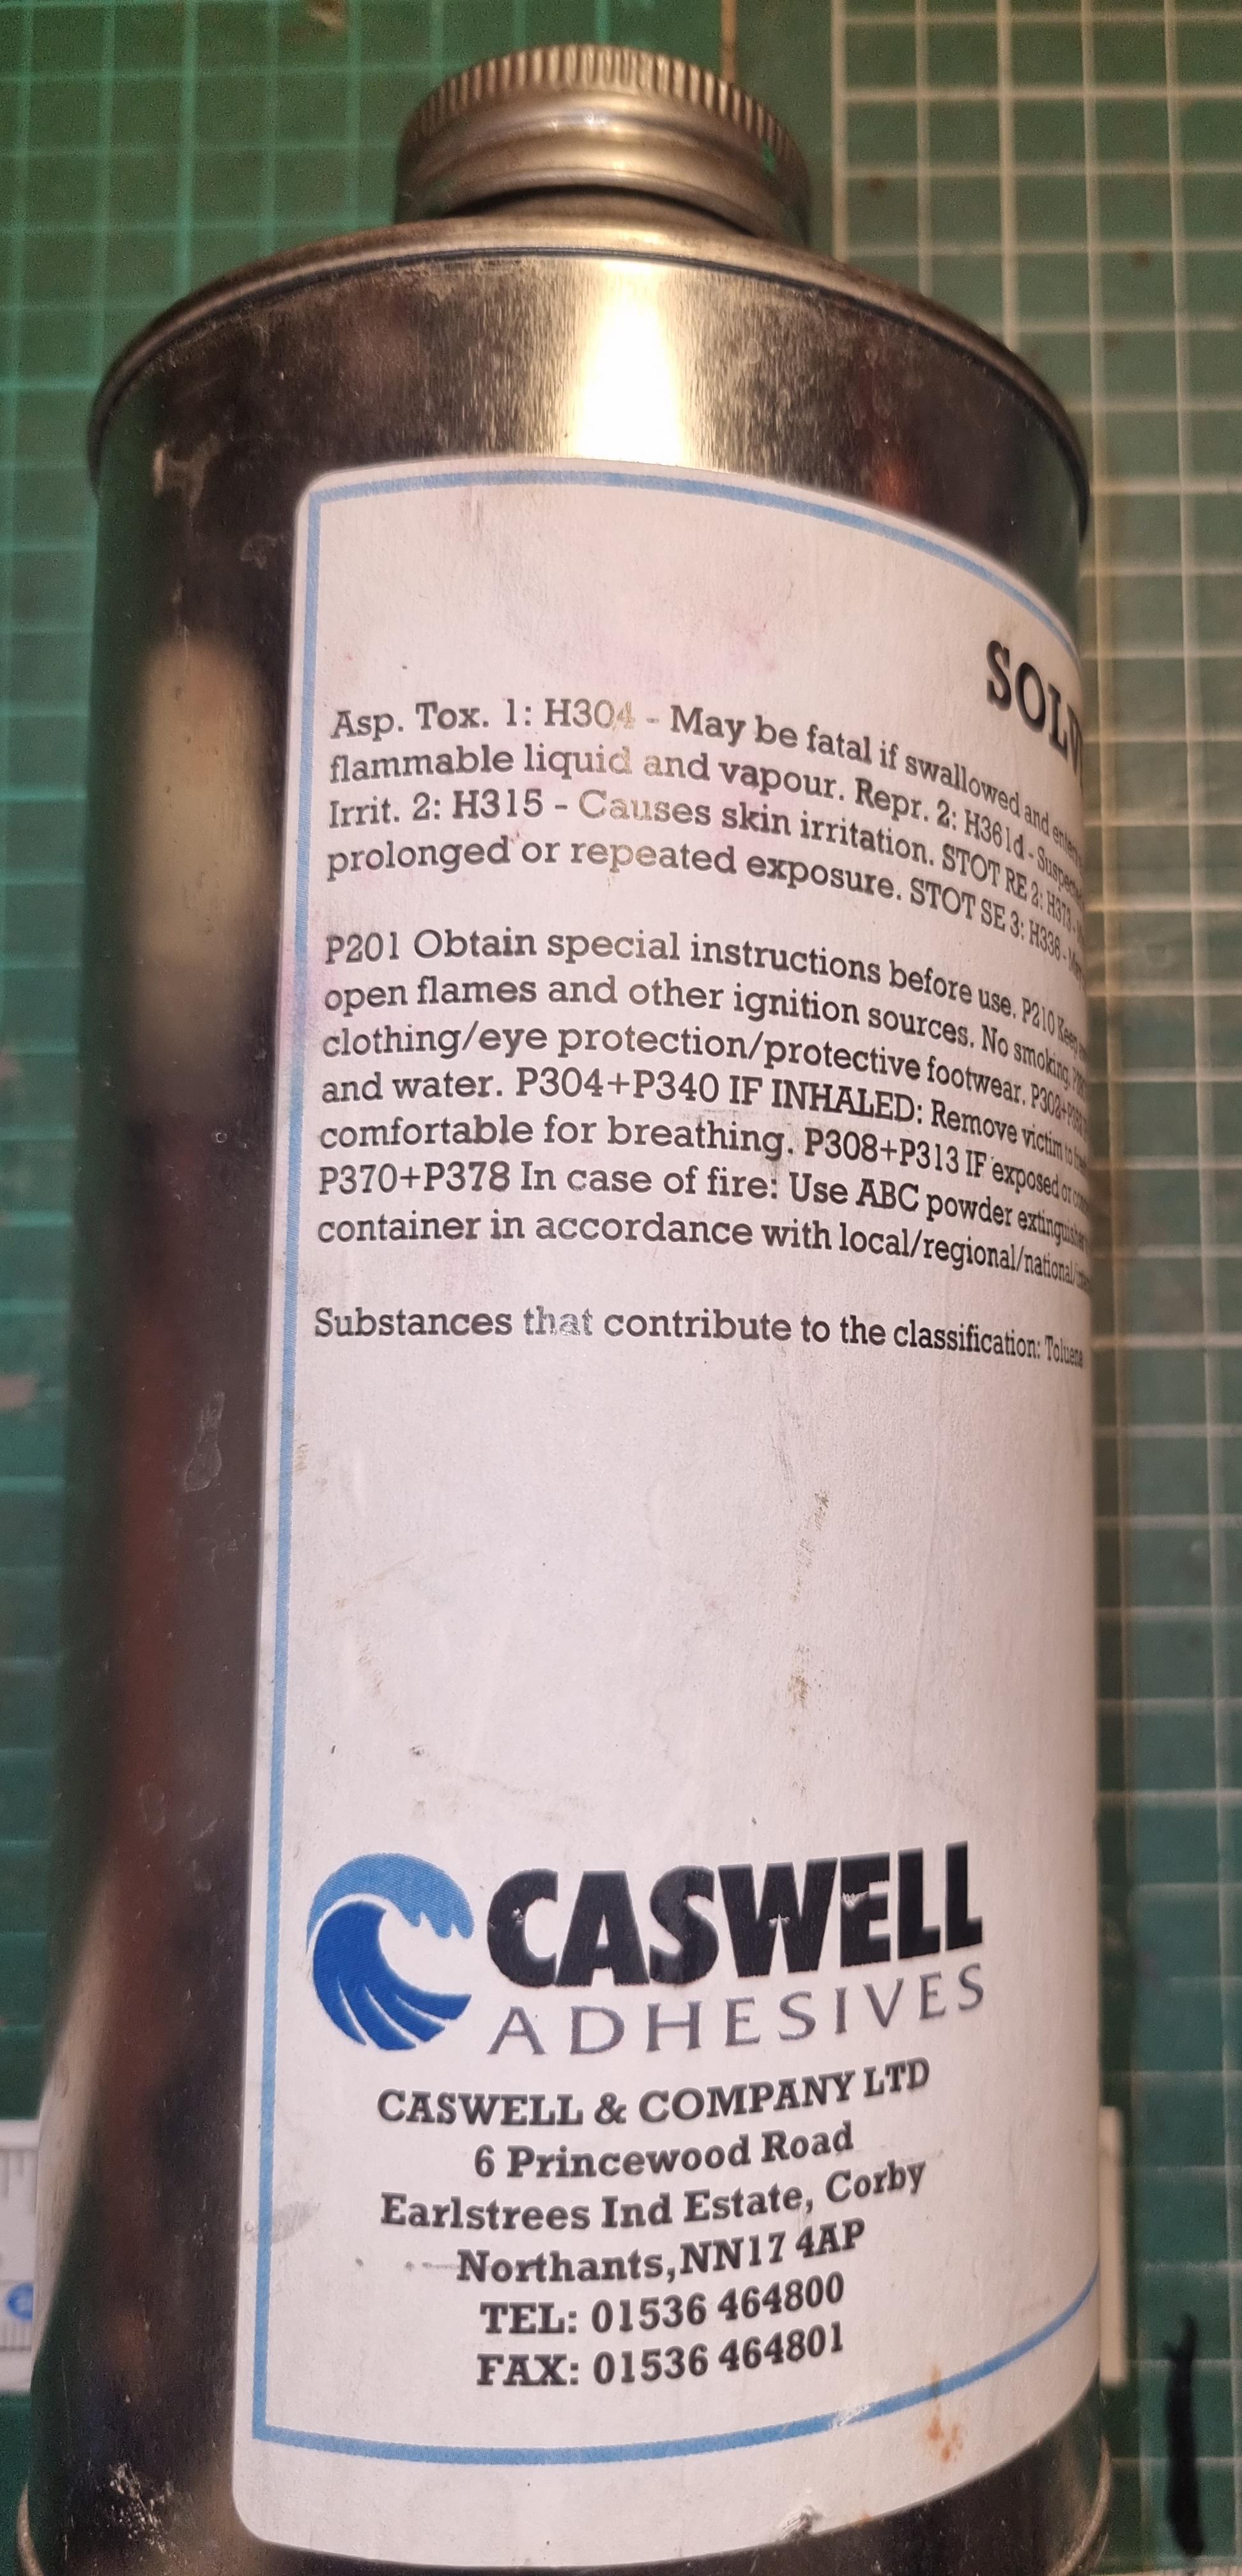
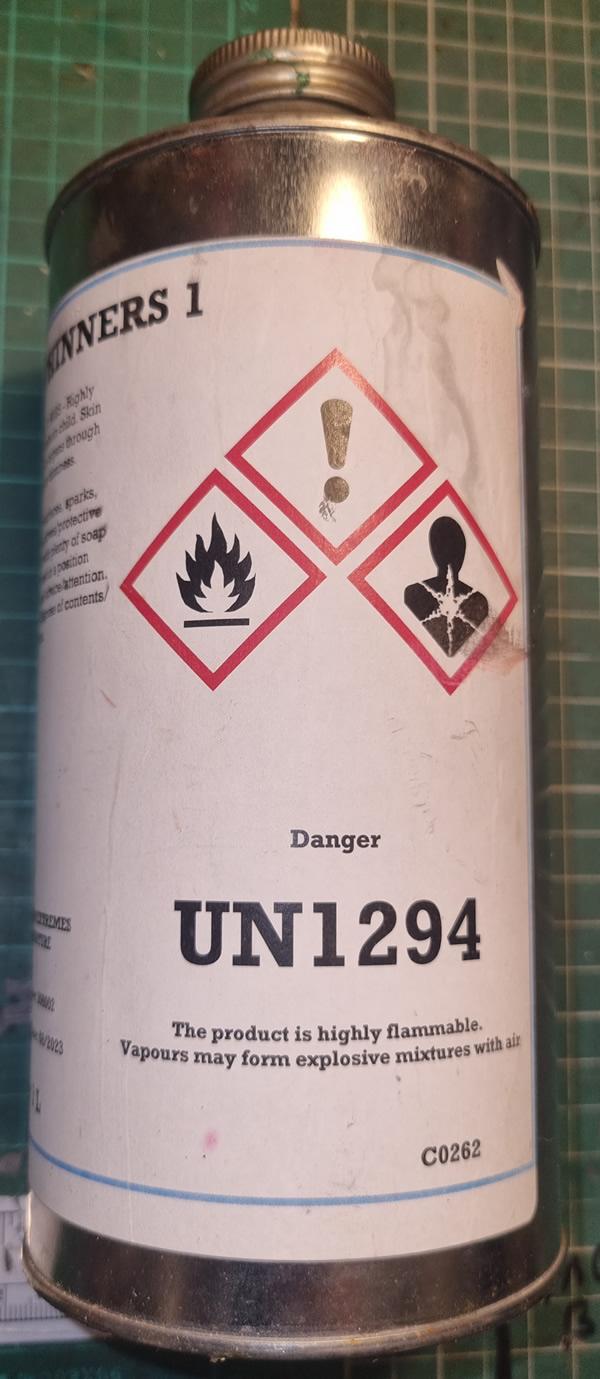
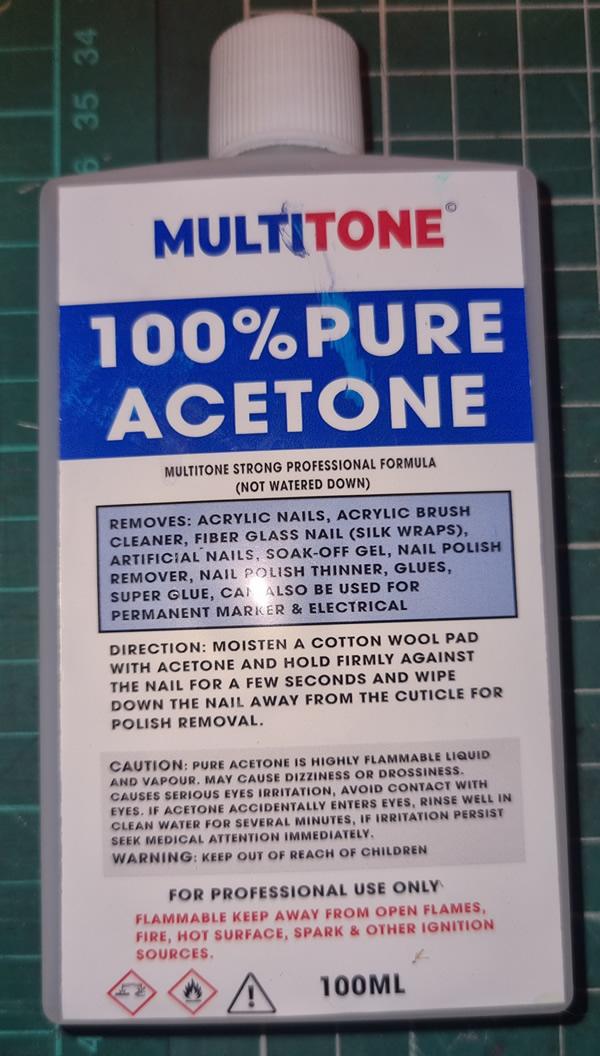
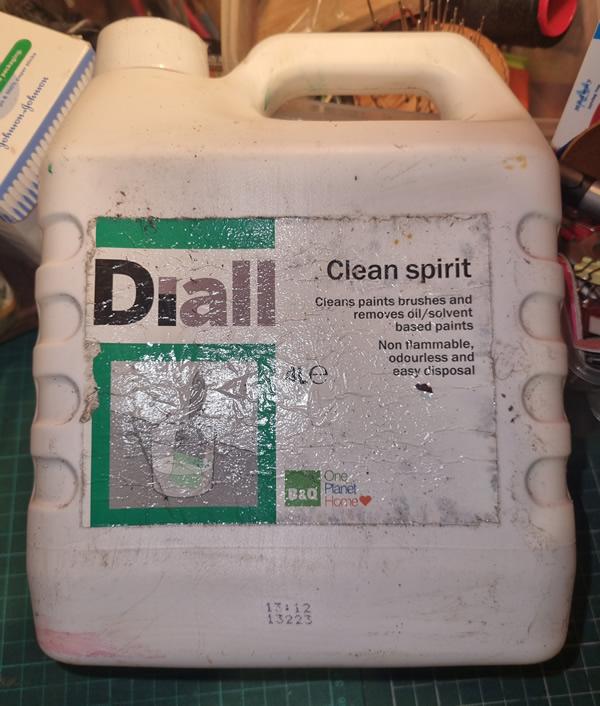
I'm never sure which one does what! I'll try one after the other until it gets the job done. I'll always try the thinners first, the toluene usually does it. This is the one I use to thin the contact stuff. I don't use it often so I'll usually pour a little if this on top of the glue before I put it away. It is an animal though, The other day I found a small plastic glass that I had left a glue brush in with some thinners was just a puddle. The white spirit is best for removing the white leather marker lines. Acetone is last.
-
I can totally see how this would give a rustic look, especially for the re-enactment types.
-
Hopefully this will turn out like a deck shoe.
-
I guess a round shape is more generic and easier to do. What do you think about overhanging shape so can sew around the outside? Wouldn't wear em to a party but for indoors or the garden.........