dirkba
-
Posts
141 -
Joined
-
Last visited
Content Type
Profiles
Forums
Events
Blogs
Gallery
Store
Everything posted by dirkba
-
Glockanator, I am not sure where in the world you are from? South Africa is deemed a third world country, but we keep up with modern trends - such as insurance! If it was my "loss" I would surely contact my insurer and submit a claim for "water damage" - most policies have this section as a standard clause of cover. Trust this will be the remedy to your problem.
-
Hi Guys, I have tried my hand at this before, but now I need assistance! Anyone out there that has a pattern for one of the following styles: 1.Tie down 2. Base to base zipper Or explain to me the way to cut the leather to achieve the outcome I wish to persue. Thanks - I know there are experts at this!
-
I started out in the 80's as a woodwork teacher - decided to do leather work with the kids around 10 - 12 yrs of age. Since then I've stopped teaching but continued with wood and leather work as a hobby!
-
I started researching the making of a steering wheel cover and after speaking to our local leather merchants abandoned the project! The cover needs to fit snug around the wheel and it requires thin leather. Thin leather don't stretch too much without tearing....so a specific kind of thin leather is required. The leather recommended by the dealer had a special feature - it almost works like heat shrink tape. Once wrapped around the steering wheel and hand sewn together you need to heat the leather with a heat gun. This special leather does not come CHEAP and the chance of messing the project up was to high!! Acquiring a good 2nd hand leather covered steering wheel became a cheaper alternative.
-
Dewey, You are on the right track. Any deer male scrotum can be used to form a cup. Remove the scrotum after the kill and clean it by removing the testicles and any flesh and blood. Salt the scrotum lavishly and "pull" it over a coke can or beer bottle - to form the cup. Leave to dry as you would do with any hide. After a week you can remove the can or bottle and it should keep its shape. Let it dry out and then you can use it as a "cup", but don't think you can pour liquids into it! The "cup' can be used as a dice rolling prop etc.
-
Hi my Fellow South Africans! Welcome to the forum - we are a couple of "rainbow nation" leather workers on this forum. I am from Paarl
-

New Life For Friend's Knives
dirkba replied to Fonzarellis's topic in Gun Holsters, Rifle Slings and Knife Sheathes
Only because we are the ones who KNOW about the oops places, we beat ourselves up too much! So often the client ignores the detail and sees the item as a whole - then it becomes "beauty is in the eye of the beholder" Great job!! -
Elephant Hide
dirkba replied to electrathon's topic in Purses, Wallets, Belts and Miscellaneous Pocket Items
Hi Aaron, Great to see what you have done with so little elephant.... I like the colouring you did to the original - it looks good! -
J Hayes, No sweat! If we don't help each other how are we going to learn?
-
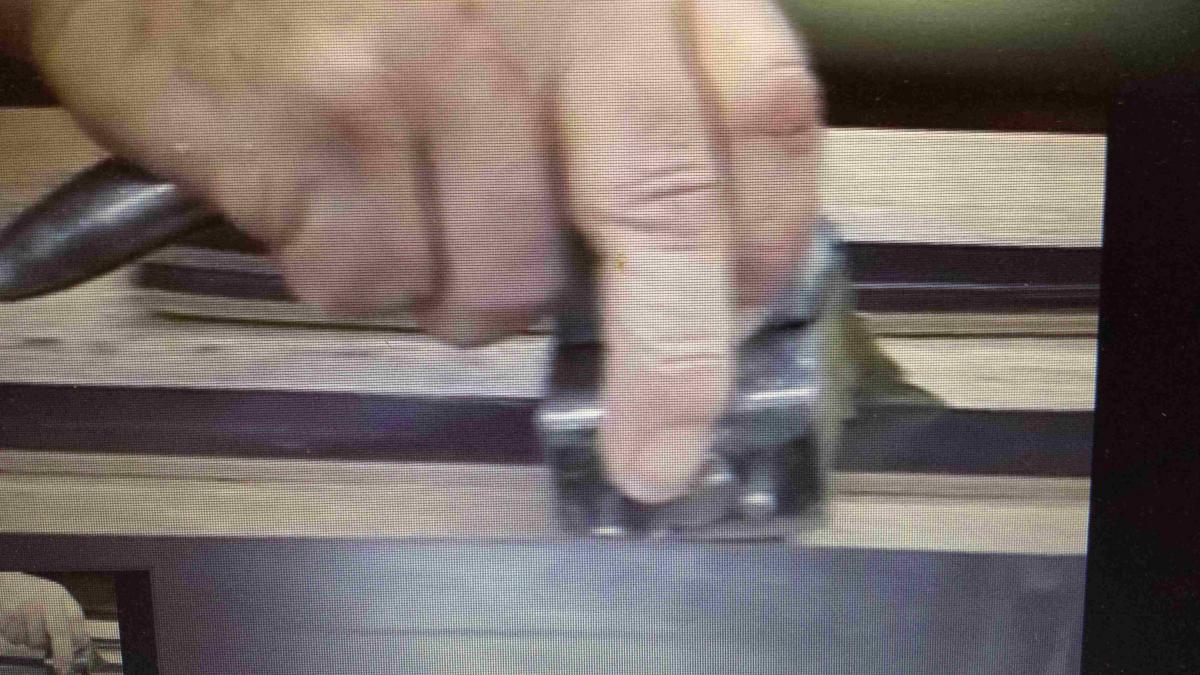
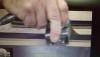
Gentlemen, What you are seeing is indeed a SINGLE cut been made each time with a device with only ONE blade and a handle...hence my referral to a plough gauge being used. Sorry for the bad quality of the pictures, but I trust you can see what I see! The referencing to Sheridan Leather was only to indicate that they supply plough gauges - I am not saying the one indicated is the one used in the video
-
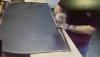
Hi, That is a plough cutter as indicated by Bruce. http://www.sheridanleather.com/Blanchard_Plough_Gauge_p/dt-1381-d.htm Plough gauges are a European cutting tool, often from France or England. They operate under a pushing motion, as opposed to pulling, which allows for greater leverage. This plough gauge is made by Blanchard and is marked "18" in three different places. The bar is marked to 10 centimeters and the blade is included. Its bar is 4-1/2" and in mint condition. This tool is made of metal and has a hardwood handle with a brass roller and brass ferrule. It is absolutely indispensable for all shops, as it will cut 1-10 centimeters in width of strap. This particular tool is in very good condition with some cosmetic signs of age and usage, none of which will affect functionality.
-
Jip from Paarl Western Cape
-
Hi MagiKelly, This is an old post, but I am fairly new to the forum. When I first saw what you have done I just had to try my hand at making a bag! I have made use of a mould with a push down rectangle which I just clamp down. It saves me all the effort to cut into the leather and to nail it down. Here is my version of your inspiring tutorial. Thanks for sharing it with so many people all over the world - I am from South Africa Regards
-
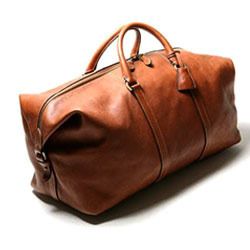
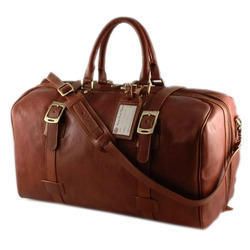
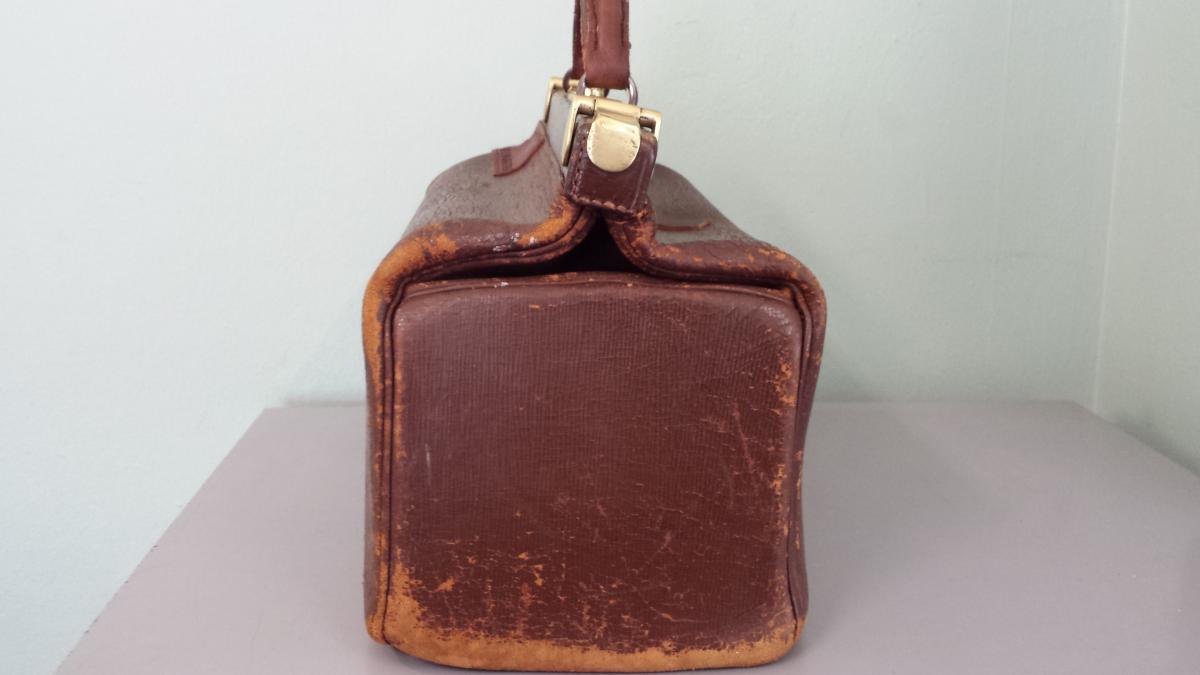
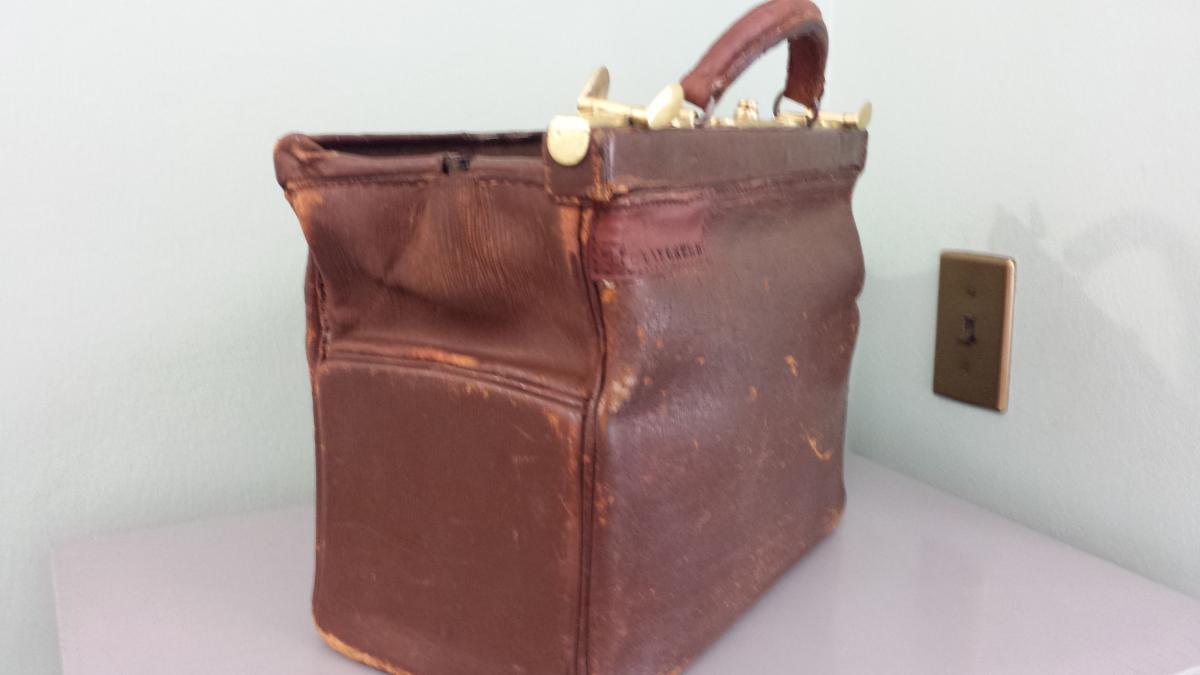
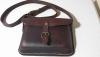
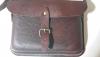
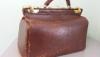
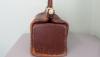
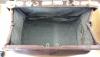
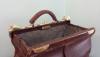
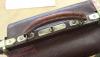
I recently had to do some minor repairs to this bag and thought it reminded me of something I saw on the internet. It seems to represent a Doctor's bag and because of the wear and tear I think it may be quite old (vintage). I am no pattern maker so I would like to challenge those that CAN and KNOW how, to supply this topic with a pattern made from the pictures I took. The rough measurements to help you are: 350 x 260 x 170 mm (the fold on the side is about 160mm from the bottom) The biggest challenge may be to find suitable clasp or opener for this pattern. It would help us all if the pattern maker would take this in account when coming up with the pattern and assembly steps. Cheers Dirk

-
Best wishes and a SPEEDY recovery Bob. Remember what they say: "Don't make old people mad. We don't like being old in the first place, so it doesn't take much to piss us off."
-
Long walk to freedom....Nelson Mandela!!! The most southern tip of Africa is where I live. SOUTH AFRICA (and NO the Lions do not roam the streets....we do have cars)
-
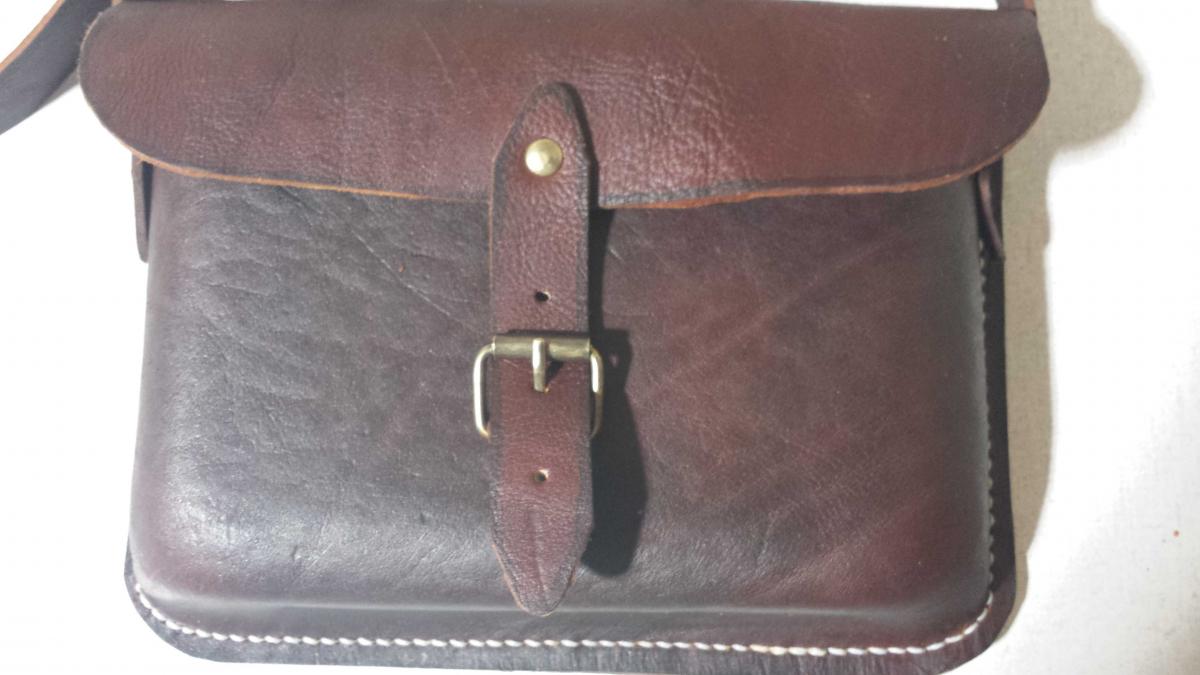
Great piece of work, but that load could get quite heavy!! Would also like to see the inside parts.
-
It is ALWAYS better to give than to receive!! Thanks for sharing and the pattern
-
Hi Joe, You have a good eye for fine detail to pick the toothbrush up.... Check my post on the skiving knife - it's not rocket science. http://leatherworker.net/forum/index.php?showtopic=55004&hl=%2Bmake+%2Byour+%2Bown+%2Bskiving+%2Bknife Cheers Dirk
-
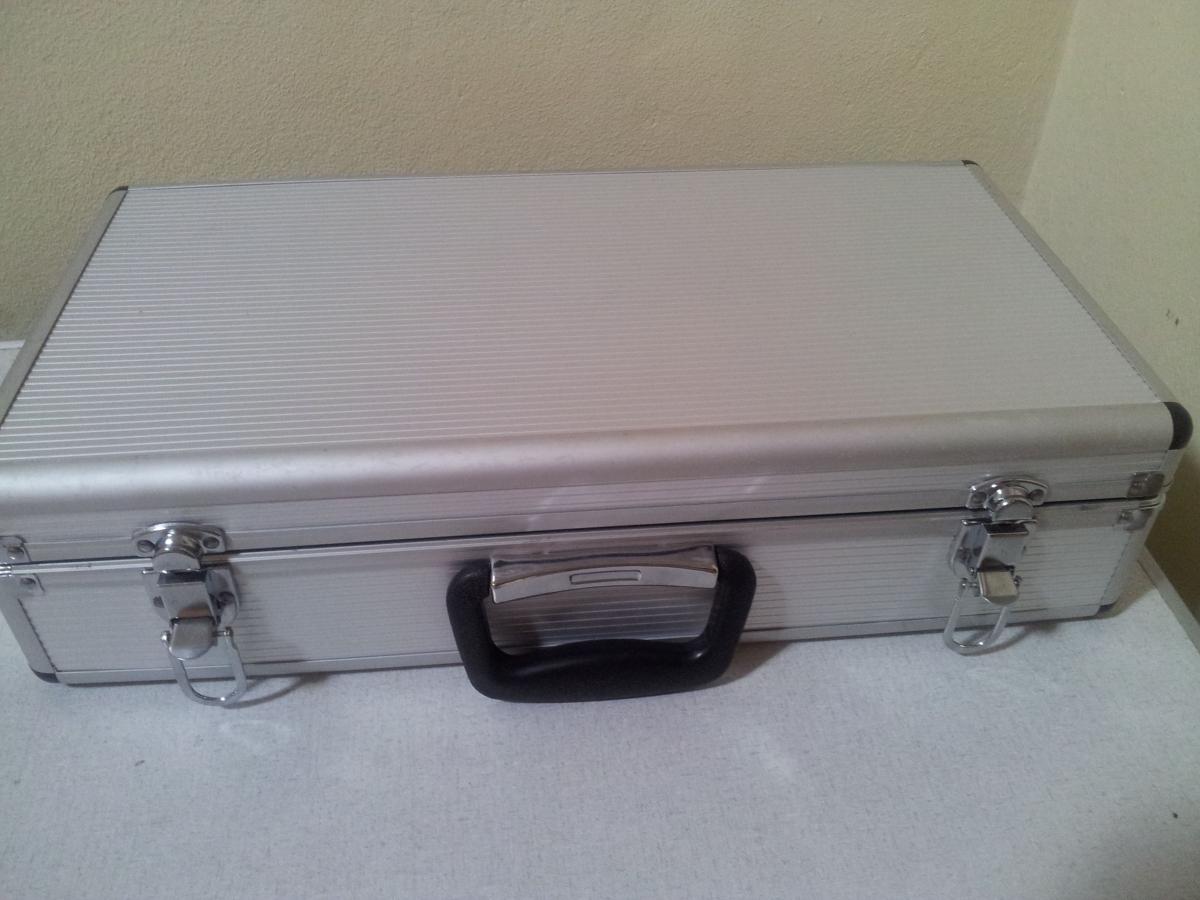
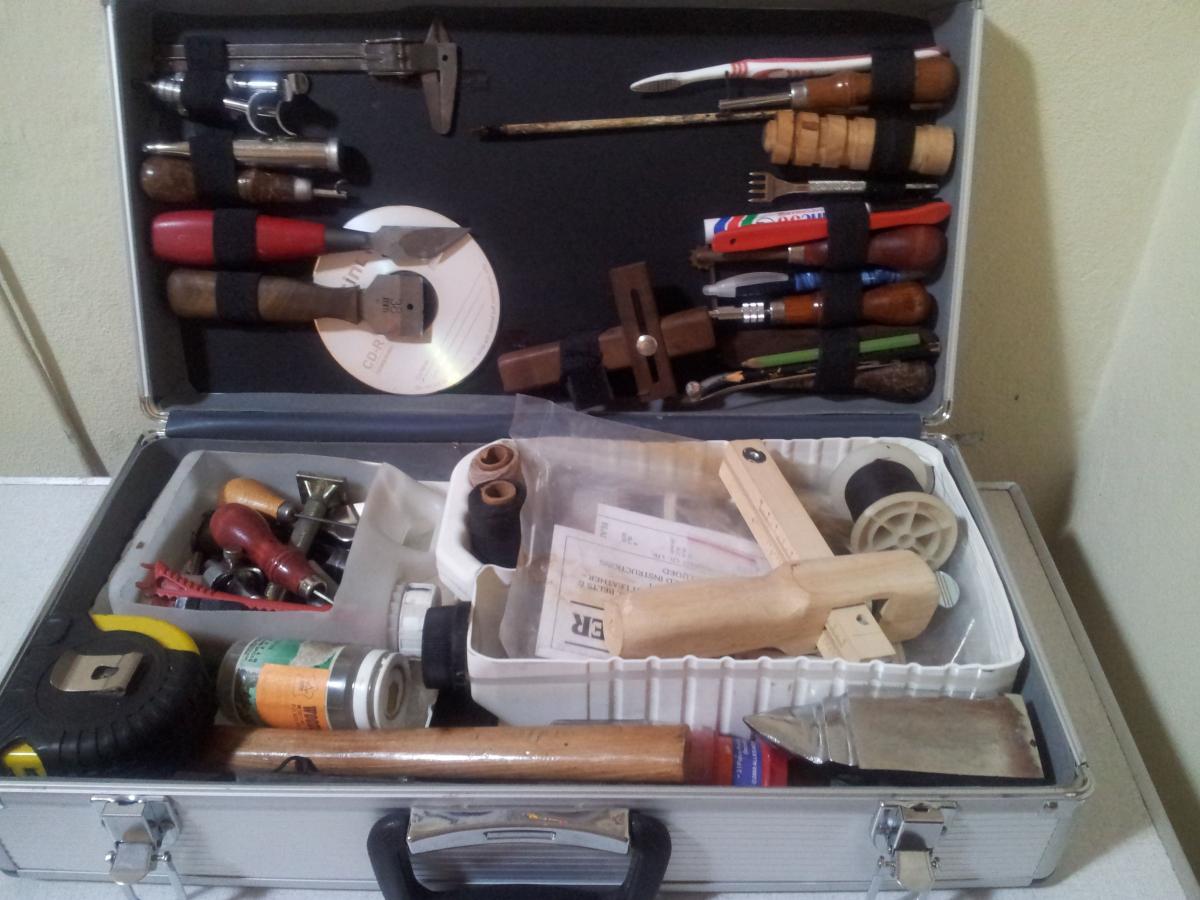
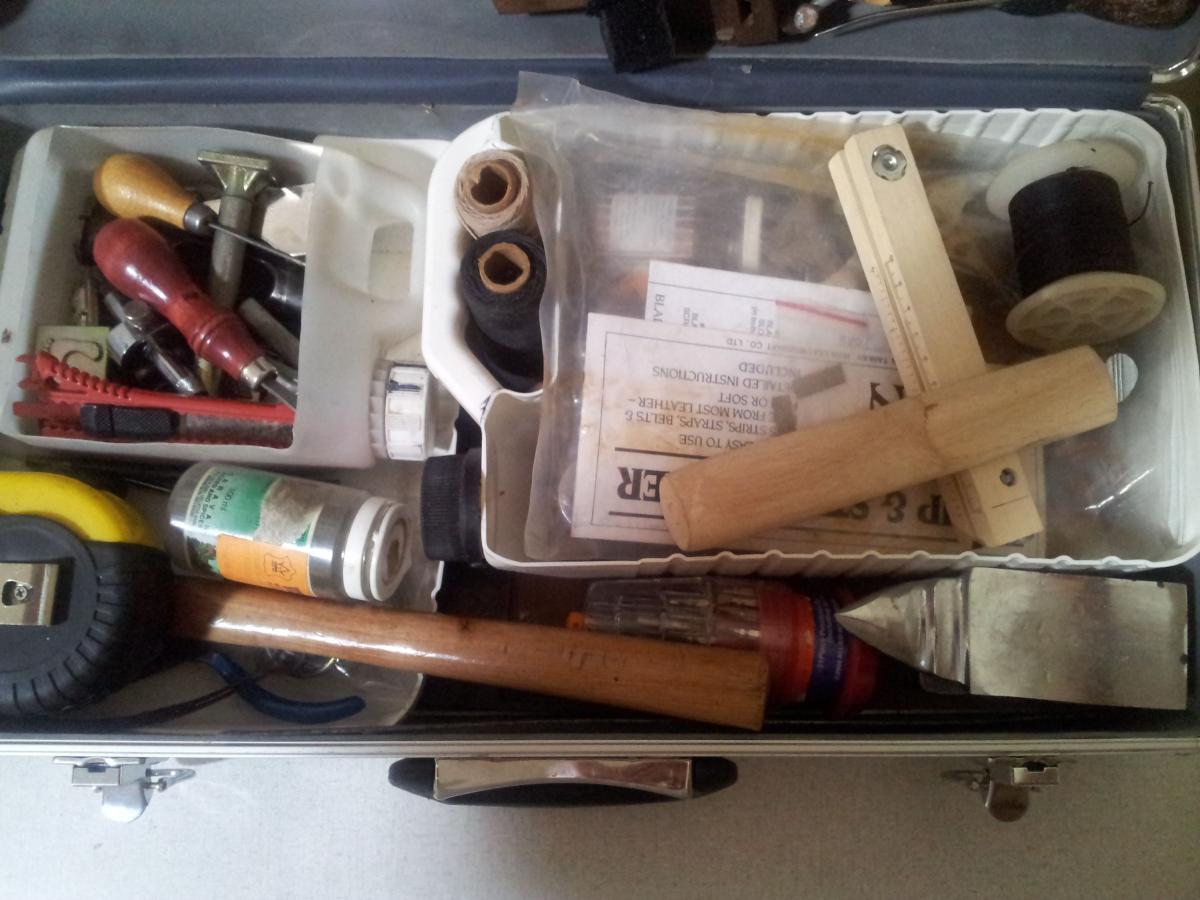
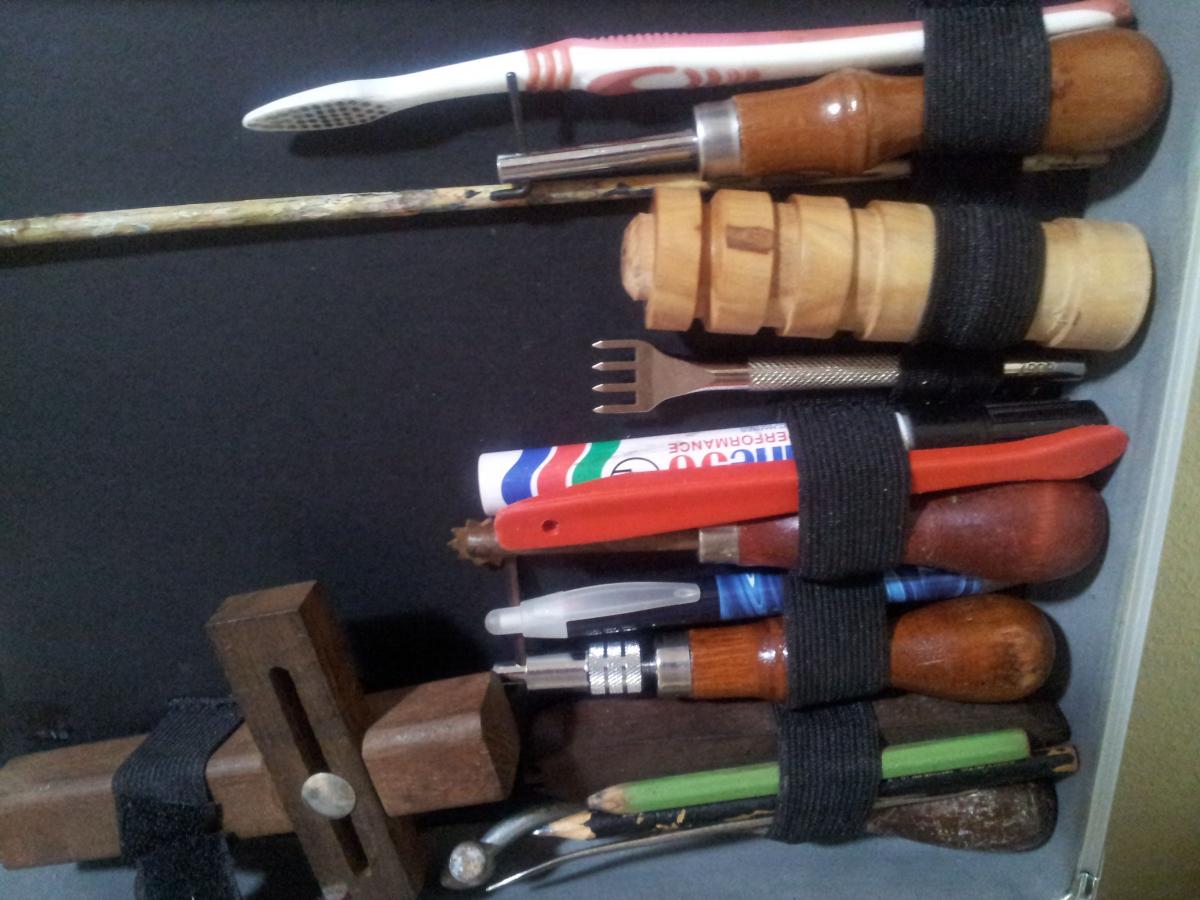
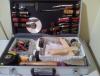
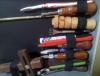
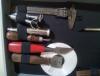
I am a leather hobbyist and normally work at a work bench in my man cave - where I also keep most of the tools I have. However if I decide to go to the seaside for a break away, be that weekend or longer, I can't take the man cave with me. I started looking around for a solution and found a cheap "aluminium" case with some barbecue tools in it. The latter was dumped and here is the result. To create take out "tray" an empty plastic oil canister was cut open and a liter plastic container for the smaller stuff. The elastic band in the lid was kept for obvious purpose - to stick tools in. Now my workshop has become more "mobile" and I can take the essential tools with me to keep me busy with small to medium projects. The only problem - don't overload the case. Tools are heavier than you might think!! Cheers Dirk


-
What Was Your First Leather Project?
dirkba replied to gaseousclay's topic in Leatherwork Conversation
At first I thought this was an April fools day topic - then I started following it and now i am adding to it! My first project was a bullet holder (purse) made of scrap material I found lying around. It was made with only the bare essentials at the time - knife, sewing thread and a needle. I have always wanted to improve it. This thread has forced me to do something about the old holder (left pic - new and the old) that has served me well for almost 20 years.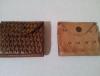
-
GREAT STUFF!!! Thanks guys for the info. I was looking at the book on Tandy website, but could not figure out the contents. The pages you downloaded - switched on the light for me. As we say: "I just had a light bulb moment!!!" I'll check with Woodheads in Cape Town - they stock Tandy items or else I'll use the ebooks route I really appreciate your time and effort. Cheers
-
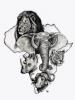
Hi Compound, I really like the elephant and Africa work you've done. Could you perhaps give me a few guidelines to follow - I am going to try my hand at the Africa BIG 5 on a rifle bag. See my line drawing, but I am struggling to find info on how to let it stand out. Also which tools should I use? Any suggestions from the guys that know how!!!
-
Thanks for sharing. I checked out the photo on your website and added the pattern to my "to do list"
-
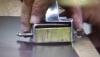
Hi Trox, Thanks for the technical input. I used a standard bench grinding wheel to do the rough grinding - hence the need for water. The finer touches was done on a belt sander with 80 grit. I watched closely for any signs of discoloring that would indicate the steel is too hot. These tools were never intended to be sold so I am not so much concerned with a spotless end result that is honed and polished to perfection. I need a cost effective working tool.