-
Posts
1,369 -
Joined
-
Last visited
Content Type
Profiles
Forums
Events
Blogs
Gallery
Everything posted by plinkercases
-

Carved Western
plinkercases replied to Treed's topic in Gun Holsters, Rifle Slings and Knife Sheathes
Very impressive rig. -
Some models work on the floor and there are others that you sit on you lap but If you put them up on a table then you have more floor space and ability to move around the shop. That may improve productivity... or not....
-
Welcome Mike both the forum and the craft. Lots of different was to do things and some basics and as you say always lots of trail and error and coming to things in your own way. There are some good fundamental resources like the Al Stohlman books through Tandy on hand sewing, making cases like you want to for your radio, how to make holsters and belts, and other books and video which members here can recommend based on what you want to specifically. Use the forum search function as I doubt there is a question you have that hasn't been asked here before and will be again. Cruse the how do I do that section and just start to soak it in. and don't hesitate to just start making things. This is a hands on trip for sure. Looking forward to seeing your first project!
-

Do they sell full grain leather belt blanks with tongue slot and snaps
plinkercases replied to ruinbliss's topic in Suppliers
Good luck finding 44 but here is a link to Tandy that has pre slotted and snapped blanks up to 42; https://www.tandyleather.com/en/product/natural-cowhide-leather-belt-blanks?sSearch=natural cowhide leather belt blanks or craftsman which perhaps mean better leather up to 40 https://www.tandyleather.com/en/product/craftsman-belt-blanks?sSearch=craftsman belt blanks look forward to seeing what you come up with. Have fun with your project. -
Thanks for the end of week chuckle.
-
yup good points all round.. not sure what's wrong with having a stripper in the shop though... just to have an extra set of hands to hold down the leather when needed.
-
Actually I don't think this is exactly really what JLS suggested. If I got his suggestion right. The arc radius is not equal to the width of the belt but is a segment of a much larger arc from three larger cycles centered outside the pattern Think Venn diagram where three larger circles over lap. JLS I am having a tool and die friend make a template just like that (not a die) for just than and from the buckle end. "English-ish" point and round as well. If you are getting a die made why not get the holes as well or is that so you can place them yourself to length once the belt is tooled and stretched a bit? And as for the partial arc punch set I have that sitting in my shopping cart and glad to here that for 10 bucks they are worth it. I just got paid so I can check them out tomorrow
-
-
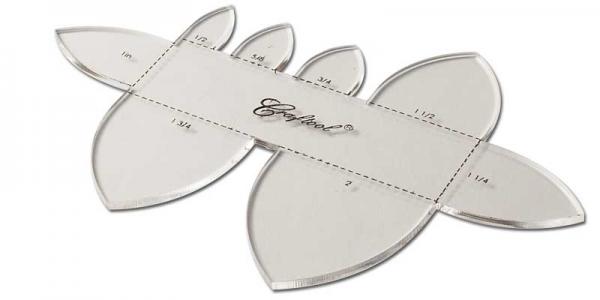
Just saw these in the latest Tandy flyer and think they are new. https://www.tandyleather.com/en/search/?sSearch=strap end template
-

Vegetabe tanned leather scratches and dotted Helpp
plinkercases replied to Christanto Deng's topic in How Do I Do That?
Agreed post a picture and we may be able to help. -

Damn those lefties!
plinkercases replied to Boriqua's topic in Gun Holsters, Rifle Slings and Knife Sheathes
Another good piece of work. I have used RH patterns for LH holsters and been caught by the controls such as mag releases and safety's so I always have to pause and think/walk the pattern through and make sure I am still clear of the controls when flipping. And yes I often am working on LH and stop with a panic.... -
I always moisten the piece evenly not just where the tooling stamping is. And since you are using oil based is would make sense that the moisture content at different areas would take the oil differently.
-
I did rig one up like Stohlman's and not even sure where I stashed it... haven had to make around for a while but am planning to make a new back pack for myself... I would love to see this rig you saw. Any pictures?
-
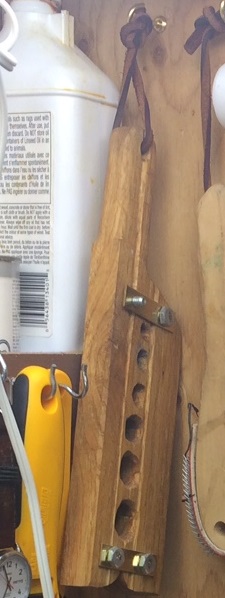
I use the method in the Stohlman book and it works very well. I had to make my own rein rounder out of oak rather than buy a metal one but once you get the sewing done the rounding can be accomplished in an manner of inventive ways following the spirit of the process.
-

Show off? Nah...
plinkercases replied to JLSleather's topic in Purses, Wallets, Belts and Miscellaneous Pocket Items
I have done that where I get a spec wrong and redo it and send both to them for the price of one... And got return business so not all a loss. -

How to smooth the inside rough leather of a belt
plinkercases replied to atom1's topic in How Do I Do That?
I could find some more tiles and make them by hand and sell them on etsy...... or make a video on how to make them and sell them on etsy... but a hand made video.... But seriously if I do find more round edged glass tile a bet they would cost less than 40 bucks USD a pop! -

How to smooth the inside rough leather of a belt
plinkercases replied to atom1's topic in How Do I Do That?
I just double checked mine and it is actually a glass tile.. so rather than going to a glassier try a tile place. I mounted mine in a wood handle but isn't really necessary. I think I will now keep my eyes open in the goodwill places for a glass lid too. -

How to smooth the inside rough leather of a belt
plinkercases replied to atom1's topic in How Do I Do That?
Good caution on the Gum... they should sell it as a blocker. Thanks for the reminder too about the glass.. I work fro a consulting firm and often raid the samples library for stuff and found 3x5 glass samples with rounded edges and they are great for shaping and smoothing/burnishing. I am sure you may be able to pick them up at a glass and mirror place. Tandy's is goofy expensive. -
all three volumes have great examples in them and even if we don't have those kinds of cameras or radios etc. anymore the techniques can be used for all kinds of applications. I got the PDF versions and refer to them often.
-
Go to Tandy on line and buy the Art of Making Leather Cases by Stohlman - Volume One actually has a scope cover set like this and how to make it. Lots of tips and illustrations. And its like sewing a toe plug and you need to imagine the awl following a radii from the centre so you stabbing inwards along imaginary spokes of a wheel. Spacing on the cap cover is smaller than the sleeve edge. But you may have know that. Just a thought.
-
Hey Boriqua can I see the back side of the stitching? Does it also zig zag? maybe because I am only playing around with single layer but I cant see the back stich on mine doing zig zag.... seem to always run straight even while the front is zigin and zagin nicely..
-
So now my question is who used what pricking irons? and from where? I am not going to Tandy for these unless folk shave had resounding success. What I combination of stitch pacing and number of pricks seem to cover most needs? I do a lot of curved stitch lines......
-
I believe I am seeing the light. Thanks guys.
-
I will definitely be looking at my method and result. I am not that old a dog that I cant learn or see the value in new tricks. I seen some of NA's videos but not this one I don't think and will certainly give it a look (again?), Do you have a picture of a holster main seam with the un-grooved and traditional looking SS on it? I do a lot of non-pancake holsters and am curious just how the zig zig stich looks along an edge. I am making in e now with purely decorative stitching on the holster body and may go un-grooved or OS.... I may have just been converted! Thanks for all your input.


.thumb.jpg.d8237d6f84dd47165451317efcff5800.jpg)
.thumb.jpg.d5f9e1b9bf43453ec1931d41813f7586.jpg)