-
Posts
2,221 -
Joined
-
Last visited
Content Type
Profiles
Forums
Events
Blogs
Gallery
Store
Everything posted by Uwe
-

Adler 205-370 kicking out of gear
Uwe replied to ScarlettStarlett's topic in Leather Sewing Machines
I was at a client site today that has a Durkopp Adler 205-370 based binding workstation, which I had built for them last year. I noticed a bungee cord attached to the reverse lever to pull it down. They said it was their work-around fix for "jumpy reverse lever syndrom" the machine had developed a few weeks back. The adjustment Bob posted above came in super handy to give that lever just the right amount of friction again to stay in place, no matter where you put it. Thanks Bob, great timing! -

In-line presser foot for Pfaff 335, 1245, etc.
Uwe replied to Uwe's topic in Leather Sewing Machines
Perhaps more people buy the collar for themselves than for their dogs, but officially it's marketed as a dog collar -

In-line presser foot for Pfaff 335, 1245, etc.
Uwe replied to Uwe's topic in Leather Sewing Machines
I've not done it myself, but this type of studded dog collar might be a good application example, to stitch the narrow path between the edge and the studs, and get close to the buckle and the D-ring. -

Help choosing the right sewing machine
Uwe replied to craftsman827's topic in Leather Sewing Machines
I started a separate topic on how to make in-line presser feet: -
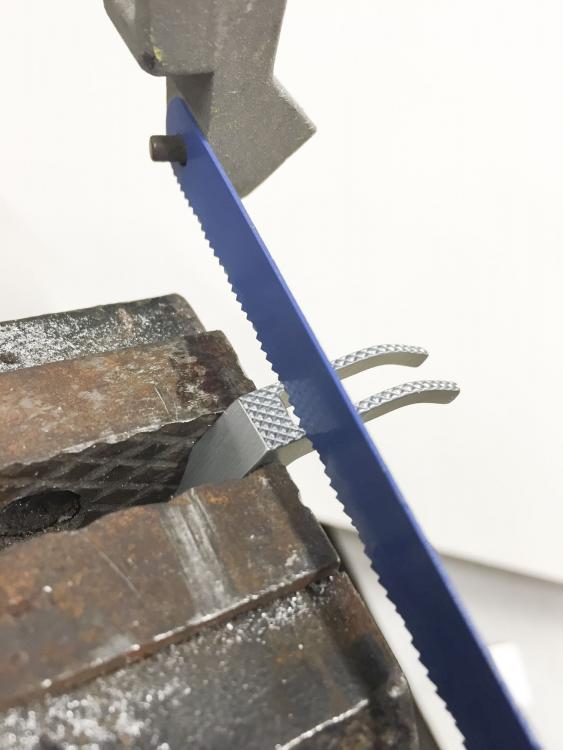
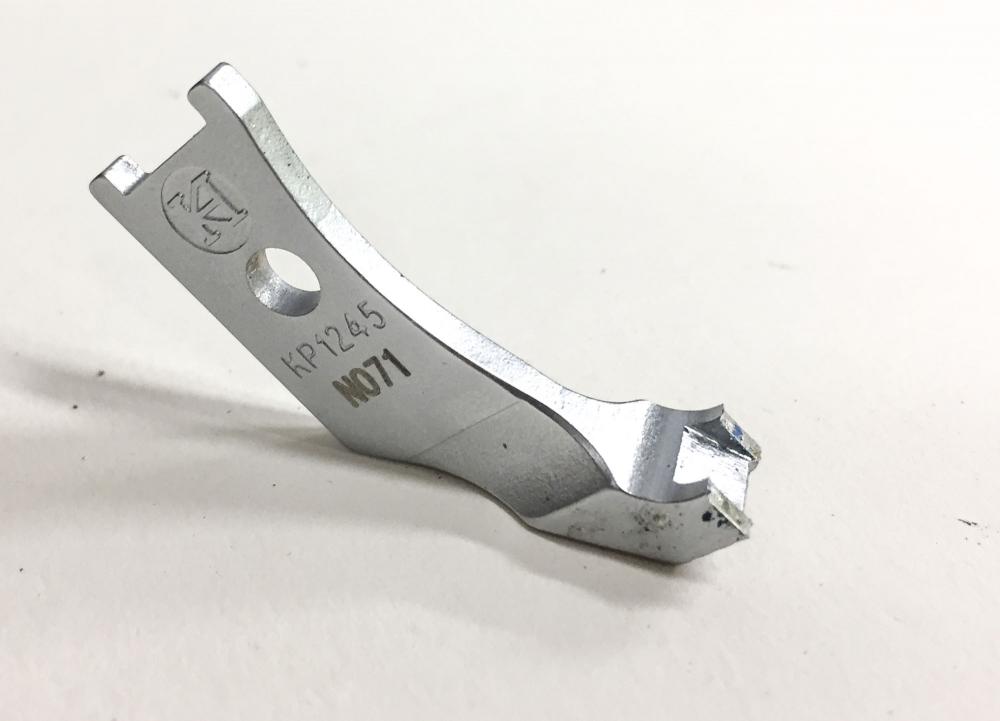
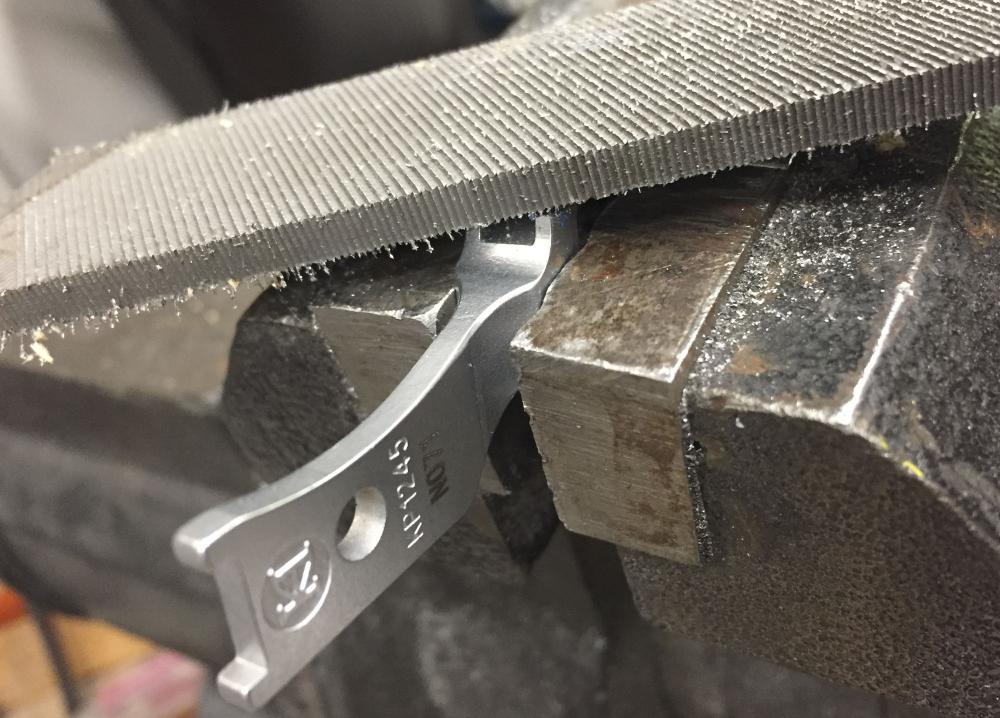
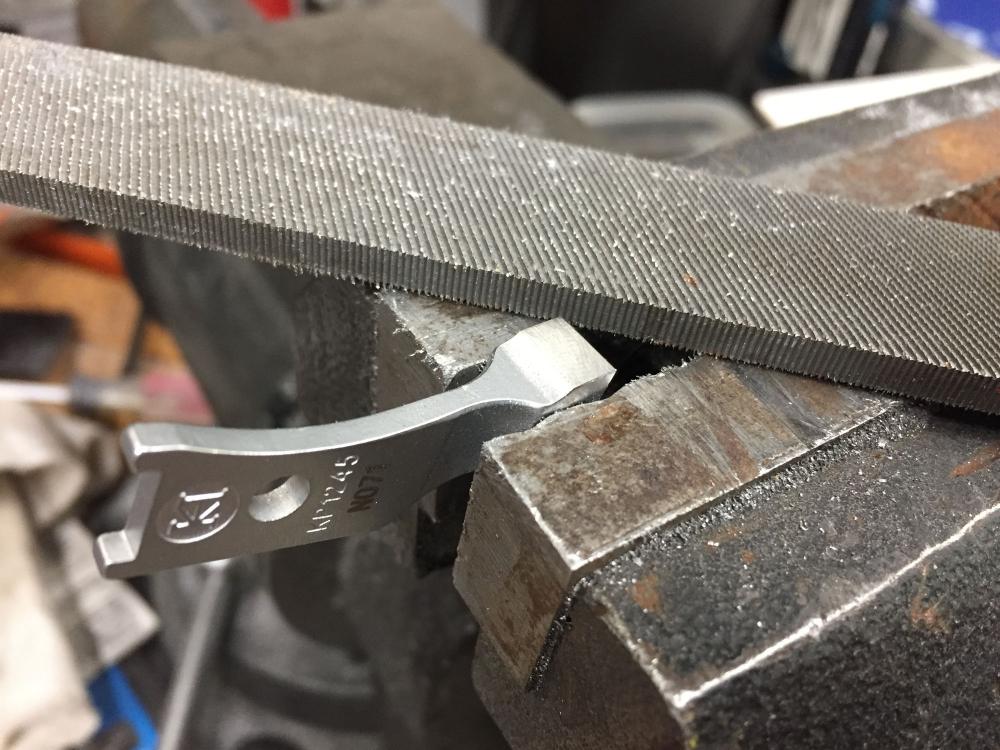
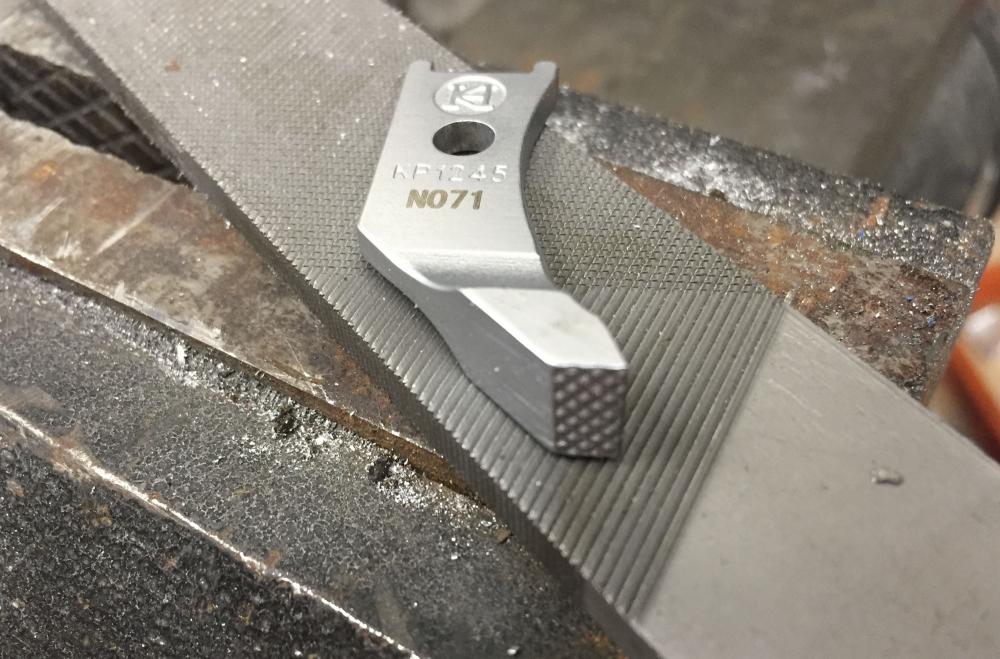
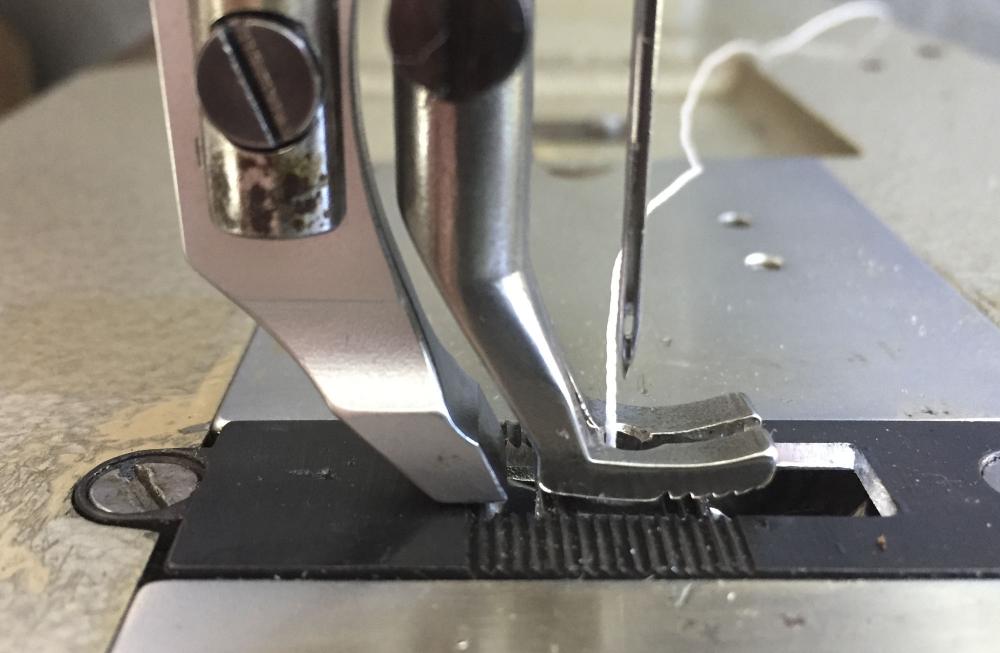
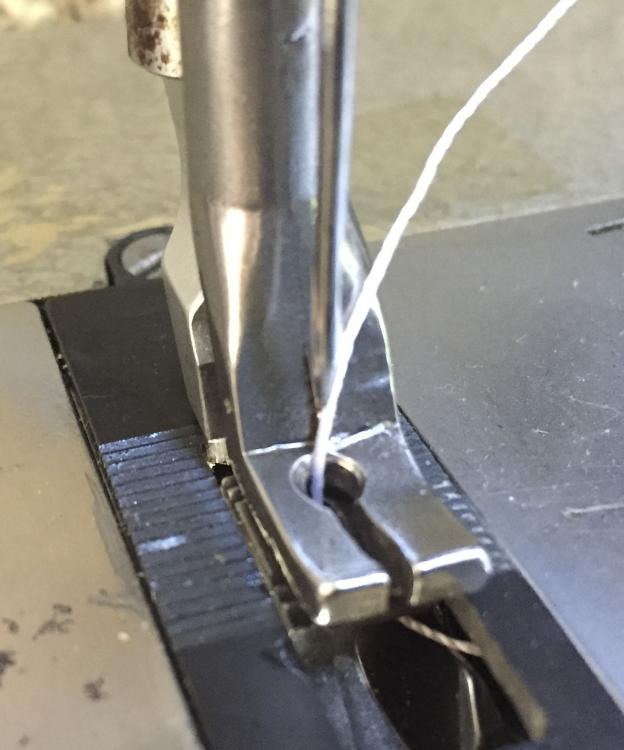
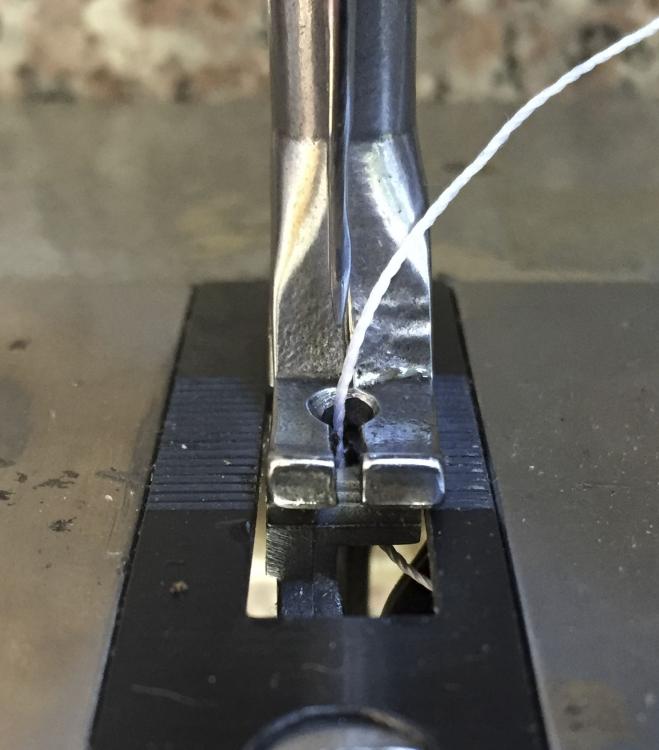
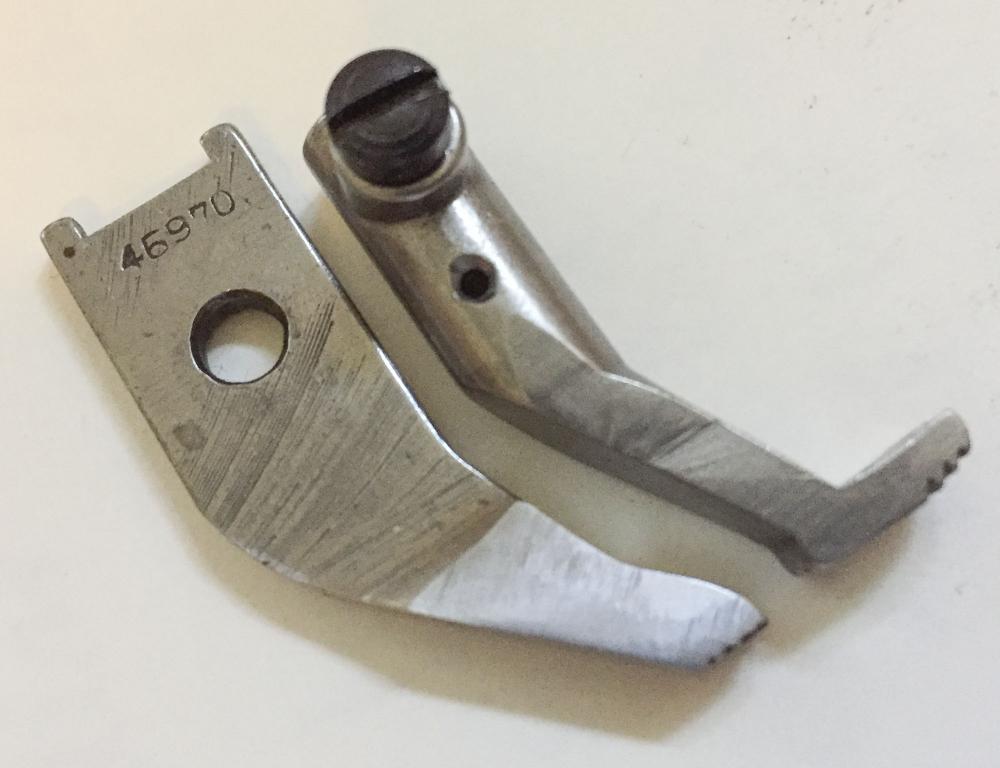
In-line presser feet keep coming up in conversations lately and I decided to make another set using simple tools and documenting how I did it. For Pfaff 335/1245 class machines, the best starting point is the KP-1245 N071 narrow foot set ($49 from me, or from College sewing in Europe ) The outer presser foot of the N071 set is the same width as the inner feeding foot of the standard foot set. It took me about five minutes to make the in-line foot using a simple metal saw and a file: 1. Saw off the legs 2. File down the little stubs All done: Here's how it looks on my Pfaff 545 if you combine the modified KP-1245 N071 outer foot with a standard inner foot:
-

Adler 205-370 kicking out of gear
Uwe replied to ScarlettStarlett's topic in Leather Sewing Machines
Overall that does not sound good. If the needle BAR hit something under power and at full speed, something let go to absorb the impact. Something may be loose and slipping or catching on the internal linkages. I'm concerned that something actually broke absorbing that impact. That stitch length lever is not really a gear lever like on a transmission and there is no "neutral" per se (only zero stitch length). The lever rotates the feed eccentric but everything stays tightly connected. Nothing spins freely with the lever in the center position. That lever should NOT move on its own, ever. I strongly recommend not running the machine under power until you figure out what's going on. Remove the belt from the hand wheel, turn it over by hand slowly and inspect EVERYTHING inside and out to find what is not right. That is not easy to do because these machines don't tilt back to reveal the insides. You'll have to remove cover plates to see, which is tricky because you don't want to yank out oil wicks in the process (top cover has oil reservoir underneath). Unless you've worked on sewing machines before your best bet may be to call your friendly local sewing machine mechanic. The 205-370 is not a good starter machine for learning sewing machine maintenance. If you do decide to try remote internet-based trouble shooting, start practicing taking clear, well lit close-up pictures and videos to share. -

Help choosing the right sewing machine
Uwe replied to craftsman827's topic in Leather Sewing Machines
That HighTex/Cowboy foot set shown above may prove hard to find in real life. You may have to make your own custom feet for specialty applications like yours. I ground down a standard Juki TCS-441 class blanket foot to achieve something similar to the in-line foot pictured above: If you don't need all that oomph and thick-thread capabilities of a Juki TSC-441 class machine, a standard flatbed walking foot machine (e.g. Pfaff 545, Adler 167, Juki LU-563) may be all you need. I made an in-line foot for narrow-edge stitching on a Pfaff 545: Here's the demo video I made some time ago: -

Is This Adler 167 Tension Assembly all Stock?
Uwe replied to AlexanderDyer's topic in Leather Sewing Machines
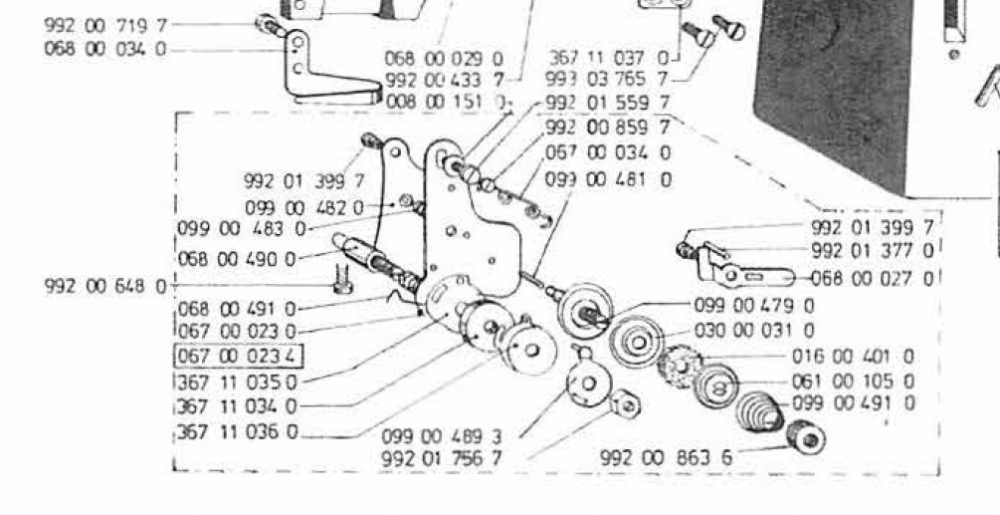
Ha, the home-made looking double loop wire actually shows up in the Parts manual for the Adler 167-GK373: The bottom end of your wire should be inside the corresponding hole in the plate, not sit on top of the plate. -

Is This Adler 167 Tension Assembly all Stock?
Uwe replied to AlexanderDyer's topic in Leather Sewing Machines
-

Is This Adler 167 Tension Assembly all Stock?
Uwe replied to AlexanderDyer's topic in Leather Sewing Machines
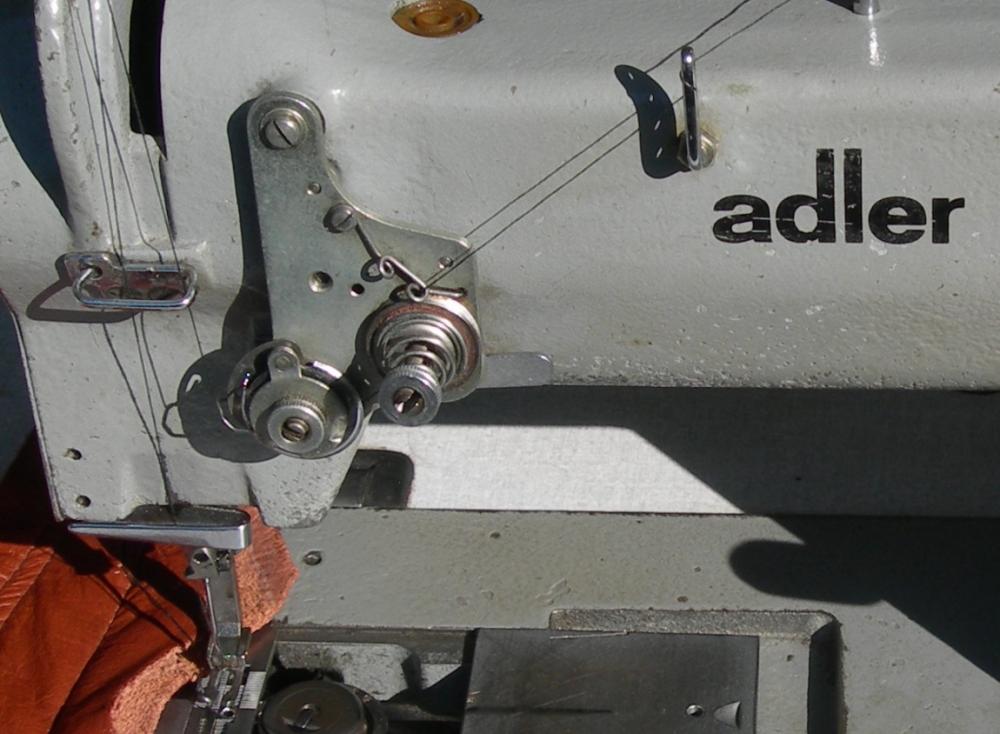
This is what a standard Adler 167 tension unit looks like: -

Adler 205-370 kicking out of gear
Uwe replied to ScarlettStarlett's topic in Leather Sewing Machines
Can you elaborate on what you mean? -
Thanks for posting the first ever Durkopp Adler 969 in the for sale section on LW! I wish I could afford it. I wish I had friends like yours. Would you trade for a couple of old-school heavy stitchers from my collection? Since the pneumatic air requirement may scare off some potential buyers, I also wanted to mention that you don't need a big, loud air compressor for a sewing machine. For my full-function machines with pneumatic actuators I got a small, very quiet air compressor from California Air Tools (model CAT-4610AC-B for $179 on Ebay) . It works perfectly and doesn't jolt you out of your chair when it starts up. It does make some noise, but it's closer to a window air conditioner in noise level when it runs very couple of minutes when you use the machine.
-

Easy stitch length adjustment
Uwe replied to T Moore Medicine Hat Saddlery's topic in Leather Sewing Machines
Well, in my book that rules out anything with a stitch length lever that flips up and down. Those settings are mere suggestions and repeatability is all but absent. Dials for stitch length adjustments are a step in the right direction, which only the modern heavy stitchers have. Having two dials to pre-set two stitch length and switching between them with a button press is easy/convenient. Examples: Durkopp Adler 969 and Juki LS-2342H The most precise and repeatable stitch length machines are probably electronic wheel driven machines with stepper motor drives, like the Pfaff 1591, but those are medium duty machines: -
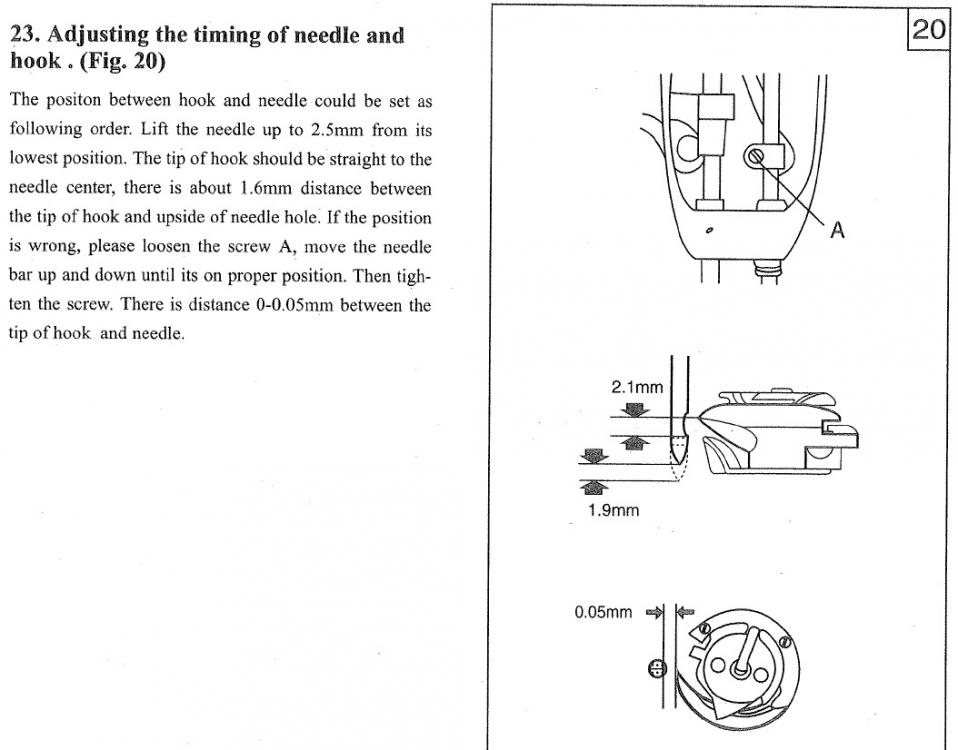
I've had plenty of quality time with this machine developing accessories, figuring out adjustments, and making videos. It's time to deploy it into the field again to actually make stuff. The machine is in like new condition and shows almost no signs of use. Priced to sell at $1,650, which is 1/3 off the new price. I prefer local pick-up (near Detroit, Michigan) but can break it down and strap the machine and stand to a pallet for shipping (Estimated $250-350 continental U.S.) I take credit cards and other on-line payments. Cash works, too. The lube pot you see in the video is not included, but you'll get the swing-down edge guide and extension foot lift lever to make up for it. Rolling stand has servo motor and speed reducer pulley. Here's the hook timing video I made with this machine: Here's the video on how I installed the swing-down edge guide: Here's the video that shows the production version of the extension foot lift handle:
-
I have for sale a Pfaff 1295 single needle post bed in very nice condition and ready to sew. Priced to sell at $1,450. I'm in the Detroit, Michigan area. I prefer local pick-up but can strap this machine to a pallet for shipping (estimated $200-300 within continental U.S.) I take credit cards and other on-line payments. Below is the demo video I made for this machine. What you see in the video is what you get.
-
I don't think you can lay down the whole thing (table+head) on its back side - the machine head will just fall out of the table in a rather spectacular fashion as you're tilting the whole rig back. I do agree about gently "pre-falling" things, but separately. Lay the head on the back, there's fewer fragile bits. An old bathroom carpet with a rubber bottom is great for cushioning and to soak up oil that will invariably leak from a machine that's not upright. Getting oil out of the trunk carpet is very hard to do. If you have an open back seat in a normal sedan-like car, the safest place for the machine head is actually in the footwell behind the front seat, I think. It's just a little awkward to get it there.
-
I may never stitch a sidewall on a shoe in my life, but I REALLY want one of these machines. That design is just fascinating and I think these would be great for sewing bags and all kinds of other things.
-
Page 9 of the Consew 227R-2 manual talks about how to adjust needle bar height on this class of machine. Compare your machine to these reference values before making any adjustments. It's best to remove the throat plate so you can see what's going on.
-

Looking for a patch machine
Uwe replied to T Moore Medicine Hat Saddlery's topic in Leather Sewing Machines
Regarding new(er) patchers, I sold a used TechSew 2900 Patcher a few month ago. I was rather impressed by it and it compared very favorably to vintage patchers I've worked on. I made a demo video with it when I sold it. The video might be of interest as a reference point for comparisons. -

Consew 226R thread breaking and tension controller sticking
Uwe replied to Carrie88's topic in Leather Sewing Machines
The thread will be somewhat loose at some point during the stitch cycle, but it should not pop out of the check spring. Here's how I thread the check spring:- 27 replies
-
It depends a little on what your hinge looks like. A picture would be cool. Normally, you first tilt the machine back to remove the belt (and belt cover pieces.) You should then be able to lift the machine straight up out of the table.
-
Per LW marketplace rules (http://leatherworker.net/forum/forum/70-announcements/), you should provide pictures and must state a price for items you sell.
-
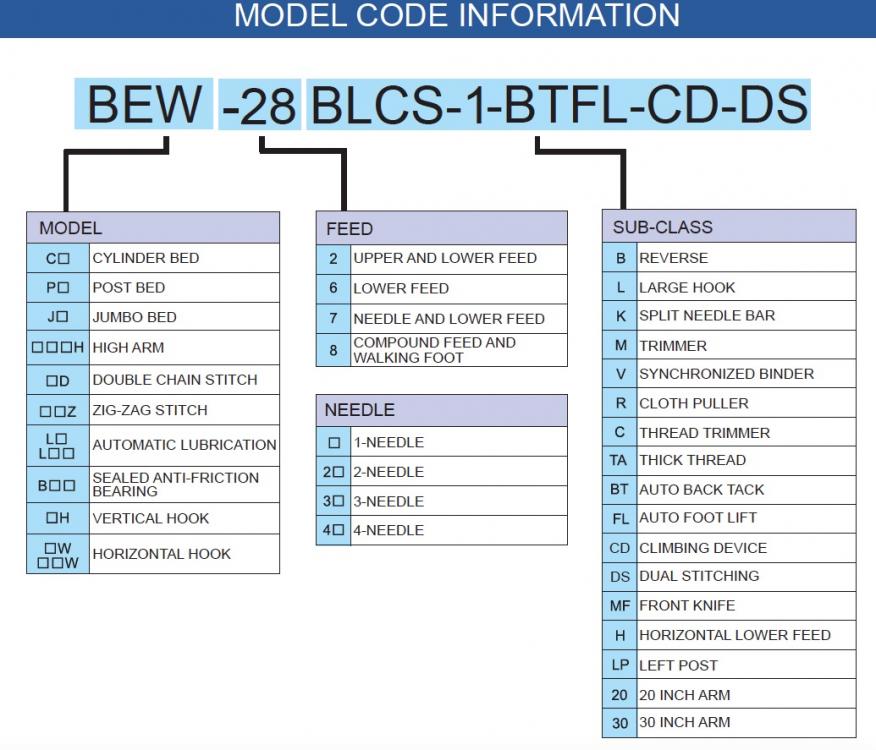
The Seiko website at http://www.seiko-sewing.co.jp/en/ will be a good resource for researching Seiko sewing machines. Their Seiko 2016 catalog has a model name decoder guide on page 3. It tells some (but not all) of the story about how to interpret the Seiko model codes:
-

Right Angle Binding Attachements (source?)
Uwe replied to Willbury's topic in Leather Sewing Machines
For some reason, not many vendors carry these generic tape folders (binders). I have a handful of sizes of the generic tape folders in two styles, both made by Kwok Hing, in my Ebay store ( http://r.ebay.com/XjXpj6 ) Your tape folder in the picture has a mounting flange offset and is centered on the tape folder. Mine are flush with the edges of the tape folder. I'm not 100% sure mine would fit your setup, actually, unless your mounting base plate has some adjustment option.


