-
Posts
2,221 -
Joined
-
Last visited
Content Type
Profiles
Forums
Events
Blogs
Gallery
Store
Everything posted by Uwe
-
I don't think the Singer 211G165 has an oil sump or a pump. It has little oil reservoirs that need to keep filled. It may have an oil drip pan, but it's not for recirculating the oil, it just catches the occasional drips. A gallon of Lily While Oil will work fine for lubricating your machine and last you a lifetime. Get a little oil bottle with a long thin spout to reach tight places. Spend some quality time with the Singer 211G165 Manual - Just read at first and don't start turning screws until you understand what's going on. Feet and such are readily available from many of our vendors that advertise in the banner ads - you'll get some free advice to go along with your feet.
-
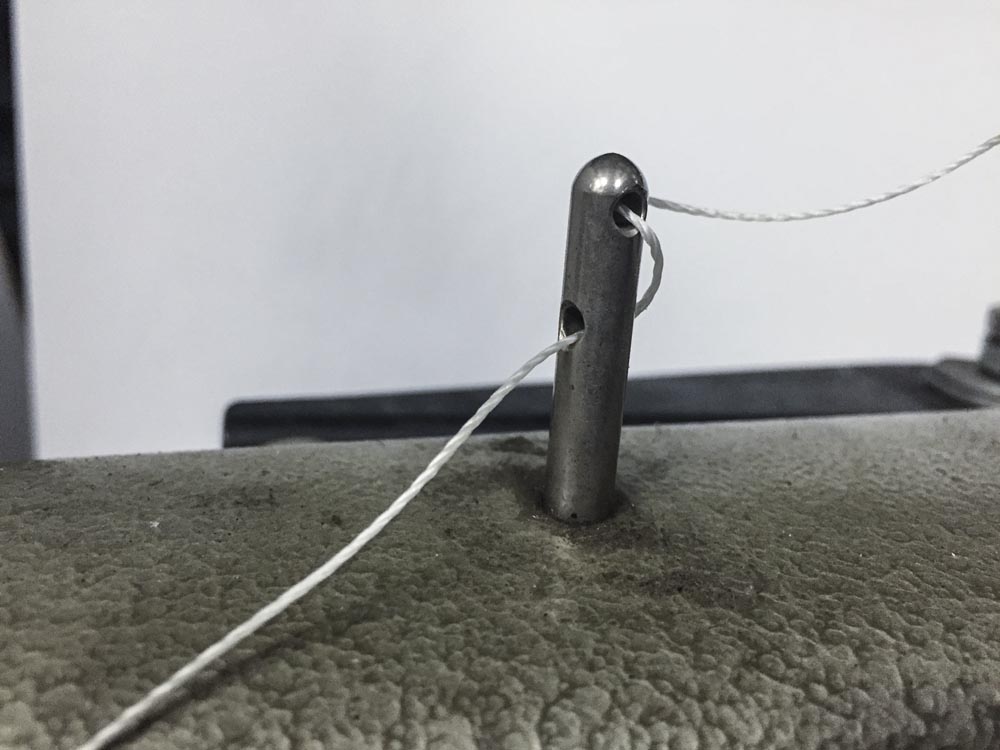
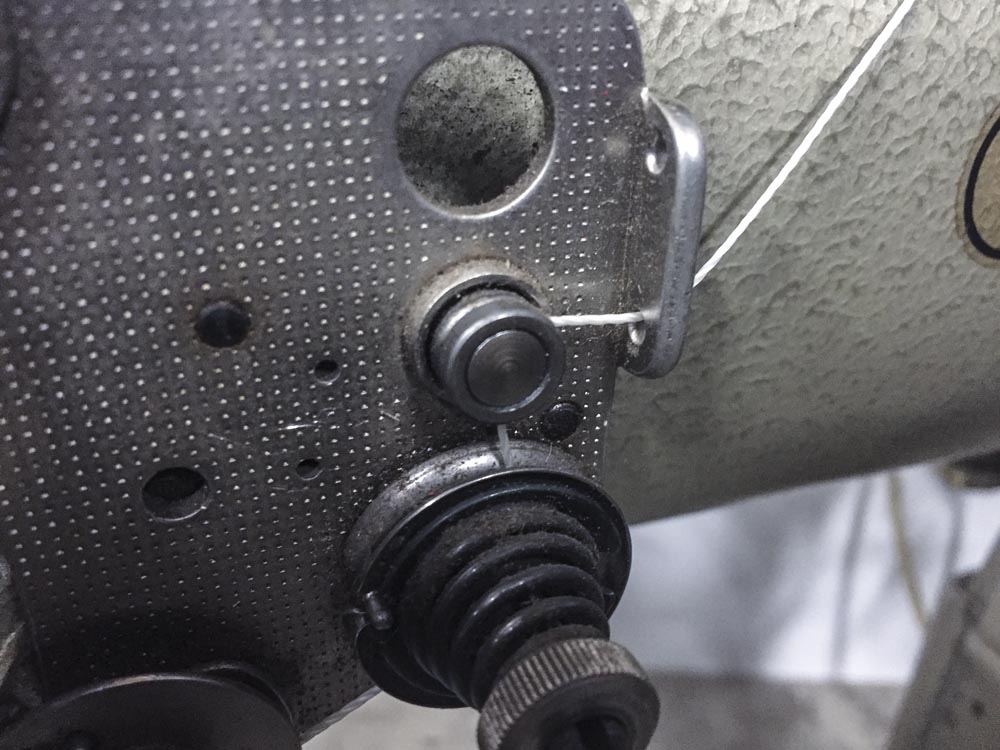
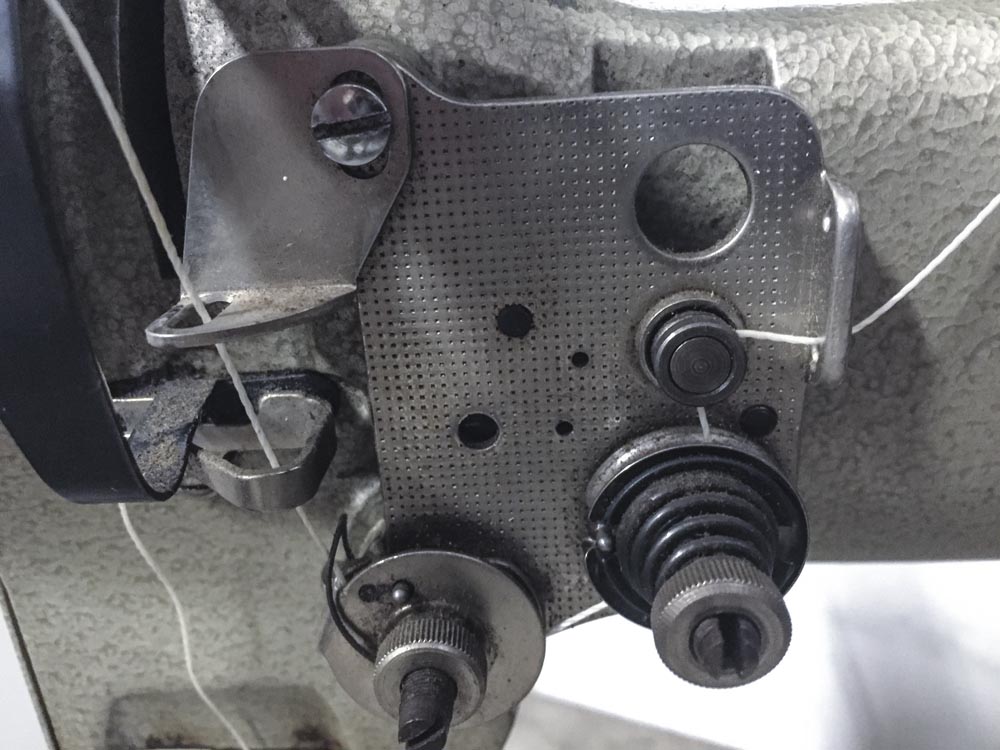
Rule #1 of sewing machines: don't turn a screw unless you know what it does The first screw in your picture holds the check spring stud assembly (and the whole tension unit) in place. If you loosen it you can adjust the check spring tension. But it's really a set/lock screw, not an adjustment screw. (By the way, in your first picture the thread isn't pulled between the tension discs. Your thread tension will never work properly unless you pull the thread between the discs.) The pin you're pointing at in the second picture pushes forward and causes the thread tension to be released. My video on replacing the thread tension release guide shows how that pin works:
-
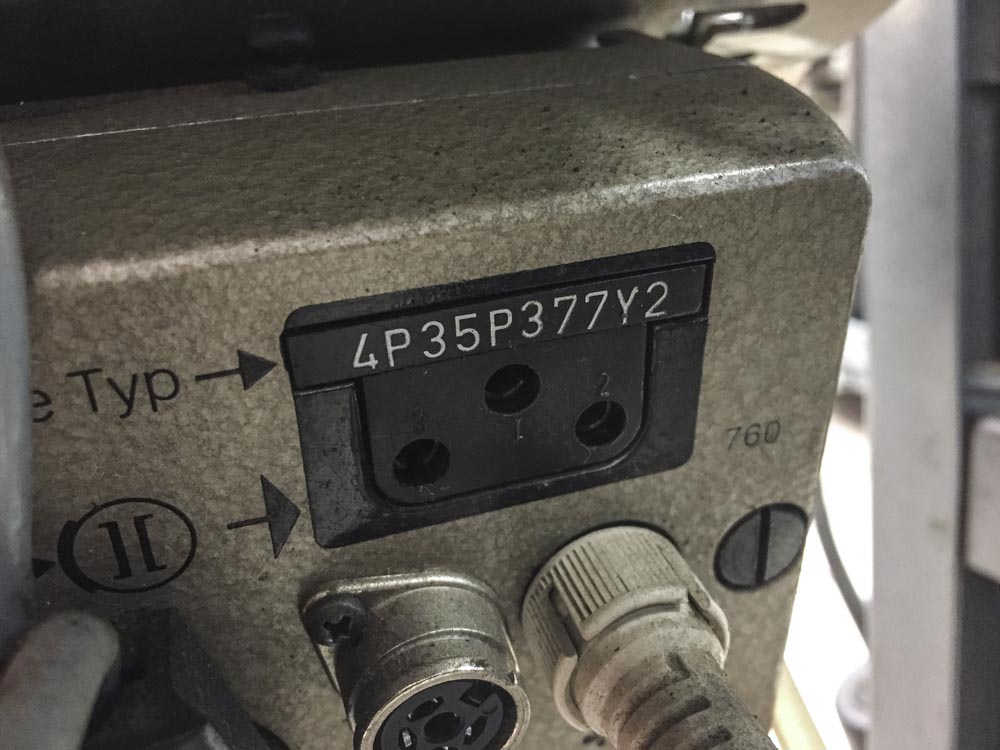
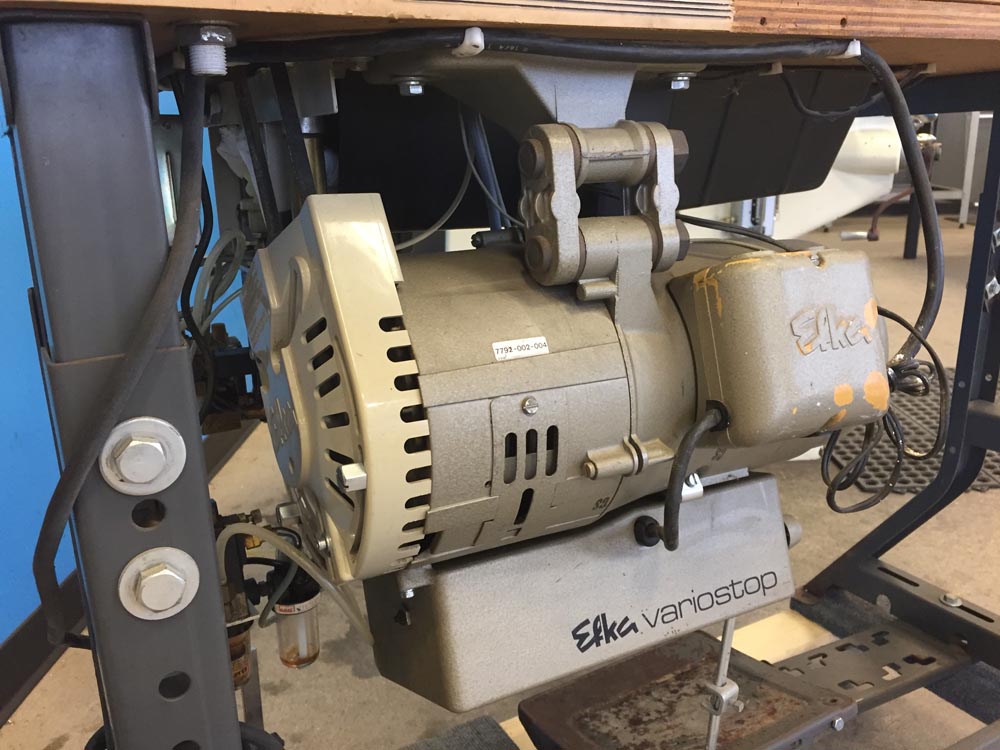
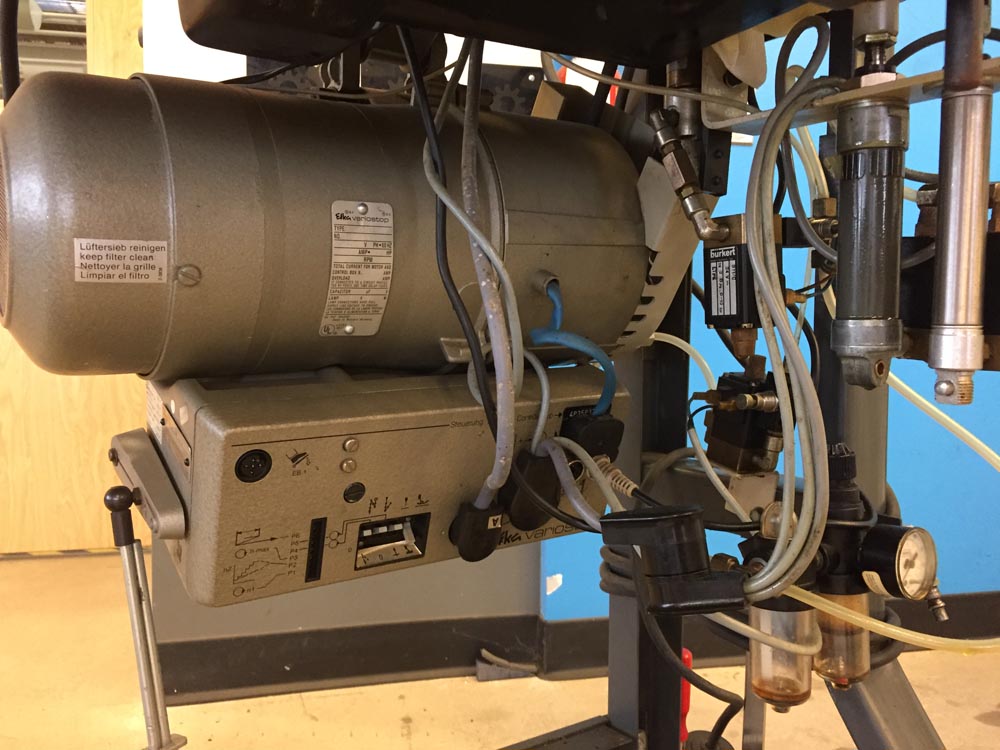
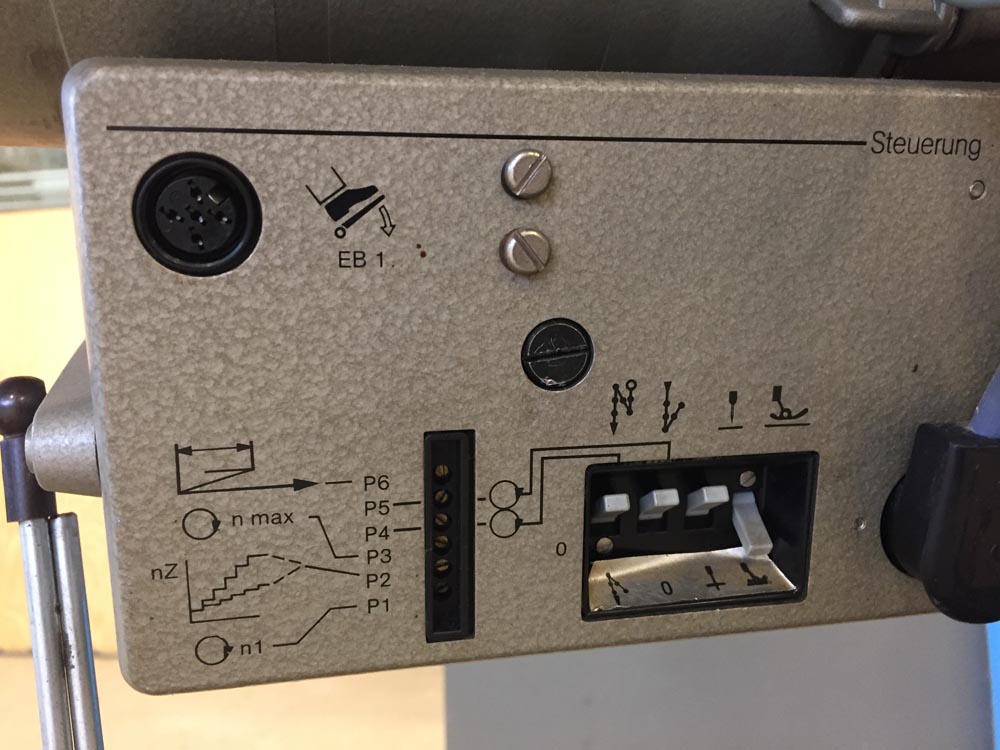
I got the machine to work, yay! I switched two leads inside the motor connector box and the 3-phase clutch motor spun the correct direction. The Efka controller is a 4P35P377Y2 The closest Efka Manual I could find was the Efka 4P35A Manual, which talks about all the functions this controller has (I think.) So the machine works and I'm very happy about that. I'd feel even better if I understood exactly how and why it works. I'm not 100% convinced yet that the lubrication system works as it should - I'm not seeing any bubbling or splashing of oil in the upper viewing window. I did fill up the reservoir, which, for some reason, was empty! The underside of the machine looks intimidating and complex. This Adler and Efka combo has quite a few automated and switch actuated functions: Automatic starting lock stitches and end lock stitches (optional and configurable) activated by brief pedal taps front and back. Reverse via a little finger-operated toggle switch. Very cool, quick foot lift adjustment for alternate, maximum foot lift activated via knee switch for climbing over seams etc. Foot lift via pedal heeling. The automated thread cutter may need a little tweaking - it cuts most of the time but not always. Speed control on this system is actually really good - I was surprised. This Efka may be the first clutch motor drive systems I actually liked! Here's a demo video I made for the potential buyer of this machine:
-
You have to change out your feed dog, too. The feed dog that accompanies the binder plate is much taller than a normal feed dog.
-
That ought to quiet down the constant chorus about how expensive parts are for Pfaff machines. $15 is almost too cheap to consider. I can't even ship an empty box across the pacific for that money, let alone manufacture parts to put in the box. No wonder there is hardly any manufacturing left outside of Asia. For that little money I'm picturing kids with bloody hands coughing up their lungs from the toxic fumes in the factory. In reality the $39 version I pointed out is only marginally more ethical to buy.
-
Thanks Eric, I was hoping you'd chime in!
-
Not to worry, after January 20th the U.S. will standardize on a"T" shaped plug without ground and only a 50% chance of electrocuting yourself when you plug it in.
-
I received the machine as part of a larger inventory, So I don't have any history for it other than that it once sewed La-Z-Boy brand reclining chairs. In the U.S. there are at least six different plugs in use for connecting 220V 3-Phase power, so it's quite likely that the plug was changed at some point to accommodate a certain wall outlet.
-
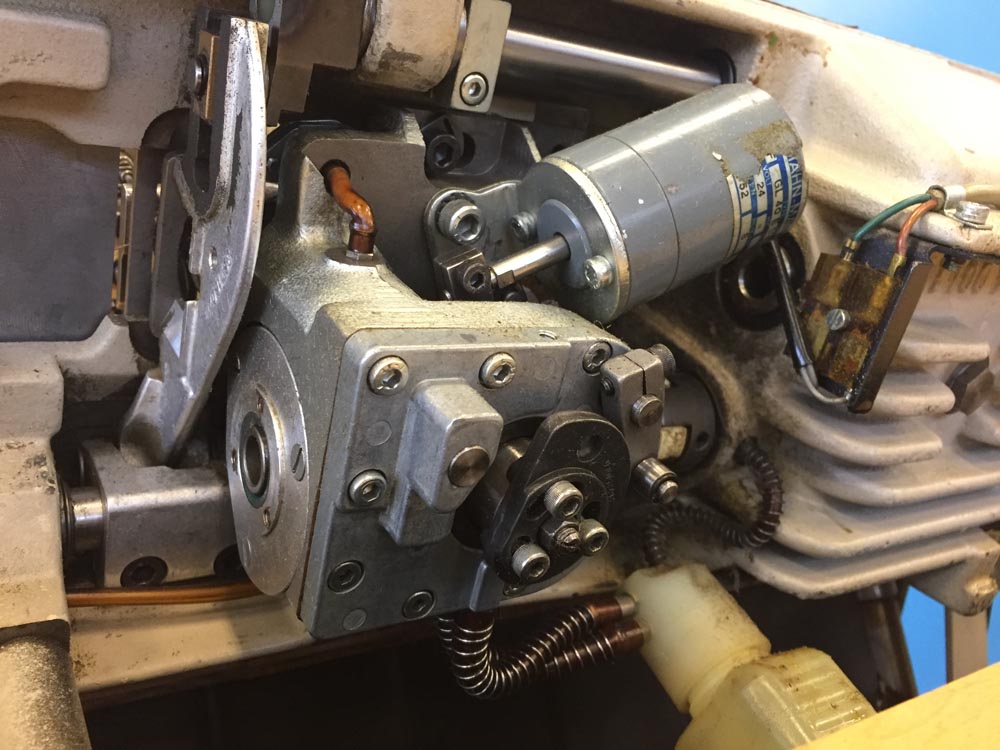
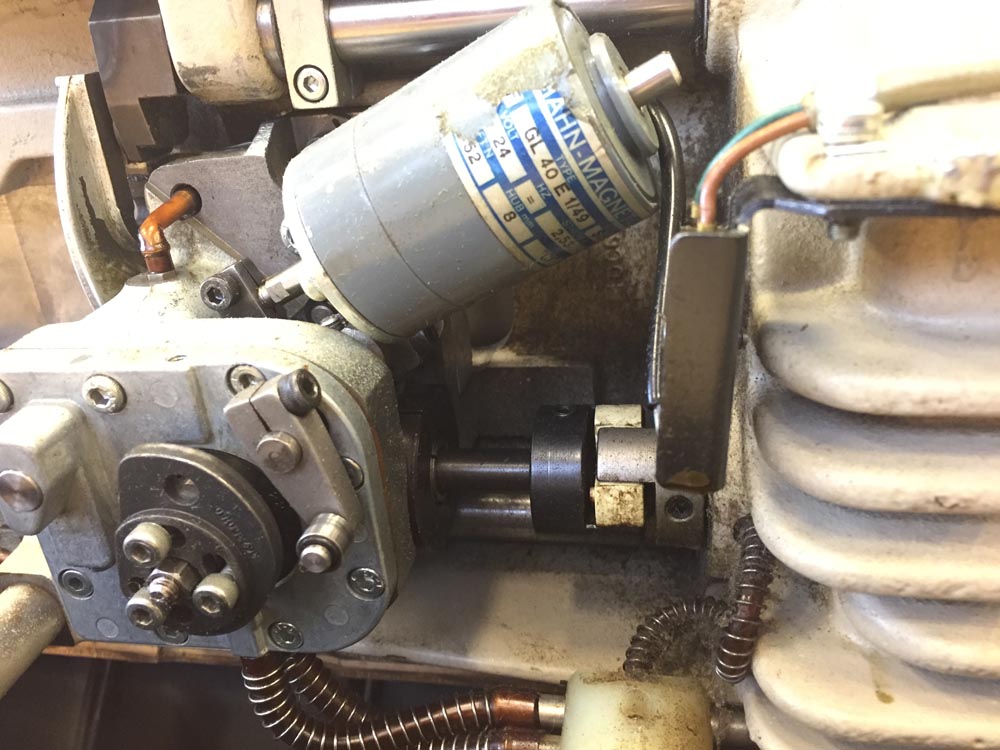
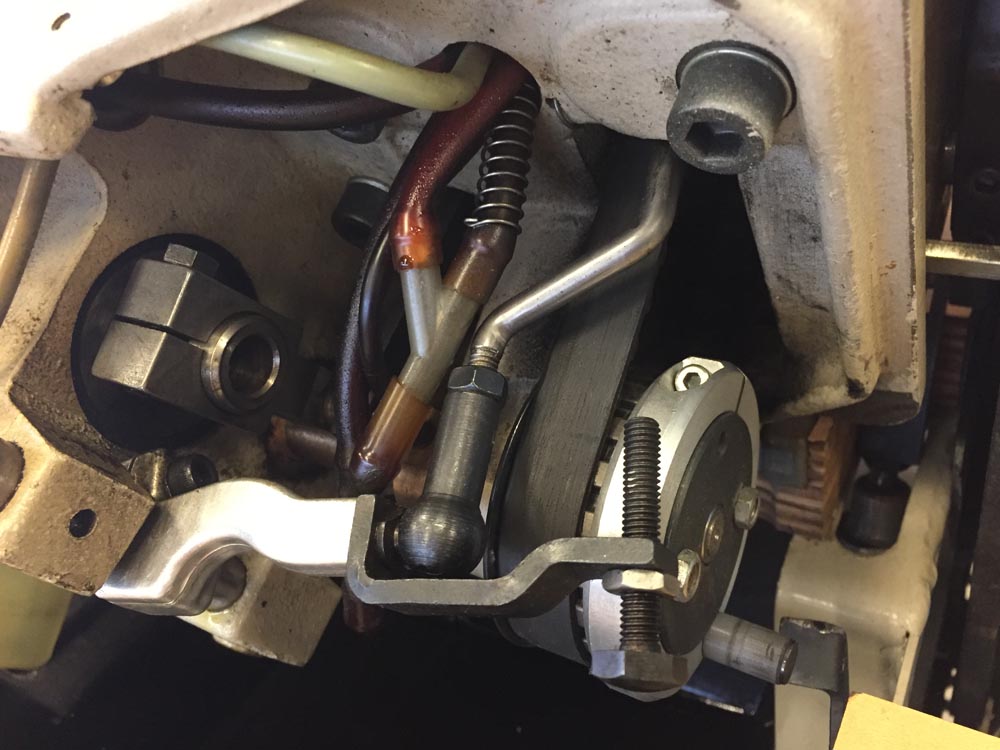
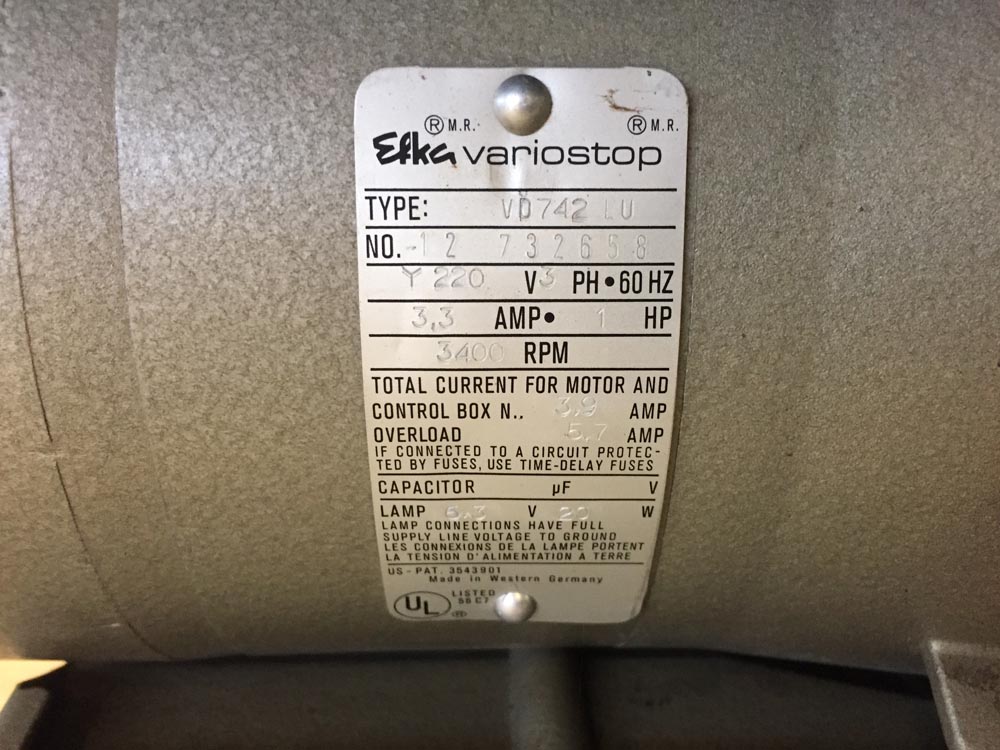
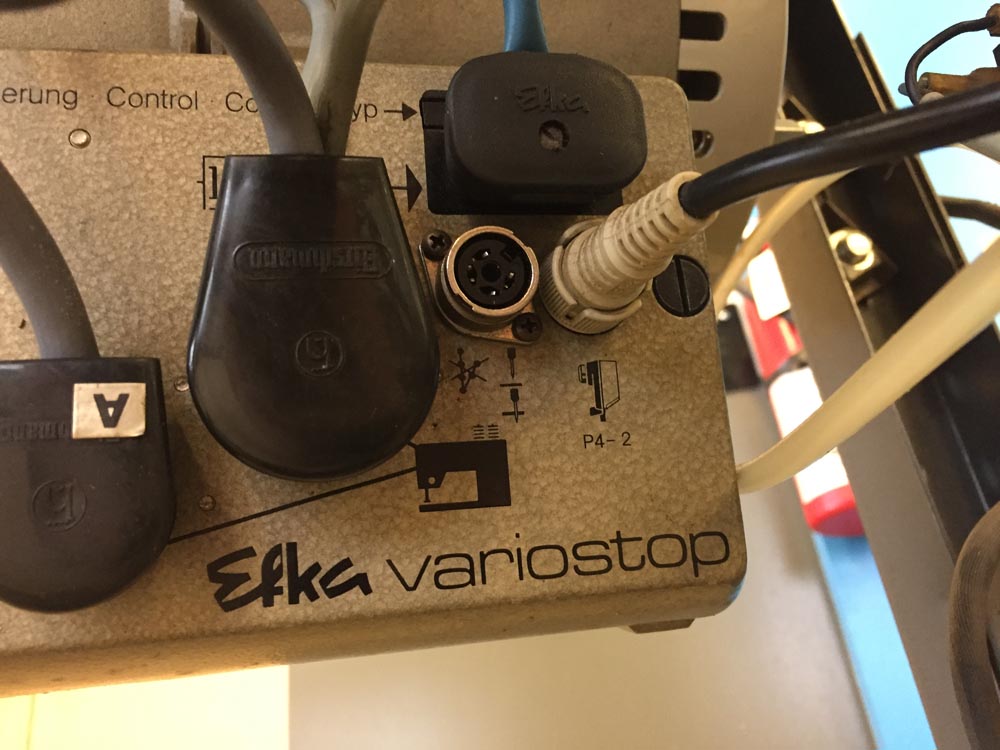
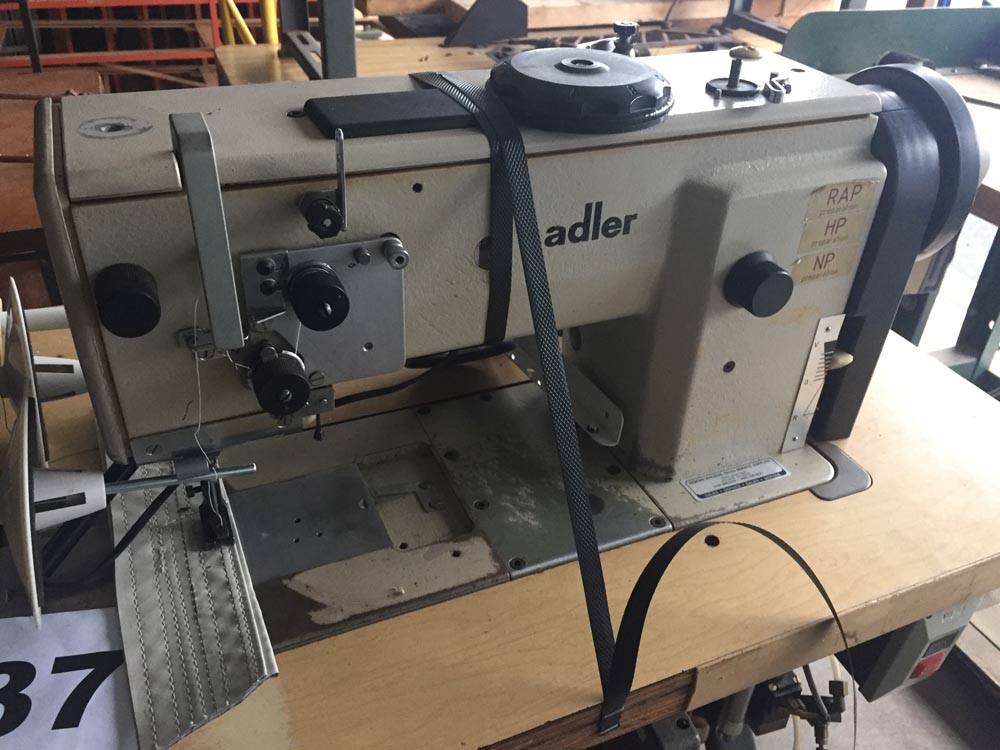
I'm working on an Adler 467-FA373 with an Efka Variostop control box and 220V 3-Phase motor. Everything seems to work fine except the motor spins backwards! I've looked through the Efka manuals, but found nothing about reversing the motor rotation. Before I change the wiring on the plug or motor itself to swap two of the three power leads (the standard way to reverse a 3-phase motor), I wanted to check with the Efka experts here in case I'm missing something ("Hey just flip this switch!") I'm a little concerned that if I change the wiring to suit my current 220V 3-phase power outlet at TechShop, that my potential customer will plug the machine into their 3-phase outlet and the motor will not spin in the right direction. I'm attaching a few picture of the machine and the Efka bits.
-
To me, the Adler 169 really looks like a hybrid/transitional machine with an Adler 69 head and with a Duerkopp Adler 269 arm. Since there are no Adler 169 manuals to be found, I'd take a closer look at the Adler 69 service manual for things going on inside the machine head, and the Adler 269 service manual for things that go on inside the arm.
-

Singer 29k171 "Another journey to the unknown"
Uwe replied to jimi's topic in Leather Sewing Machines
http://www.mpl.es/wp-content/uploads/2015/09/300795.pdf -
One of the cheapest and perfectly functional option is a FamilySew FL-550 class motor with a small 2" pulley, available from several of our banner vendors and on Ebay.It's not the best, but it works just fine for many folks.
-
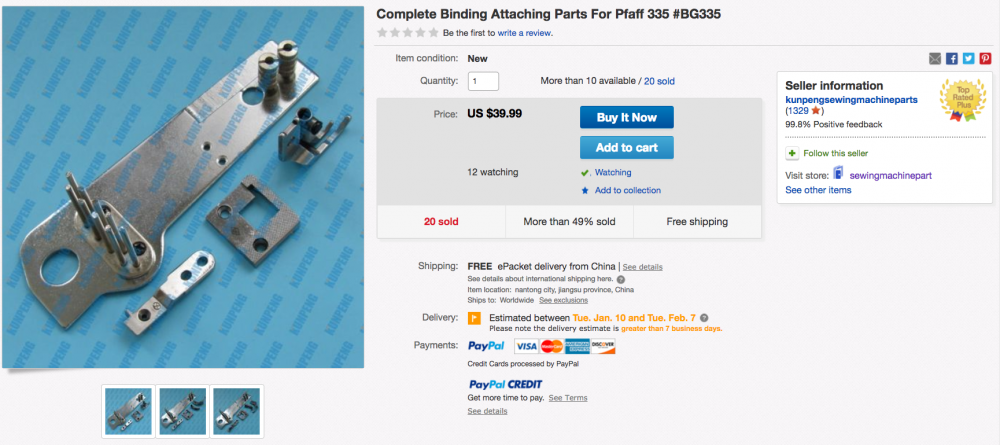
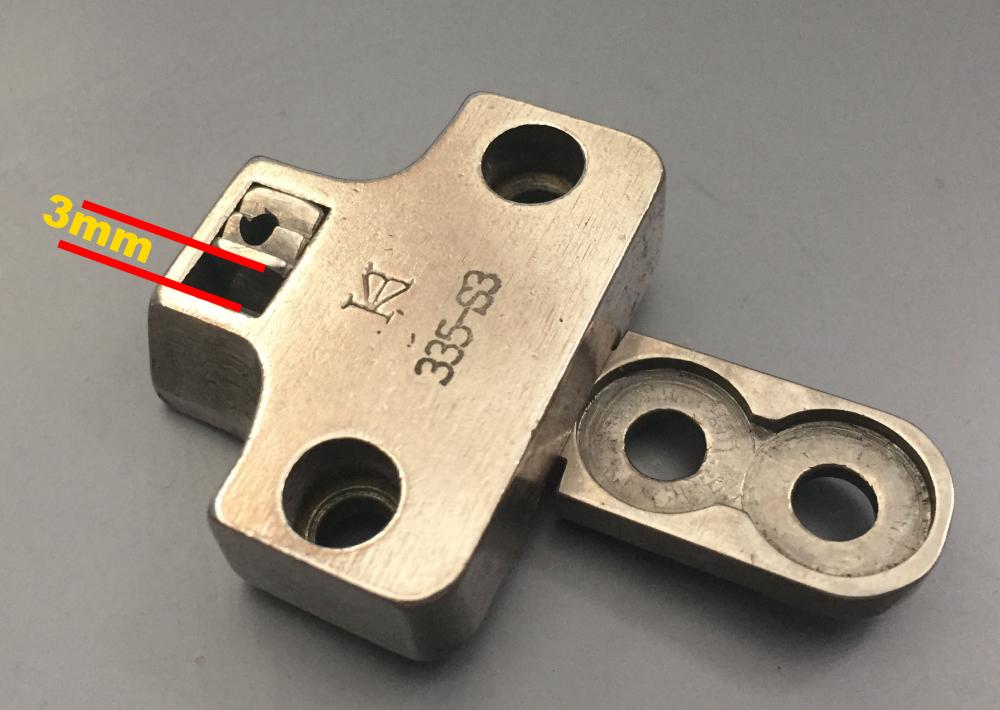
The cheapest and perhaps most reliable way to answer your questions is to buy a cheap set of parts and just try it out (I have the parts you listed, but I don't have a Consew 277RFS) Kunpeng has a complete Pfaff 335 binder kit for sale on ebay for $39. I had ordered one some time ago and they work just fine on a Pfaff 335. If those parts fit your Consew 277RFS, anything else made for the Pfaff 335 arm should fit, too. If they don't fit, you can sell the parts again and not loose much if any money. You can also buy the Kwok Hing version of that binder kit from me ($169 on ebay) with quicker delivery and better return options, but it's really not $130 better than the Kunpeng version. Once you've verified proper fit, I have the 335-S3/S4 gauge set from Kwok Hing for sale and on hand ($99 plus shipping). Here's a screenshot of the KunPeng Ebay listing:
-
That depends on your definition of best and your budget.
-
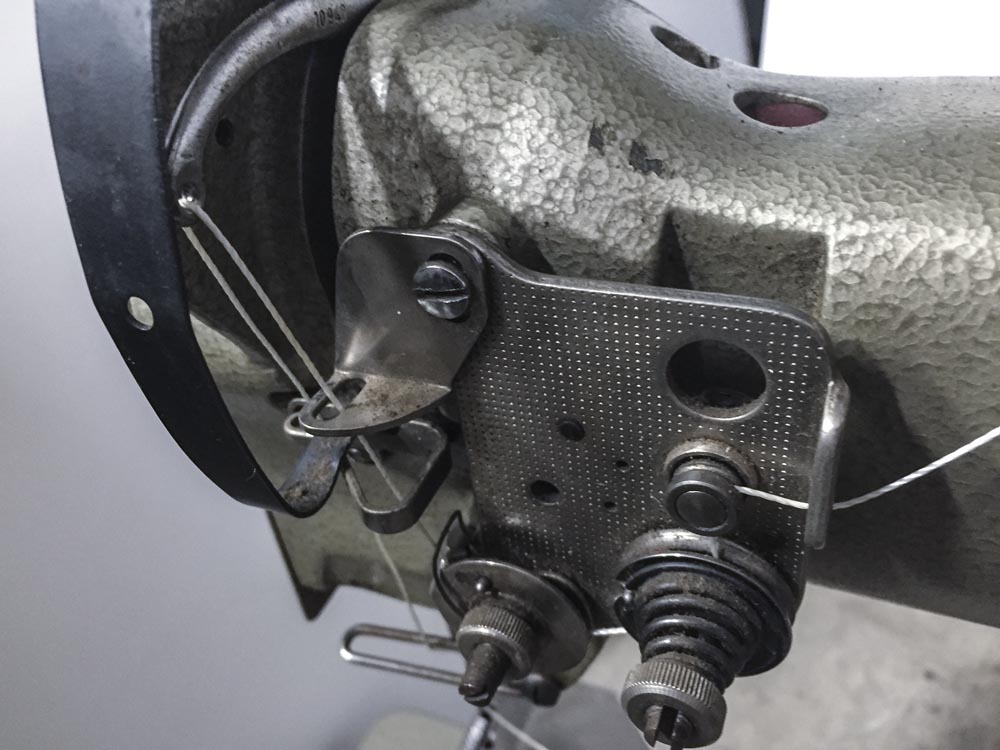
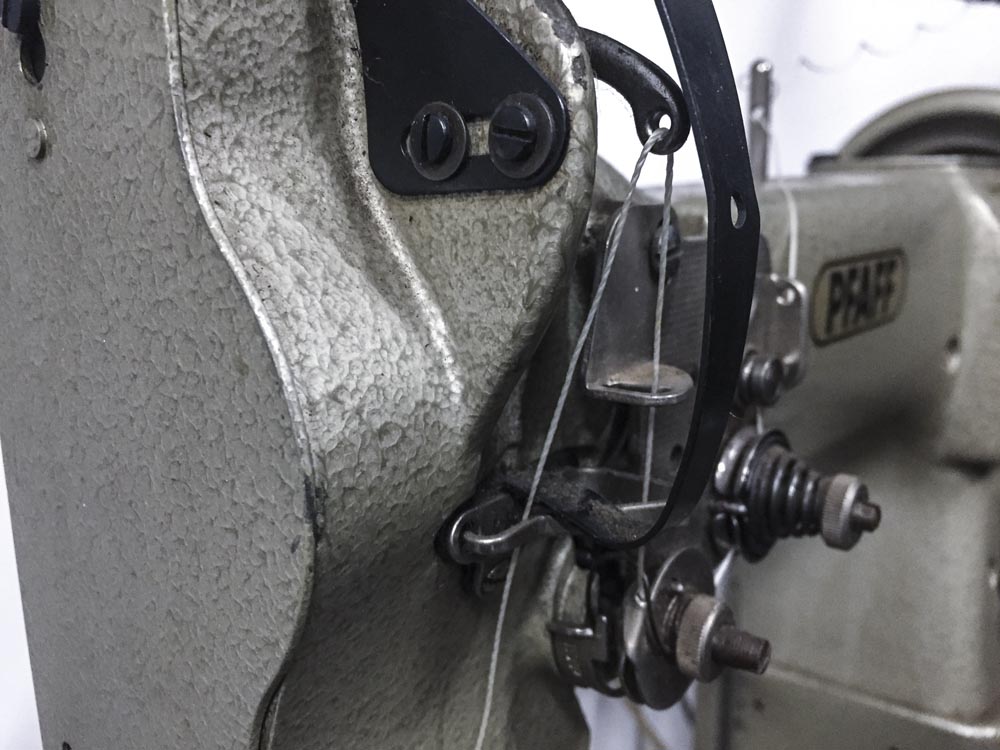
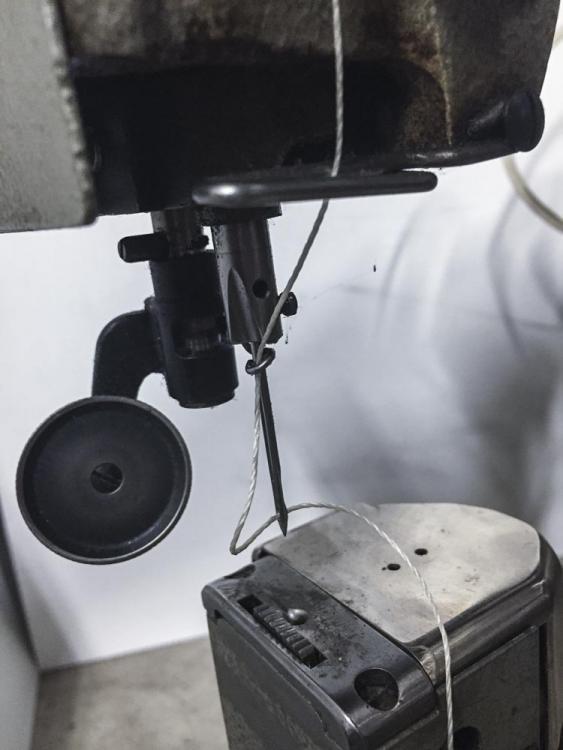
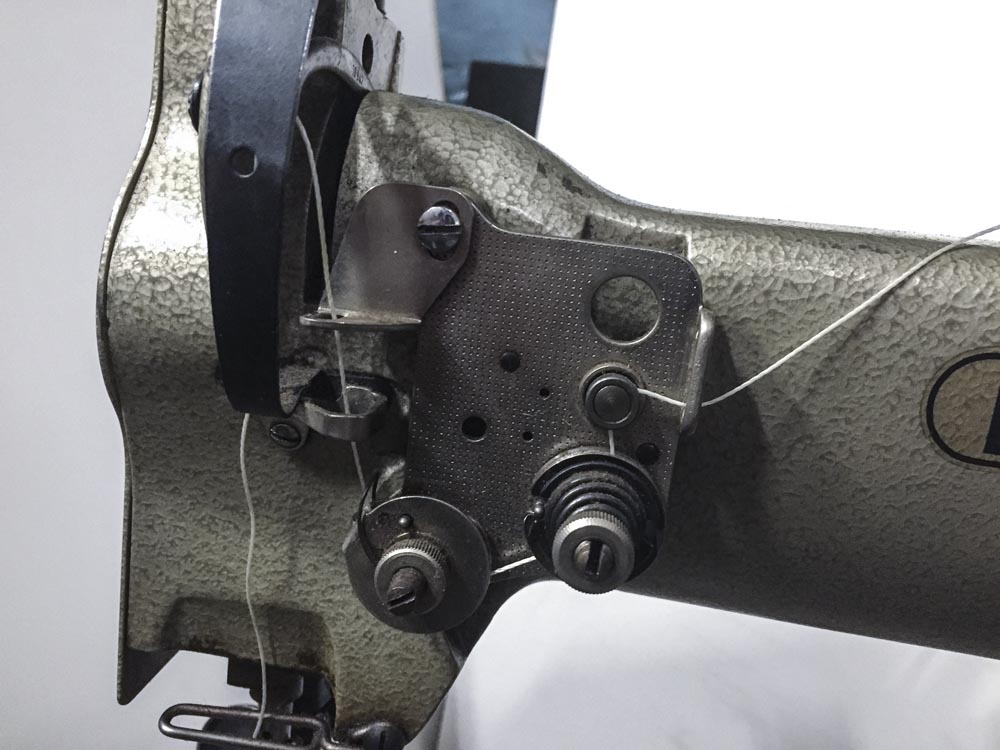
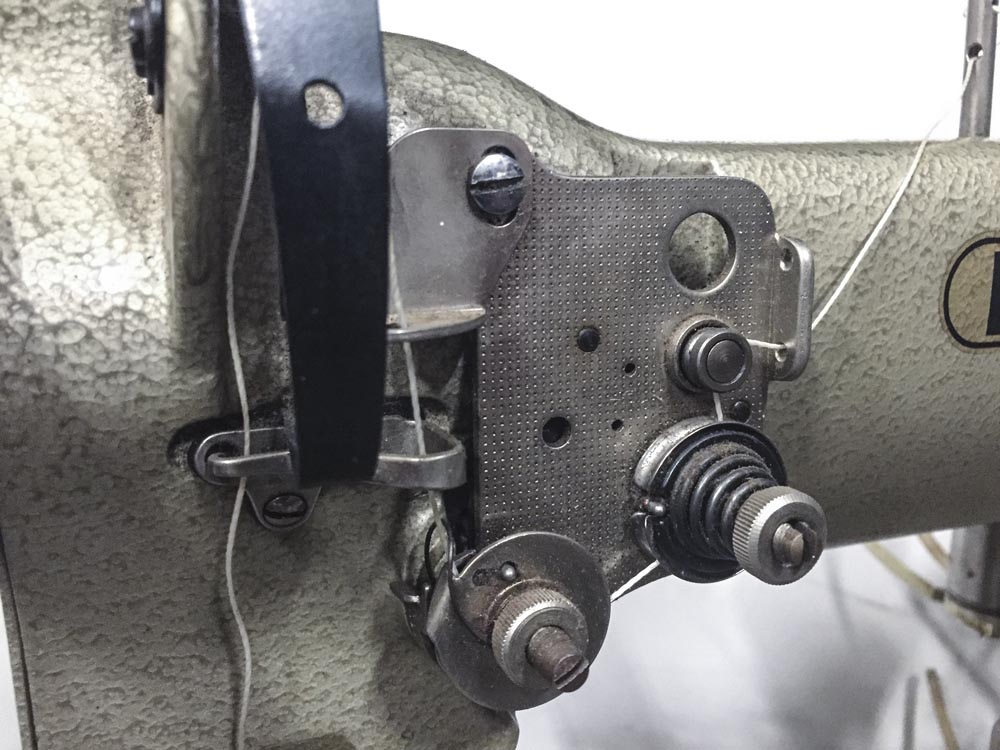
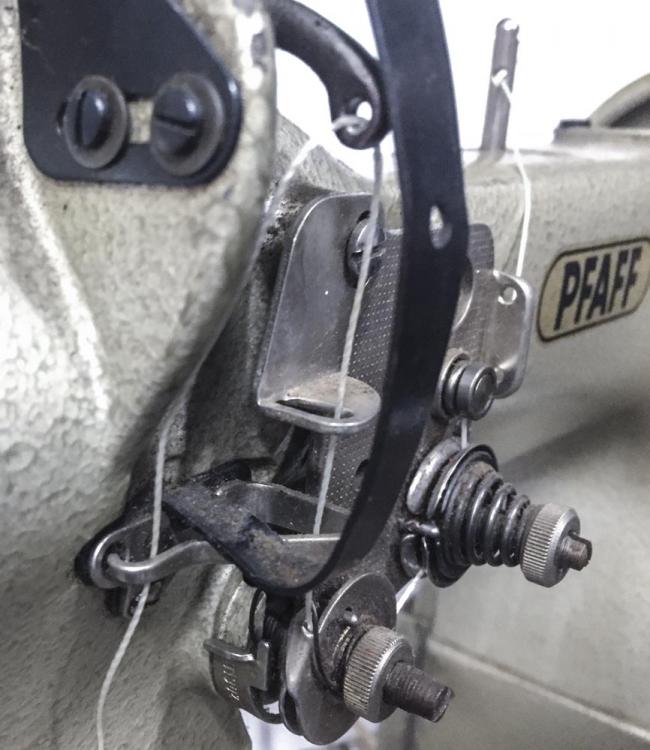
Your top threading path isn't quite right from what I can make out. Here are some pictures of how I would thread my Pfaff 593. I've not yet sewn with my Pfaff 593, but this seems like a good starting point to me. Make sure you actually pull the thread between the tension discs.
-
I'm not sure I follow the logic that a smaller wheel will allow for tighter turns. You can spin a bicycle wheel around the vertical axis on the spot just like you can spin a wheel half that size on the spot. What am I missing?
-
We have a "make your own table" topic with lots of ideas and samples (se link below. I had posted a link to a DXF file I made for my Consew 225 tables: http://uwe.net/CAD/Consew225_v2.dxf Perhaps you can import that CAD file as a starting point to dial in your own dimensions.
-

juki lu 562/563 presser feet lifting height
Uwe replied to mixmkr's topic in Leather Sewing Machines
I'm not sure exactly what the question is. Are you saying your max step height is not high enough to step up to or down from thick seams? In general, the maximum foot lift height is limited by the design of the linkages. If you've already adjusted to maximum foot lift height and it's not enough, there's not much else you can do other than manually moving the material to help step over the seam (lifting the presser feet and moving the material a little bit by hand, then lowering the feet again to continue.) If the foot lift is less than the height of the seam you're trying to step down from, the inner presser foot will not press against the feed dog and as a result the outer presser foot will not lift up from the material. On vintage machines when sewing slowly, I think it's okay to dial in maximum foot lift and just leave it there. I cannot think of any real drawbacks of sewing at max foot lift at slow speeds. As the sewing speed increases the large movement start to cause problems due to "foot slap" (feet hitting feed dog hard and fast) and increased momentum of accelerating and decelerating the feet and linkages as they step. If you need to sew fast, then lower the foot lift height and shorten the stitch length to avoid too much stress and wear on your machine. Some modern machines like the Durkopp Adler M-Type 867 machines allow you to pre-set two different foot lift heights and then quickly switch between two foot lift heights with a simple button press. This allows you to sew fast on a long, flat stretch and when you get to a seam, you can quickly switch to a higher foot lift and slower speed with a button press to step over the seam. This video shows the lift height (and speed) switching at the 4:20 mark: Just for reference, I think this is the video you referred to in the earlier posts. It shows how to adjust foot lift height on a Juki 563 class machine at the 3:14 mark: -
Welcome to LeatherWorker.Net Mattias! I also have a Pfaff 593, but unfortunately I don't have a user manual for it. There is a Pfaff 593 manual available for sale at Manuals.help - it's expensive at 32 Euro. I've not used the manuals.help website before, so I can't say if it's any good. You may be able to use a manual for a very close relative of the machine, like the free Pfaff 591 User Manual to figure out some things like threading. Just compare your machine to the images in the manual. If it looks the same, chances are it works the same. If it looks just a little different, often you can still work things out. The Pfaff 593 Parts Manual is readily available online. It will be useful to determine which part numbers you need to look for. As for the codes on the identification plate, a "D" usually means heavy duty version, "L" stands for leather version, "M" means it has a safety clutch, "N" means its has a 6mm maximum stitch length. The full Pfaff numbering system is explained in the document In Introduction To The Pfaff Numbering System.pdf which I came across to day in my stash of documentation. I'm not sure changing out the roller foot for a regular presser feet is really an option (or a good idea). Check the parts manual to see if there are any other foot options listed. Give the roller foot a try, you may find you really like it. Post some more detail pictures of your machine (backside, too). Often we can figure things out just by looking at a picture.
-
Perhaps it's just semantics, but I am curious why the 78-1 would not be classified as a Top + Needle feed machine? Both top inner foot and needle clearly feed the material. The 31-15 is a bottom-only feed machine, right?
-

Need parts for Singer 153W103 Cylinder Arm
Uwe replied to Ian1783's topic in Leather Sewing Machines
I'm a little bit in the parts business. My price for the four parts (#240500, #240607, #240688, #233614) would be $95 plus $10 shipping to CA. 2-3 weeks for special order from my supplier plus three days priority mail to CA. PM me if you're interested. -
"Consistently Perfect Stitches" are an elusive goal, especially if you're expecting perfection in all situations you may encounter while sewing a hand bag. Occasionally things come together (machine design, adjustments, operator skill, operator mood, material, thread, needles, etc.) and you really do get perfect stitches, but all bets are off if you change even one aspect. If you're expecting one machine to master all sewing challenges involved in making handbags, you will be disappointed. When you look at a luxury handbag with seemingly perfect stitching all around, chances are there were about twenty different machines, very skilled operators and a lot of manual labor involved. Machines that may get you closer to the goal are likely cylinder arm machines designed with unison feed and full feed dog movement. Examples include Juki-LS1341 or Juki LS-2342 , Durkopp Adler 269 or 869, and a few other candidates, including aftermarket copies of those designs.
-
The Durkopp Adler 69 Service Manual will allow you to check if key settings are what they should be. I'm not saying you should adjust it yourself (although many people do). Just about anybody with a cheap caliper and loupe can check if certain settings are within spec. Just compare the settings given in the service manual with your machine. Don't loosen any screws, just compare. Chances are, you will find a few settings that are just not right, most likely in the hook area. Then it's up to you to decide if you want to try and fix it yourself or to have a mechanic do it. If a mechanic does it, give them the service manual and ask that they bring the machine within spec, not just make it sew a few stitches on their bench. The service manual will also allow to check the mechanic's work after you get the machine back.
-
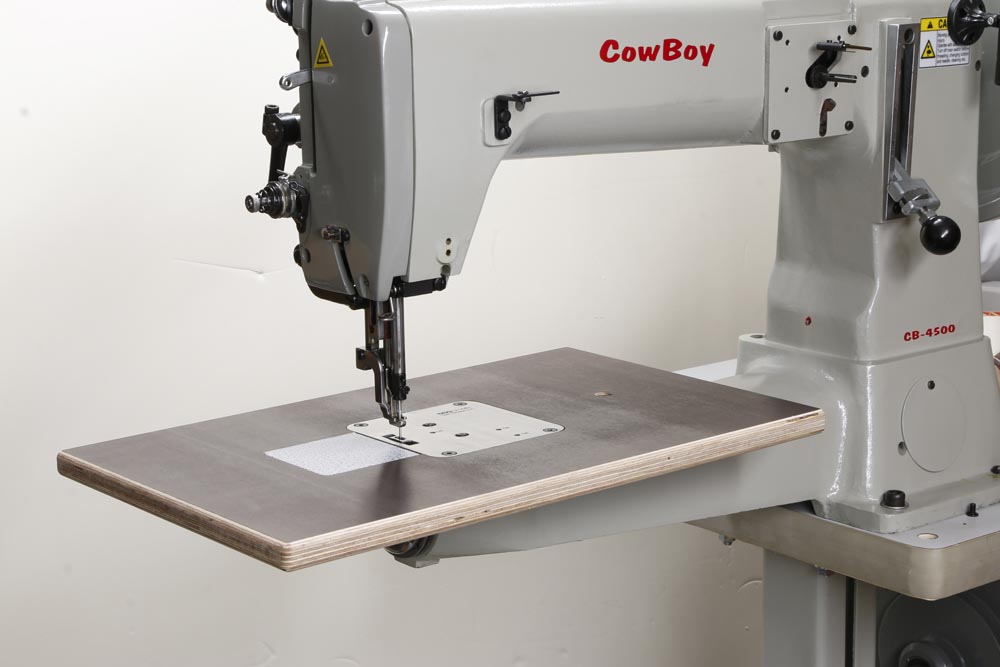
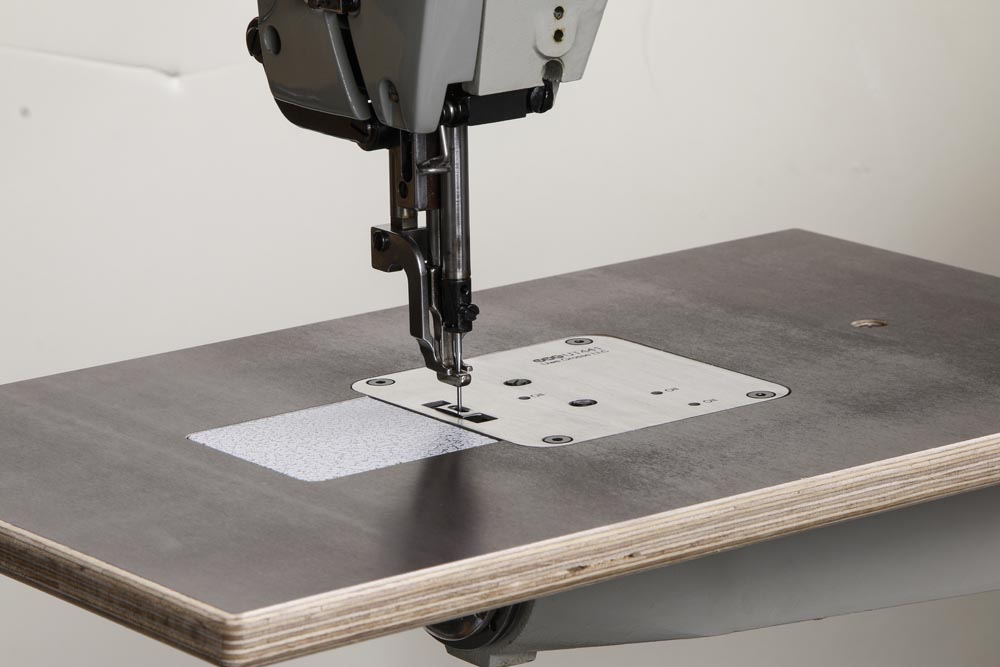
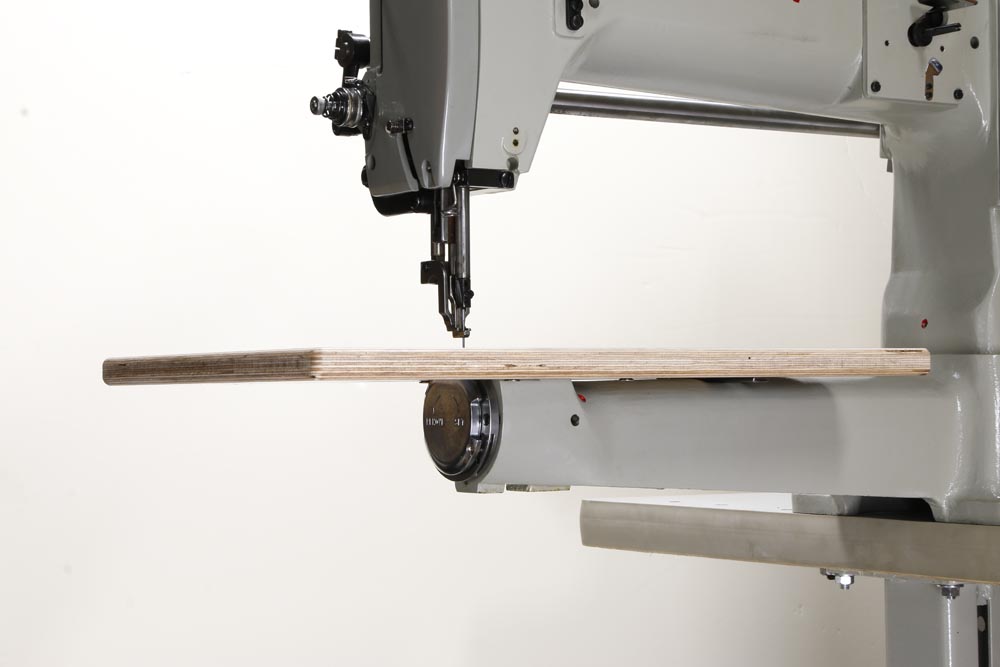
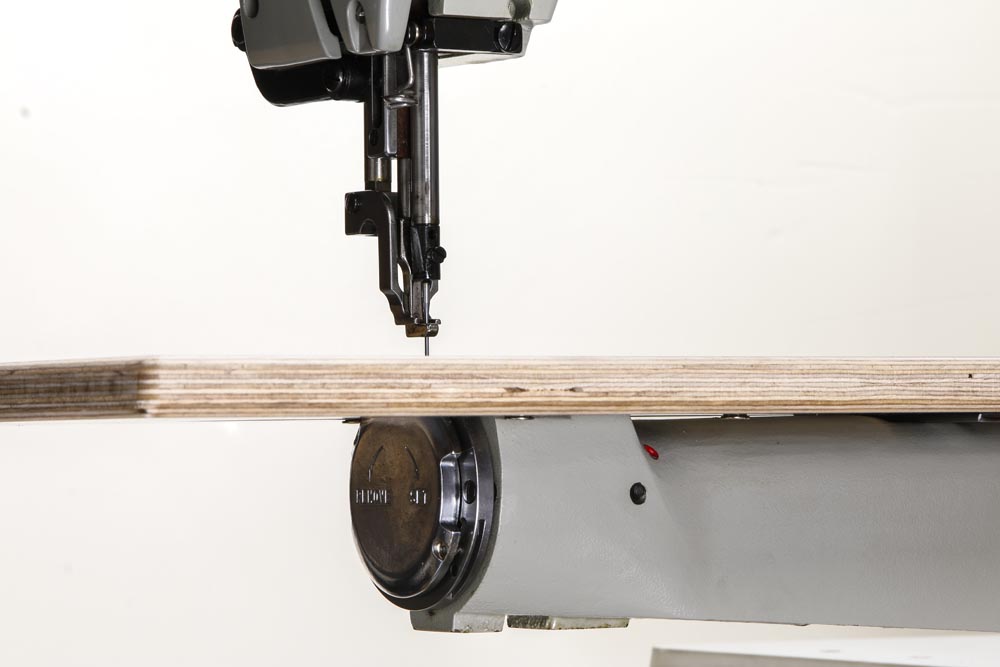
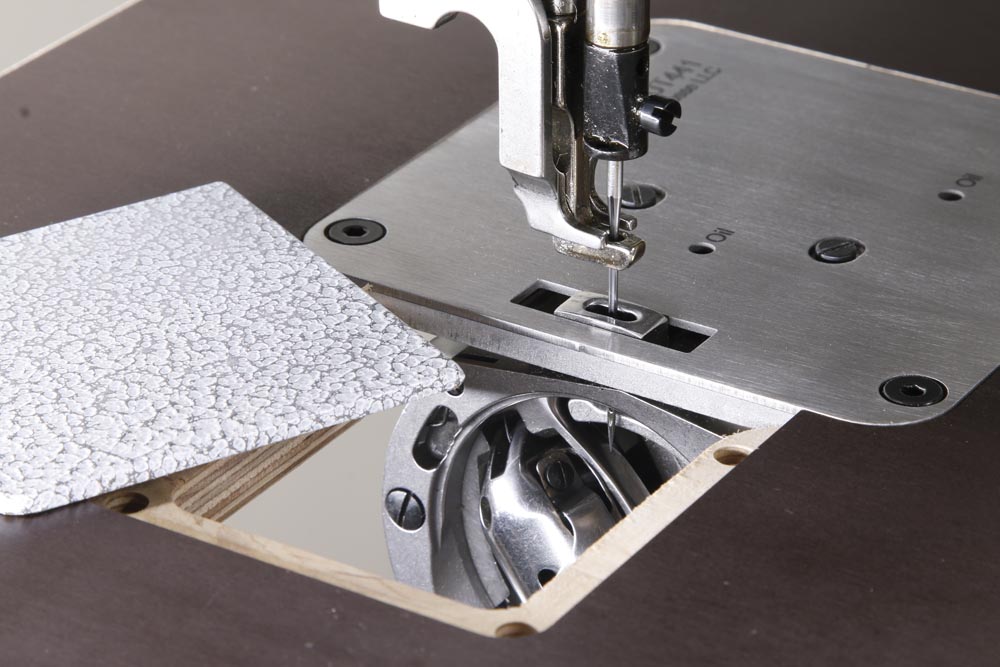
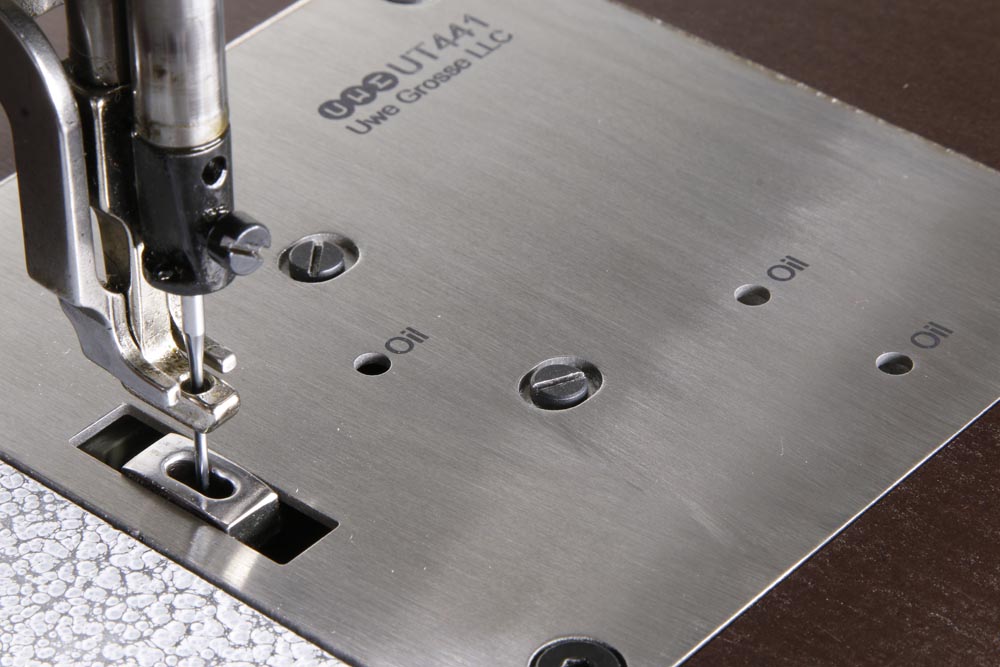
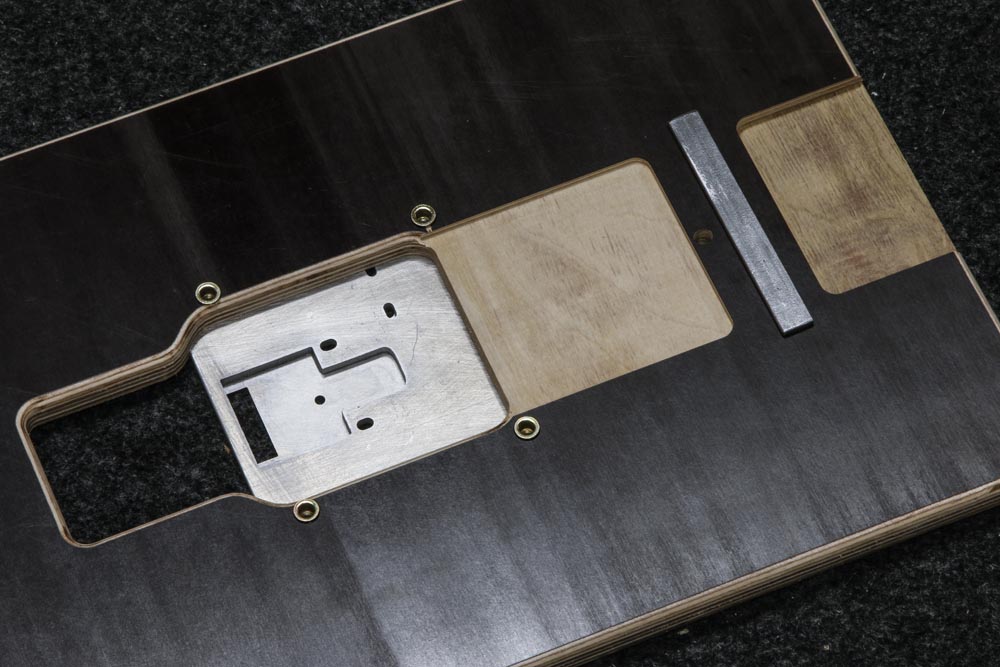
I've been working on a flatbed table attachment for the 441 class of machines for a while now and it's finally far enough along to share a few photos. It's intended as an alternative to the standard table attachment available from the machine vendors. After initial trials I decided to incorporate the throat plate opening into the metal plate to come as close as technically possible to the original flatbed version with a continuous flat surface without gaps. The center metal part is made from a 1/16" stainless steel top plate bonded to a 3/16" aluminum base plate. Small oil access holes in the metal plate allow oiling the machine without having to remove the board. My Cowboy 4500 served as the testbed for development and test fittings. The flatbed attachment should also fit the original Juki TSC-441, Cobra Class 4, and various other copies of the Juki TSC-441 design with a standard length arm. This post is about sharing the design and concept of this prototype flatbed attachment. It'll put a separate post in the marketplace section when the production version of the flatbed attachment is available for sale in mid-January 2017 ($159)
-

Singer 40" CYLINDER ARM NEEDLE FEED INDUSTRIAL SEWING MACHINE
Uwe replied to torrbuidhe's topic in Leather Sewing Machines
Very interesting machine! That looks like a really loooooong extension of the original design, whatever it was. The U-channel welded on top of the head for reinforcement suggests wicked lever forces are at play. That welded custom table stand is very nicely done, I think.


