-
Posts
2,220 -
Joined
-
Last visited
Content Type
Profiles
Forums
Events
Blogs
Gallery
Everything posted by Uwe
-
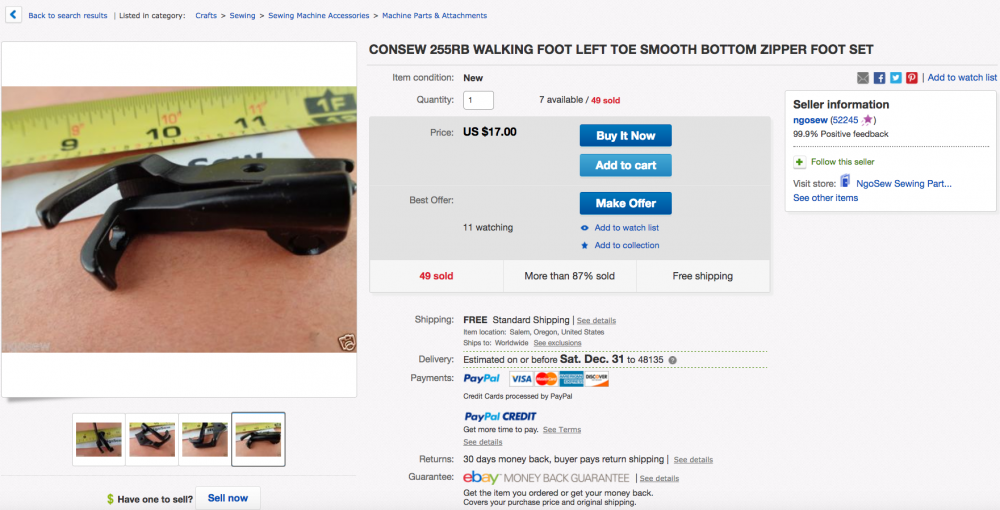
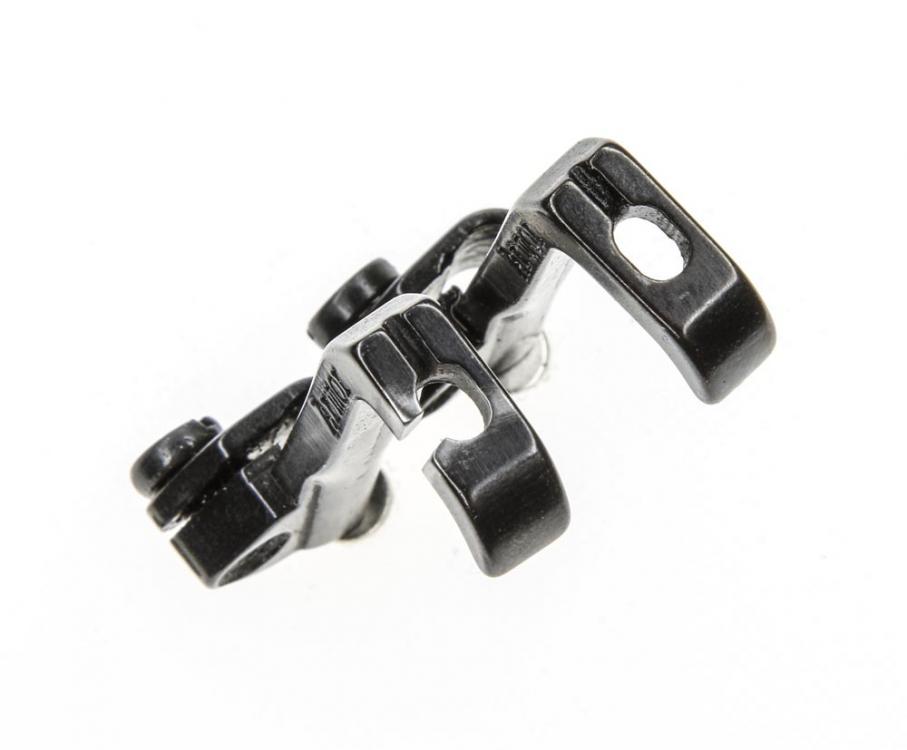
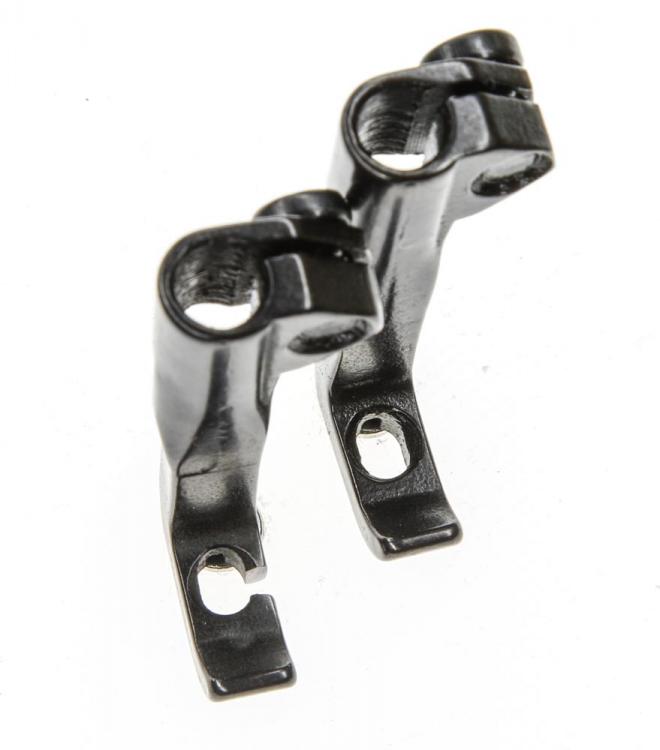
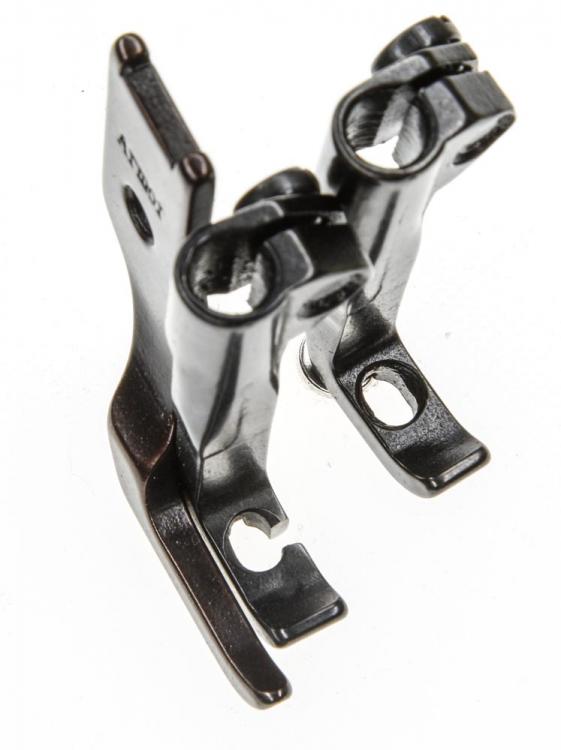
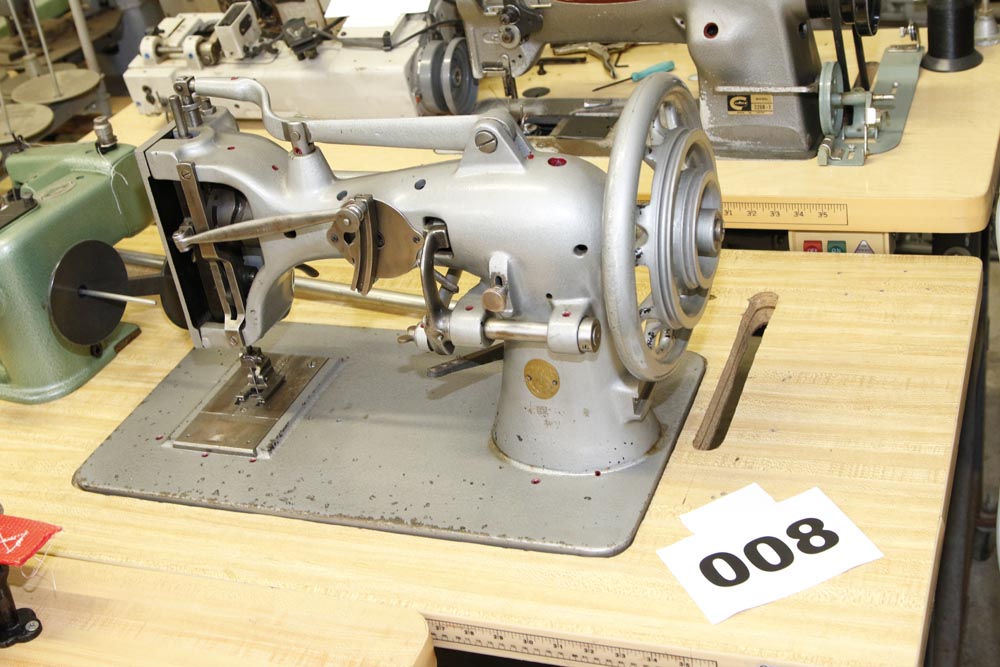
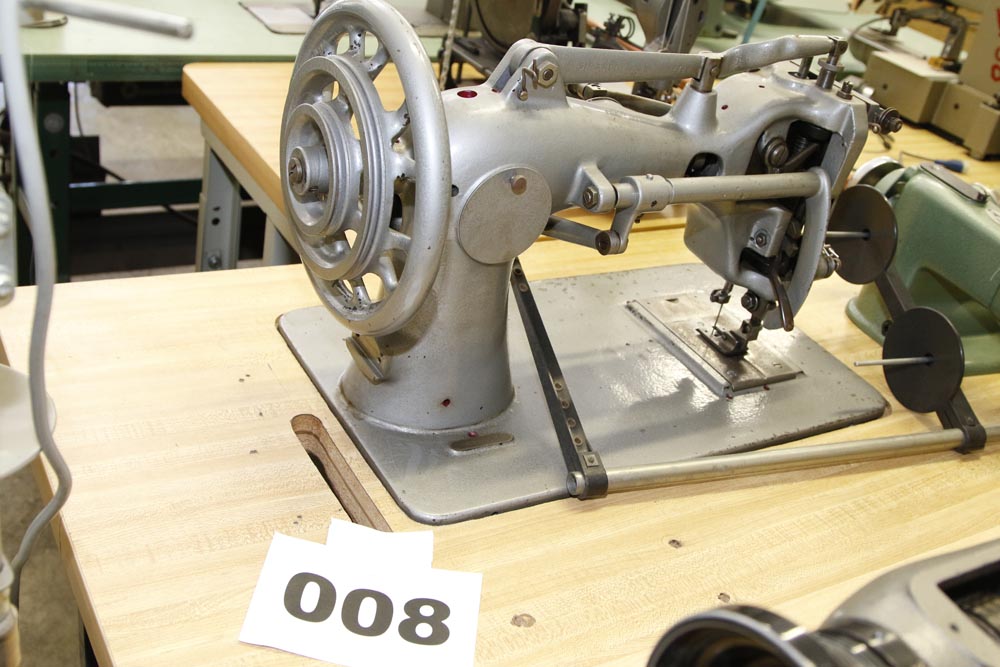
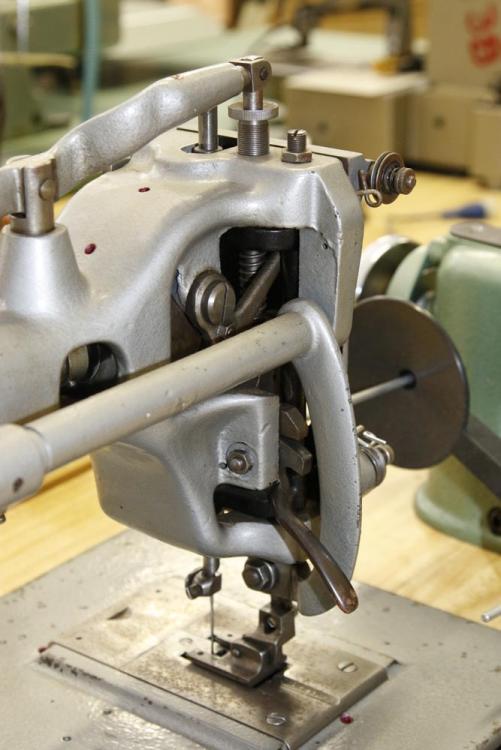
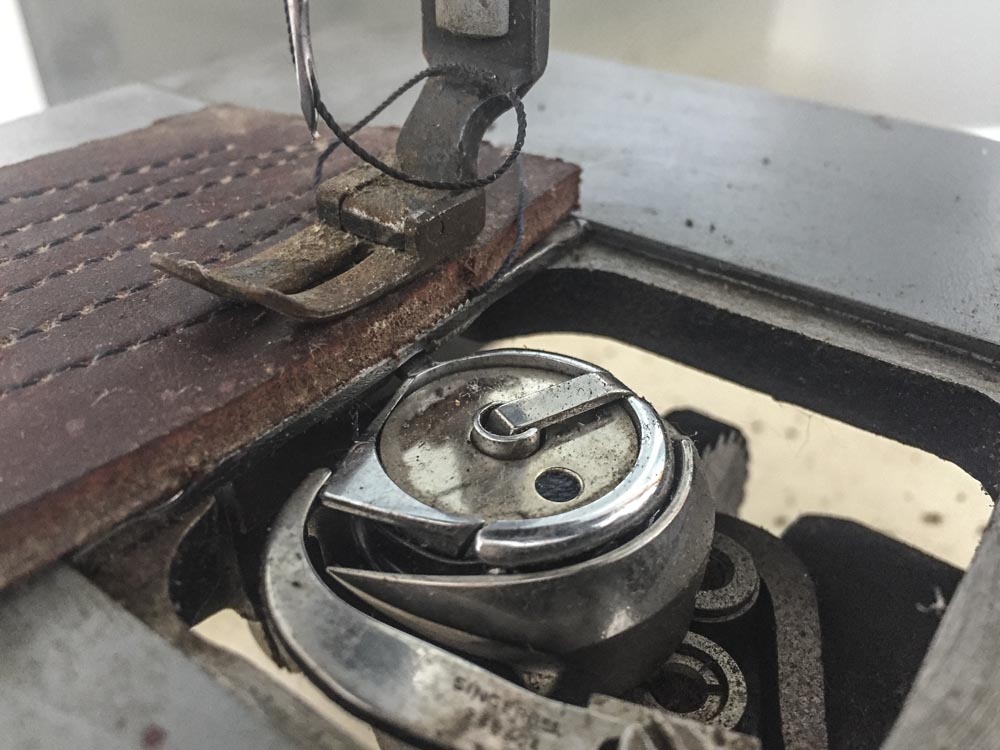
The Pfaff 145/545/1245 style feet will not fit the Juki 562/563 or other Singer 111 class machines. They look similar, but the inner presser bar thickness and the needle hole offset are different. If you can't find suitable ready-made feet, put a Dremel tool and a polishing wheel on your Christmas wish list. A simple metal saw blade and abrasive cloth will do the trick, too. I had ordered some smooth, left-toed feet from NGO Sew on Ebay for under $20 some time ago. They're cheap, nice and good candidates for modifications like cutting a slot. If you order two sets you won't feel super guilty if you mess one up. The actual modification took all of three minutes. Finding the feet, photographing them and typing this post took 30 minutes.
-

LU562/563 Class stitch length (question for Uwe?)
Uwe replied to mixmkr's topic in Leather Sewing Machines
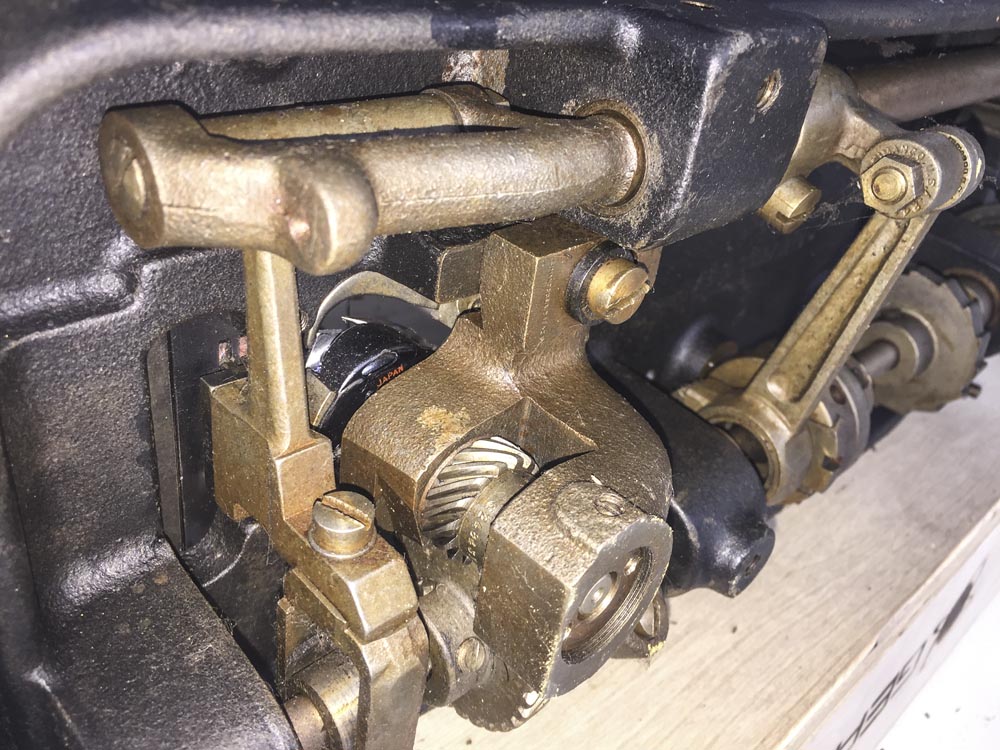
I think the lower limiting bracket is indeed redundant on the Juki LU-562/563 models and is of little use to the hobbyist/craft user. From what I have seen, there's nothing the lower limiting bracket can do, that you cannot also do with the upper limiting adjustments. The Juki design actually has three ways to set stitch length: the excenter that creates the feed motion (with the clunky press-a-button-then-turn-the-hand-wheel adjustment), the reverse limiting bracket underneath, and the upper reverse limiting adjustments. You could, theoretically, set the excenter to generate max feed motion motion all the time and then regulate stitch length by holding the reverse lever in a precise position. Other designs (e.g. Consew 206RB5) do exactly that, the excenter always produces full feed movement, and that full movement is then regulated by adjusting the reverse lever position via the stitch length dial mechanism (on those designs you can see the reverse lever move up and down as you adjust the stitch length.) Many industrial machines have features designed for a factory setting with a few trained mechanics supporting dozens or hundreds of operators who are trained to sew, but not trained to adjust the machine they operate. The main purpose for the secondary limit device on the underside is likely to give the mechanic in the factory the option to limit the range of stitch length adjustments that the operator has access to (after removing the button that holds the excenter). Factories often are very controlled environments and only the mechanic is allowed to adjust the machine. Certain adjustments are locked out somehow (e.g remove a button or prevent the machine from being tilted back.) The mechanic may set up a machine to perform one specific sewing operation perfectly with a special feed dog and throat plate that have a smaller range of motion than what the machine is capable of. The mechanic then doesn't want the operator of the machine to accidentally/maliciously dial in a stitch length that is too long and damage the special parts (e.g feed dog hitting the front or back of the smaller throat plate opening). In that example it makes sense to limit the stitch length adjustment with the bracket underneath and then allow the operator only to make the stitch length shorter, but not longer than pre-set, locked-in limits underneath. The hobbyist or craft shop user is frequently both mechanic and operator. In some cases that full access to all adjustments amounts to a loaded gun pointing at their foot. When adjusting a machine to operate at its design limit or slightly beyond, it's always wise to very carefully check movements and range of motions with slow, belt-off, hand-turned stitches to make sure nothing binds or touches that shouldn't. Crane your neck and use a small dental mirror to see parts of the machine not easily visible from the normal vantage point. While sewing, pay close attention to how the machine sounds, too. The moment the machine starts making strange noises, stop and find out why. Sewing at full speed while blasting death metal music may shorten the sewing machine's life expectancy. I contemplated showing how to purposely unbalance the reverse mechanism to maximize forward stitch length in the video, but visions of irate folks blaming me for luring them into breaking their machines made me leave that part out. On my machine I could unbalance the reverse mechanism so much that it was touching the casting on the underside in a very hard to see spot, making the reverse lever bob up and down while sewing. If you're a careful, methodical person, then I think it's fine to adjust your machine close to the limits like you did. -
Welcome to LeatherWorker.Net, Chen! I can't help you with finding a used Durkopp Adler 205-64 in your corner of the world, sorry. Durkopp Adler stopped producing the 205 class of machines a few years ago. Several aftermarket copies are still available new (for example Cowboy/HighTex 7205W64). The 205-64 is a bottom+needle feed machine. Most folks are looking for the 205-370 version, which is a bottom+needle+top, or unison feed machine. Documentation is available online: Durkopp Adler 205 brochure which shows the various models and subclasses. Durkopp Adler 205 Service Manual Durkopp Adler 205-64 Parts Manual Previous discussions on Leatherworker.net about the Adler 205-64 machines can be found by doing customized Google search like "site:leatherworker.net adler 205-64"
-

pressor foot mods. Post any that you have done
Uwe replied to Gregspitz's topic in Leather Sewing Machines
I made an in-line walking foot for a Pfaff 545 a few weeks ago: -
Without the control box, this motor will do an excellent job of holding the door open. It's unlikely worth the effort to try and repurpose it for anything else.
- 6 replies
-
- juki ac motor
- acnp-moo2
-
(and 1 more)
Tagged with:
-

First Try at Japanning On a Restoration Project
Uwe replied to Evo160K's topic in Leather Sewing Machines
Great find! Do you have a link to the original Singer brochure at the Smithsonian? I'd like to read the rest of that brochure. -
Yes, the Adler 67-373 is a walking foot machine, and a very nice one at that. The "GK" means safety clutch, or hook clutch (Greiferkupplung in German). I'm not sure how the "GA" is different, if at all. The Adler 67 Class Brochure shows the different versions in that class. I had two of these, one with the original Adler sticker and another with a Chandler sticker some time ago and made a few videos with the Chandler. Leaflets_Adler_Class_67_part2.pdf
-
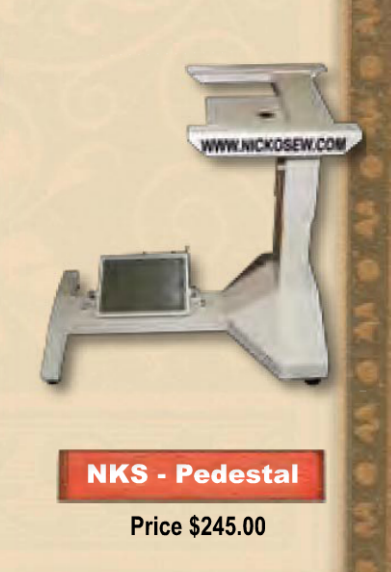
For North American folks, that stand is listed in the Nick-O-Sew Leather Sewing Machine Catalog on page 24. It's been on my short list of things to try for some time now. I'll get around to it eventually.
-

Help with setting up Mitsubishi servo motor
Uwe replied to Mariohanel's topic in Leather Sewing Machines
Is that name a secret? If not, this is great place to share the info. -
Use an online picture resizer service like http://www.PicResize.com to get image file resized down to something that will upload here. You can upload multiple files at the same time: I recommend using a custom size and setting the resize width to 1000 pixels.
-
I don't really know a whole lot about my monster zig-zag Singers other than how insanely heavy they are and that I survived moving them in 100˚F weather. Both do a plain two-point zig-zag as far as I can tell just by turning them over. Gregg's Adler machine is what you really need, you just haven't come to terms with it yet .
-
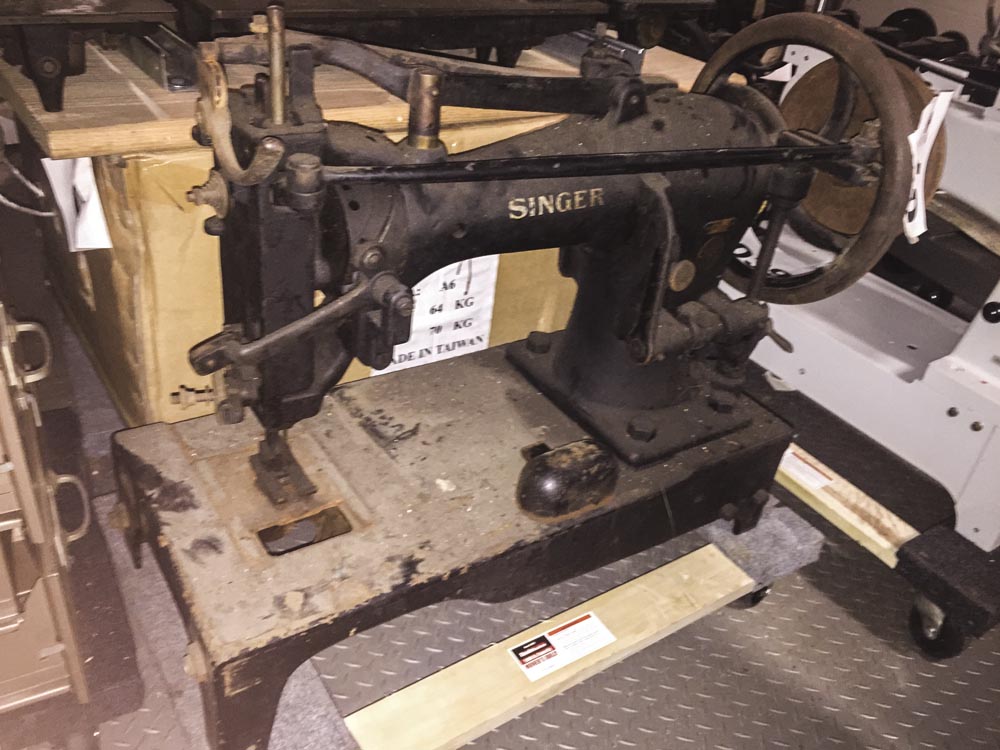
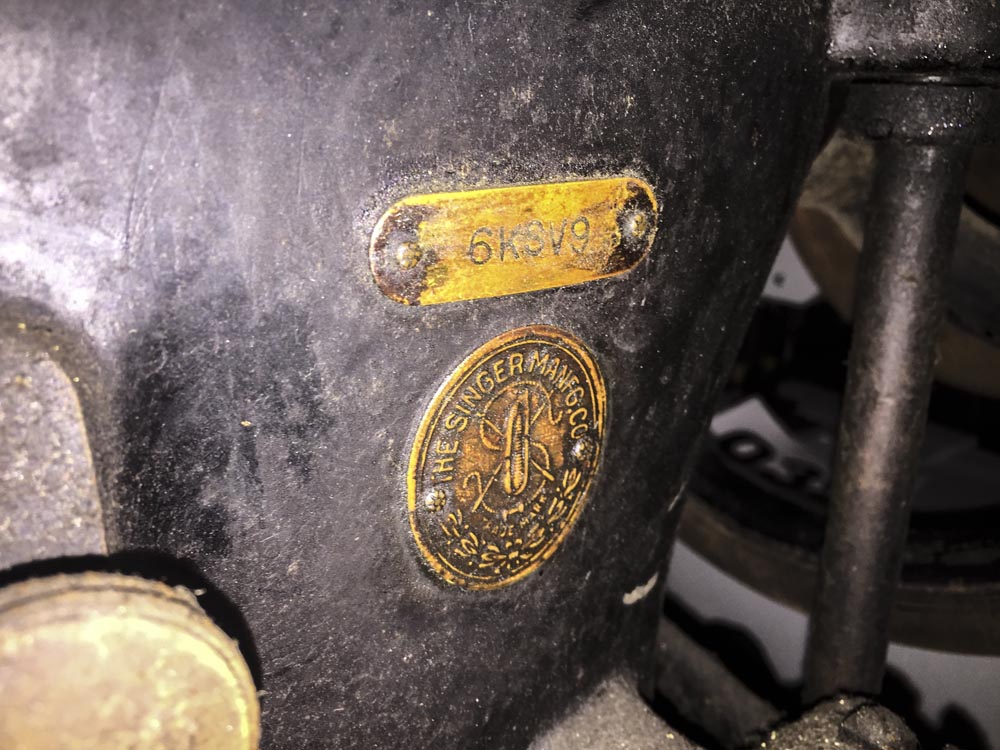
Industrial zig-zag is not going to be cheap, I'm afraid. Long-arm industrial zig-zag is even more expensive. If you're in the mood for serious vintage iron, I have a few zig-zag machines that qualify as a step up from your Singer 107w1. I'm not sure these would actually do well with sails, they seem more like the elephant-carrying harness type. One is a Singer 47K with a HUGE hook and bobbin. The other is a Singer 6KSV9 (by far the most heavy duty zig-zag I've ever seen).
-
I'd recommend checking with Global Industrial Sewing machines - they're located in Haarlem, Netherlands. They carry new Global brand machines (http://www.globalsew.com/en/cylinderarm-walkingfoot.htm) and also lots of used machines. Global used to own the Minerva factory in the Czech Republic, which Durkopp Adler bought from Global. Certain Global machines come off the same Minerva production lines as the Durkopp Adler versions.
-

Is a 111w151 OK for stitching dress belts?
Uwe replied to leatherator's topic in Leather Sewing Machines
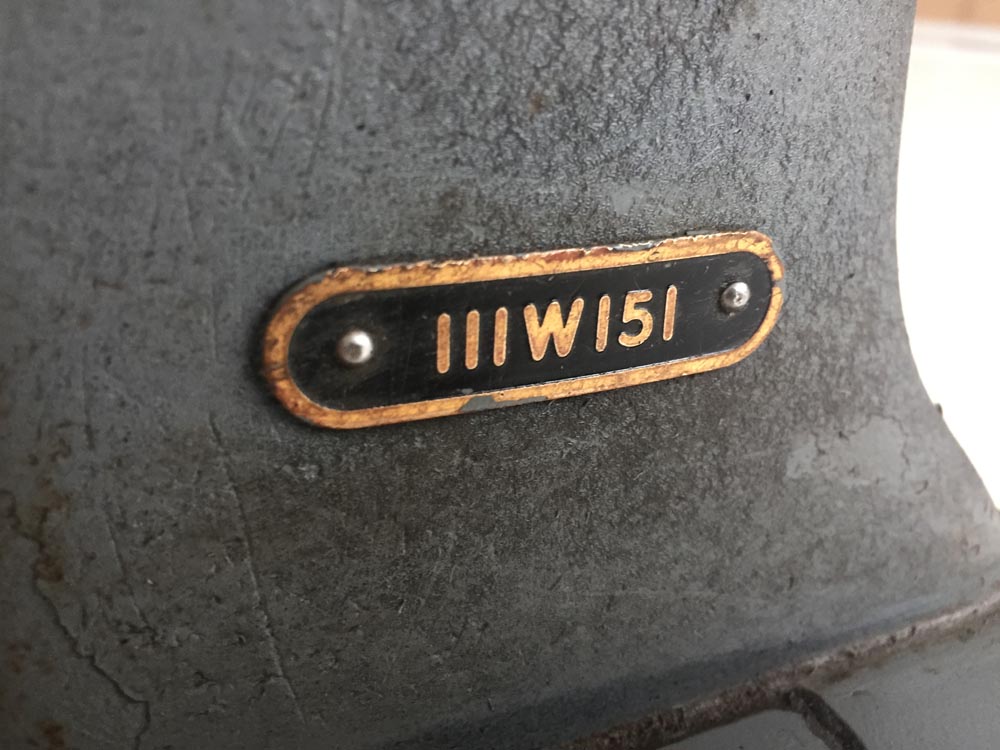
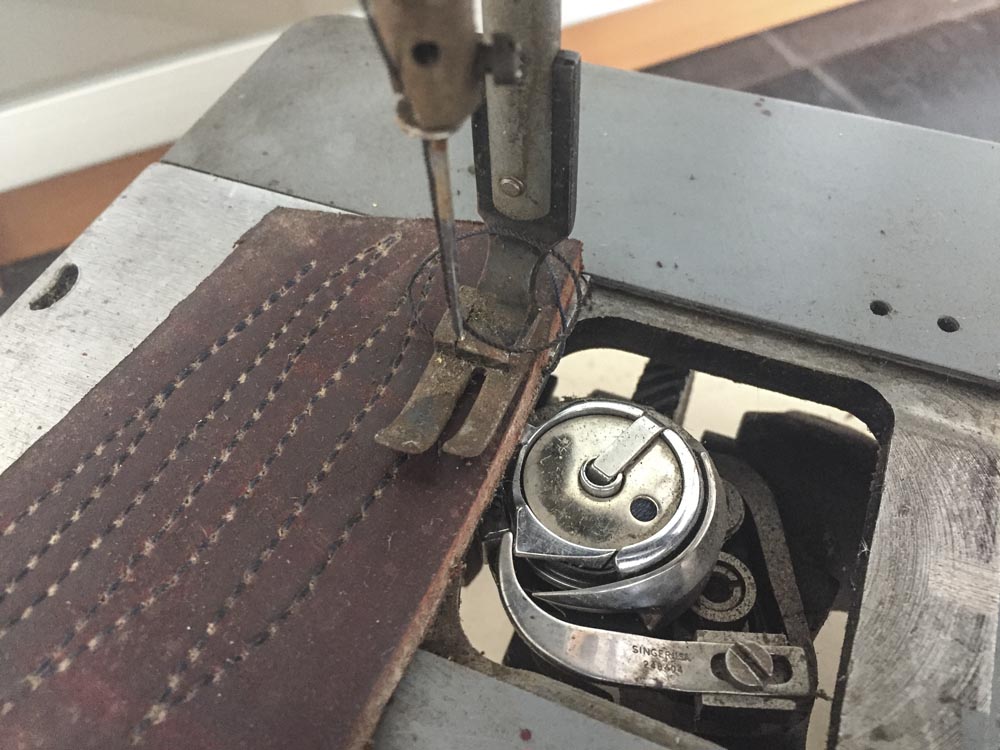
I just took a closer look at one of my Singer 111W151 machines. This machine was in storage and had been sewn to a 4 mm thick (10 oz) piece of veg tan leather before I got it. Bottom+needle feed are a step up from the usual straight stitch garment type machines that only use bottom feed. The hook and the underside of the machine look identical to my 111W155 machines with no apparent difference in strength of the parts in the mechanism. Slowing things down and increasing torque with smaller motor pulleys, larger hand wheel, a servo motor and/or speed reducer pulley should offer the same benefits as with other machines. The top presser foot does not move at all while stitching, it just glides on top of the material. The needle and the feed dog move the material. The feed dog on my machine has teeth, which may leave marks on the underside. The presser foot just needs to be polished well to slide easily and not leave marks. Whether or not it will do exactly what you have in mind, I don't know. I've not sewn with my 111W151 - it's needs a good CLA before I put her to work. But I have a feeling the Singer 111W151 is not a bad candidate for sewing dress belts. -
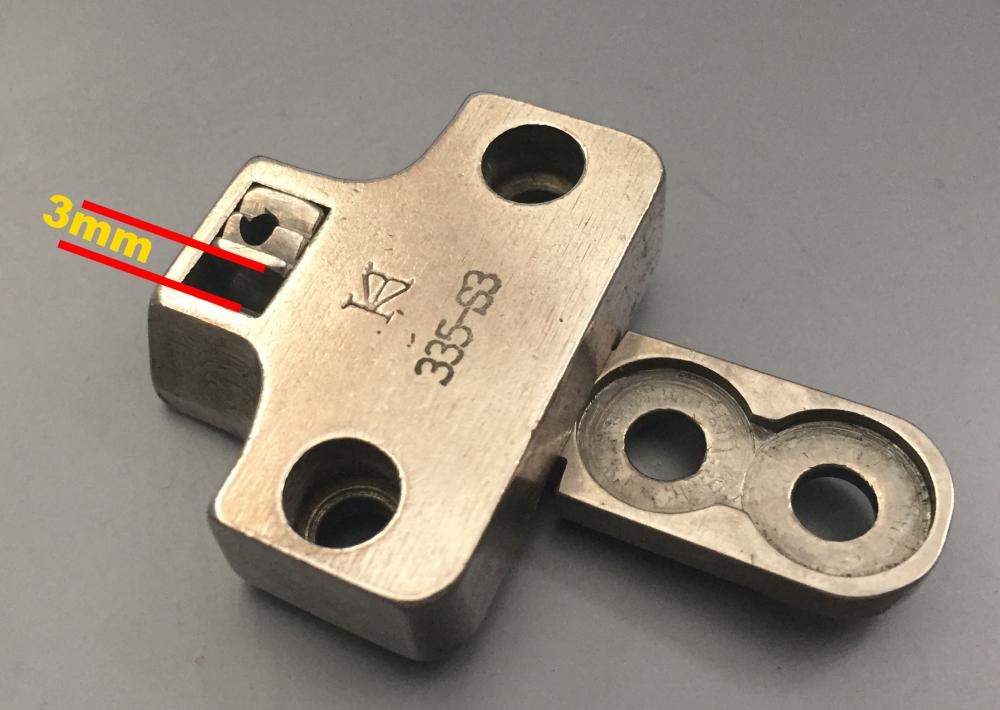
Your machine may, at some point, have been set up for small operations using a special throat plate with a small opening and a very small feed dog like this: This particular gauge set allows a maximum stitch length of about 3mm. If you want to prevent the operator from accidentally dialing in a larger stitch length that would damage parts, it makes sense to install a special cover plate that limits the movement of the stitch length lever.
-
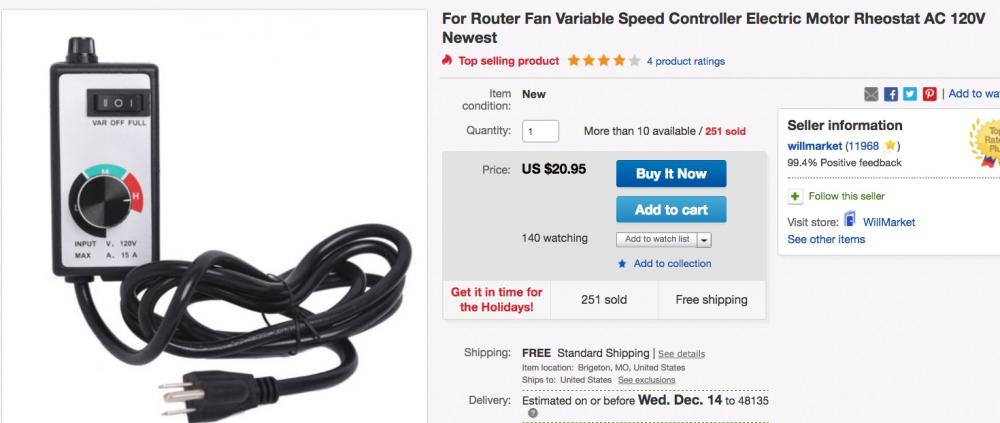
I doubt a regular dimmer switch will work. There are special motor speed controllers for motorized shop tools like routers and portable fans, etc. These *may* work to slow down a clutch motor, but you'll very likely also loose torque.
-
Both machines are capable of synchronized binder operations. The Cowboy CB-341(copy of Juki LS-341, same as Techsew 2750) is bit hard to find and I'm not sure if the necessary binding parts (swivel arm, feed dog, throat plate, etc.) are readily available for the 341 type machines. The two machines you're considering have very different cylinder arm designs, each with their own advantages. The thin cylinder arm of the Techsew 2800 great if you need to get into tight spots and can live with a few compromises. The thick cylinder arm design of the 341 allows for beefier parts, bigger bobbin, thicker thread handling, improved feed dog movement, etc. The video below shows binding operation on three different machine designs, two of which are the ones you're considering. The first machine is a Adler 205 - a very large and heavy duty machine. The second machine (1:30 mark) is an Adler 269 clone with thick arm design very much like the Cowboy 341 for medium/heavy duty. The third machine (starting at 2:45) is an Adler 69 that has the same arm design as the Techsew 2800( also Pfaff 335) for light to medium duty.
-

Thread unravels on old Pfaff 145-6-40D
Uwe replied to Davidstryingtosew's topic in Leather Sewing Machines
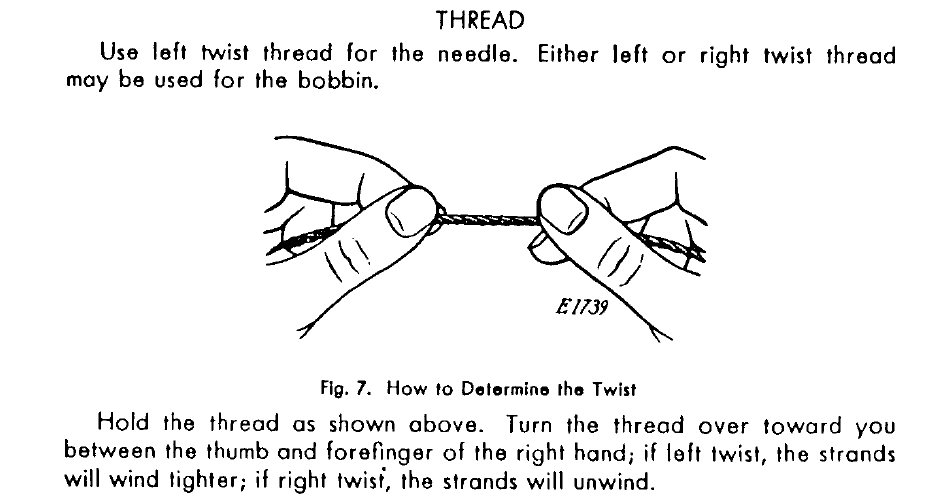
Also check for burrs and other rough edges (needle, feed dog, hook etc.) that might fray the thread, especially if you installed new presser feet or feed dog recently. A new needle is always a good idea when you have thread trouble, perhaps one size up. Make sure the thread slides easily through the eye of the needle. If you found the thread in a bargain bin, check for proper twist as shown in EVERY Singer user manual: Turn a few stitches over by hand and watch the thread up close. Often you can see where things go wrong when you do slow stitches. That thread check spring should move freely and rest on the edge of the adjusting blade. Perhaps the thumb screw is too tight or front of the check the spring is caught under it? This shouldn't fray the thread but it's good to fix it anyways. -
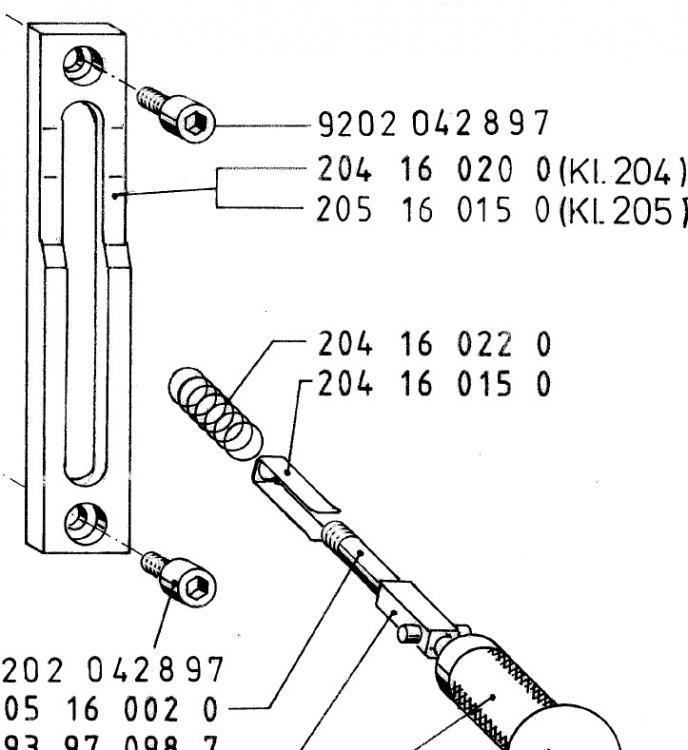
Thanks for the detailed write up on this topic Dave! I've inspected the various reverse mechanisms on my machines on occasion. The RB1 and RB2 mechanism is similar to the one on the Durkopp Adler 204/205 machines (also Pfaff 145/545/1245). On the DA machines the (plastic) stitch regulator cover plate is not flat but has built-in steps that compensate for asymmetries in the design. One alternative to grinding down the high lobe on the non-adjustable RB designs is to build up (make higher) the low lobe, perhaps by attaching (glue/solder) a very thin metal strip/shim. This approach might reduce overall maximum stitch length but might be easier to reverse.
-
There are height adjustable sewing tables available that adjust in 5 seconds instead of 30 minutes, but most folks on this continent will not even consider a table that costs more than $200. Kessler is a German manufacturer that makes high-end height adjustable tables, some of them motorized. Prices likely run well over $1000 for the motorized versions, available from vendors like MJ Foley. I've been tempted to buy certain used machines (e.g this Durkopp Adler 1183i) simply because they are mounted in a motorised table - but I don't have one yet. You can get a very nice, versatile cylinder arm sewing machine with a good flatbed attachment in a motorized table that will serve a wide range of projects. But that fancy setup will likely cost the same if not more than two basic machines, one flatbed and one cylinder arm, each mounted in cheap, fixed-height tables. If you love a good IKEA hack, consider the nice, motorized IKEA BEKANT table ($529). If you have the room, get two separate machines. If you live in a fancy, microscopic New York City style apartment, go for the nice cylinder arm with a worthy flatbed attachment on a motorized table solution. Nearly all serious sewers end up with more than one machine, no matter how much they or their spouses initially protest.
- 11 replies
-
- cylinder machine
- compound feed
-
(and 2 more)
Tagged with:
-

First Try at Japanning On a Restoration Project
Uwe replied to Evo160K's topic in Leather Sewing Machines
I like the glossy look and I think it's quite accurate. The 1934 documentary "Birth of a sewing Machine" shows, among many other things, just how glossy these machines were around the 17:11 mark when the lady applies the decals. The japanned paint bath dip starts a little earlier at the 15:08 mark. I too am super curious to know the details of your paint process. I've been contemplating power-coating some parts in glossy black to see how it turns out. -
I just came across this model number cross reference (snapshot from a Superior Sewing Machines PDF file) which supports a tight relationship between the Nakajima and Juki, as TinkerTailor said. The model numbers don't always line up 1:1, though.
-
My videos on the thread snapping topic (before and after, belt adjustment ) were related to vertical axis hook machines with a timing belt (the TacSew T1563 and Consew 225 in my case). Gear driven horizontal axis hook designs are different animals. Mixing and matching adjustment rules may have unintended results. I don't have an RB4 machine and I don't have an RB4 adjustment manual, so I can't really investigate. One quick check you can do is to make sure that the thread take-up lever is in its lowest position exactly when the thread wraps around the very bottom (far point) of the bobbin case, thus providing the most thread slack exactly when it's needed. I believe that's kind of a universal rule regardless of the machine's hook axis orientation. If that's the case and the thread still snaps around the bobbin case, something else is amiss (or a mess). If the thread take-up lever is NOT in the bottom-most position when the thread wraps around the far side of the bobbin, we need to figure out why and how to adjust it. A close-up video snippet would be great if you have the option.
-
In the Pfaff universe you want to look for standard bearers Pfaff 145, 545, or 1245 for doing leather and upholstery. Those are successive generations of highly regarded triple (unison) feed industrial sewing machine design that will go places where domestic machines (including domestic Pfaffs) fear to tread. Original Pfaff parts can be expensive, but many aftermarket parts are available for reasonable prices. Alternatively, you can occasionally find a nice vintage Pfaff 130 for cheap. The Pfaff 130 is a bottom-only feed (not quite industrial, but no plastic gears either) machine with zig-zag that will probably sew many garment leather tasks just fine. Some people mount them in industrial tables with big motors and the machines live to tell the tale.
-
If it's a Singer 337 like in the video below I don't think it'll be happy sewing two layers of 10oz. leather. It's a nice domestic garment sewing machine perhaps, but not a leather sewing machine.


