Uwe
-
Posts
2,220 -
Joined
-
Last visited
Content Type
Profiles
Forums
Events
Blogs
Gallery
Everything posted by Uwe
-
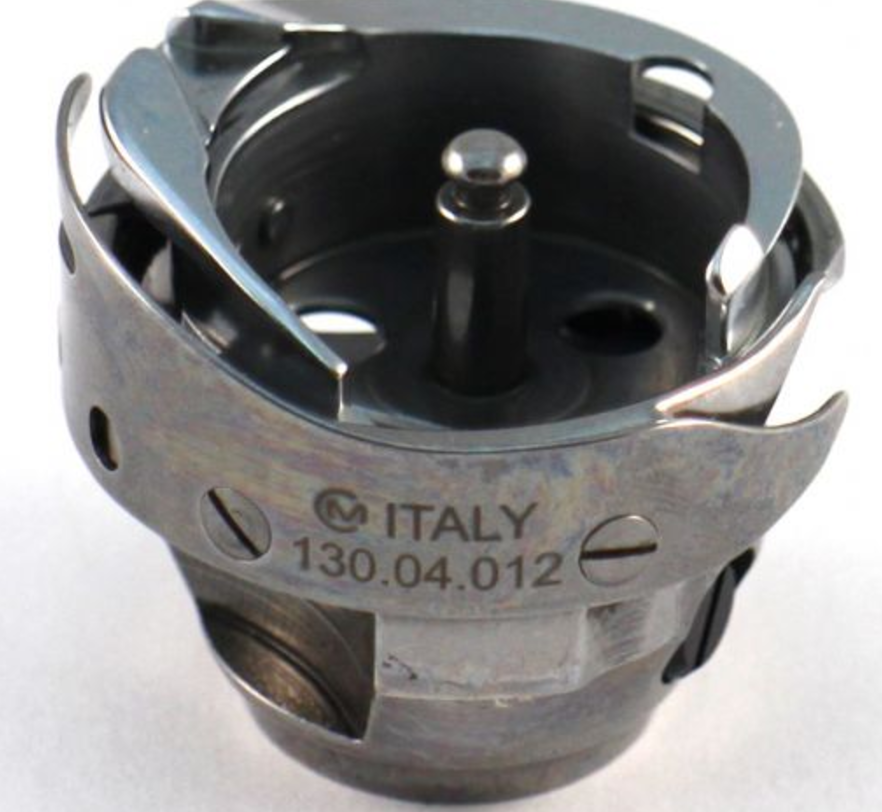
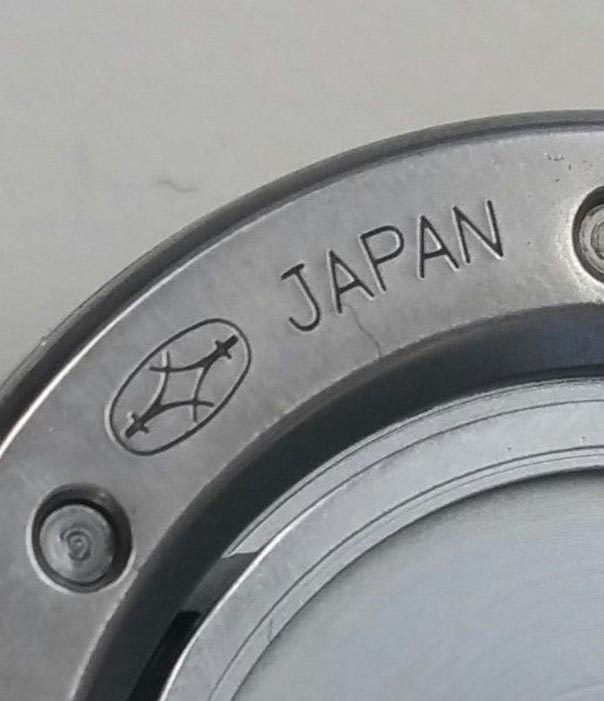
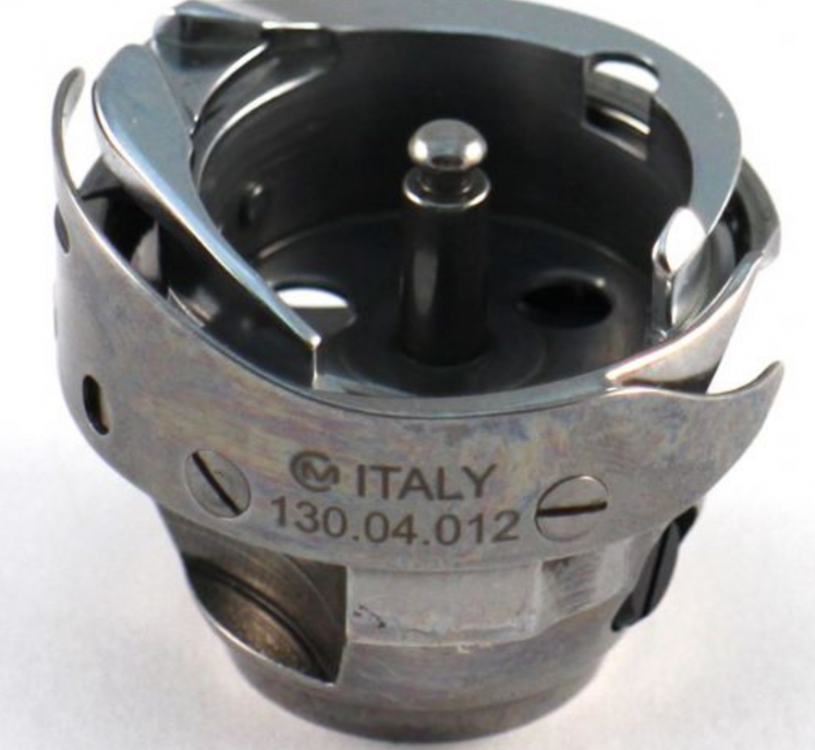
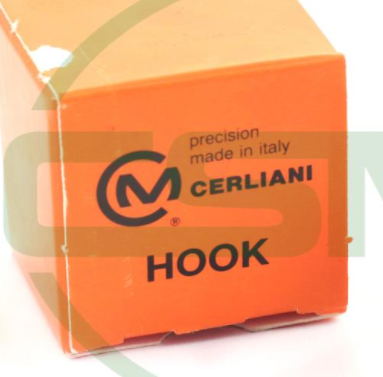
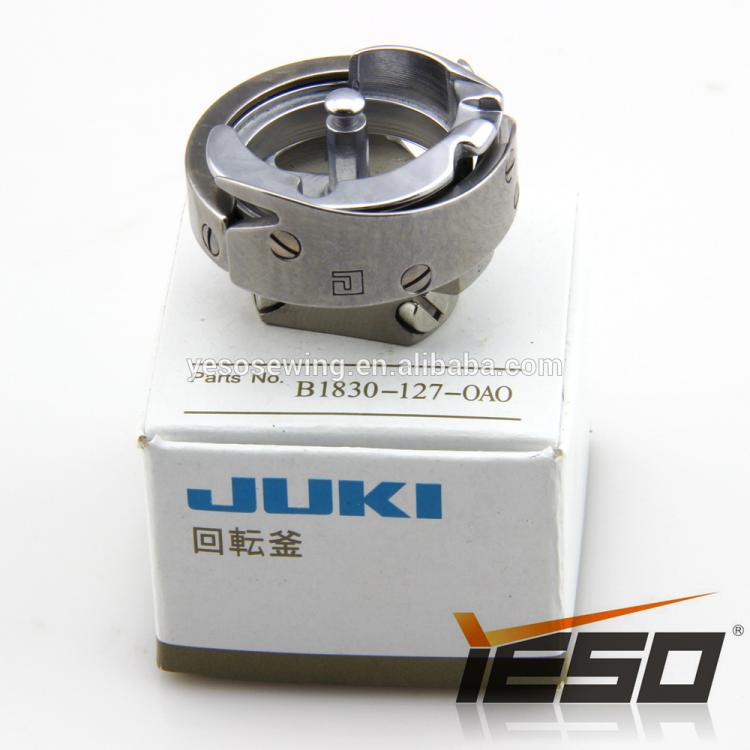
Many manufacturers of sewing hooks use a mark to identify they made it. I recognize many of the marks but not all. I think it might be useful to have a little visual look-up reference to identify the manufacturer of a hook based on the mark. I hope people will add to this reference, ideally with an image of the company name and logo and an example or two of the actual mark on a hook. I'm starting this topic in part hoping to figure out which shuttle hook manufacturer uses this mark: I'll get the ball rolling by adding a couple hook manufacturers that I know of. Koban (Japan), also makes OEM hooks for Juki: Hirose (Japan) Cerliani (Italy) Juki (Japan):


-
Please start a new discussion topic for new questions, rather than piggy-backing them onto other (old) posts with a totally different topic. It helps keep discussions relevant, focussed and organized. Give it a title like "Serrated vs. smooth feed dogs on walking foot machines", in this case.
-

New to industrial sewing machines Juki LU-562
Uwe replied to jshep's topic in Leather Sewing Machines
The whole binding business is a science in itself. There's a lot of experimenting and trial/error involved in finding a setup that works for you. Watching youtube videos is a quick and cheap way to educate yourself on the available options. Most folks who do a lot of binding operations, especially on bags and other three dimensional projects (as opposed to flat things like wallets and belts) end up with a dedicated cylinder arm machine with a binder setup that moves back and forth with the walking foot. Depending on material thickness and thread size requirements there are three general classes of suitable machines. There many original machines and aftermarket copies/clones in each class, I'm just naming a few popular suspects, order from heavy to light duty: 1. Durkopp Adler 205 for heavy duty projects 2. Durkopp Adler 269/Juki 341 class for medium to heavy duty projects 3. Pfaff 335/Durkopp Adler 69 class for light to medium duty projects This video happens to show all three classes listed above performing binding operations (the first demo on the Adler 205 uses a fixed tape folder, the rest use moving binders): Here's a video of a Durkopp Adler 205 class machine doing a binding operation with a moving binder. Some flatbed machines like the Pfaff 145/545 (unfortunately not available on a Juki 562/563 to my knowledge) can also be fitted with a moving synchronized binders that connect to the feed dog for synchronized movement as shown in this video: -
New to industrial sewing machines Juki LU-562
Uwe replied to jshep's topic in Leather Sewing Machines
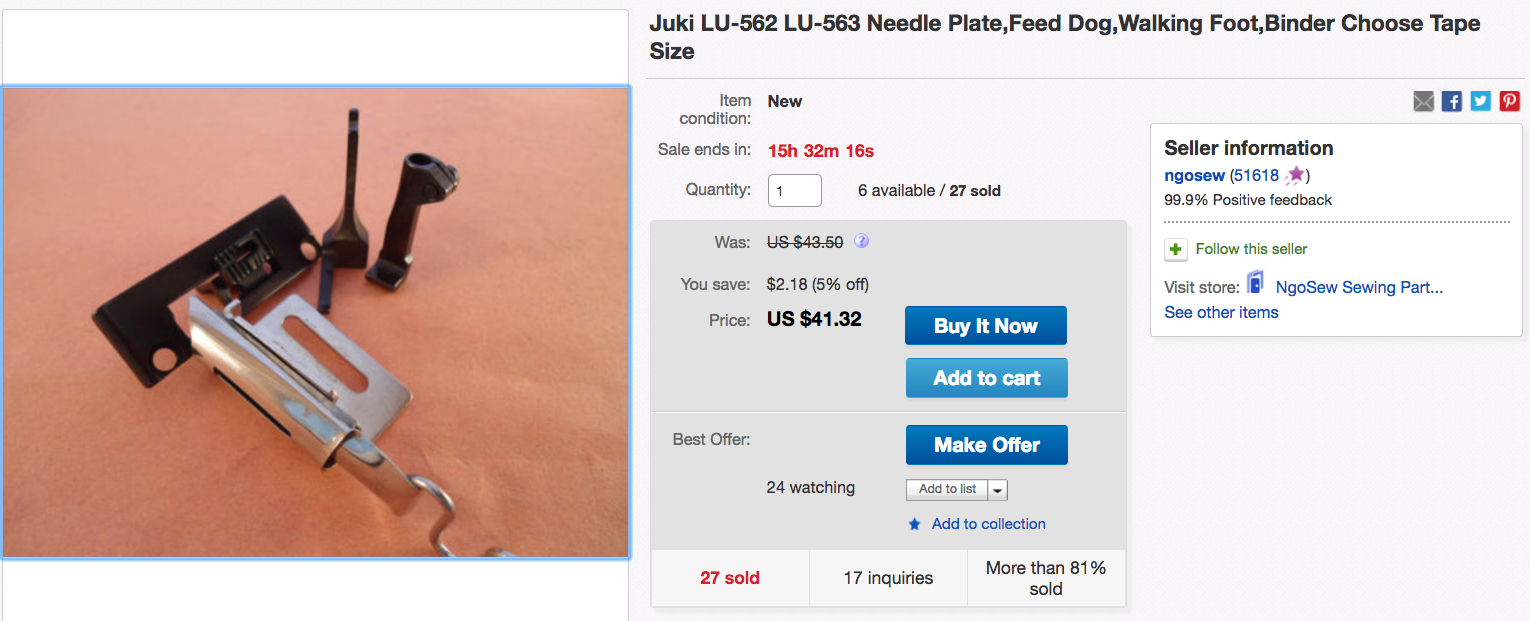
The first Ebay item referenced above is a complete kit with tape folder, throat plate/feed dog, presser feet (Ebay listings tend to vanish over time - it's best to upload a screen shot here to keep the topic relevant for years to come) The additional special binding throat plate has a built-in step to compensate for different thickness of material vs. material+tape and allows positioning the tape folder a little lower to center the folded tape better with the material being sewn. The special "stubby" inner binding presser foot and left-toed outer foot allow for the tape folder to be positioned very close to the presser feet without touching and the feet match the throat plate to improve holding and feeding the material. You'll be able to do simple binding operations with just the tape folder and regular/standard throat plate and presser feet. It all depends on the materials and thicknesses you're trying to work with. If the simple folder-only solution is not satisfactory, try the complete matching set of binding parts.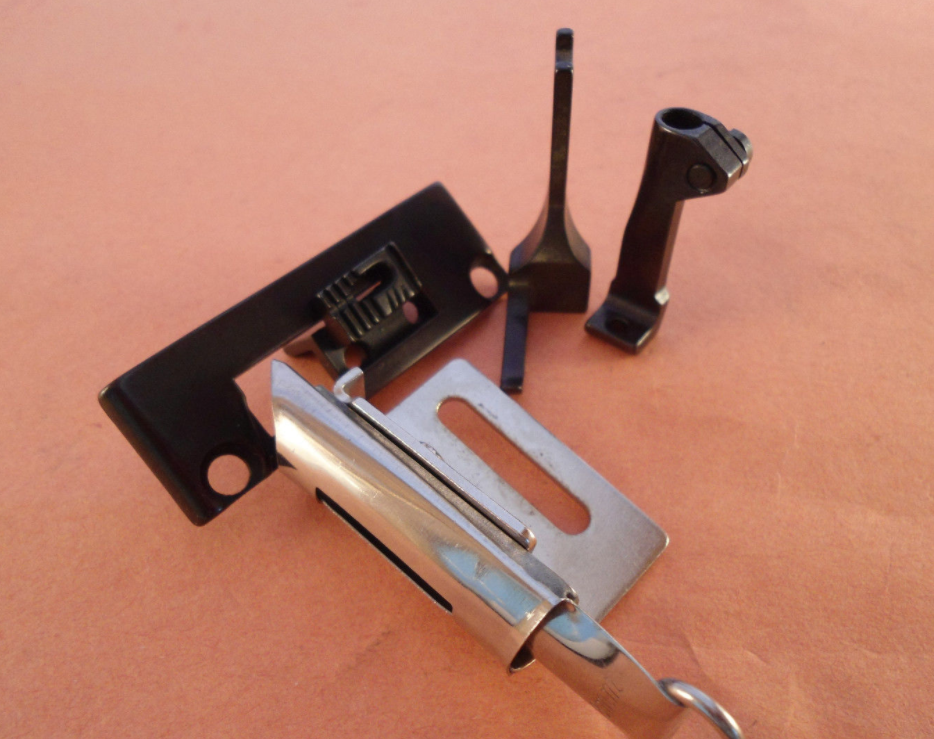

-
I'm glad you got your Landis 16 going - sounds very nice, actually. I'm hoping mine will function just as well when I get done with it. Now you have to figure out how to make your camera/phone take video that's in focus and then upload it to Youtube in HD. The machine and all your work deserve a high quality show & tell.
-
Here's a ruffling foot demo video. Whether this approach will work on your type of leather, I'm not sure. But it's the closest thing I've seen so far. And here's a slightly more elaborate ruffling/pleating contraption made by Kwok Hing: http://www.kwokhing.com/ru/
-
I knew my ears were ringing for a reason. I posted my wired floor pedal mod/hack in the other, duplicate topic:
-
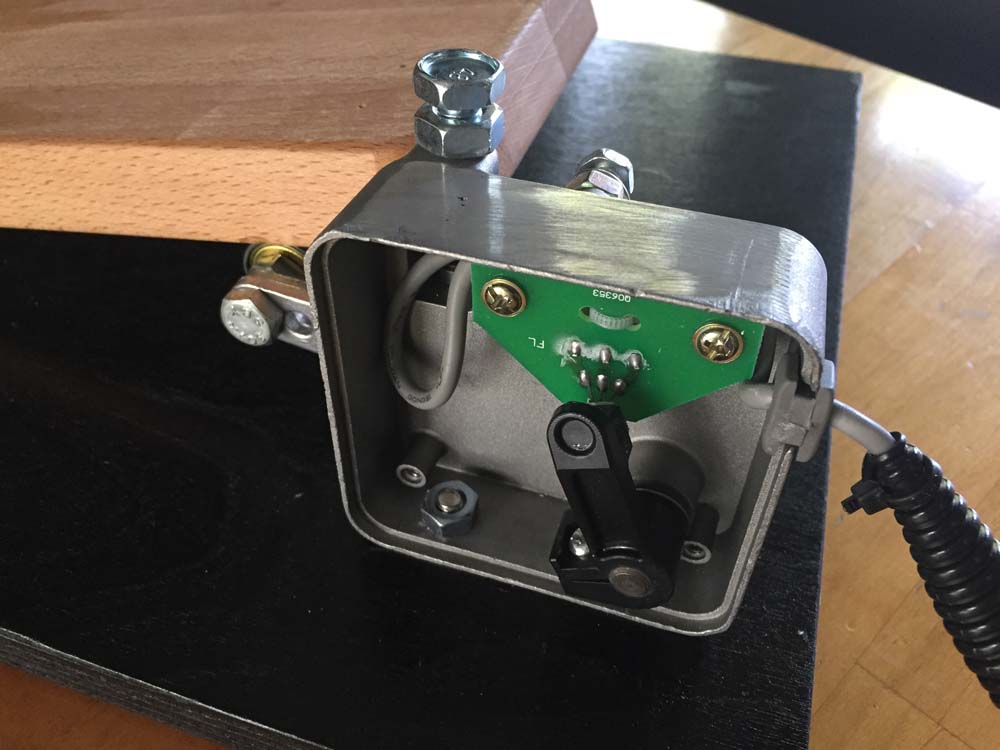
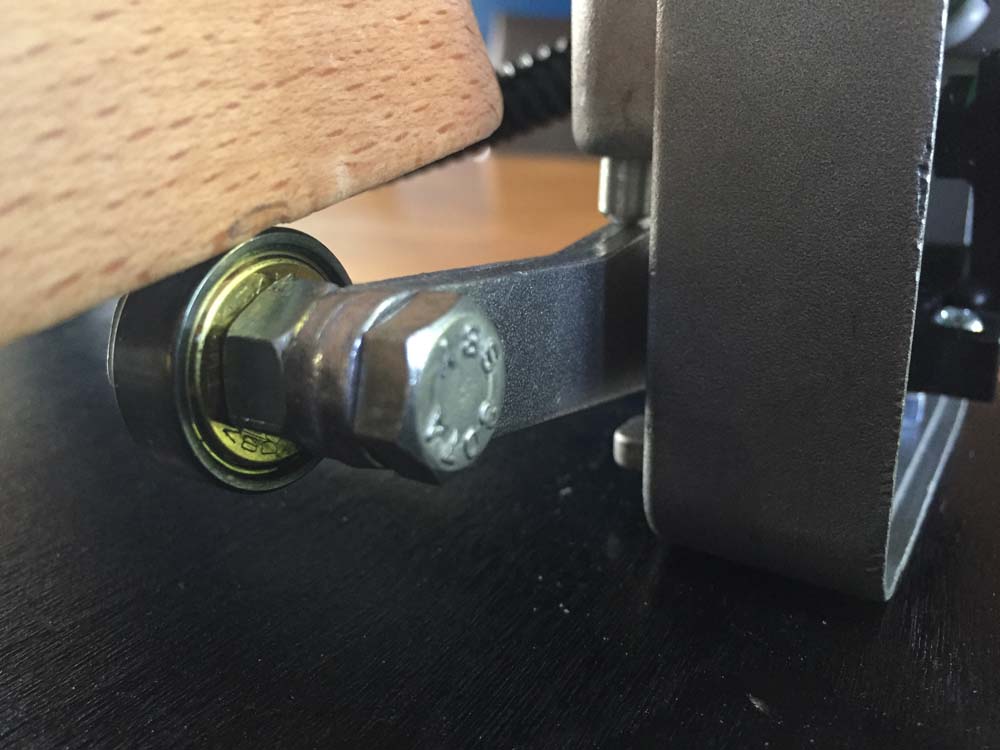
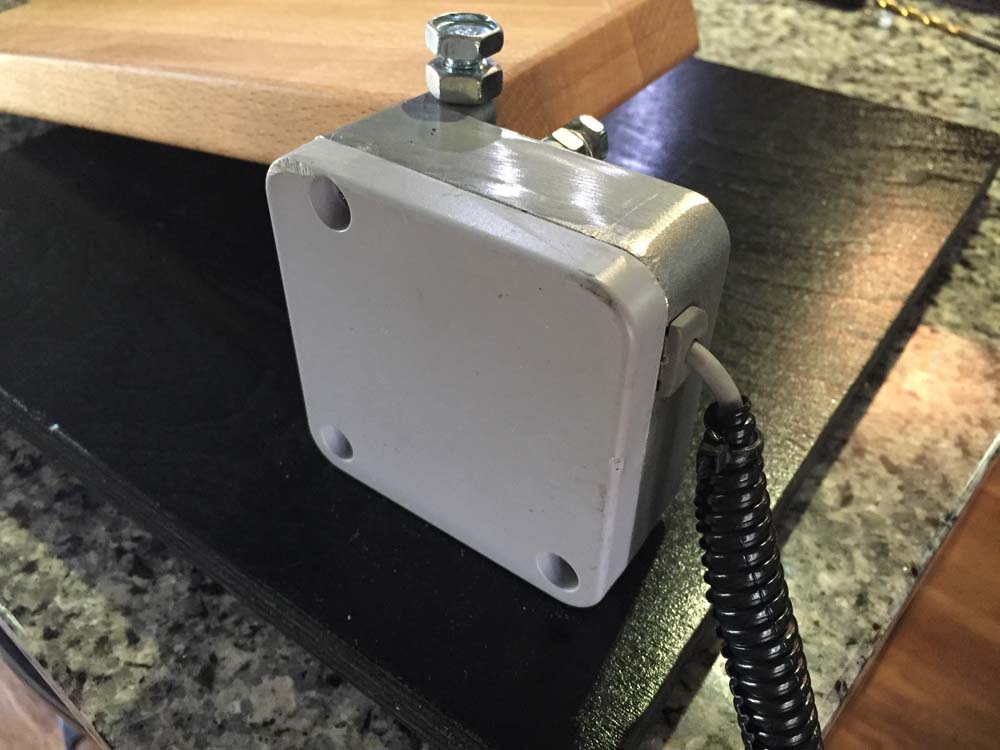
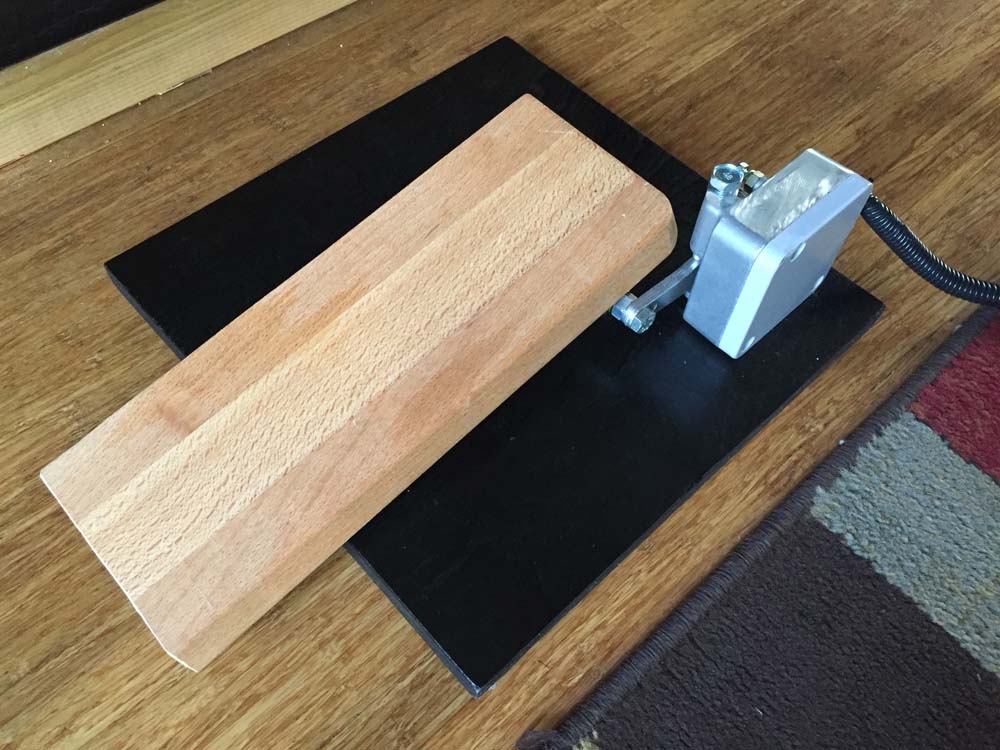
Some Efka motors have pedal options for standing workstations. If you don't have a grand or two to spend on a high-end Efka motor, you can buy a cheap three-part servo motor like a Consew CSM1000 for around $125 and hack/make your own wired floor pedal. I once built something like that for a table-top portable setup for a Durkopp Adler 69.
-
The machine looks a lot like a Durkopp Adler 67 type machine (Pfaff 145 also uses similar throat plates). That foot in the picture looks a lot like a plain top roller foot riding on a normal bottom feed dog. How they get the material to ruffle, I don't really know. You can't really see the material going into the machine in this picture, or whether it really gets ruffled in this step. If the leather is thin enough you can perhaps ruffle it by purposely unbalancing the thread tensions so that the bobbin thread always gets pulled all the way to the top. Then the taught top thread holds the stitch line back while the bottom feed pushes the leather backward, thereby ruffling it. But that concept only works with a single layer and with bottom-only feed, and it may only work in my head, not in real life. But I've seen a similar ruffle effect happening while sewing fabric on a bottom feed machine when my top thread accidentally got caught on something. Your leather ruffling sample looks much too thick for that approach and you're stitching the ruffled top part to a straight bottom layer to lock in the ruffle.
-
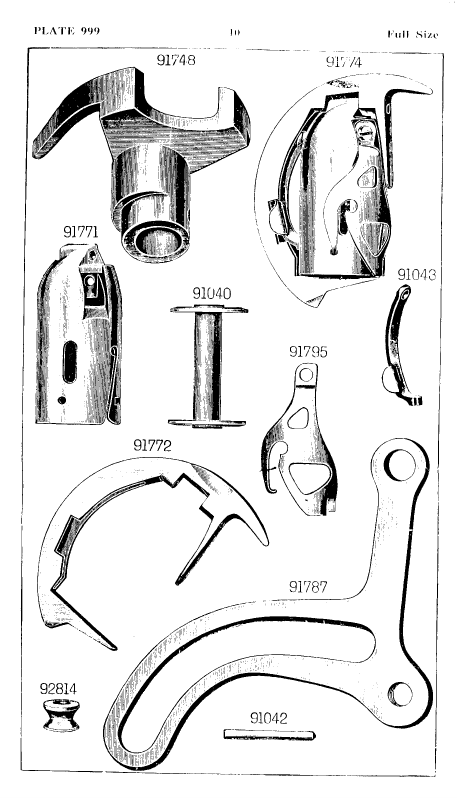
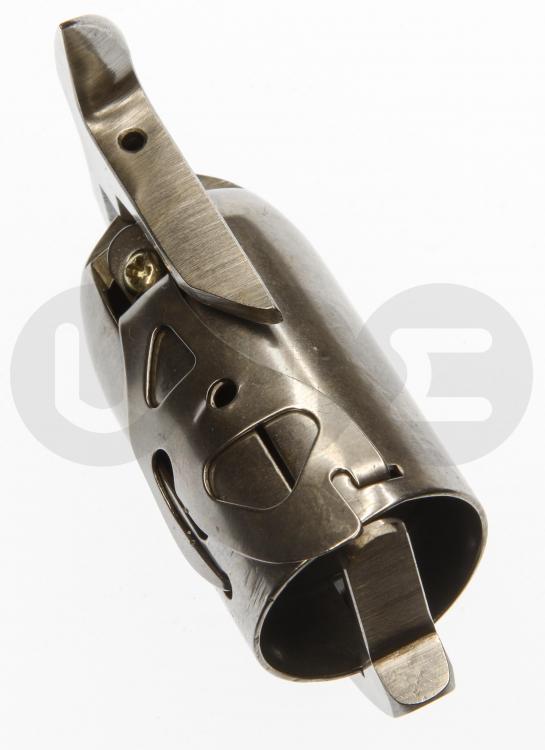
I think that diagram shows the exact same parts, just assembled and separately, from a slightly different angle. 91046 is the complete hook assembly, 91044 is the frame that is part of the 91046 assembly. The page from the 45K68/69/71 parts book shows hook assembly 91774, which consists of individual parts 91772, 91771, 91043, 91795

-
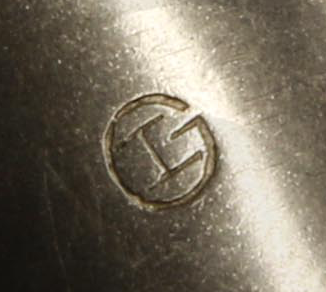
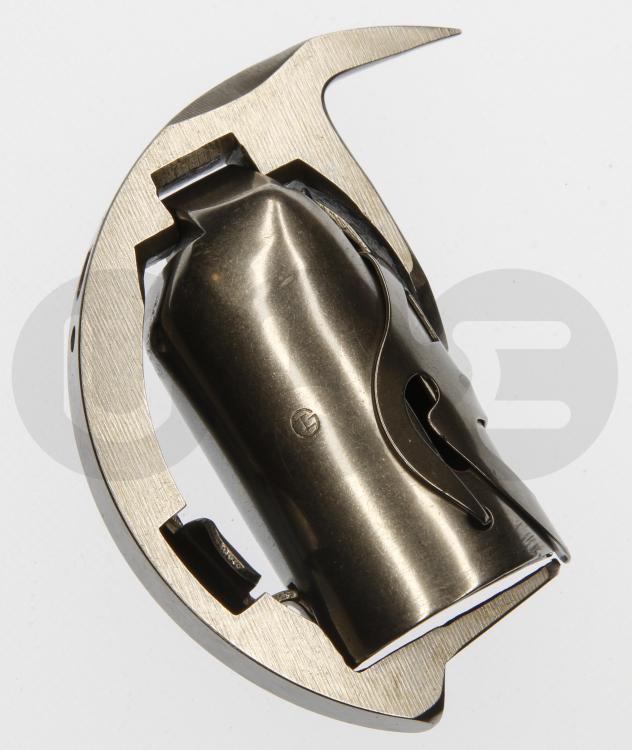
I had been wondering about the same thing some time ago. I have a dozen or so aftermarket 91774 open frame 45K shuttle hooks. I suppose there's bit of tight spot on the corner of a closed frame hook ( similar to my Adler 205 video.) There's probably a smoother ride for the thread to drag along the smooth edge of a closed frame hook as opposed to bouncing down a few steps on a open frame hook. The closed frame hook likely is more rigid and dimensionally stable, less likely to twist or bend. I'm wondering if open and closed frame versions are interchangeable in Singer 45K models. If anybody recognizes the manufacturer's mark on my aftermarket hooks (looks like an H inside a G) please let me know - I've not been able to find a reference.
-
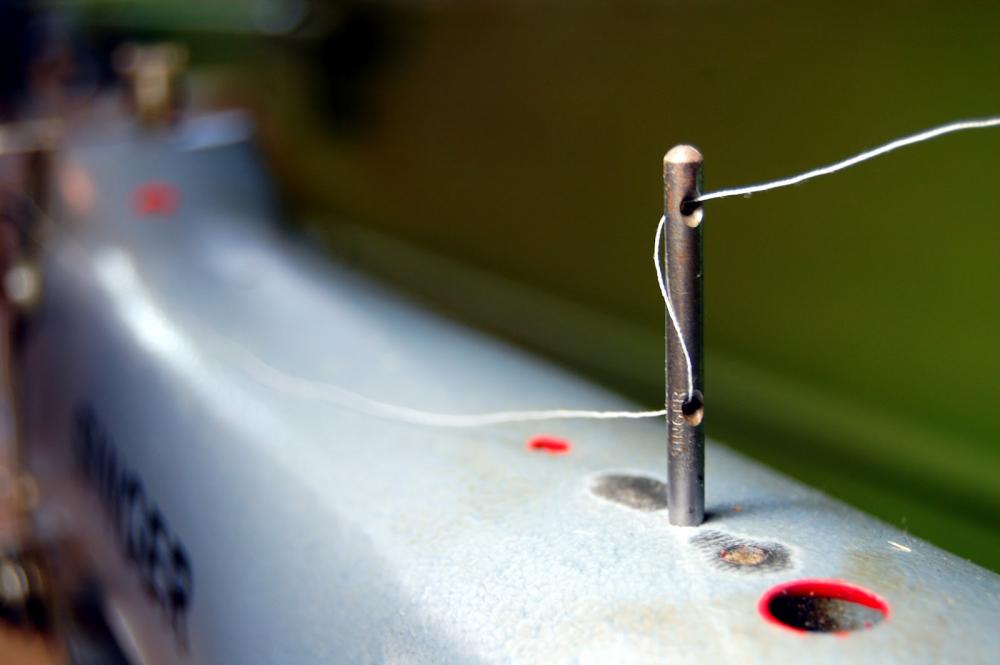
Your thread should be somewhat taught after the first thread guide pin (use both holes in the first pin as Bob suggested.) When your thread take-up lever pulls more thread, it should not pull a whole bunch of thread from the spool and make it go slack/loose, thus allowing it to curl up like that. Experiment with wrapping the thread in a spiral fashion (rather than straight up-and-down) through the guide holes to see if it helps. As for teeth mark on the bottom, you're somewhat limited with your options, since your machine is a bottom-only feed machine. If the feed dog had no teeth, it would not be able to move the material reliably, causing uneven stitch length. There are special feed dogs with a sticky rubber coating available for some machines, but I doubt yours is one of them. You can try easing up on the top foot pressure until it is light enough to hopefully lessen the marks from the feed dog, but still strong enough to help feed the material evenly. Other sewing machine designs use needle feed and/or top feed in addition to bottom feed, allowing the machine to move the material reliably with fewer/lighter marks on the leather.

-
The Pfaff 145 H3 uses 134-35 needles (My Pfaff 545 H4 uses the System 190 needles), according to the Pfaff 145 manual. I bookmarked Constabulary's link to that needle vendor - nice comparison charts for the systems in question! The 135x16 or 135x17 system is only 0.8mm longer in needle's butt-to-eye distance compared to the 134-35 system. That tiny difference might be compensated for via needle bar adjustment without any trouble, as Constabulary suggested.
-
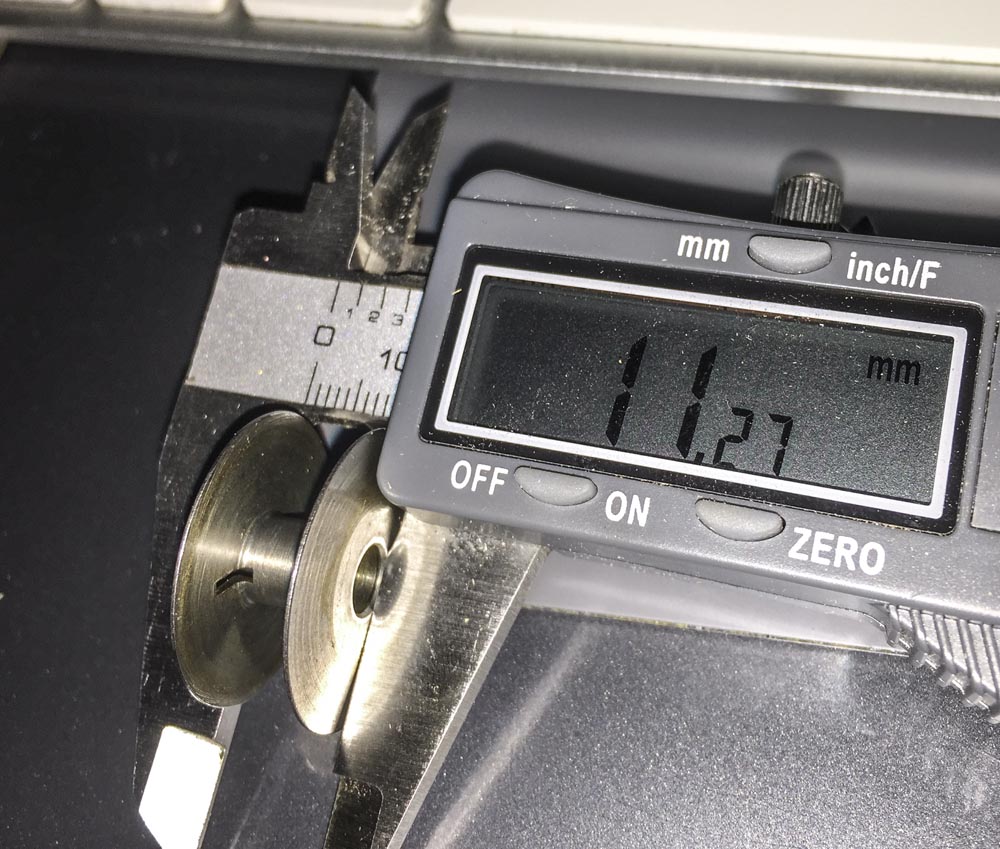
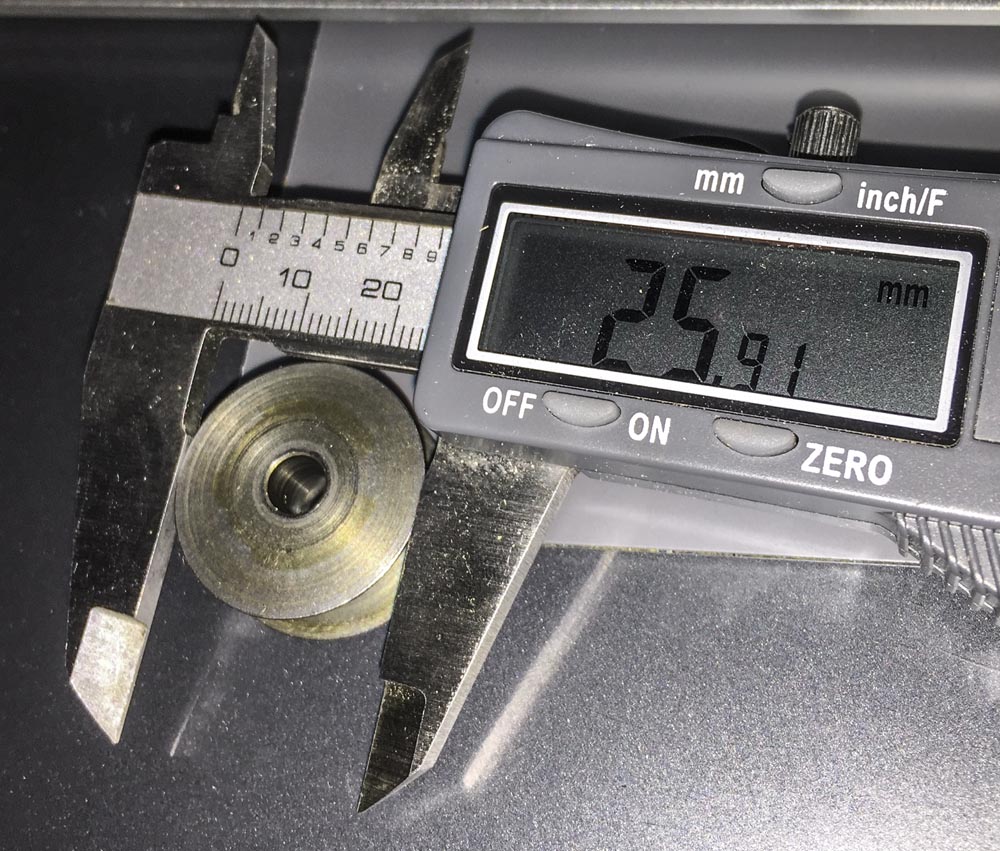
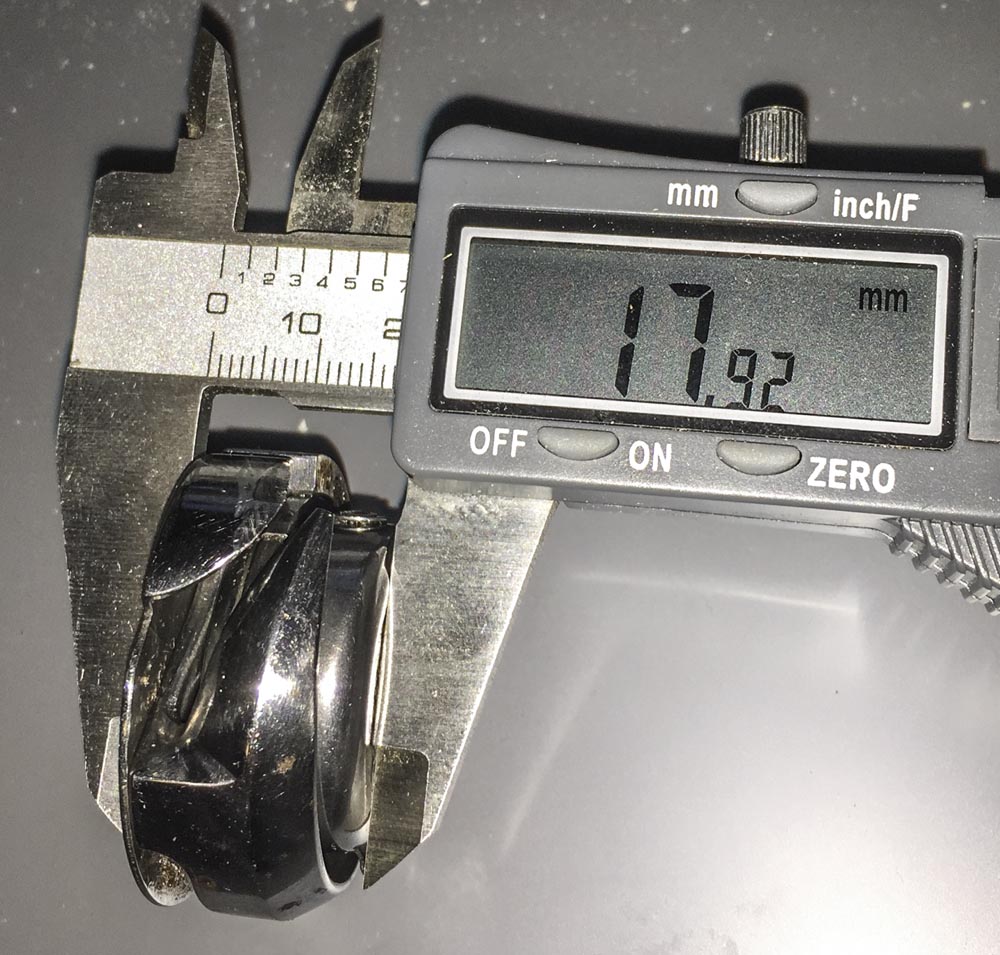
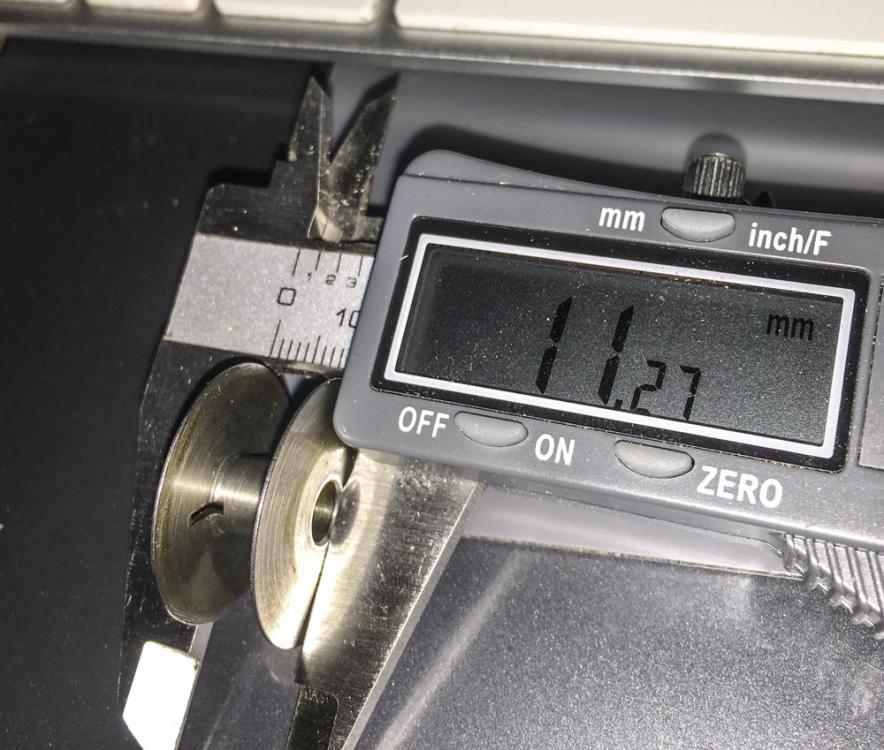
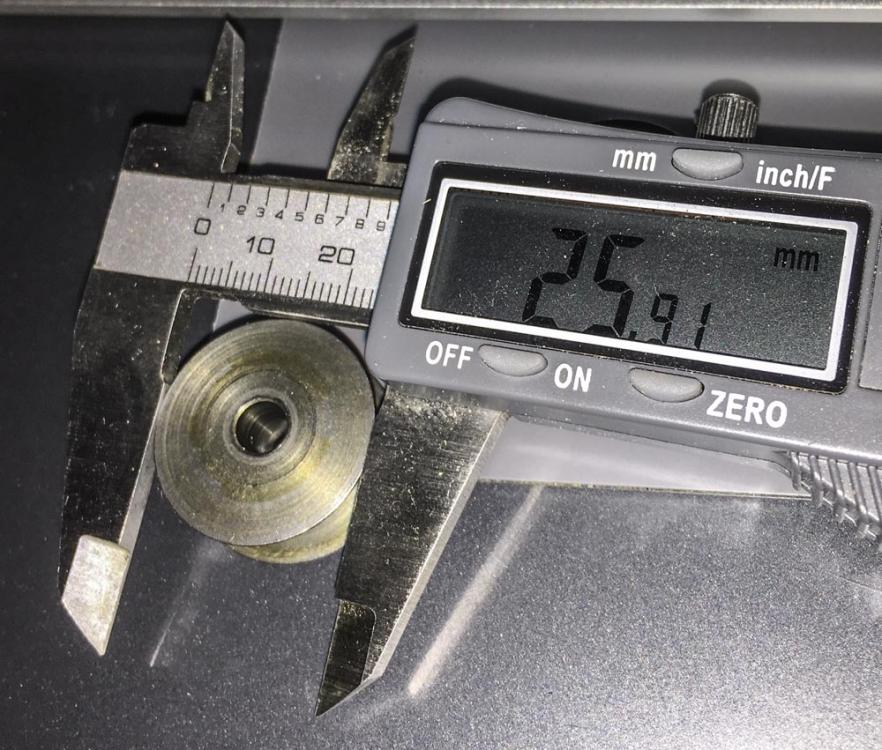
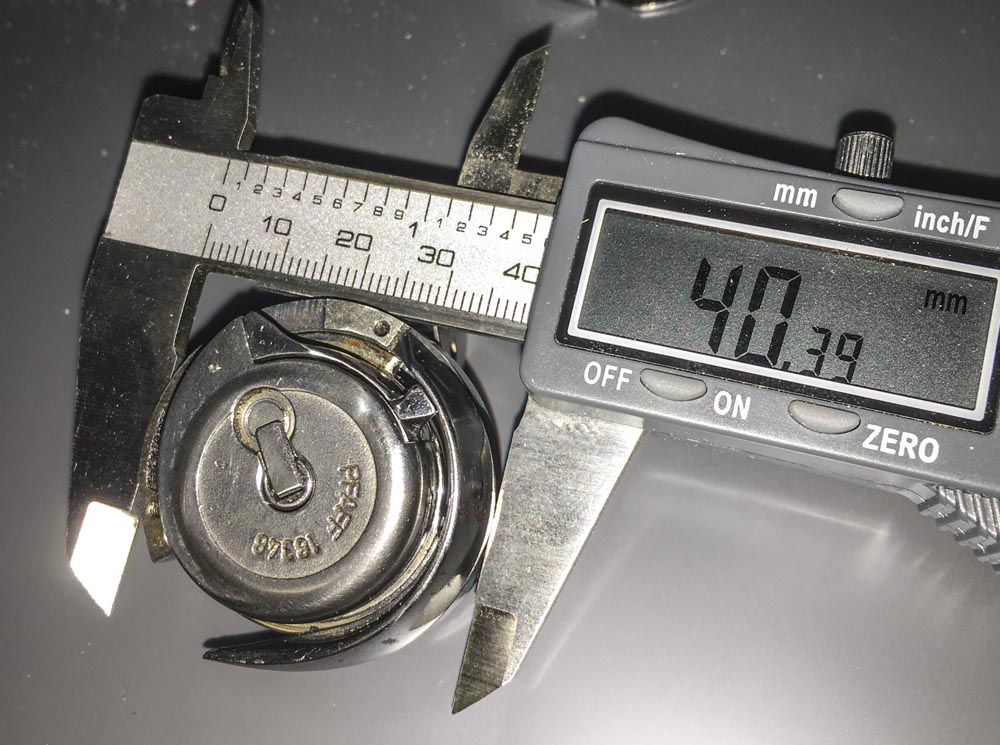
Hook assemblies for both Pfaff 145 and Pfaff 545 are readily available for around $80 on Ebay. I'm not sure if the 545 hook's bobbin is that much bigger to justify the effort of a retrofit. I took a few basic measurements off the hook from my Pfaff 545. You can compare them to your 145 dimensions and see if it's worth bothering.

-
Wow, nice work! It's clearly a labor of love and it shows.
-
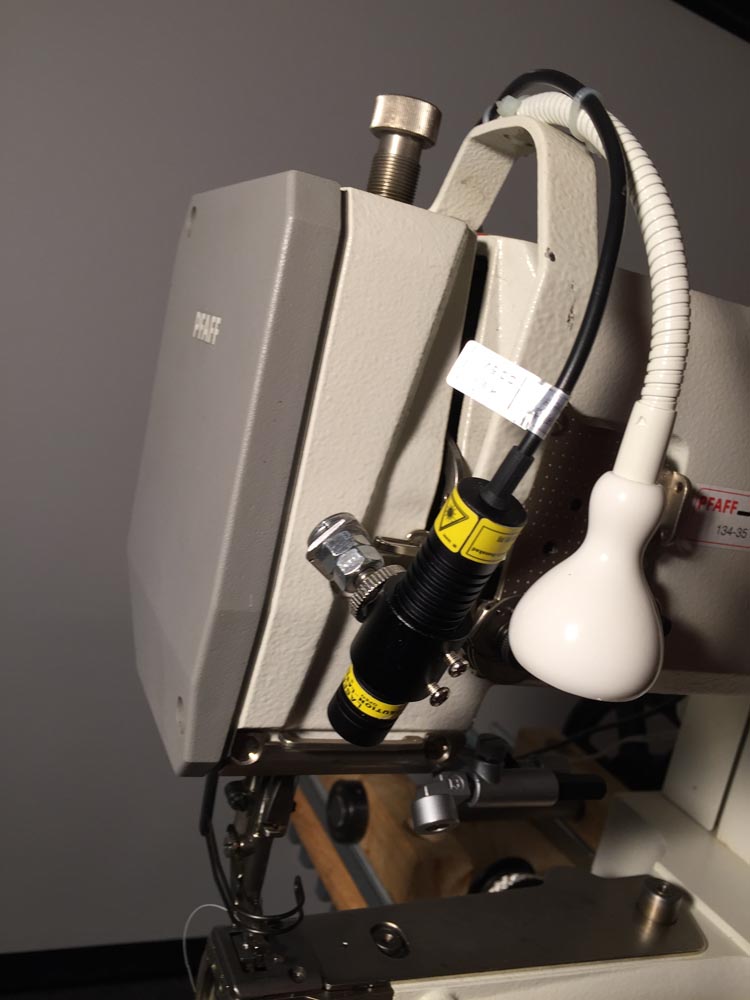
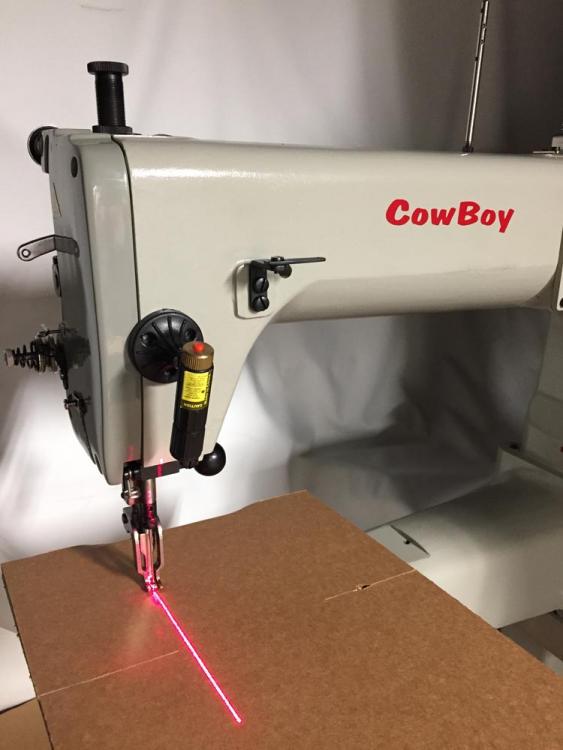
The cheap and perfectly functional way to do it is with a little magnetic, battery powered laser guide attachment. I think I got mine at Harbor Freight for less than $15. These are also available on Ebay for $12.50 . I also installed a fixed laser guide with a wired power connection on my Pfaff 335 once (the white LED spot light is from IKEA) . You can do a similar thing on a Cowboy 4500. Available on Ebay for around $15.

-
I'm under the impression that all Cowboy machines enter the country through Ryan O. Neel of Neel's Saddlery in Ohio (sad looking website but big YouTube presence with Cowboy demos) If a particular dealer doesn't carry a certain Cowboy machine, Ryan should have access to all Cowboy machines and he sells them directly, too. I personally favour the Juki-LS 341 design over the Pfaff 335, mainly because of the vertical axis hook, comparatively huge bobbin, and descending feed dog. That slim 335 arm comes with a few compromises, I think. Each machine design has its own advantages and shortcomings, you just have to decide which ones are important to you.
-
Singer 114W103 Chainstitch Embroidery Machine
Uwe replied to GPaudler's topic in Leather Sewing Machines
I got my Consew 104 set up in a test stand and did some stitching earlier today. I made a demo video for somebody who's interested in buying the machine and wanted to see it work. I thought I might share the video here for general entertainment. The machine is quite a different animal from what I've worked on before. I really don't see how a lockstitch machine like a Singer 20U can produce a stitch like that. I also think this Consew 104 would be quite capable of putting embroidery designs like monograms and swirly designs on garment weight leather. I'll try that out on Sunday. -
Check out this thread on Singer 29K60 info including threading. Make sure can pull the thread manually and that it's not caught anywhere.
-
A nice, thorough tutorial on that machine, with threading details and all.
-
Perhaps something in your tension release mechanism is stuck and keeps the tension discs apart. You should be able to feel a distinct difference in tension when you pull the thread manually and change the tension setting. If the thread tension doesn't change as you dial the tension knob, you have to figure out why.
-
Post a picture of how you have your machine threaded at the top. Are you sure your thread is even between the tension disks? Sometimes it takes a little effort to snap the thread between the disk, don't just loop it around them.
-
Machine/foot for padded belts and other tricky edges
Uwe replied to HVLW's topic in Leather Sewing Machines
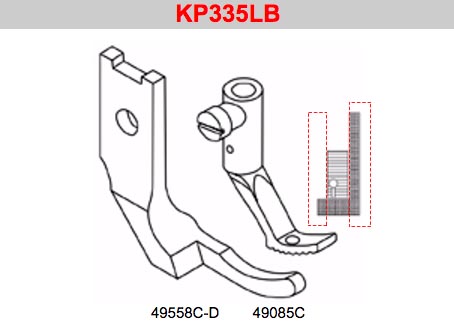
Are those watch straps machine stitched? Even if you manage to sew parts of the stitch line on a machine, some details will have to be done by hand. Most regular machines will have throat plates and feed dogs much too big for those tiny stitches that close to the edge. You may want to consider using a cylinder arm machine that has optional throat plates designed for "small operation". I think your watch straps qualify for small operation (with surgical precision.) I've not personally used the feet and throat plates shown below, but they seem like reasonable candidates to consider. The came from the Kwok Hing page for Pfaff 335 accessories. The 335 S3 Needle/Throat plate and the 335 S4 feed dog seems about the right size for those tiny stitches on your watch straps, and without leaving too much of a hole in the plate for things to get caught up in. For matching feet, it seems to me the KP335LB could be modified similar to what I did in the video (grind off areas inside dashed boxes) to sew extremely close to the edge and staying clear of the raised part of those straps. Alas, you won't know for sure until you try it out.
-
Machine/foot for padded belts and other tricky edges
Uwe replied to HVLW's topic in Leather Sewing Machines
I first saw this concept on 441 style presser feet (photo from Toledo Bob's website):
-
Machine/foot for padded belts and other tricky edges
Uwe replied to HVLW's topic in Leather Sewing Machines
Here's one approach that might work, using a modified outer presser foot and a suitable throat plate: