Uwe
-
Posts
2,221 -
Joined
-
Last visited
Content Type
Profiles
Forums
Events
Blogs
Gallery
Store
Everything posted by Uwe
-

Machine/foot for padded belts and other tricky edges
Uwe replied to HVLW's topic in Leather Sewing Machines
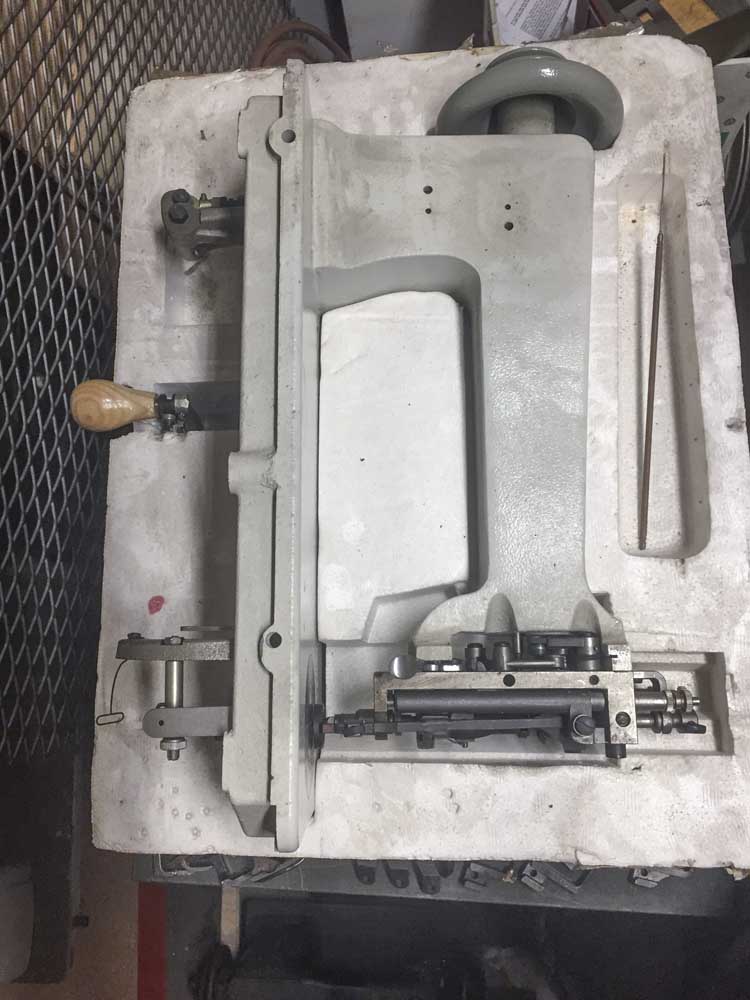
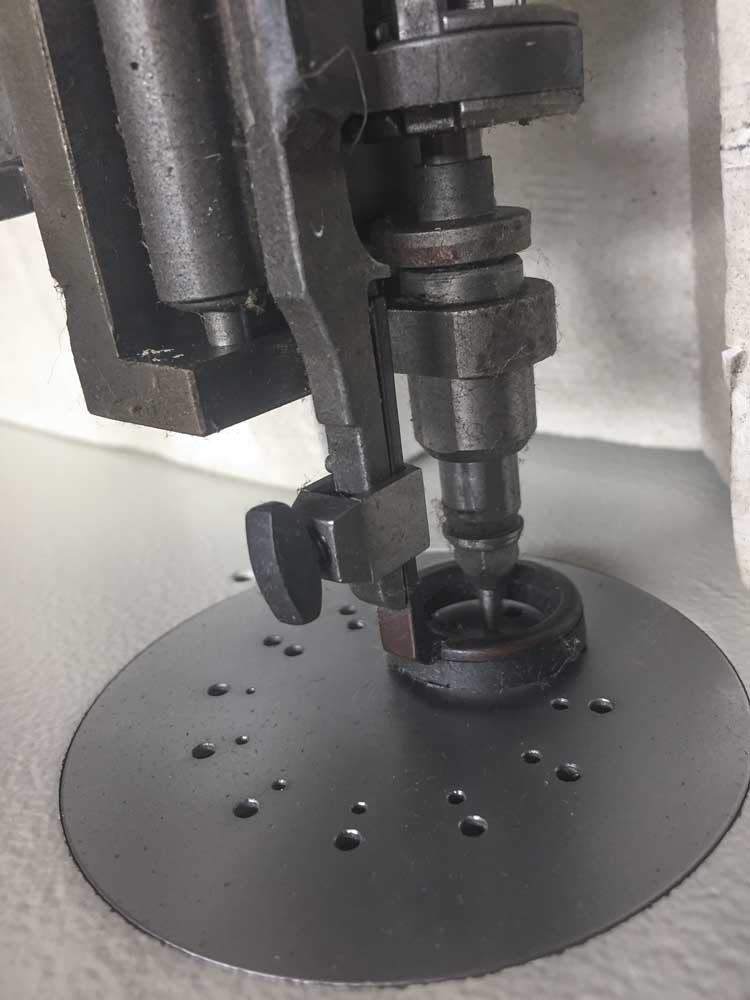
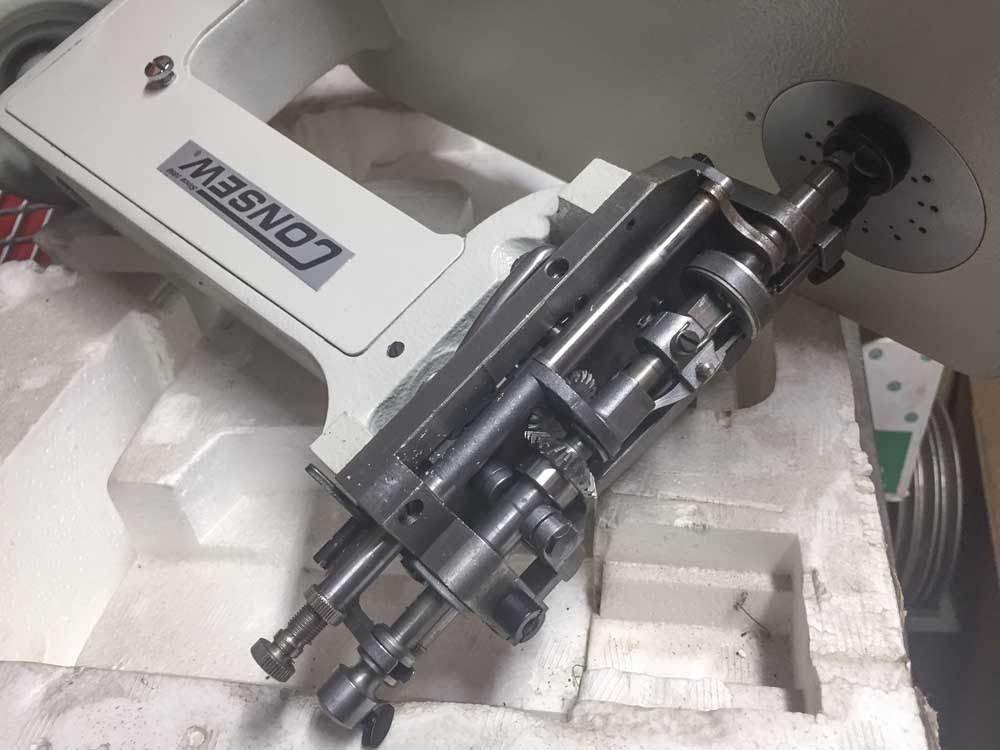
Here's one approach that might work, using a modified outer presser foot and a suitable throat plate: -
New to industrial sewing machines Juki LU-562
Uwe replied to jshep's topic in Leather Sewing Machines
Technically yes, but it's not easy and involves a couple of other parts, not just the hook. -
I Need To Tell You How Much I Hate The Consew Servo Motor...
Uwe replied to JimC's topic in Leather Sewing Machines
In defense of Consew servo motors, I recently put together a $110 Consew Premier CSM550 motor with a 50mm pulley and a 3:1 speed reducer to power my Consew 225. Below is a video of this combo sewing 6.2mm (15oz) veg tan leather using size 138 thread and a size 23 needle (I misspoke in the video). To me, this cheapest of servo motors plus a speed reducer (that cost more than the motor) leaves little to be desired in terms of consistent low speed control and punching power. I'd love to see somebody do this with a clutch motor. -
I Need To Tell You How Much I Hate The Consew Servo Motor...
Uwe replied to JimC's topic in Leather Sewing Machines
I think you mean Cechaflo on Youtube. He's a master of the manual step backwards. It seems he only uses his machine's reverse lever when he doesn't care where the stitches go. -
I had a similar problem when I was working on my Juki LU-563 clone. In that particular case the issue was resolved by shifting the timing belt by one notch. It seems your problem is similar, except the Pfaff does not have a timing belt to synchronize upper and lower drive shafts. Perhaps there are marks on the drive gears that need to be aligned. Here's how the machine worked after the timing belt adjustment (and re-timing the hook):
-
The reverse lever should not be bouncing up and down as you sew. It's often an indication that something involved in the feed mechanism is hitting a limit and something else compensates for it. I'd recommend spending some quality time with the Singer 211G Service Manual and comparing the suggested adjustments to your machine's. Sometimes a less-than-max stitch length is due to the feed dog starting to move backwards before the needle pierces the material (or starts to move forward before the needle exits the material.) Removing the material and turning the machine over by hand will allow you to see what's going on/wrong and make corrections.
-
If the thread is too tight wrapping around the bobbin case, your top-to-bottom drive shaft timing may be off. One quick way to check is that when the thread is wrapping around the farthest point of the bobbin (directly opposite the needle), the thread take-up lever needs to be at its bottom-most position. The thread should not snap around the bobbin case. Make sure when you make adjustments that you use the specs provided in the Pfaff 1445 Adjustment Manual. If enough things are just a little bit off, it may add up to a bunch of trouble. As for the occasional bird's nest underneath when you start sewing, it's probably because you're not holding both threads taught for the first few stitches.
-
A hook type blade in a utility knife might be worth a try: Or a safety carton cutter:
-
New to industrial sewing machines Juki LU-562
Uwe replied to jshep's topic in Leather Sewing Machines
I made an adjustment video for the Juki 563 class a while ago. Your Juki 562 has a smaller bobbin, but is otherwise nearly identical. It may be a good starting point for your machine. My Consew 225 hook timing video is also a good starting point to understand what's going on. -
Walking Foot Material Feed Problem -- Shifting
Uwe replied to JJDD's topic in Leather Sewing Machines
I had one machine that did the same thing. Upon closer inspection the inner presser foot shifted very slightly to the left whenever it touched the feed dog. The sideways shifting was very obvious when turning the machine over by hand with no material under the feet. The cause turned out to be a combination of a worn feed dog (the top surface wasn't level but slightly sloping down towards the left) and too much sideways play in the upper swing block that moves both needle bar and inner presser foot bar back and forth. The swing block had sideways play because the guide plate was not close enough (or worn). Replacing the feed dog and tightening the guide plate clearance solved the issue in my case. A loose feed dog may also tilt slightly sideways when pressure is applied. The Techsew 2750/Juki 341 design has the upper swing block pivoting in the center and there's no guide plate like in the Juki 563 style heads, so the center pivot screw/bushing may be loose or worn and allowing sideways play. Checking for sideways play in either feed dog or inner presser foot/needle bar should be easy. Also check the feed dog for uneven or sideways sloping top surface (this may happen if grinding down the feed dog to blunt/remove teeth.) -
Sewing Machine for Leather Baby Slippers - Need Help
Uwe replied to GabD05's topic in Leather Sewing Machines
Ah, yes, the sequence of sewing steps makes a BIG difference, too. If you've been sewing all the seams of your shoes on a domestic flatbed, then you'll obviously be fine using an industrial flatbed. Flatbeds usually cheaper than their cylinder arm counterparts. The Consew 205RB5 is really a made-in-China clone of the made-in-Japan original, the Seiko STH-8BLD-3. The Seiko's are great machines, really. You can buy a complete Seiko STH-8BLD-3 for around $1250 plus shipping (e.g. Westchester Sewing.) I also have a new Seiko STH-8BLD-3 for sale ($1,200 in a table with servo motor, plus shipping. Send me a PM for pictures and details.) -
Sewing Machine for Leather Baby Slippers - Need Help
Uwe replied to GabD05's topic in Leather Sewing Machines
I'm not familiar with your Kenmore machine. Domestic machines often have a "free arm" which is similar to a cylinder arm. I'm not sure how you could sew the two stitch lines on the front of the shoes on a plain flatbed machine like the 206RB5. Much depends on the design of the shoes. There's another member here on LW who makes baby shoes, and she used a Durkopp Adler 867 flatbed machine for her shoe designs. I'll second Mike's recommendation for the thin cylinder arm (e.g. Pfaff 335, Adler 69, or similar) and definitely a servo motor. -
I need help picking out a sewing machine
Uwe replied to BuckeyeLeatherworks's topic in Leather Sewing Machines
Yes: Toledo Industrial Sewing Machines -
I need help picking out a sewing machine
Uwe replied to BuckeyeLeatherworks's topic in Leather Sewing Machines
I have a nice Consew 225 that's looking for a good home. In a used table with basic, new servo motor it'd be within your budget of $600. I'm about two hours away in the Detroit area, a bit of hike but doable. The machine is featured in several of my youtube videos (see link in signature below). You can send me a PM if you're interested.
-
Best way to find out is to just try it. The problem with putting a patch-like edge cover stitch on a piece of leather is that the stitches are super close together. You'll likely just perforate the leather and it will tear very easily. For putting a border stitch on fabric patches, a merrow machine appears to be the right tool:
-
Singer 114W103 Chainstitch Embroidery Machine
Uwe replied to GPaudler's topic in Leather Sewing Machines
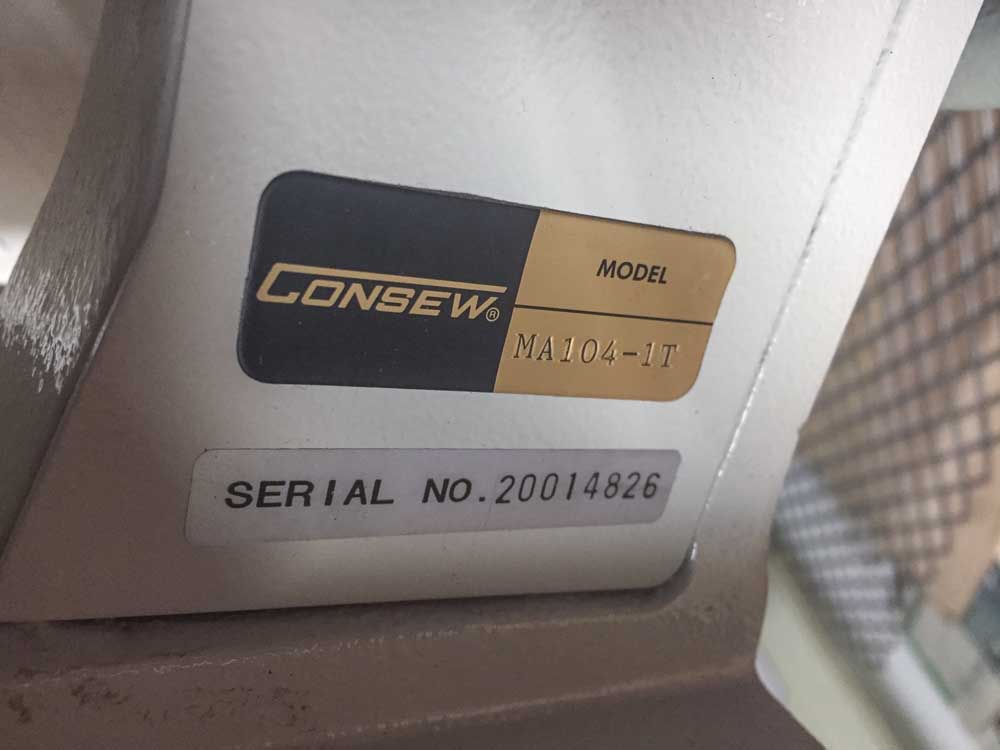
I have a new Consew Model MA-104-1T, which appears to be a very close relative of the Singer 114W103. Mine's a little little dusty from sitting in a warehouse for a few years. It's apparently the machine to use for decorative stitching on designer jeans, among other things. Send me a PM if this one would suit you. The only price references I found on this machine were a new one from Atlas Levi for $1,620 , and Cory Leif got his used machine on Ebay for $800 in 2013.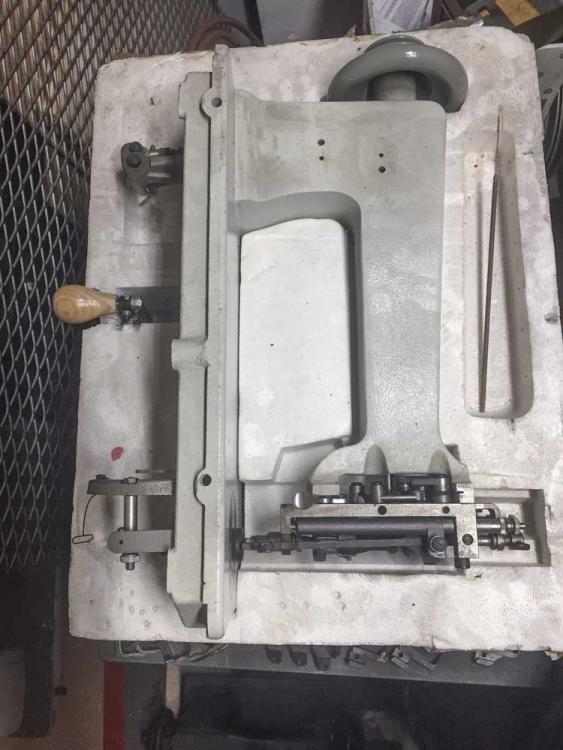

-
which is better, which one would you recommend?
Uwe replied to John Graham's topic in Leather Sewing Machines
I have a new Seiko STH-8BLD-3, which is the original, made-in-Japan Seiko version of the made-in-China Consew 206RB5. I'll trade my Seiko for your Pfaffs.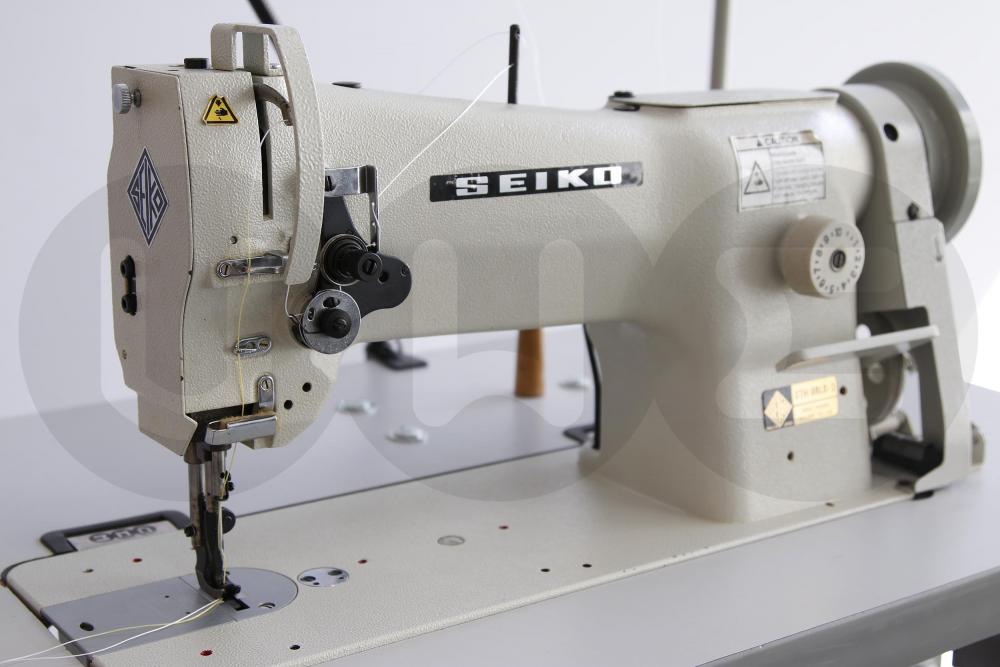
-
Perhaps a Diver-Suits Blindstitch Sewing Machine will do the trick. Or a Strobel style machine:
-
Closing long neoprene sleeves with a butt seam is very much a specialty sewing operation. Your feed-off-the-arm zig-zag machine is probably the right approach, preferably chain stitch. Personally, I'd be reluctant to commit to production work using a single, highly specialized, rare and used machine. If anything on that machine breaks you're no longer producing anything and parts/service may not be available. You might as well calculate two new machines into your quote for the job. Your customer may not like that quote and you may not get the job, but that's not the worst outcome I can think of.
-
Congratulations on a great auction find! Don't expect such bargains to be found when you buy parts and supplies. Glenn (Shoepatcher) shared this info in a previous post: "Landis Sales & Service in Arthur, IL. Ask fro Eli Schlabach. He rebuilds Landis 16 machines and has parts and needles. He should have the manual and parts list. Their telephone number is 217-543-3464. Hope that helps." I spoke to Eli earlier this year before I bought my own Landis 16 (for MUCH more than yours). Eli has apparently spent years accumulating all things Landis 16 and buying parts stock from other vendors. He is the expert on this machine and a key resource for making yours work. He probably sells the belts, too. Just make sure you sit down when you call him for parts pricing. There are a few other sources for consumables like awls, etc. Weaver Leather Supply sells awls for the Landis 16 at around $10 each. Run a custom Google search like "site:leatherworker.net landis 16" to see what has already been covered in previous discussions about the Landis 16 on LW. I also have some used and reproduction Landis 16 parts (bobbins, hooks, etc.)
-
Searching the LW archives for discussions about specific models is often helpful. Try a Google search like "ferdco pro 440 site:leatherworker.net" which brings up dozens of LW discussions about that particular machine. For example this older thread on the the Ferdco Pro 440 would make me cross that machine off the list of machines to consider for the type of work you're trying to do.
-
The Global brand appears to be one of the better clone options out there. Global brand machines were manufactured by the Minerva-Boskovice plant in the Czech Republic and distributed as a house-brand of the Dutch company IMCA starting in 1992. IMCA later bought the Minerva plant. Then Durkopp Adler bought the Minerva plant from IMCA and made some cooperation agreement to produce OEM Durkopp Adler parts and complete machines there and still make Global brand machines at the same factory. So the Global machines come from a factory with high-end manufacturing capabilities and good quality control. If the label says "Made in the Czech Republic" you likely are looking at a winner. Chances are high that the Global WF 1515 is a fairly faithful clone of the Juki 1508 and that it would accept most of the OEM Juki parts, but I have no first-hand experience with it. The Juki engineering manual for the 1500 series is nicely done and will be a big help in performing repair or maintenance tasks on both OEM and clone machines.
-
Sorry, I really don't know that particular detail. But I did order a some rare odd-ball screws from M. J. Foley to replace the one missing from a linkage arm on my Pfaff 545. Typing in the part number just so in the M.J. Foley search fields is an art and science and it often takes me half a dozen tries to get any result at all - an old-fashioned phone call may not be bad approach. One other source of rare OEM parts is http://aaasew.com. They can show parts listed by manufacturer and I've found several parts there that no one else carried. AAASew's payment system is barely functional and it takes real effort to make it work, plus a few weeks for delivery, but in the end they did deliver reasonably priced, obscure OEM parts that no one else even offered at any price - on several occasions.
-
Kunpeng on Ebay also has a good selection of feet and accessories, they may have some that fit your machine. You'll have to check the Pfaff 1445 parts manual for compatible parts numbers. OEM parts for Pfaff are a bit tricky to find. M.J. Foley is my source of choice for OEM parts.
-
So one little video is worth about forty written posts.