Butch
-
Posts
343 -
Joined
-
Last visited
Content Type
Profiles
Forums
Events
Blogs
Gallery
Store
Everything posted by Butch
-
Very nicely done. Are you getting better or what? Butch
-
I made this for a friend. Butch
-
Very Nice Fritz. The window is definitely an added touch. Butch
-
Very nice JW. I can only drool. Butch
-
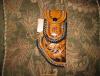
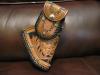
This is a re-make holster for a .25 Raven. The initial one was too big and I was only going by a photo and dimensions of the Raven. This one fit really good from what I heard and she loves it. Butch

-
Very Nice. I'm a big fan of barbwire and it really looks nice. Butch
-
Roper Style Wallet
Butch replied to Colman's topic in Purses, Wallets, Belts and Miscellaneous Pocket Items
No critique just a comment - Very nice work. Butch -
Both of them are very nice. Be sure to let us all know how surprised your daughter was! Butch
-
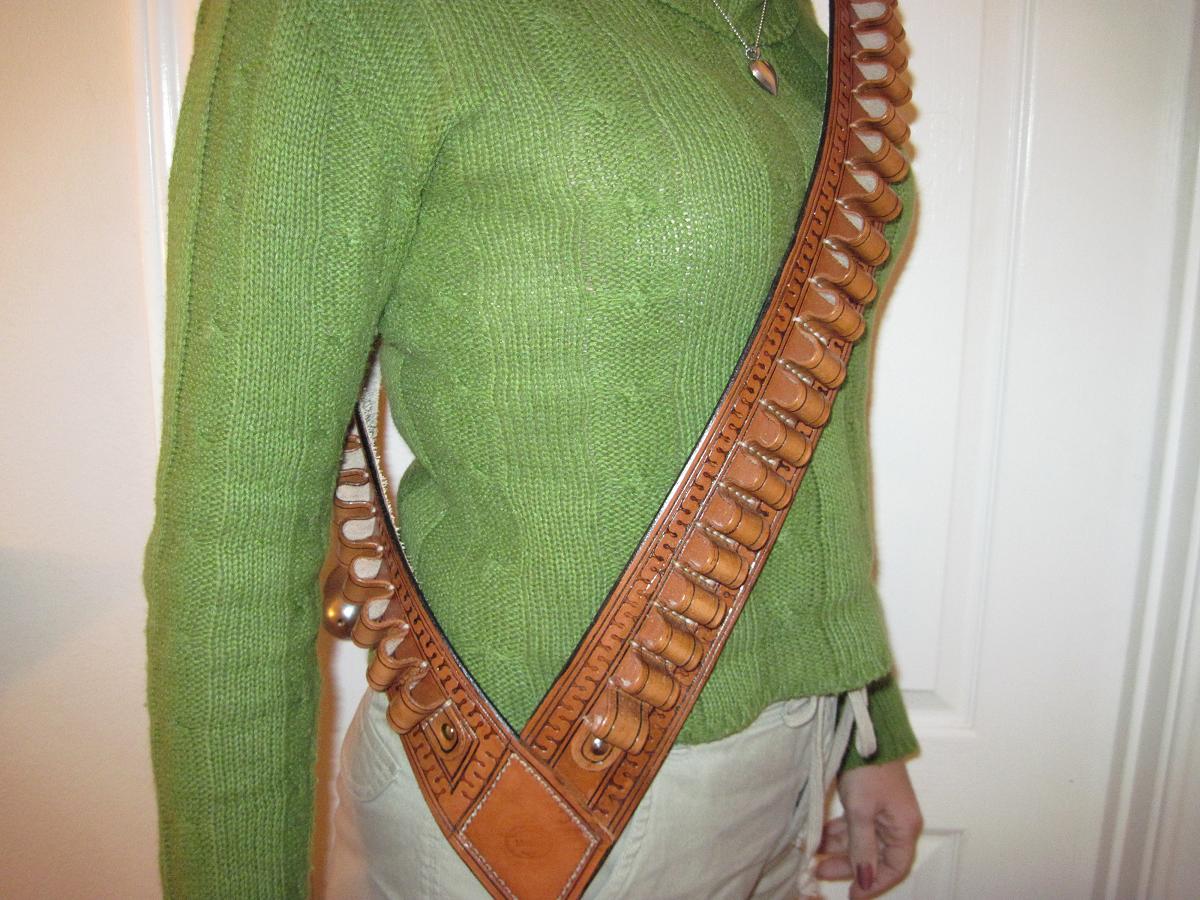
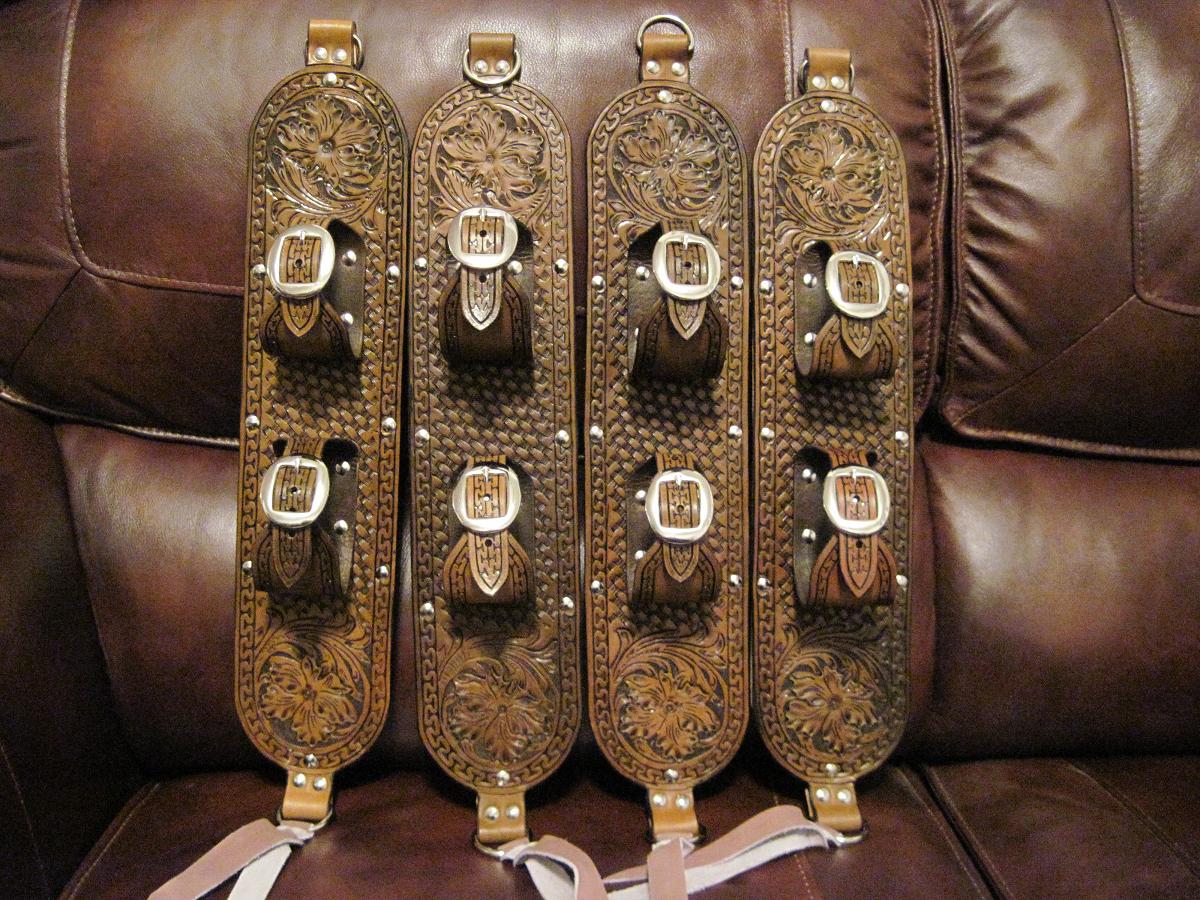
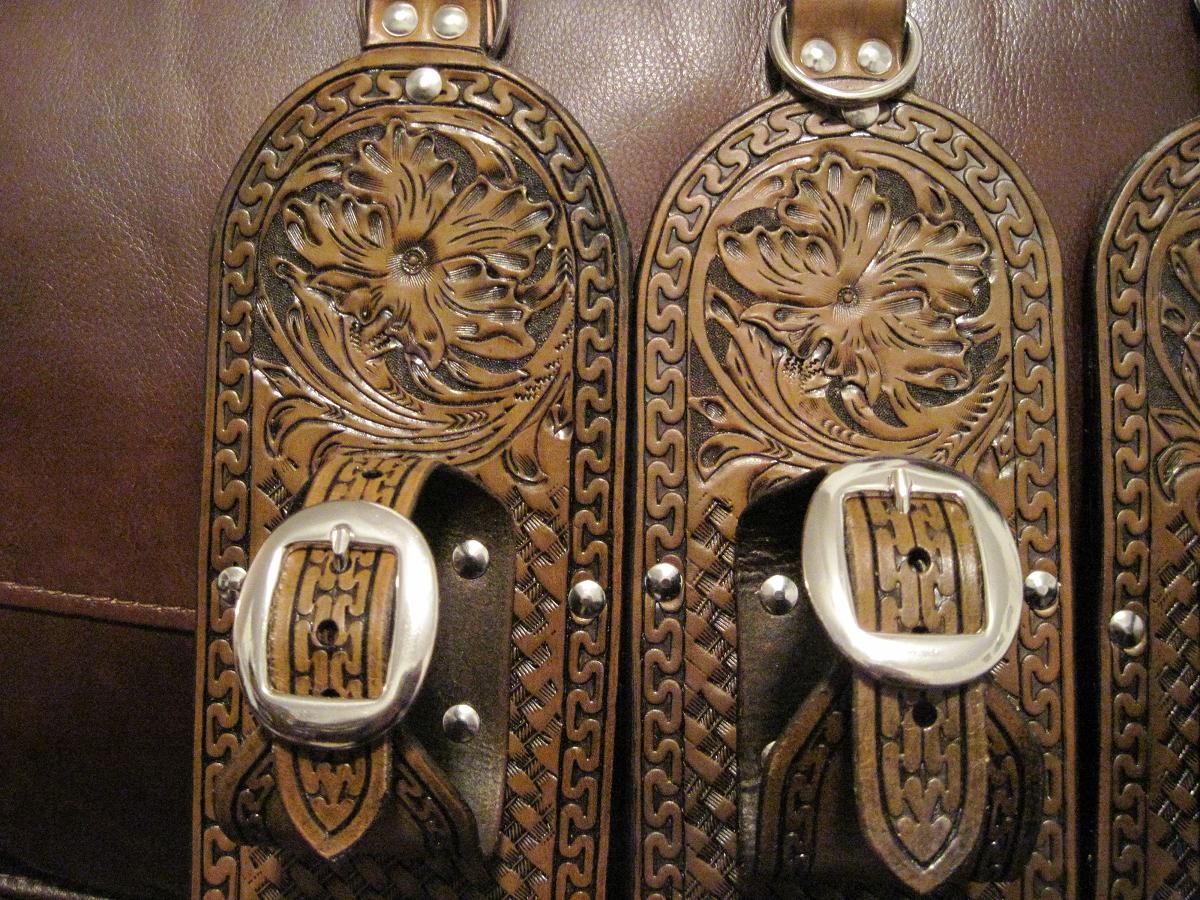
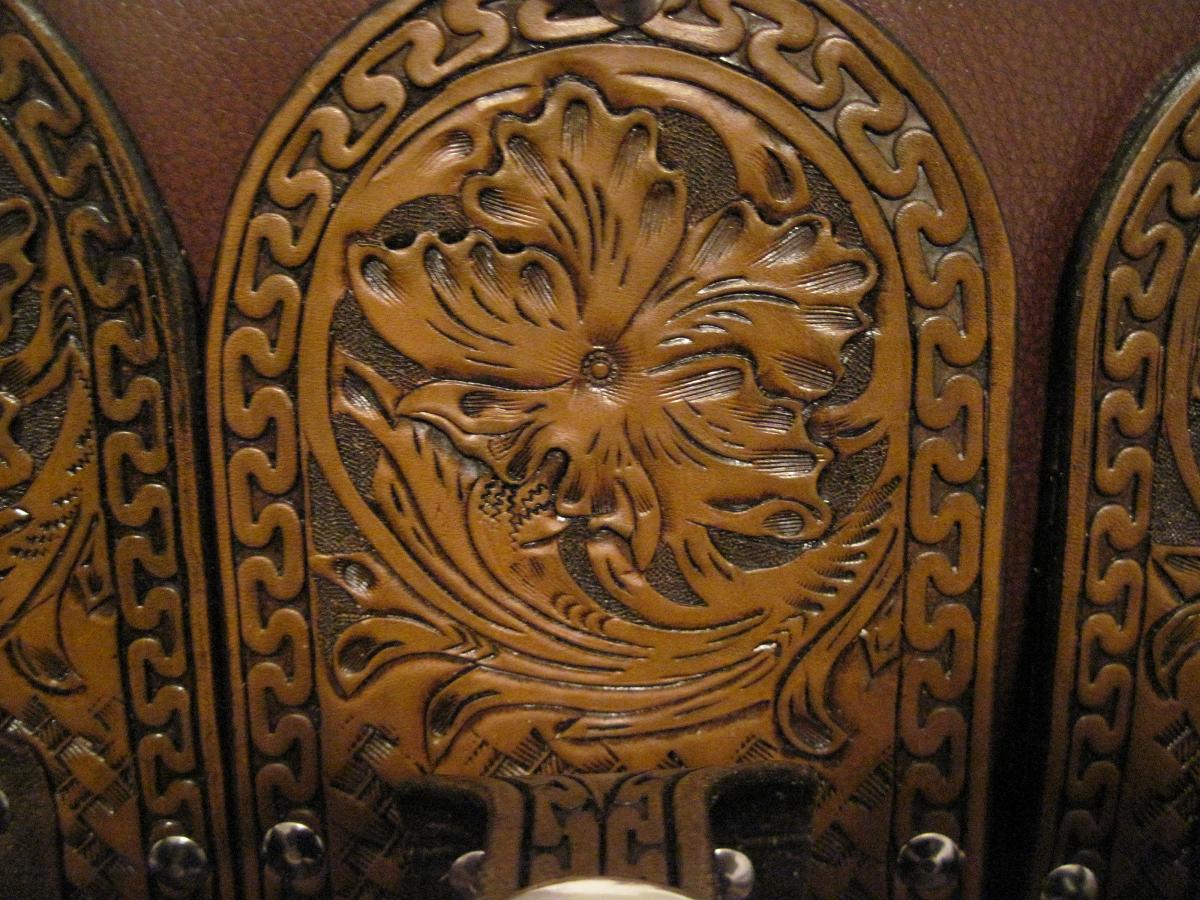
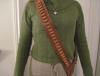
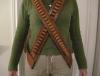
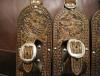
Thalaskaru, That's all it is. I just tried to angle it the best I could so it laid on the shoulder and chest. Bobby, I think you're right. The 12 gauge holds 40 and the 20 gauge holds 50. They should be well armed though if they can make it to where ever they're going. cem, I'd go for it. It would make a great Xmas present. Thanks, Butch
-
A couple of shotgun Bandoliers I made. One is for a 12 Gauge and the other is for a 20 gauge. Thanks for looking Butch 12 Gauge: 20 Gauge Both:

-
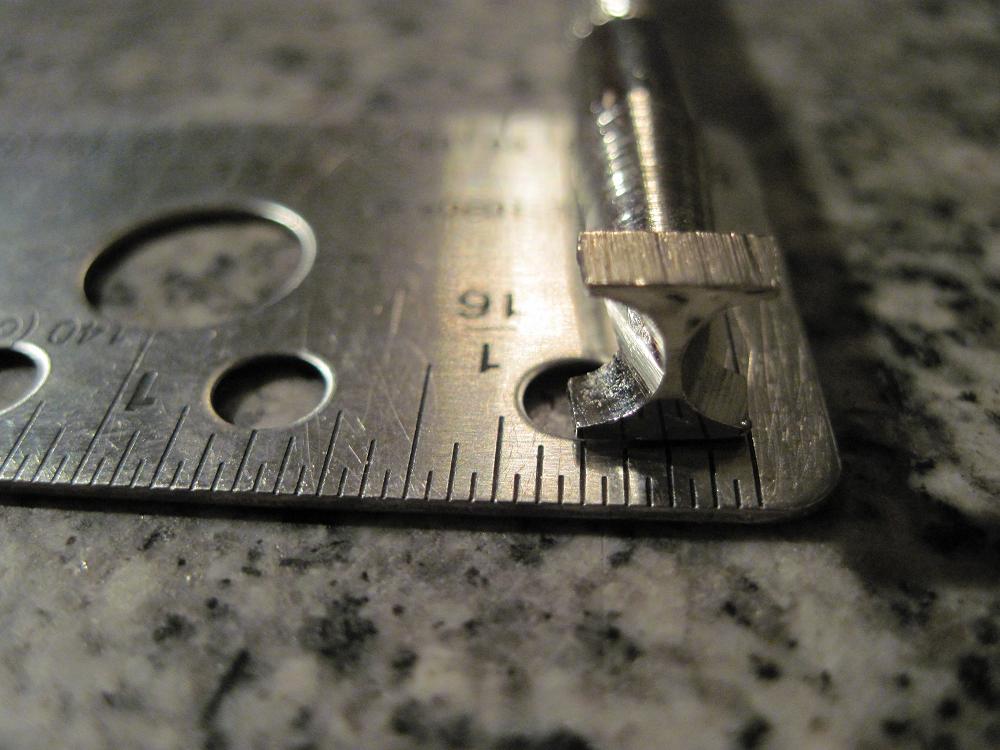
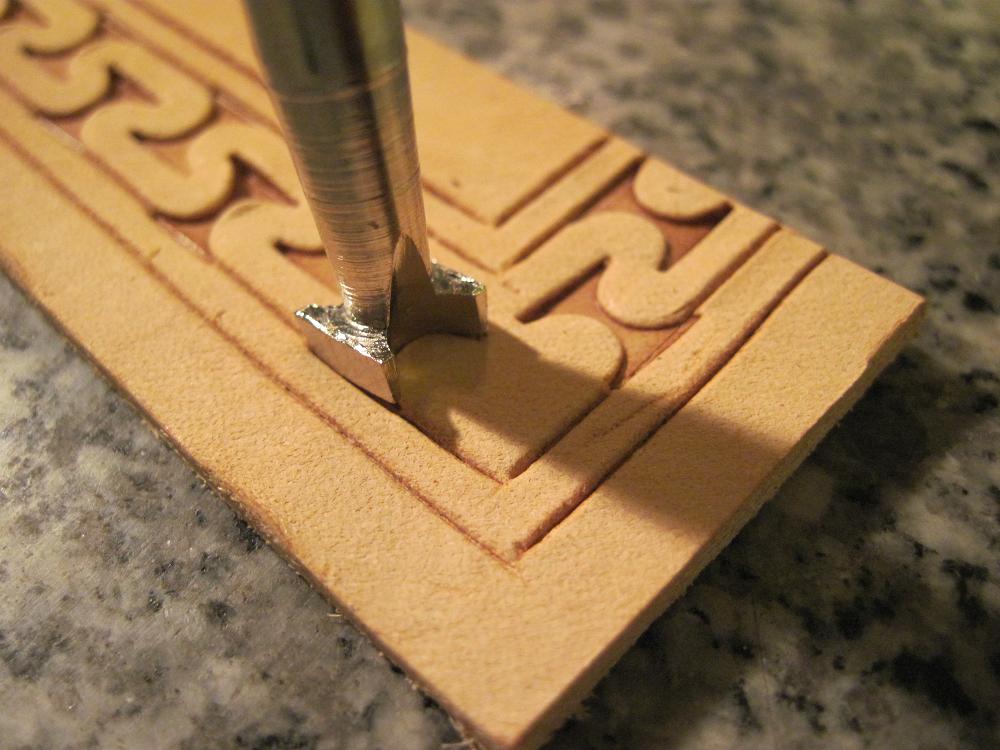
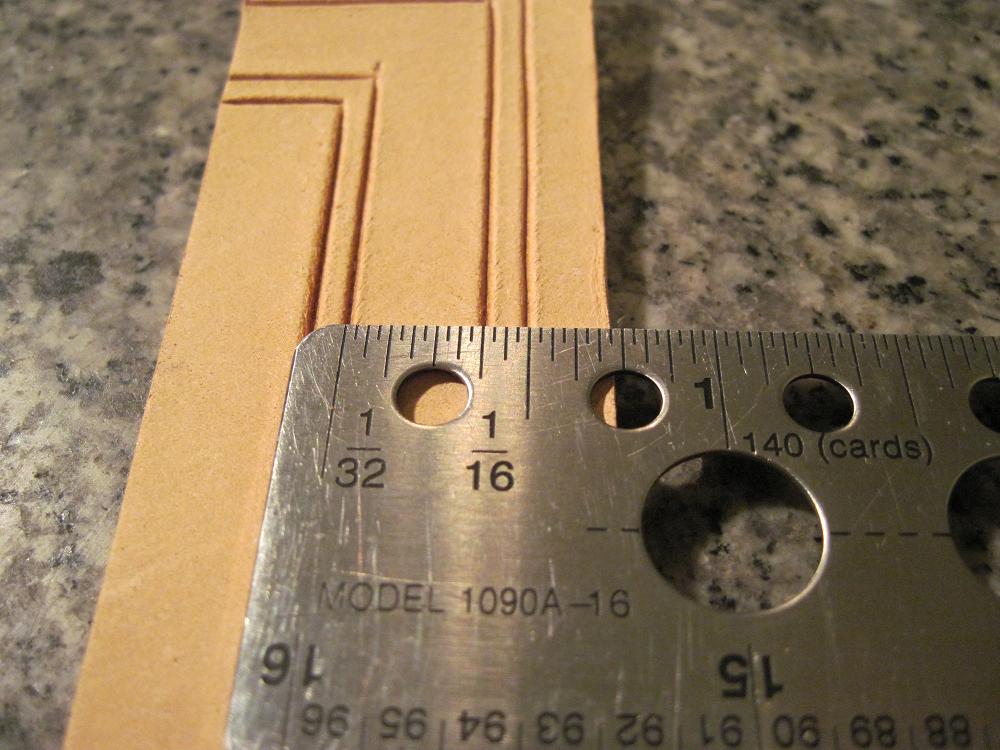
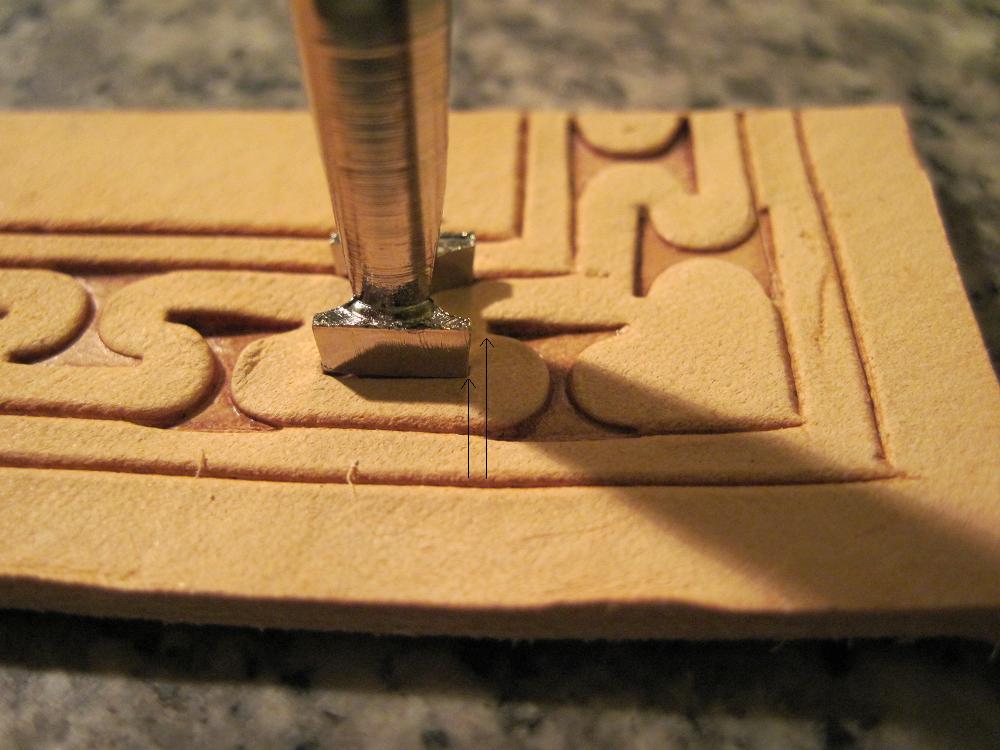
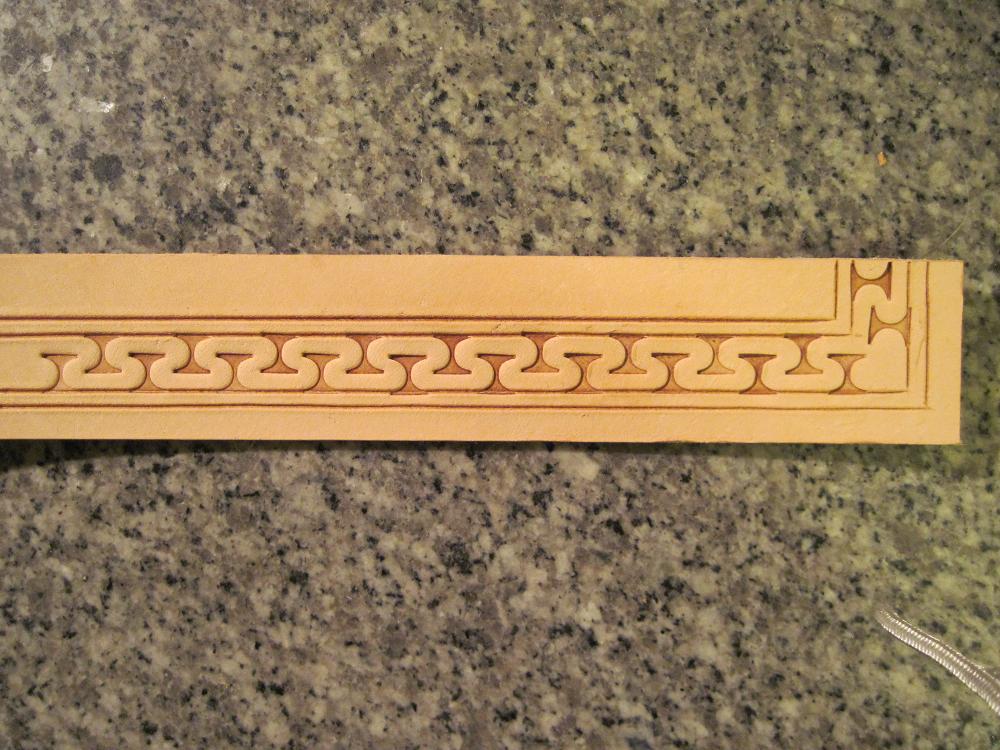
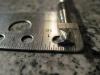
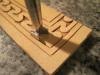
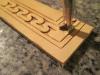
Here's how I do the border. Currently I use the Craftool D444S I didn't notice that it has nicks in it until I took this picture. (Probably time to buy a good one) It is 1/4" wide I use a divider to create the area that I'm going to stamp and then cut it with a swivel knife. Using this stamp I make the inside area 3/8" wide Looking at the lines using the 3/8" wide area allows the top stamp center to align with the bottom stamps top and vice verse. Stamping the corner in the shape of a Spade: I leave a little bit of distance between the top and bottom stamp so that the border is close to the same size all the time. I've seen that if I don't put a little bit of distance the corners of the top and bottom almost cut into each other. Sodapop I can't really explain how to start and end other than what you mentioned. If I have corners I do them first and then move out from there and try to gauge where my next corner is so it flows correctly and you don't have two stamps at the top or two at the bottom. There's been times where I think it has all worked out perfect and then other times where I get very close and the ending or the border either gets really tight or really loose. It just takes a lot of practice and I'm still trying to figure that part out myself. After I'm all done I take a modeling tool and try to smooth out the rough areas. If anyone else has their own opinion on how they do it, please let us know. Hope this has been of some help. Butch


-
Dave, I'm at work right now, but if someone hasn't already done it by the time I get home I'll post something tonight. Thanks, Butch
-
Sodapop I should probably leave this to the experts and hopefully they'll chime in. My best shot at it is just from practicing it and trying to figure out the width of the border that I want and where the overlap will occur. Corners are the hardest part, but when I do I try to make it look like a spade in each corner. These don't have any square corners so they were a little easier to do. When I go from one side of the border to the other side I just leave a little bit of a gap from each tips and I think that's what works best for me. Hope that helps. Butch
-
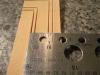
dieselclatterok, I use either 1/8" or 1/4" board. For the 1/8" I can just use large rivets, but for the 1/4" I have to get a bigger drill bit and recess out the back of the board a bit so that the rivet will fit. Then I just dye the edges of the wood to blend in with the leather. Thanks for looking, Butch
-
Truly amazing JW. I wish I had an inkling of your talent. Butch
-
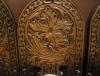
I enjoyed doing this one of a Dove Butch
-
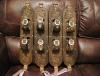
Thanks everyone. These went to my wife's cousin. He wanted 1 that would hold 4 guns but I didn't think the weight of 4 guns would be a good idea. Thanks, Butch
-
Here's a couple of gun racks that I made recently. Thanks for looking. Butch
-
If Mark's patterns don't help you, but I must admit; Nice straps Mark, here's a link to some Spur Straps patterns. Butch
-
Roper Wallets?
Butch replied to Chris B's topic in Purses, Wallets, Belts and Miscellaneous Pocket Items
Unfortunately I'm one of them poor folk. I just use Tandy tools. Hopefully some day I'll be able to get some nice tools. Let me know if you need any patterns and I'll see if I can help or not. Butch -
Small Caliber Holster
Butch replied to Butch's topic in Gun Holsters, Rifle Slings and Knife Sheathes
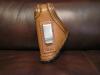
Thanks for the comments. I just found out that the lady who asked me to make this for her said that it was too big for her pistol. I went by the dimensions that were given to me and even replicated the pistol out of wood. She really liked it other than that. I told her to take some pictures of her pistol in the holster and send them to me so I can hopefully re-size it accordingly. MADMAX22, this time I'll take your recommendation on rounding the corners. Thanks, Butch -
Roper Wallets?
Butch replied to Chris B's topic in Purses, Wallets, Belts and Miscellaneous Pocket Items
Hi Chris, Here's something I did with some Roper wallets. I don't know if it will help you or not, but maybe it'll spark an idea. Roper Wallets Butch -
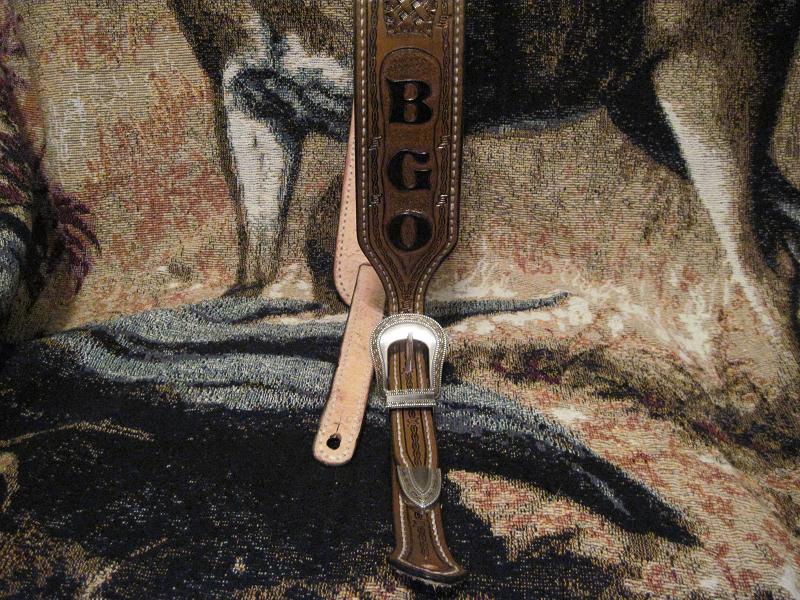
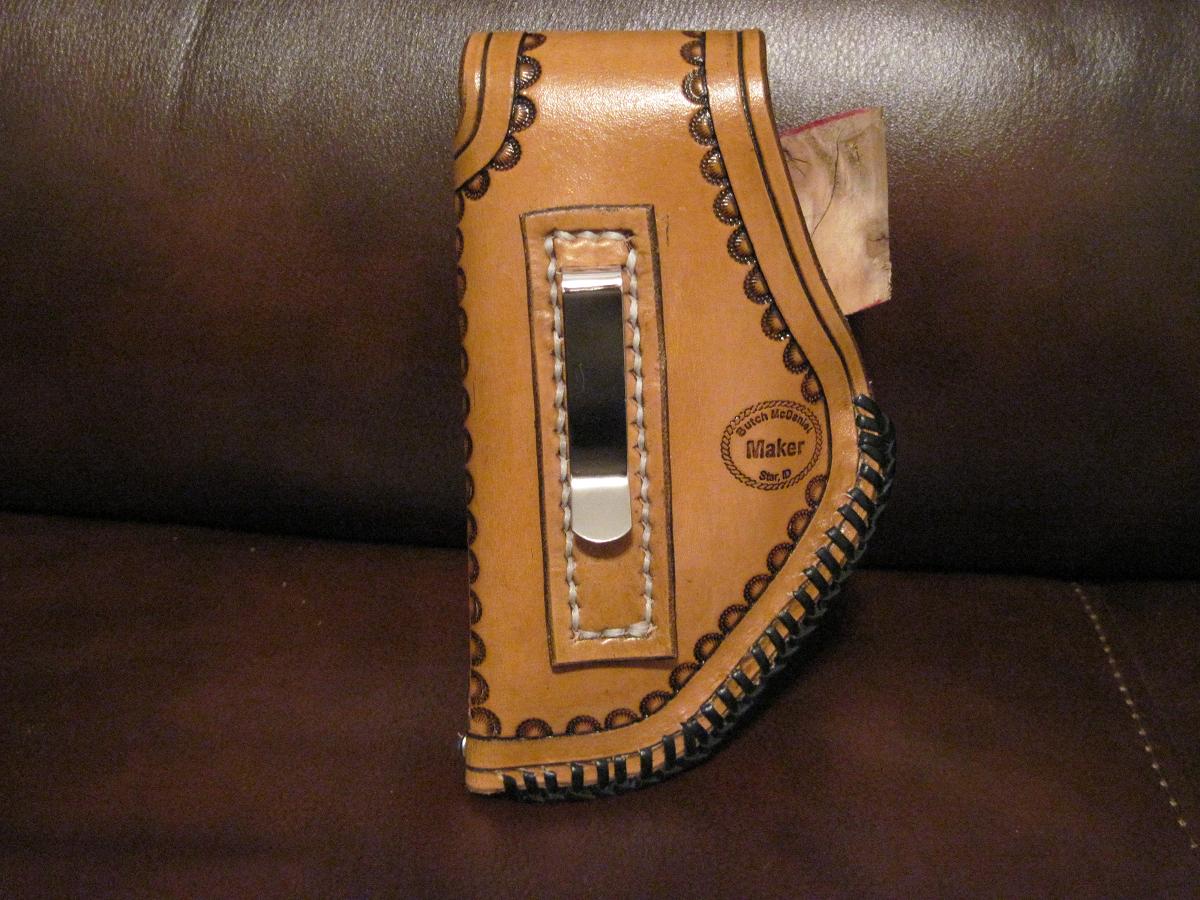
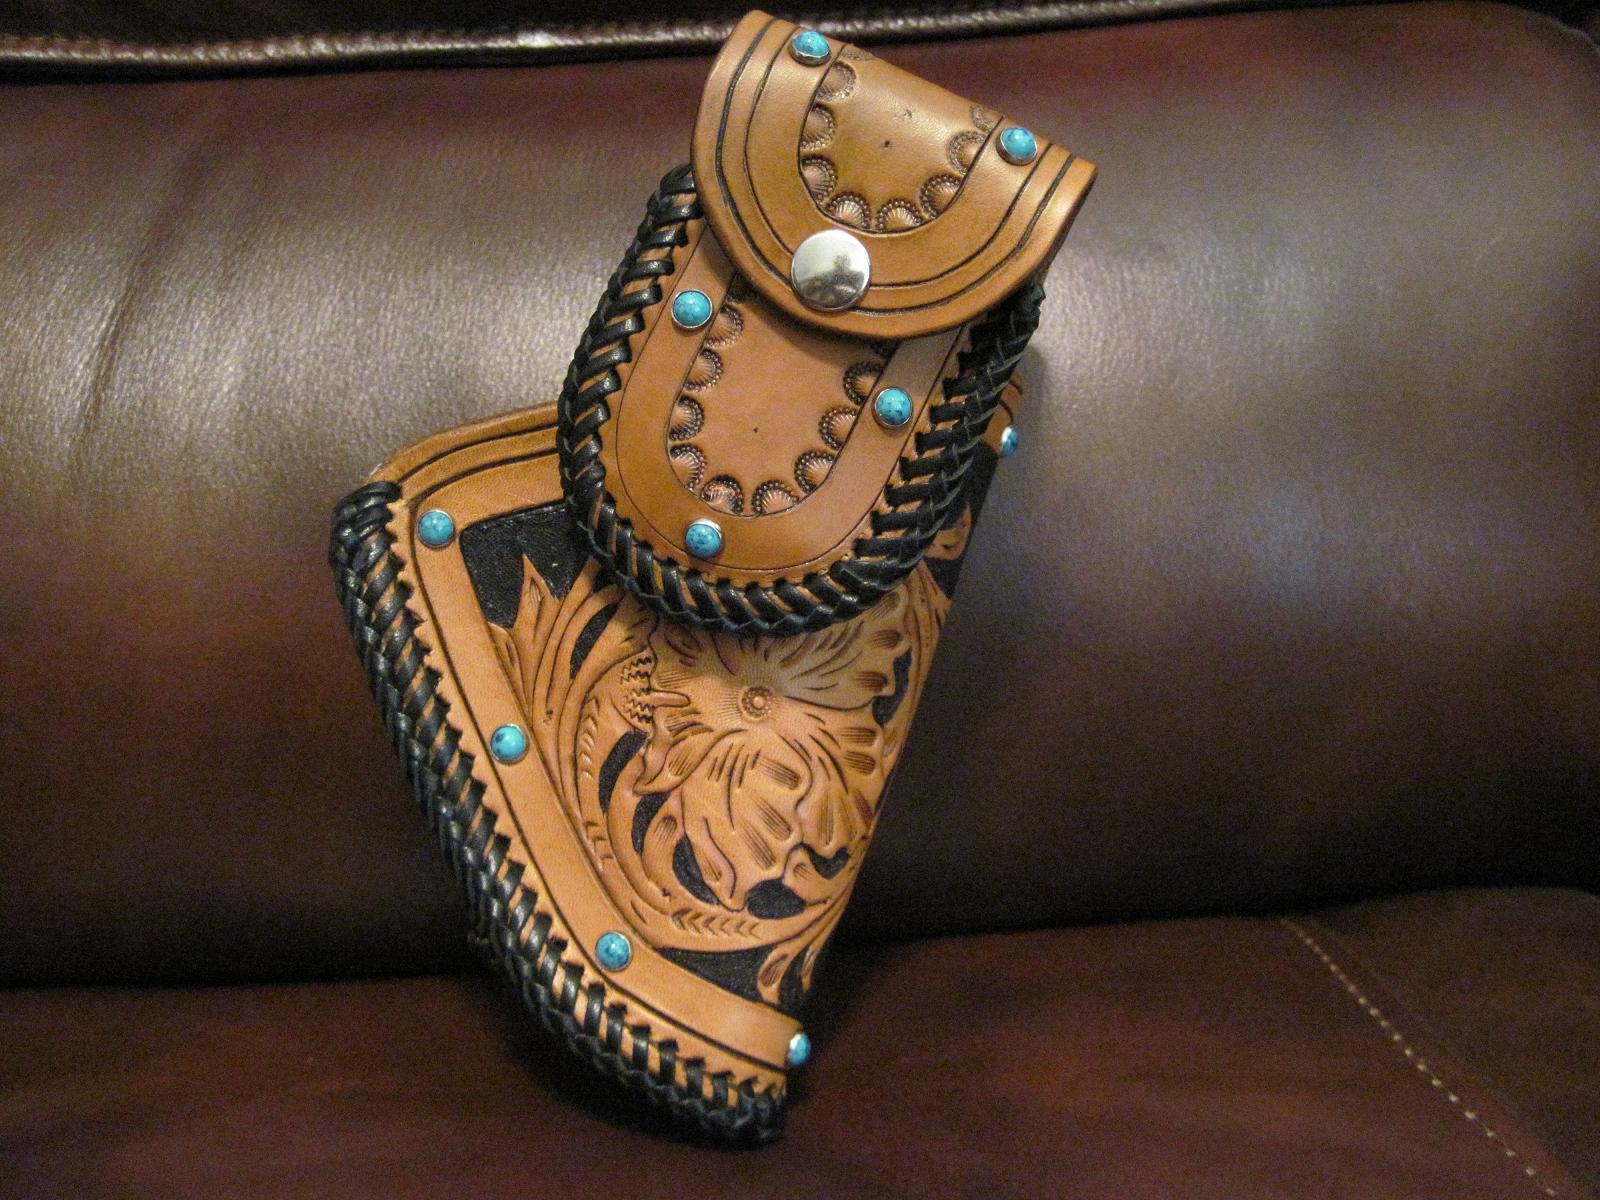
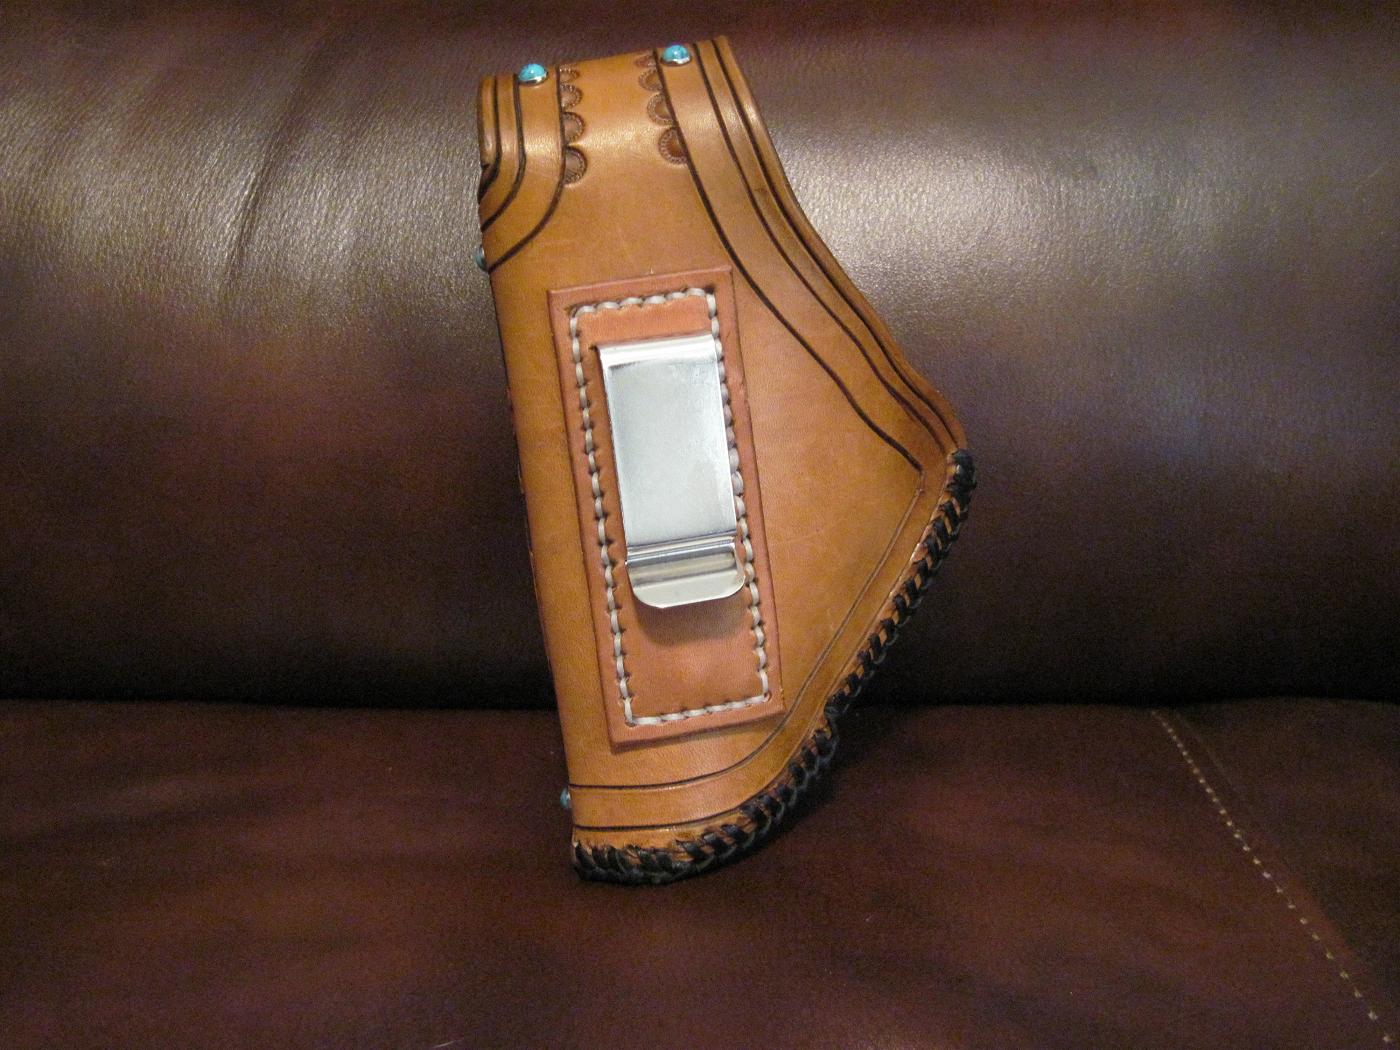
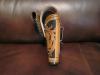
This holster was made for a Phoenix Arms .25. Not sure of the model. I didn't have the gun, but got the dimensions and made a mock up out of wood. It also has a holder for the clip. As always, critique is always welcome. Thanks, Butch
-
Another Christmas present finished
Butch replied to BearMan's topic in Books, Journals and Photo Albums
Hi Ed, Could you please put me on your Christmas List. Butch -
Very nice work Clay. Very realistic. Butch