YinTx
-
Posts
3,798 -
Joined
-
Last visited
Content Type
Profiles
Forums
Events
Blogs
Gallery
Store
Everything posted by YinTx
-
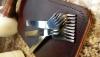
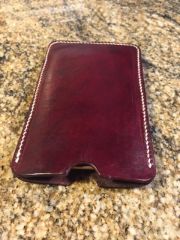
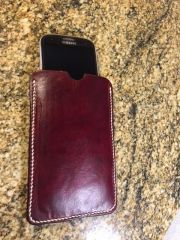
Mr. Armitage, First off, I must say thank you for all your sharing. Without it I can confidently say my hand stitching would still be atrocious. By studying your videos and the tutorials and information on this site, I can at least show my work without complete embarrassment. Regarding your Post #20, I believe JanC was referring to these irons in the attached photo that are sold on ebay. They are listed as European style, and can be had for $35-$75 for the entire set. There are also some listed as "French Angled" chisels that I have ordered as well to see how they work. These in the photo make a very fine mark, less than 2mm in length, and I have been able to stitch nicely with Fil Au Chinois and 0.6mm Tiger thread with them. I have some Osbornes, which as you note make a massive hole, and are pretty useless for a thread as small as Fil Au Chinois. Since I'm just a newbie having only been stitching since January, it would be interesting to see what a more seasoned master thinks of these tools from China. I believe they are missing from your review videos, but looks like I see a set on your log at the end of the last review of the Kyoshin Elle irons. Photo: Hermann Oak 7/8 oz leather, 0.6mm Tiger Thread Samsung Phone slip case, "European Style" stitching irons, 3mm (a little over 8 SPI). First photo after marking, gallery photos after stitching, edge, front and back. one pic here, the rest in my Gallery… http://leatherworker.net/forum/index.php?app=gallery&album=2661 YinTx
-

-
-

-
From the album: Using new stitching irons on Cell Phone Case
Just finished an Iphone 6 phone case. Front view. First time using European style stitching irons. I think it came out better than some of my other stitching. YinTx© YinTx
-

From the album: Tools
Some new stitching irons I recieved, 3mm between tines, 2mm marks. Working on a cell phone slip case to stitch with 0.6mm Tiger Thread. YinTx© YinTx
-
Monica, See your post #20, regarding your "dexter" Russell Green River knife: I found one in the pile of tools I had bought, covered in beeswax like it had been used to cut the block. I had discounted it as a useful item considering its current state. Got the nerve to clean it up a few weeks ago, sharpened it on an Arkansas stone, and stropped it with some medium then fine rouge. It has become sharper than any razor blade I have used, much stronger and easier to work around corners, and handles thick layers of hard leather with ease, very little force required. I think these are only $10 - $15 knifes, and it quickly has become one of my most appreciated tools. If you are having difficulties with the one you have, give it the "scary sharp" treatment and try it one more time. I have even been able to skive very cleanly with it, although I feel the long edge is not the best for this type of work. I myself would like to get a regular "skiving" knife, but I can't justify it since I have successfully been using my round or "head" knife to do this job since I learned what "sharp" really meant. YinTx
-
 I am trying to sand then dye the sand then dye, multiple times. After, I am just using water to burnish, followed by multiple coats of beeswax. Previously, I was sanding, burnishing with gum trag, burnishing with cloth, sticks, anything that everyone was suggesting. The current method seems to make a smooth edge, even if it isn't glassy. Not sure how to get the glassy part yet, I'll keep at it. All of this because I am trying to avoid using edge coat, because I don't want it to wear off with heavy use. YinTx
 -
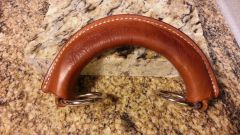 Thanks, Leatherisfun. My impression was if you are lifting a heavy case, you would like the bottom of the handle smooth and rounded so as not to gouge into your hand. The top doesn't press into your hand as you lift the case. Am I missing something? YInTx
 -
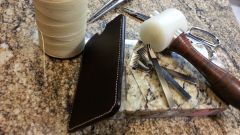
From the album: Laptop Bag
Tried new method for burnishing the edge. Let me know how it looks...© YinTx
-
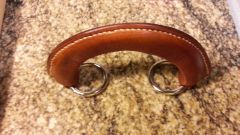
From the album: Laptop Bag
Started with a prototype handle, heavy duty. The thread is 1mm Tiger.© YinTx
-
-
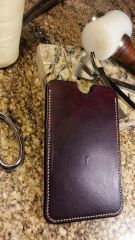
From the album: Second Project: Phone Slip Case
Revisited the cell phone slip case with some experimenting. Using my new Osborne stitching irons and Blanchard awl with Osborne linen thread. First time I put all three together. Those 2.9mm long holes are really long, and I had issues getting the lay to be correct, but after more practice I have been able to get better stitching than this now. The color was also an experiment. YinTx© YinTx
-
DavidL, I was just looking at the backside of your stitching, and noted that it appears the slant of your thread is opposite the slant of the holes. IE, where the thread would be in the bottom of the hole as in the front side stitch, it is in the top instead. Can anyone indicate whether this is correct or not? I too am still in the process of learning stitching by hand, and I want to have a correct and even result as well, which I am discovering takes much patience, practice, the correct tools for the correct thread, and an understanding for what the correct outcome should be. YinTx
-
 I was unaware Fiebengs made a white dye? Or is there something else I can mix in that would do the trick? Thanks, YinTx
 -
I'll let someone that actually knows the answer to this one give you a better reply, but judging from the video, it looks like he cut it all from the same hide of leather.... YinTx
-
I have have experienced the same thing with my Fiebings Royal Blue, it either comes out near black or a washed out color. I have tried diluting from 100% down to 10%, and tried multiple coats with the lower dilutions to bring the color up with no luck, still washed out looking. Here is a photo: left item is brushed on with 10% solution, 2 coats. Second item is dipped in 10% solution, last item (all the way to the right) is dipped in 25% solution. Nothing that gives the beautiful, vibrant Royal Blue I would expect, or that TomG shows in the photo. What am I missing here? YinTx
-
Check out Armitage Leather's video, around the 24 minute mark. The rest of his video may be useful for you as well if you are making this bag. YinTx
-
Help! Wanted Techsew Stitching Nirvana, Got The Blahs Instead
YinTx replied to YinTx's topic in Leather Sewing Machines
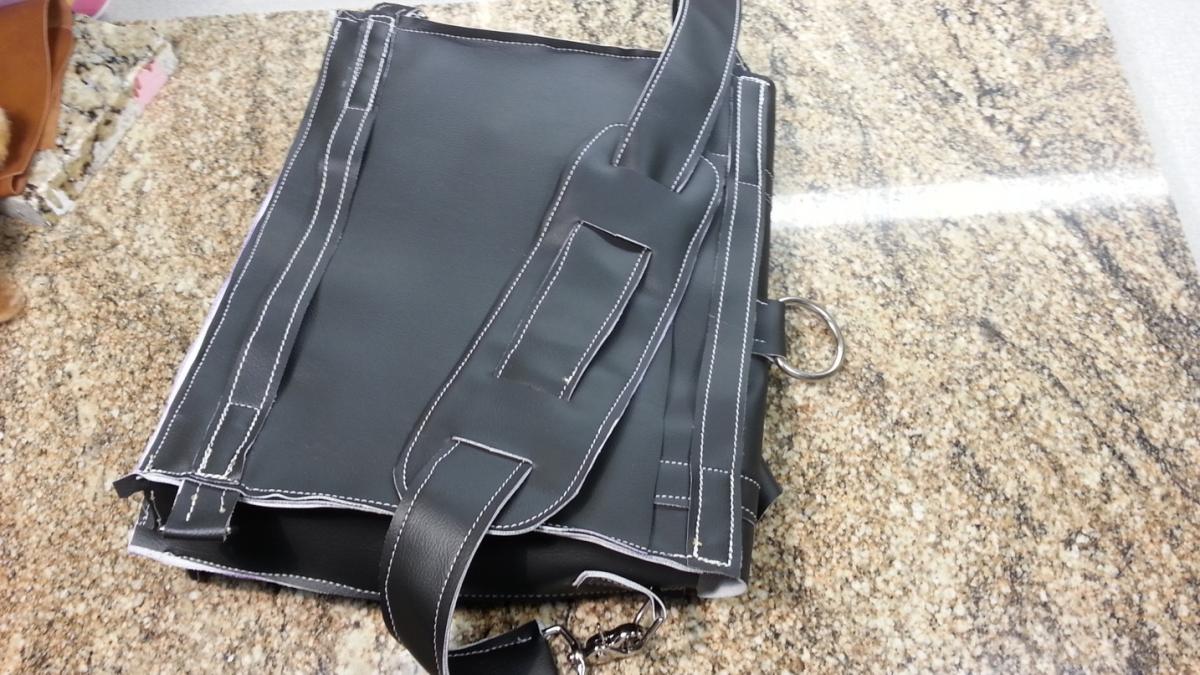
So a quick update on the Bogle-Greenwell 2700 (BGMC 2700, or Techsew 2700 variant). I ordered a new tension spring to install in the bobbin basket to deal with the bobbin tension spring problem. It unfortunately did not have the same size holes for the screws to hold it in place. I was informed I needed a new bobbin basket, so I purchased one. On arrival, it did not fit cleanly, and caught the thread as it came around the top, causing a birds nest on the bottom of the leather as it stitched. So I removed it, and modified one of the springs I had previously purchased to accept the screws of the original basket. It is now sewing flawlessly, so I used it to make my new laptop bag mock up from vinyl, using 135 thread. I was also able to use it with 69 thread to make repairs to a leather bag, and it stitched just fine. The operator (i.e., me) however did not stitch flawlessly, so I can see I need much more practice with the machine to make acceptable stitches. Here is a photo of the completed mock up: YinTx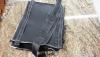
-
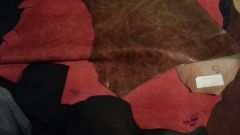
From the album: Leather
Sienna and brown with "Lynx" pattern from Tusting and Burnett, Ltd. YinTx© YinTx
-
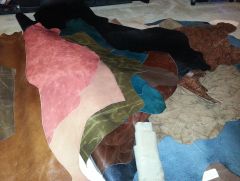
From the album: Leather
Colors, some Charles Hardtke, some Tusting and Burnett, LTD. Various lining leather.© YinTx
-
-
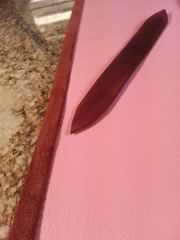
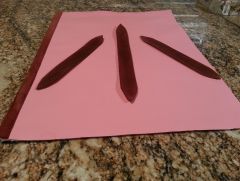
From the album: New Project
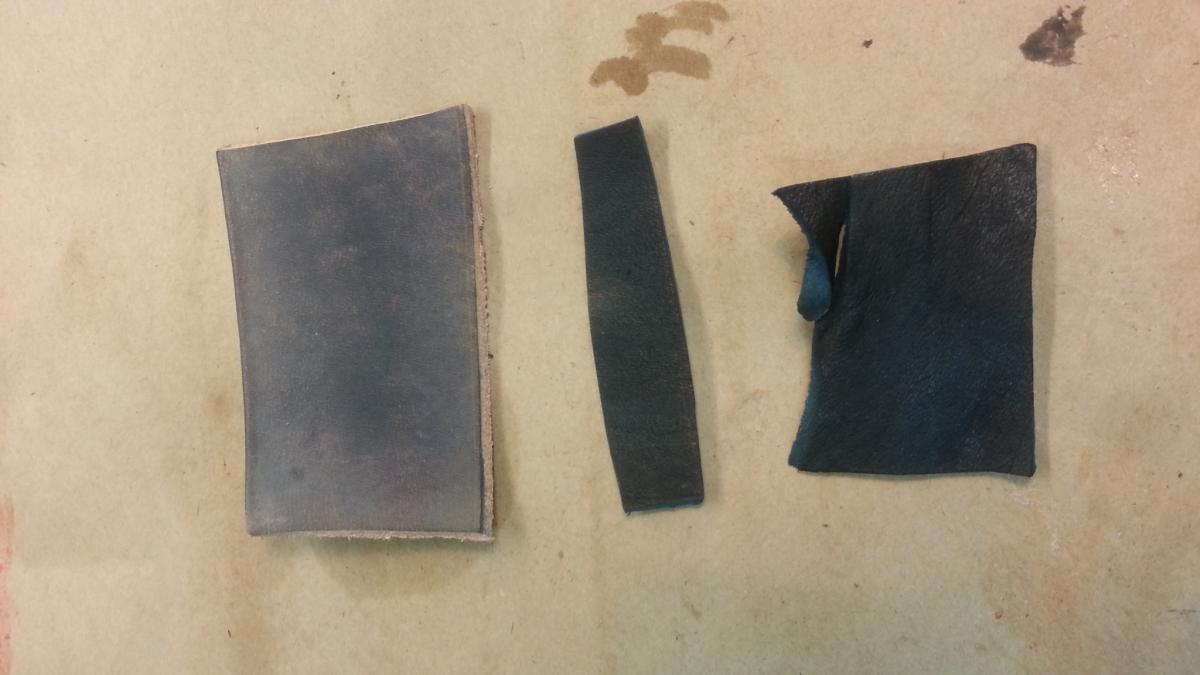
Well, remade the pink panel, I must say it came out much nicer. Also had to redo the chocolate tabs, they are better as well. YinTx© YinTx
-
Starting A New Project Yesterday...
YinTx replied to YinTx's topic in Purses, Wallets, Belts and Miscellaneous Pocket Items
Monica, Everything working with leather but the book keeping has been enjoyable so far. Managed to redo the pink section, it looks much better this time around. Also redid the chocolate tabs, will post photos soon as I can. New irons are at least a week out, so had to make do with the old Tandy iron I have in the toolbox. YinTx -
Starting A New Project Yesterday...
YinTx replied to YinTx's topic in Purses, Wallets, Belts and Miscellaneous Pocket Items
Added another photo in the gallery, but realized I had a fatal design flaw, so back to the drawing board for the pink section, and the chocolate tabs. So, as they say, one step forwards, two steps back! Still waiting on my stitching irons, so can't sew it up anyhow. YinTx