YinTx
-
Posts
3,794 -
Joined
-
Last visited
Content Type
Profiles
Forums
Events
Blogs
Gallery
Store
Everything posted by YinTx
-

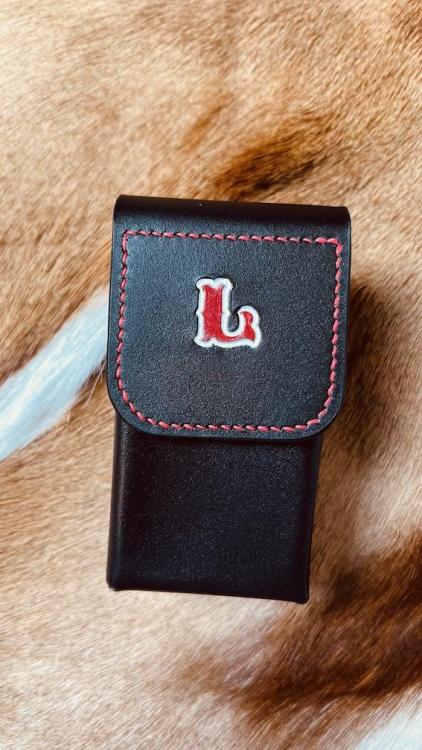
Phone case for retired Fire Fighter
YinTx replied to YinTx's topic in Purses, Wallets, Belts and Miscellaneous Pocket Items
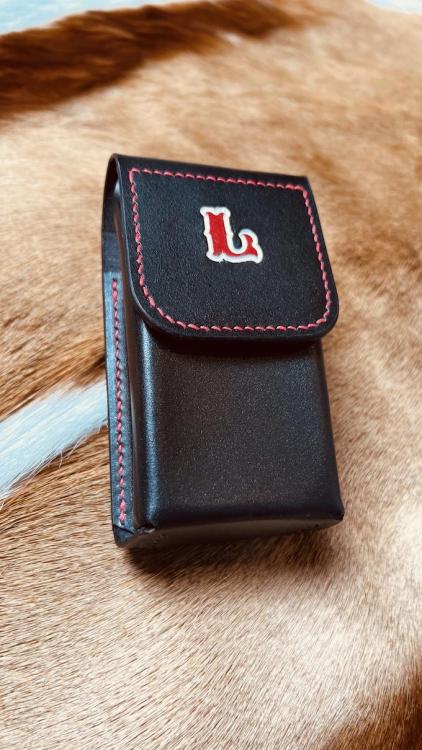
Yes, I didn't pay as much attention to detail as I normally do to space the stitches out, I just used a single stitch marking punch that fit and went from there. I was under a time crunch to get it done, and figured it was on the back behind a belt, so not very visible. As I mentioned, it was a gift, so probably won't hear any complaints! I painted the Angelus with a small brush. Used 5 coats of white, and about 3 coats of red on a standard letter stamp. -
I've always wanted to do a baseball. Yours are awesome. Thanks for showing off!
-
Phone case for retired Fire Fighter
YinTx replied to YinTx's topic in Purses, Wallets, Belts and Miscellaneous Pocket Items
Appreciate it! -
Phone case for retired Fire Fighter
YinTx replied to YinTx's topic in Purses, Wallets, Belts and Miscellaneous Pocket Items
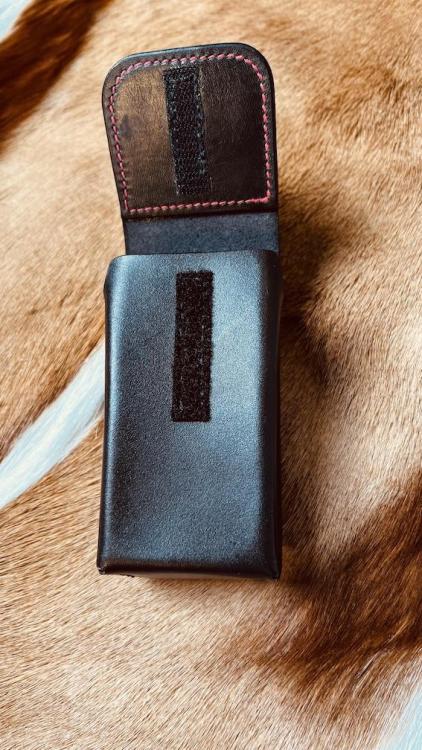
It is a bit roomy inside for the phone, and a large opening at the top with room to grip, so I think it will work well as yours did. Thanks for the compliment! Thanks! Its a gift, so I probably won't hear any complaints. Hoping it outlasts the previous one he was using! Typical mass produced soft leather that fell apart as soon as it possibly could. -
Vibrant Pink Color
YinTx replied to TomG's topic in Dyes, Antiques, Stains, Glues, Waxes, Finishes and Conditioners.
Take a look at the Fiebing's Oxblood, diluted 50/50. You would be surprised. Think there may be some photos on this site too showing how bright it comes out. edit to say: found one of them. -
Red Wing Black Bird Buckle
YinTx replied to Stewart's topic in Purses, Wallets, Belts and Miscellaneous Pocket Items
That is awesome! -
Phone case for retired Fire Fighter
YinTx replied to YinTx's topic in Purses, Wallets, Belts and Miscellaneous Pocket Items
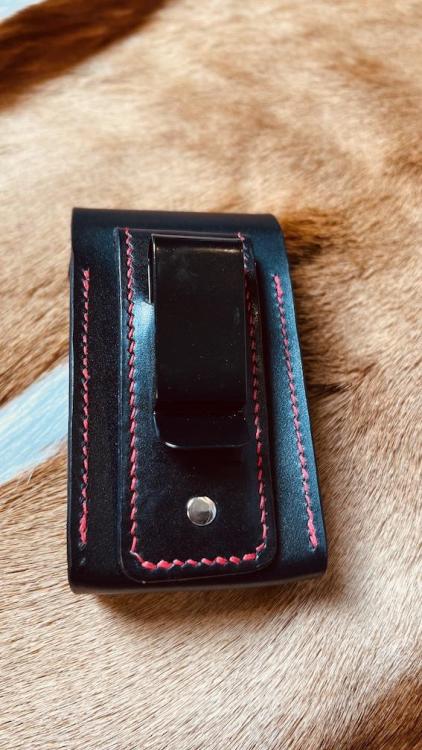
Thank you, and glad you found a source, mine was from a pile of hardware I picked up somewhere along the way! Thanks, and I hope so! -
Phone case for retired Fire Fighter
YinTx replied to YinTx's topic in Purses, Wallets, Belts and Miscellaneous Pocket Items
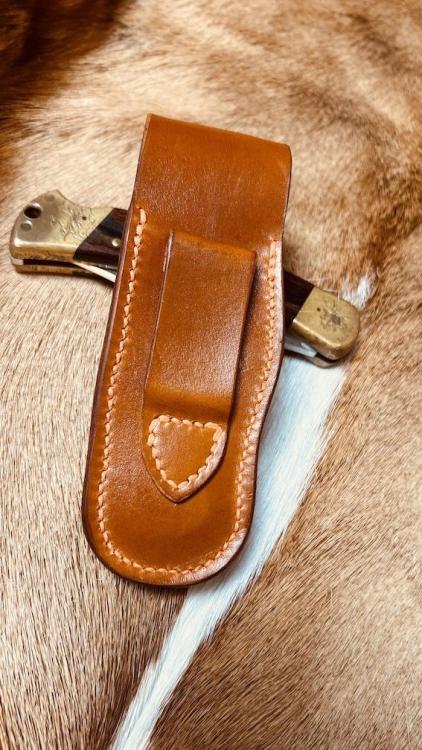
Appreciate it! Thought about your idea when I designed it, but opted for the huge gap on the top to allow gripping it easily. Maybe best apparent in the first photo, you can tell where the stitching ends for the back and the top of the case. A bit over an inch. Working on version 2 that may or may not work that will completely cover the phone. -
Phone case for retired Fire Fighter
YinTx replied to YinTx's topic in Purses, Wallets, Belts and Miscellaneous Pocket Items
Thanks, and I hope so, about to get it shipped off, will find out soon enough! -
Easy open/close and access for arthritis, etc. Opinions welcomed!
-
I was expecting the logo from the Toyota MR2! Nice work tho!
-
I was thinking the same thing. Make a small piece with a number or web address or whatever, attach it to the lower right section with a snap or rivet or clip or whatever! Nice work, great idea!
-
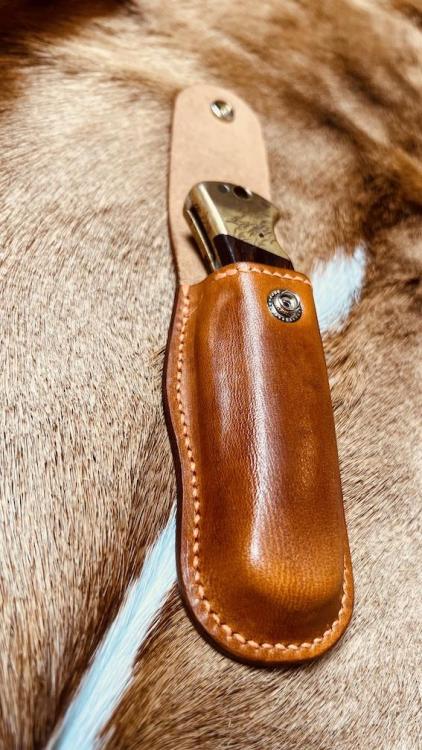
Thanks, and if you are referring to the knife, I agree, but it was free and I am using it to form the sheaths, so wasn't too worried! Not very photogenic tho unless you like that patina thing... I think it was worked over as a hammer in a past life.
-
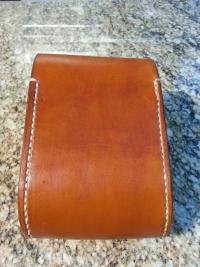
Thanks, this post had crickets so I was wondering if anyone was able to see it! The edges are beveled, sanded, dyed and burnished. It is not a heavy bevel, I think I used a size 0 or 1 on it.
-
I still haven't finished studying the work they left behind to spend time reading a 400 page biography from them! Would be surprised if anyone outside of the leather world would read it... but go for it, lets see what you got!
-
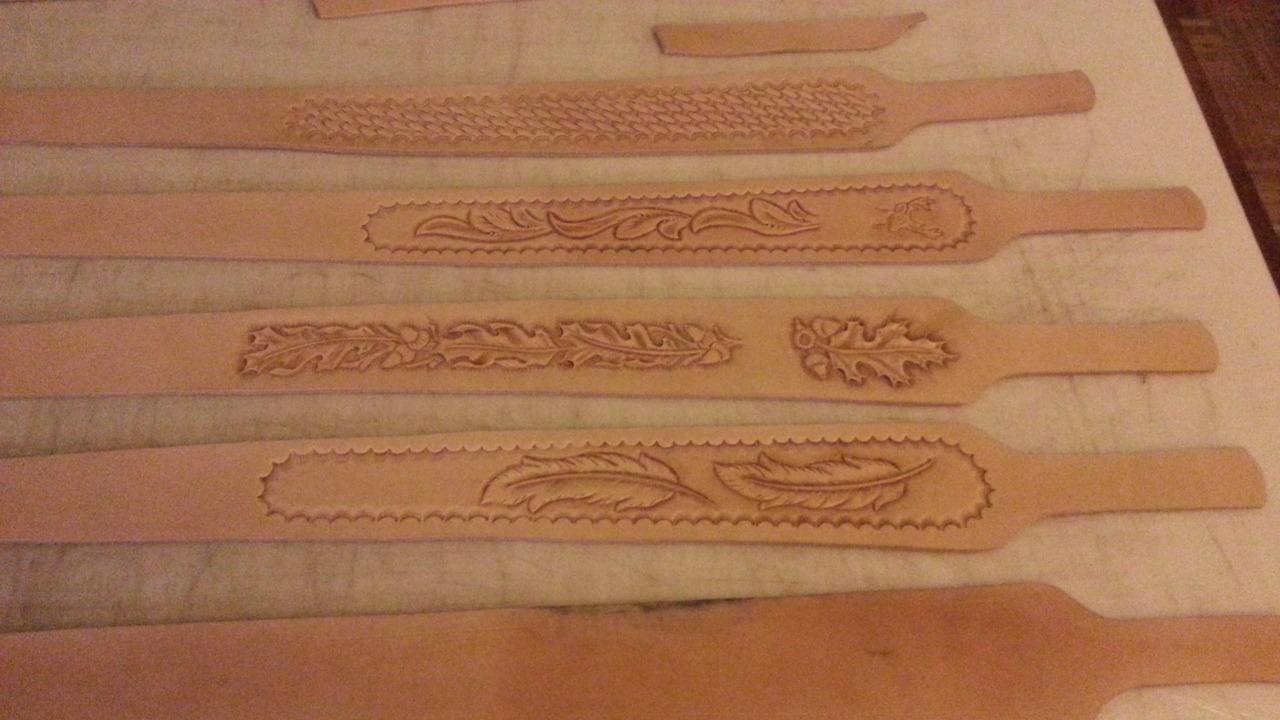
Lots of references to "decorated" "incised" "carved" "tooled" etc., but nothing I have found yet about nail carving in "Packing Iron" that I can find.
-
You might want to move this to the for sale section...
-
needle and awl machines. Campbell Randall, etc.
-
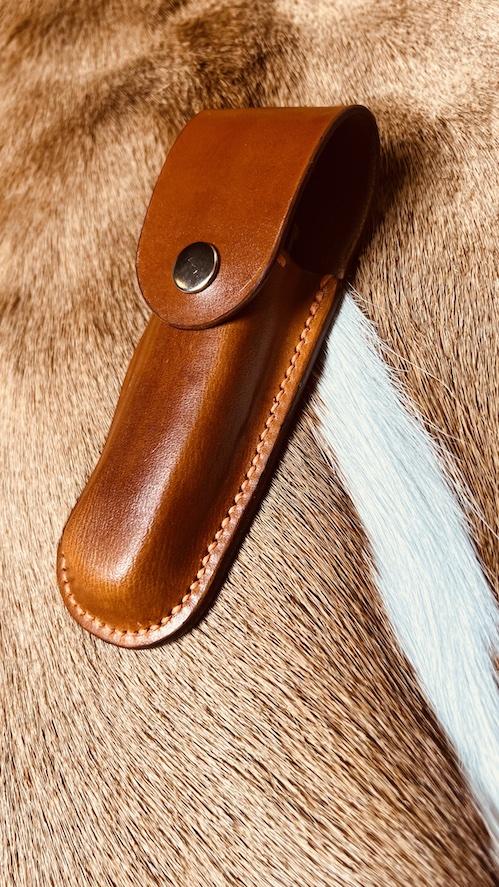
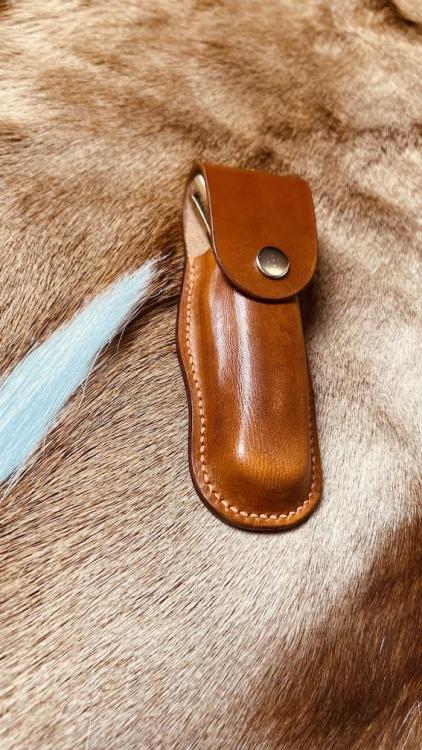
Still formed, and as clean as I could make the aesthetics. Lined on the outer shell to protect the knife from the snap hardware, and a flap closure for extra security and protection. Should probably use a line 24 snap next time, but otherwise I think it came out ok. The lining added some nice rigidity to the top shell. Realized after the photos that I hadn't tapped down the stitching, which I have now. This was even more fidgety to make than the previous, as I had to ensure the snap was centered and the lining stitching was centered etc., but it all worked out well enough I hope.

-
Colt .38 4" barrel
YinTx replied to Bawarrior's topic in Gun Holsters, Rifle Slings and Knife Sheathes
Agree on not wanting the rivets to make any contact with the gun. A lining might help there. Having the flat side as you do facing the gun helps, but not 100%. I do knife sheaths like this and it seems to work ok there, but most knives are not as expensive. Sometimes I just stitch. Would not expect a rivet of that nature to ever pop out when set well, and they look set well. I really like the way the leaves fade into the back without a border. Cool holster! -
Knife sheath: Simply not simple!
YinTx replied to YinTx's topic in Gun Holsters, Rifle Slings and Knife Sheathes
Thank you. I do try, but don't always manage! -
Knife sheath: Simply not simple!
YinTx replied to YinTx's topic in Gun Holsters, Rifle Slings and Knife Sheathes
Thanks! it is what I was going for, glad I was able to deliver! -
Knife sheath: Simply not simple!
YinTx replied to YinTx's topic in Gun Holsters, Rifle Slings and Knife Sheathes
Thanks much! Agreed. -
Knife sheath: Simply not simple!
YinTx replied to YinTx's topic in Gun Holsters, Rifle Slings and Knife Sheathes
Thanks! I was concerned the loop might not hold up, but I used heavy 332 thread on the whole thing, so hopefully it is good to go. Interesting thing, aesthetics. I've not been a fan of round holes myself, and I've loved slanted stitch work going around large curves and circles, like on briefcase locks, etc. I may give them a try on something small like this, maybe I'll change my mind! Thanks for the suggestion. This one actually didn't come out too tight, kinda just about right, which actually has me worried for long term retention issues if the leather stretches too much. I probably should have made it from heavier leather than I did. I think this was about 5-6 oz, 9 oz would have probably alleviated that worry for me. At that point, I may need your trick! This is the gotcha I suffer. So many projects never finished because I haven't perfected it in my mind yet. I was telling a friend of mine that perfectionism really gets in the way of getting anything done. And even when it is done, still not perfect. Thank you, and yes! -
Knife sheath: Simply not simple!
YinTx replied to YinTx's topic in Gun Holsters, Rifle Slings and Knife Sheathes
Thank you, and it seems to be working pretty well! Good to hear, thanks for the compliment! appreciate it. And yes, overanalyzed for 4 days while I made it. Might be able to make the next one a bit faster.