-
Posts
3,794 -
Joined
-
Last visited
Content Type
Profiles
Forums
Events
Blogs
Gallery
Store
Everything posted by YinTx
-
Thanks! I am too at times when I look at it, not sure I actually did that or not... Thanks! I felt like it needed a little somethin on the back there as well, glad you like it! YinTx
- 17 replies
-
- 3 ring binder
- eagle
-
(and 1 more)
Tagged with:
-
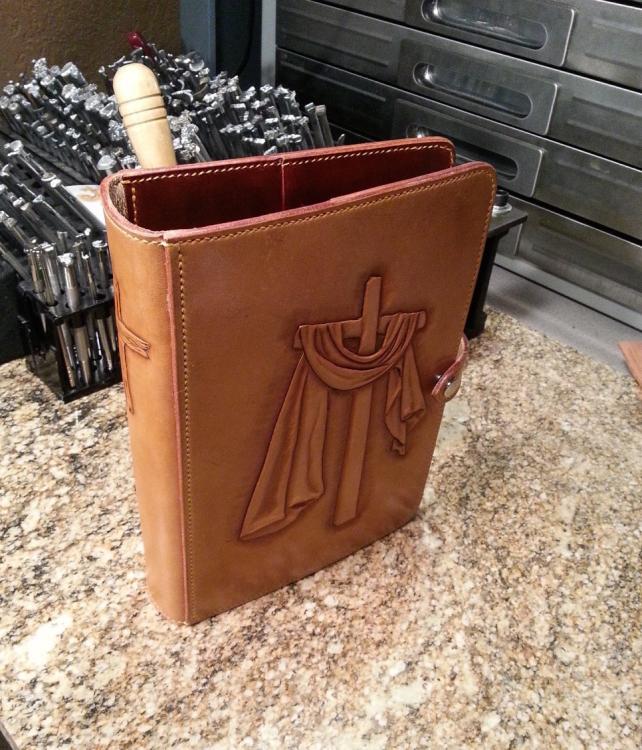
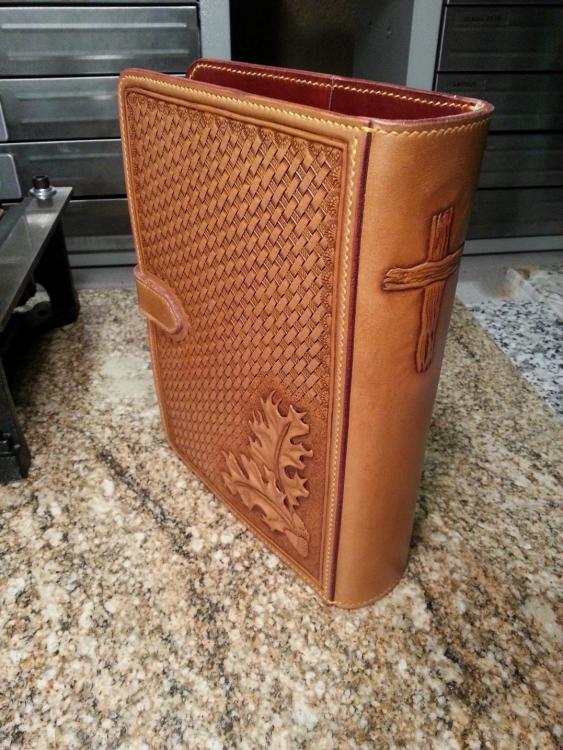
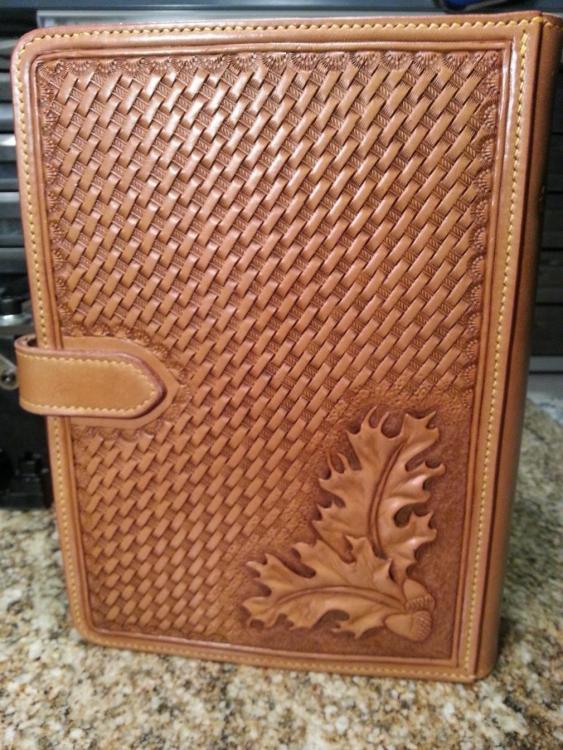
Bible Cover started last October
YinTx replied to YinTx's topic in Purses, Wallets, Belts and Miscellaneous Pocket Items
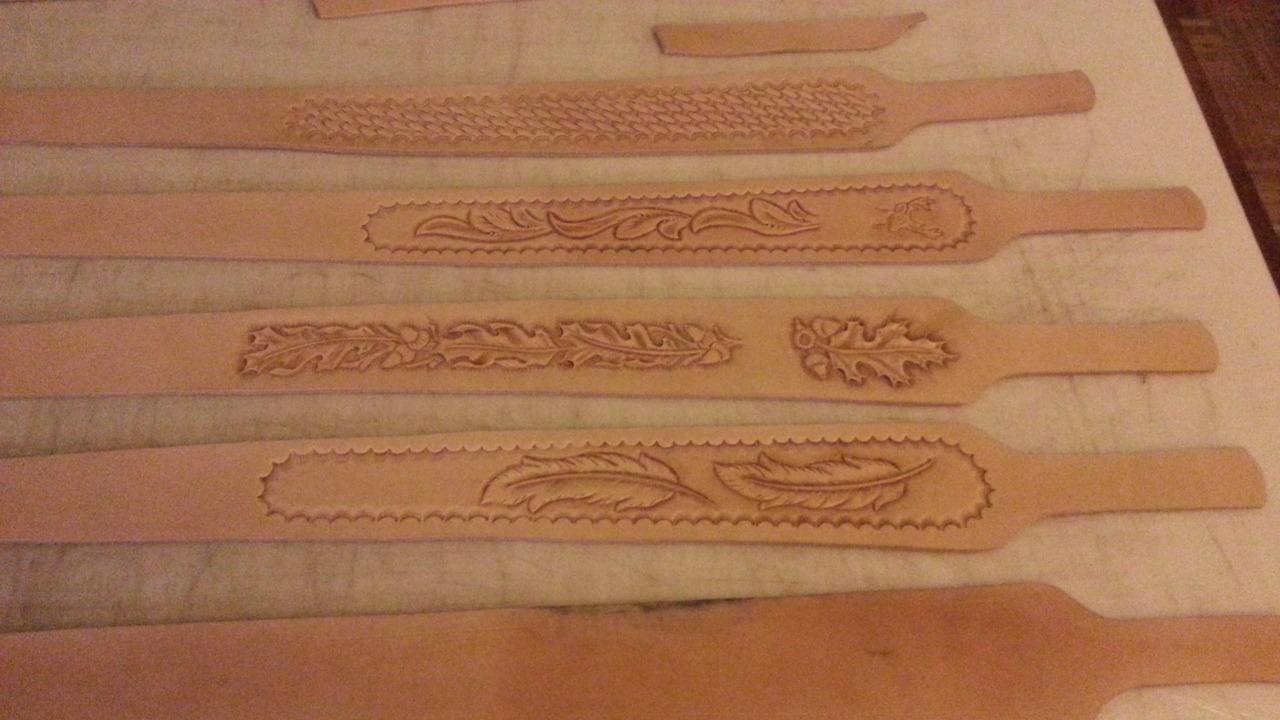
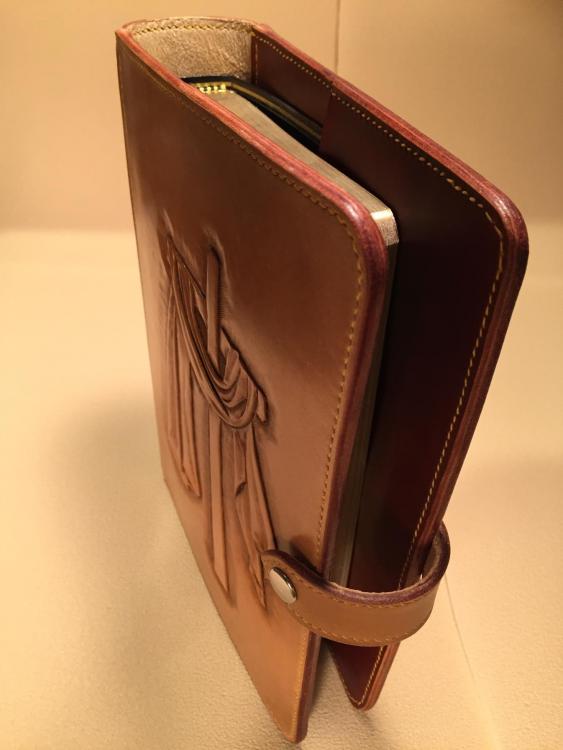
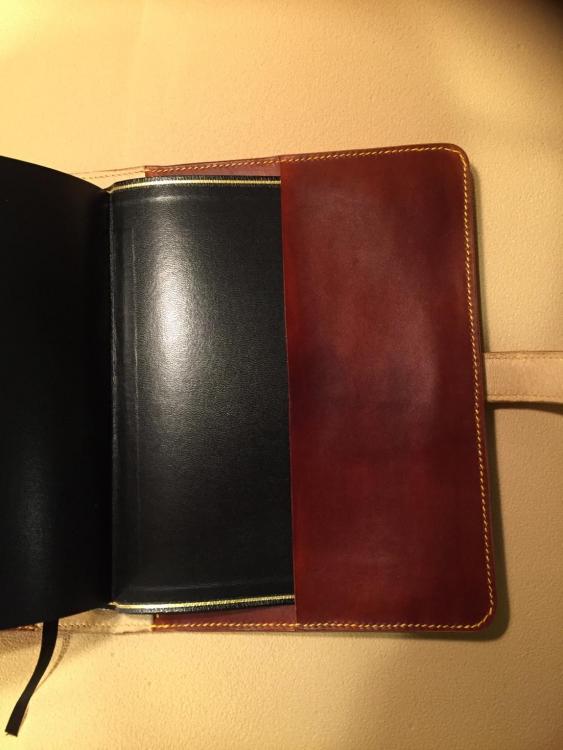
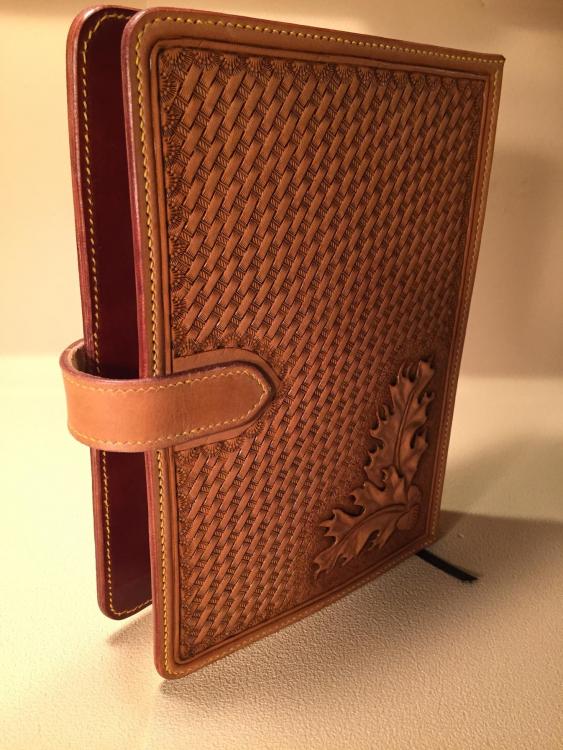
Thanks much for the compliments! I can probably say in all honesty that OCD is not under control. Basket weave can drive you bonkers. And why do people like the itsy bitsy tinsey winsey weave??? No extra pockets, just enough to hold the book... Thanks! Thank you!... the inside.. about the inside... can I interest you in a nice little photo of the shiny burnished edges? Thanks! My first go at tooling cloth, I think I can do it better the second go round... Basket weave is a regular practice thing. I get cross eyed at times. Hahah, thats a good one. We'll see if that happens! Thanks for the compliment. Sam, thanks much. I hope the future owner feels the same. The tools I picked up all at once when i started this leather journey, and didn't think I'd ever use them since I didn't have a clue about them. And truth be told, I really mostly use the tools in the small holder, so maybe 20 or less. I could probably get by with 10 or less if I really wanted to. The rest collect dust, unless I want to do something totally different like barbed wire. That inside again... well, it's a bit rough, with some wonky backsides of stitches since its been a while since I stitched stuff. But... since I can't appease with the shiny edge work, here are some obligatory shots. Forgive and ignore the crooked stitches... YinTx -
100% awesome! YinTx
-

Photos of leather work.
YinTx replied to ABR's topic in Gun Holsters, Rifle Slings and Knife Sheathes
I'd say more than alright, looks spot on! brilliant! YinTx -
Meh, stuff moves. I did a leather "music case" which is a briefcase of sorts. It got moved to musical instruments and stayed there. I figure mods have lots to do, chuckled to myself and posted the next fun thing. Enjoying all the off topic topics though, Mjolnir. YinTx
-
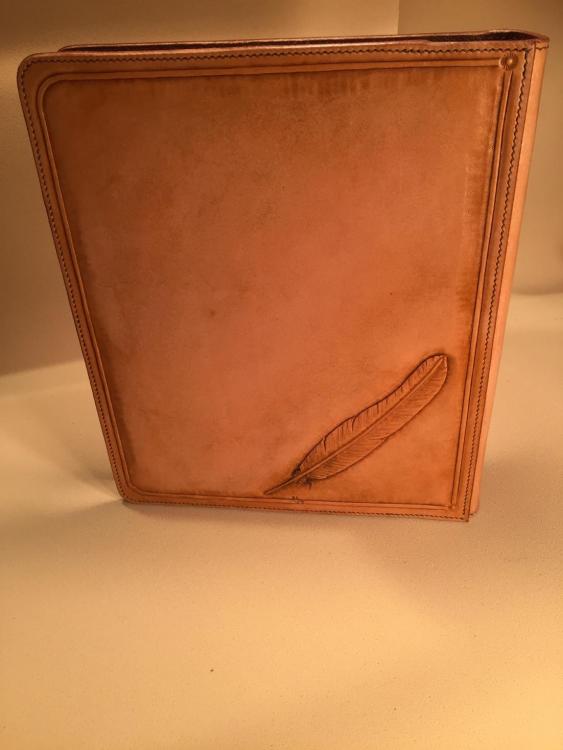
Thank you. I contemplated way too long on what to put on the back before settling on the feather - no Craftaid there, I drew that one up. I am glad you liked it! YinTx
- 17 replies
-
- 3 ring binder
- eagle
-
(and 1 more)
Tagged with:
-

The adapter
YinTx replied to Bolanca's topic in Purses, Wallets, Belts and Miscellaneous Pocket Items
This. In reference to this post of a very neat design, that then appeared for sale by the hundreds on alibaba: So, I was just saying your design was very neat. I liked it, and suspect others really will too. YinTx- 9 replies
-
- shrike leather
- wallet
- (and 3 more)
-
Rockoboy, thanks for that. Just didn't want anyone misled into thinking I drew it up also! I'm wondering if I will be able to do as well on my second time around now... YinTx
- 17 replies
-
- 3 ring binder
- eagle
-
(and 1 more)
Tagged with:
-
I've contemplated this as well. Surely someone has put the three side by side like JLS has of the HO and W&C? I keep wondering if the holster leather would make nicer tooled binders etc since my brain keeps thinking it must be firmer than tooling leather...but I've never had them side by side or heard someone describe the differences/ similarities side by side...and I don't want to buy 20 sides to find out... YinTx
-

The adapter
YinTx replied to Bolanca's topic in Purses, Wallets, Belts and Miscellaneous Pocket Items
That is pretty nice. Imagine it will be showing up on Alibaba soon... YinTx- 9 replies
-
- shrike leather
- wallet
- (and 3 more)
-
Thank you. I had an irrational fear of mauling a perfectly fine piece of leather for a long time. I happened to acquire a large stack of veg tan, helped me get over that quick, as I need to convert it into product! I have a fair sized pile of rejects tho... YinTx Thanks! The eagle was a Craftaid, which helped immeasurably. Thanks! YinTx
- 17 replies
-
- 3 ring binder
- eagle
-
(and 1 more)
Tagged with:
-

Hummingbird Notebook
YinTx replied to Bob Blea's topic in Purses, Wallets, Belts and Miscellaneous Pocket Items
Some seriously nice work there. Love the tooling. Creative use of stamps on the back as well, and you are getting your antique to do what I only wish mine would do for me. Did you do any dye on the background, or was it all antique coloring? YinTx- 13 replies
-
- leather notebook
- hummingbird
- (and 3 more)
-
- 17 replies
-
- 3 ring binder
- eagle
-
(and 1 more)
Tagged with:
-
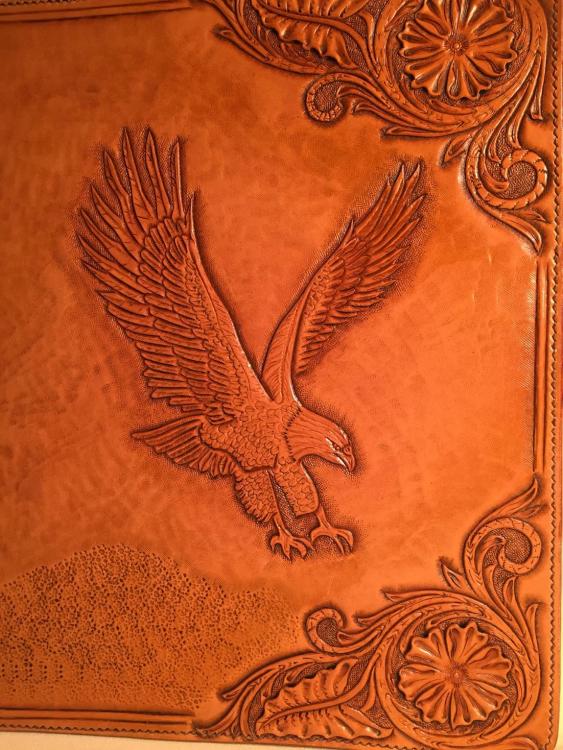
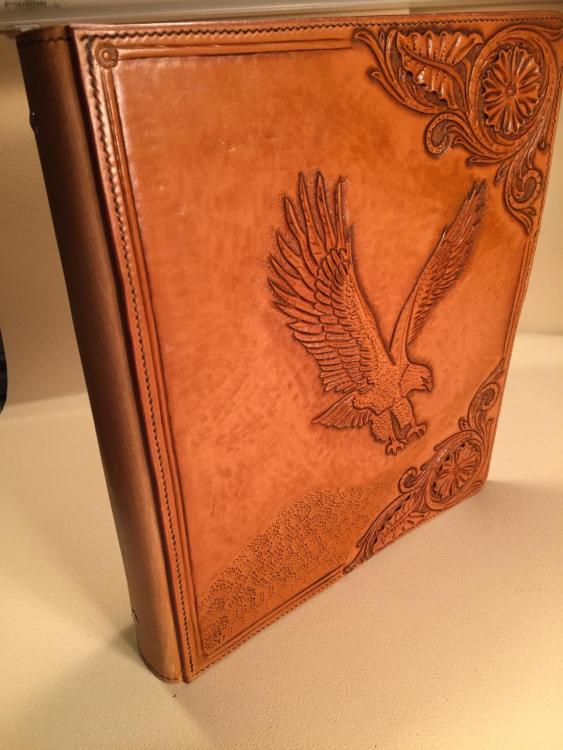
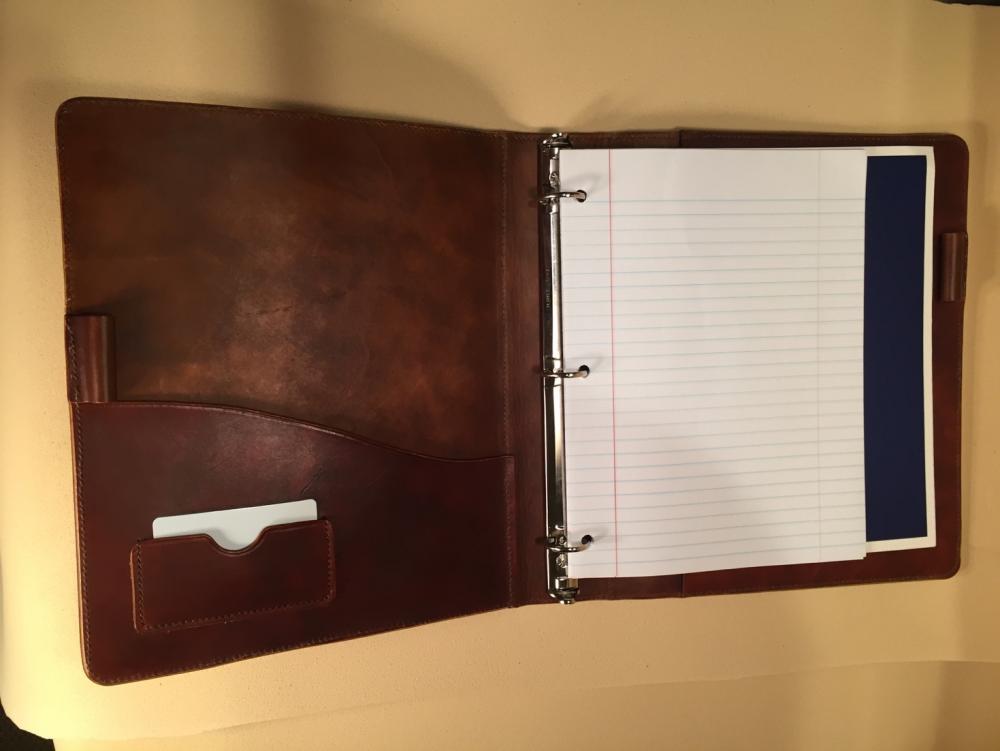
Well, after a long hiatus, I got some parts and put the hardware in! So it is finally finished. For those that followed my post in "The Eagle has NOT landed..." this is the first figure carving I attempted, back in August of '17 if I remember correctly. Some things I wasn't happy with, others I really liked. Comments and suggestions welcome! I'll try to post a pic of the back... YinTx
- 17 replies
-
- 3 ring binder
- eagle
-
(and 1 more)
Tagged with:
-

Photos of leather work.
YinTx replied to ABR's topic in Gun Holsters, Rifle Slings and Knife Sheathes
I like them! Some fancy stitch work there too! I've been working up the nerve to make some, so thanks for the pointers! YinTx -

Bifold Wallet
YinTx replied to charon's topic in Purses, Wallets, Belts and Miscellaneous Pocket Items
Lol. That sounds like a recipe for disaster! YinTx -

Bifold Wallet
YinTx replied to charon's topic in Purses, Wallets, Belts and Miscellaneous Pocket Items
Are you supposed to half empty the bottle? Was the bottle supposed to contain a consumable volatile substance? Is this to be done following the skiving work? YinTx -

Recondition and Re-Dye
YinTx replied to qlipoth's topic in Dyes, Antiques, Stains, Glues, Waxes, Finishes and Conditioners.
Agree on the Neetsfoot oil. Also, after the oil, and the dye, it may become stiff again. With alcohol based dyes, I've used Aussie after the dye to bring it back to life. I have done the same with water based dyes, but it takes a bit more to get into the leather. I've put Aussie on the backside as well, especially with leashes that I want to have some water resistance and more flexibility. Not a lot, just put a bit on and apply a bit of heat with a hair dryer - don't cook the leather, just until the Aussie melts, and rub it in. Leave it for a day or so, see if it needs any more. What kind of water based dye are you using? A photo of the item you are working with might help us to see what you are dealing with and may elicit better suggestions. YinTx -
Man, I'm lost. Not unusual for me I suppose. But what is set A, and where is this HO thread? I clicked around, did a search, etc, but coming up empty handed here. And if I am, can't be the only one....thanks in advance for pointing me in the right direction here.... YinTx
-

Airbrushing Dye Safely?
YinTx replied to howlback's topic in Dyes, Antiques, Stains, Glues, Waxes, Finishes and Conditioners.
Just show him the MSDS (or SDS as they are now known). He could retain his opinion, or decide that renal disease, aspiration pneumonia, etc. resulting from exposure doesn't sound fun, or safe. YinTx -

Prototype: Valet Tray Pouch
YinTx replied to andrewsejlv's topic in Purses, Wallets, Belts and Miscellaneous Pocket Items
And at $5 each, can't even buy the leather for that amount. YinTx -

Hand sewed camera bag
YinTx replied to Bonk's topic in Purses, Wallets, Belts and Miscellaneous Pocket Items
Fantastic bag! YinTx- 12 replies
-
- handsewed
- leathercraft
-
(and 2 more)
Tagged with:
-
-

Wallet with Carving
YinTx replied to Rossr's topic in Purses, Wallets, Belts and Miscellaneous Pocket Items
Wow, I have the #201 Light Brown Fiebings, and it comes out darker than that when I dilute 1:3 dye:alcohol. How much are you diluting, if you don't mind my asking? YinTx

.jpg.d60258221c476480a6e073a8805645bb.jpg)
