-
Posts
240 -
Joined
-
Last visited
Content Type
Profiles
Forums
Events
Blogs
Gallery
Store
Everything posted by Instinctive
-
Here is what works for me after a bunch of experimenting. I draw all my sheath patterns with a cad system and mark and pre-punch all my holes with a 00 punch at 6 mm spacing. After applying the glue and letting it dry, I use small finish nails to line every up. Applying the welt on one side of the sheath and then folding the sheath to complete the assembly, clamping as I go. I stitch with 1.14 mm (.045") thread. After stitching, I use a drum sander to even the edges and make them ready for finishing (I hand cut my sheaths) I tried the method you describe above and it is virtually impossible to punch all the way through and have a decent looking job. The chisel prongs are just not long enough and they are really hard to remove when driven all the way.
-

Knife Sheath (Left Handed)
Instinctive replied to verus22's topic in Gun Holsters, Rifle Slings and Knife Sheathes
Check out this site on how to attached the belt clips. https://is.gd/Yxt2WV -
I use Lepage Pres-Tite Green Contact Cement. Water based contact cement with no odor. No ventilation needed. Water clean up. Never had anything come apart unless I ripped it apart.
-
Just when you think you rubbed enough, you rub a little more and a little more...
- 10 replies
-
- knife sheath
- sheath
-
(and 2 more)
Tagged with:
-
- 10 replies
-
- knife sheath
- sheath
-
(and 2 more)
Tagged with:
-
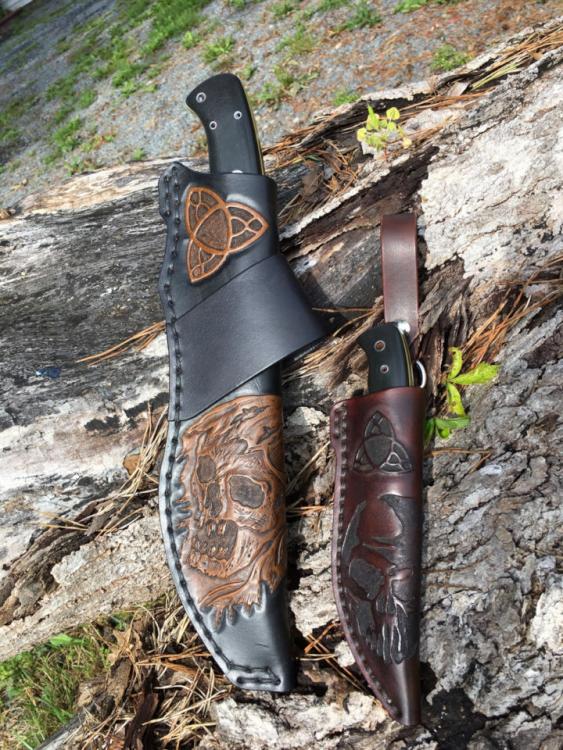
The wider stitching was a deliberate choice for these, especially for the 9" knife. It has a1/4" thick blade and is very heavy. Not sure if you can see it but the stitching is a a double row of .05 (1.3 mm) Maine Thread saddle stitch. Same on the small one. Very sturdy.
- 10 replies
-
- knife sheath
- sheath
-
(and 2 more)
Tagged with:
-
I use to do a lot of that 25 years ago. Was glad I could still remember how to do it!
- 10 replies
-
- knife sheath
- sheath
-
(and 2 more)
Tagged with:
-
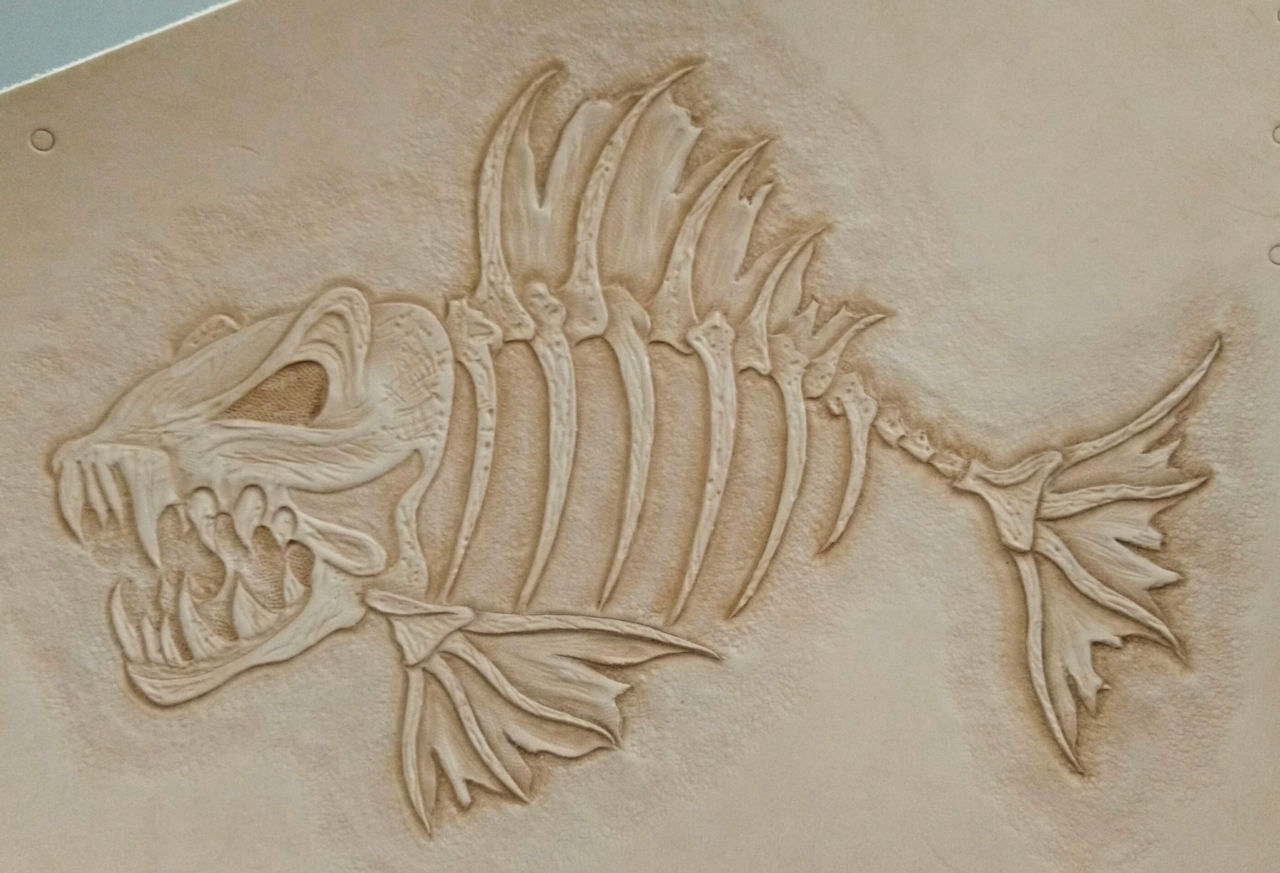
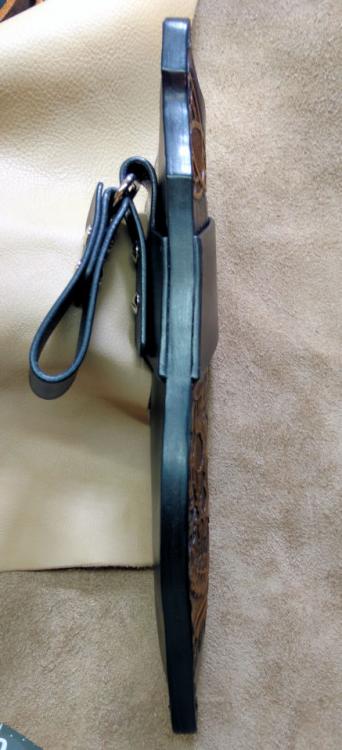
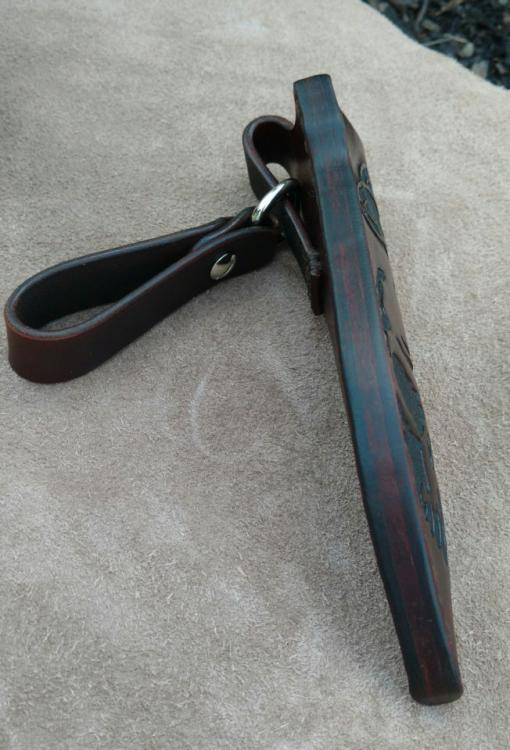
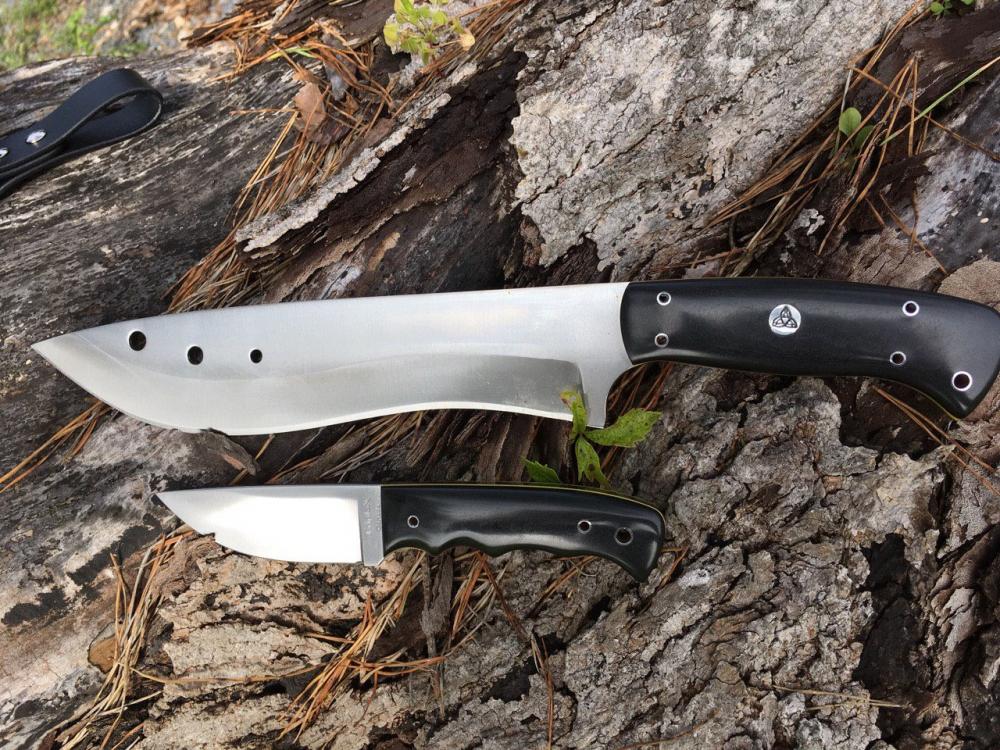
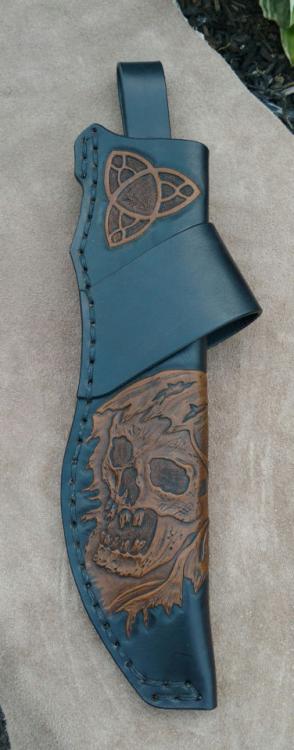
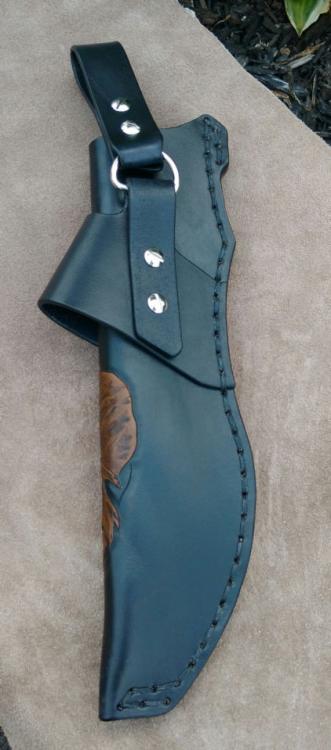
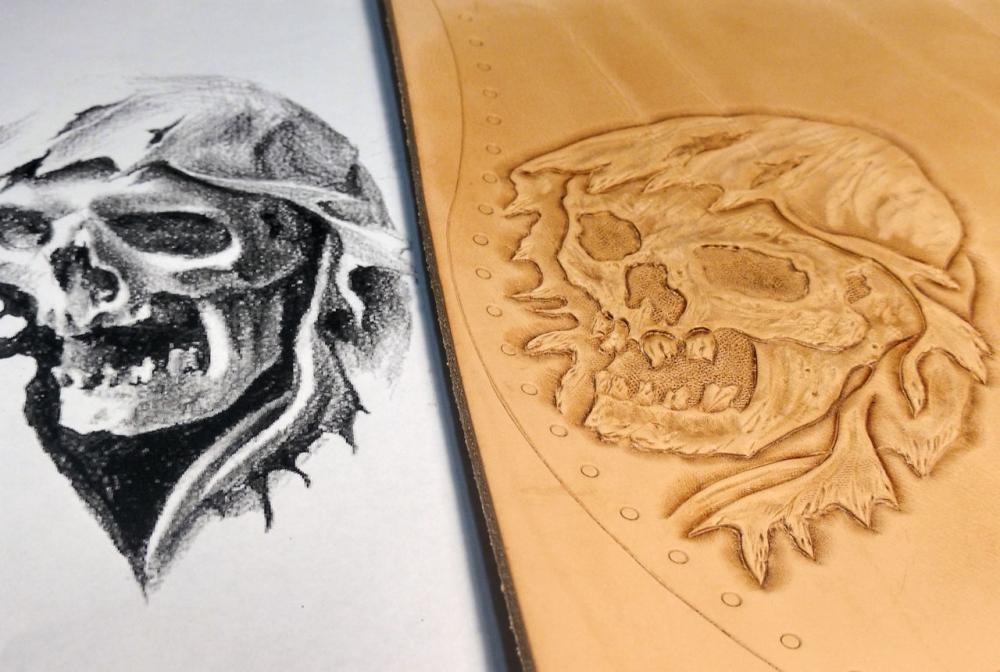
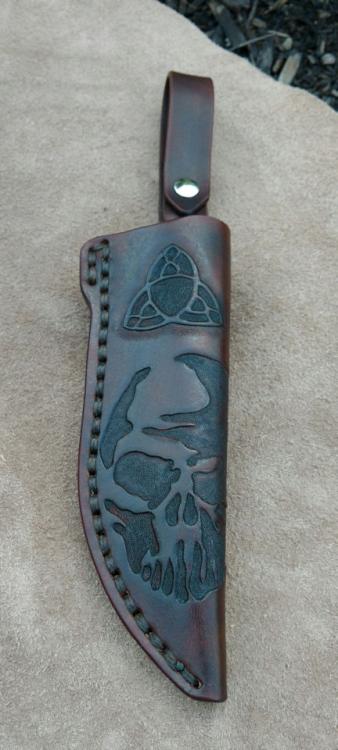
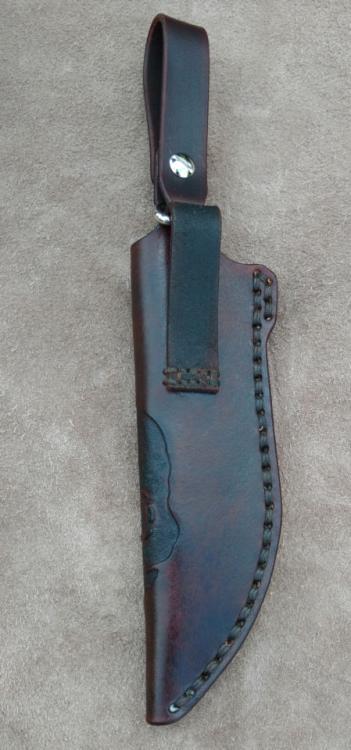
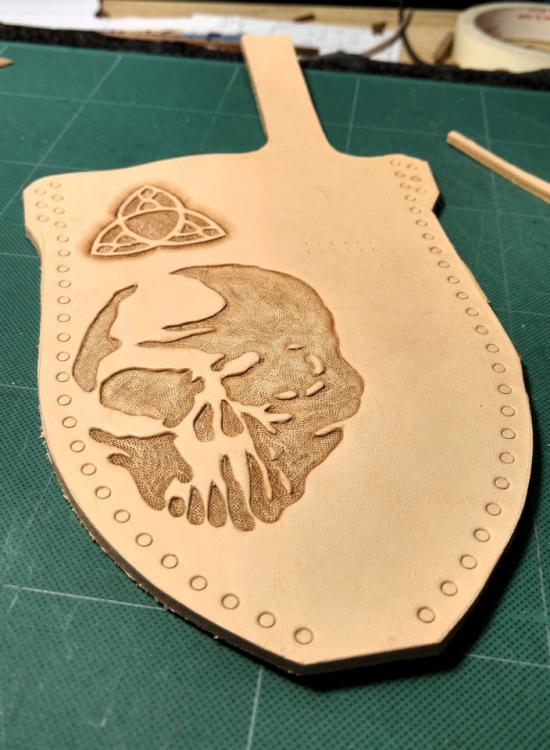
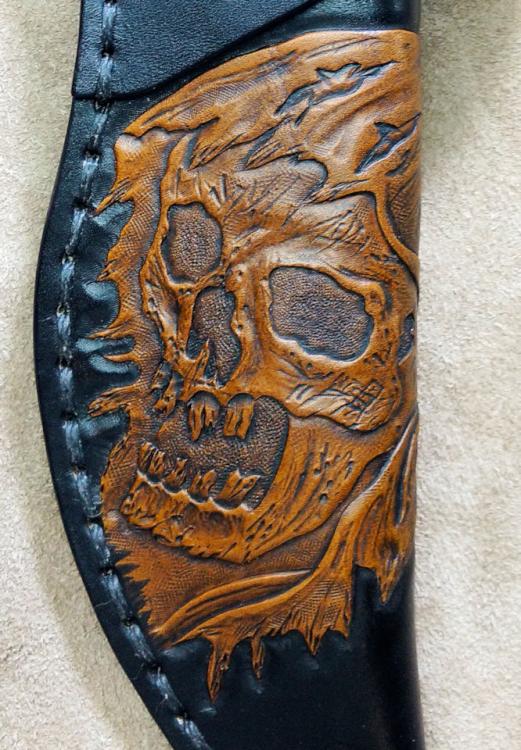
I can finally post these now that the contest is open. A special commission to create custom knife sheaths for TripleX Knives in Nova Scotia (www.xxxknives.com) for a global Instagram contest they are running. If you have an Instagram account to can view the contest details here until October 5th: https://is.gd/k8oE6I Large knife has a 9" blade. 30 deg cross draw with a removal dangler option. Small knife is a 3.5" blade with a dangler. Had free reign on these so took the opportunity to work on my carving and coloring techniques.
- 10 replies
-
- knife sheath
- sheath
-
(and 2 more)
Tagged with:
-
The tool should handle the full length of the rivet to allow a one step process to install and set the washer the whole way. I buy 25mm rivets and set with no trouble in one step.
-
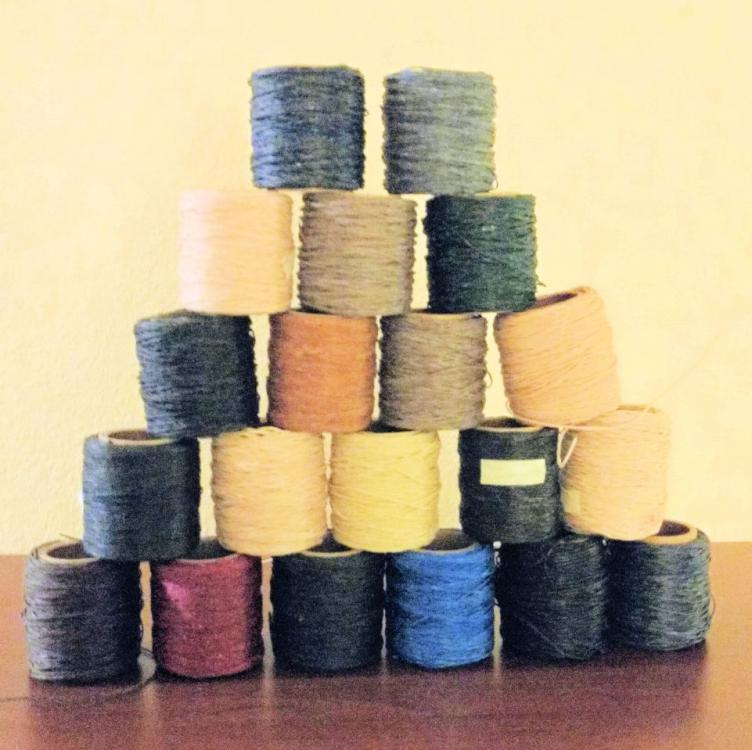
Traveling in Maine today and decided to stop into Maine Thread to have a look a pick up some supplies. Besides being like a step back in time, they have what they call "seconds" boxes of stitching thread. Rolls with not quite enough on them or they consider under waxed or over-waxed. Otherwise perfect stitching thread. Rolls are 2 for $1. This is for the drop in trade only, they don't advertise it. If you ever in the area, it a great stop. They are incredible people to deal will. This is my 20 roll, $10 haul.
-
I use the EcoFlo stain as well with good results. Are you thinning the stain for the airbrush?
-
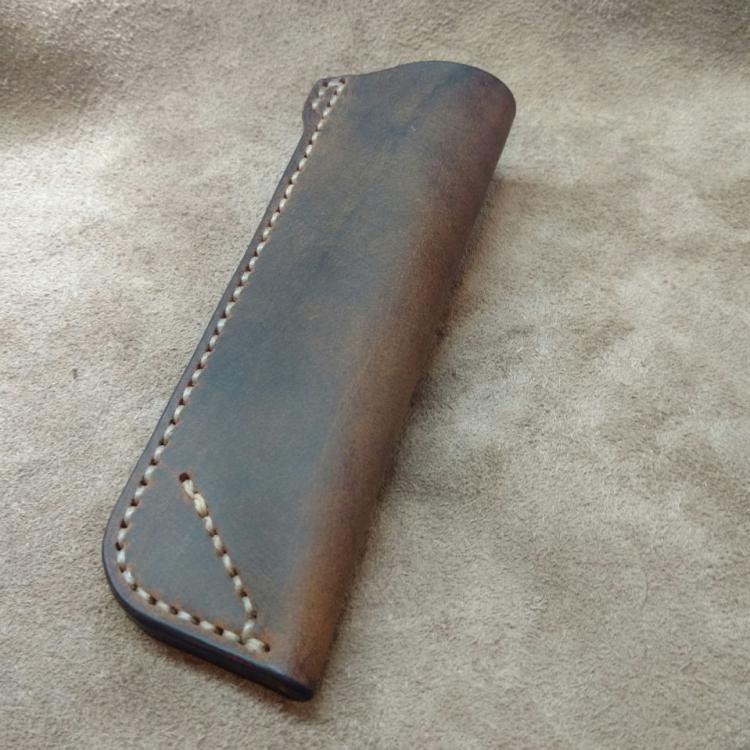
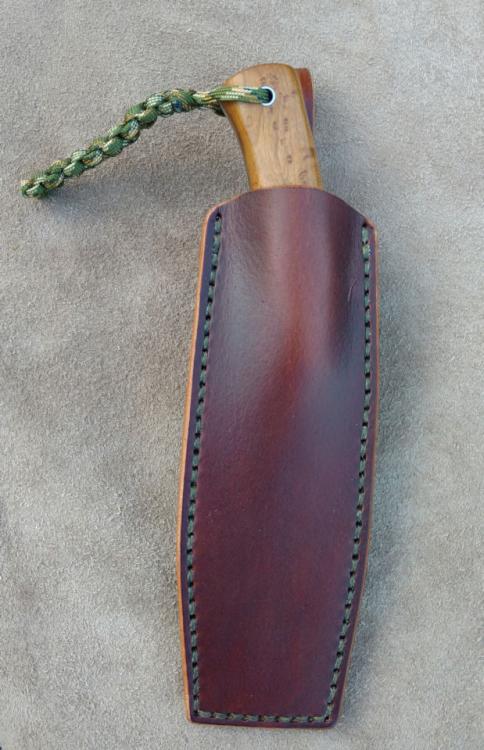
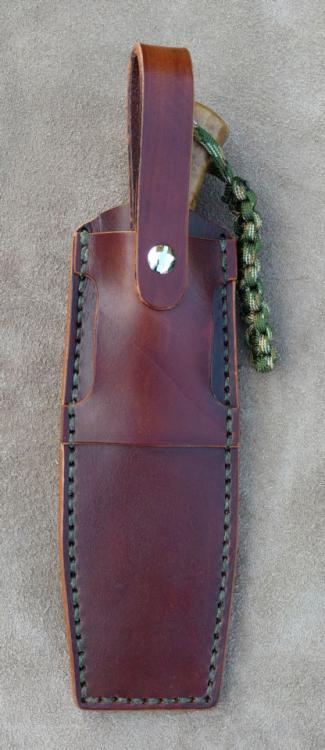
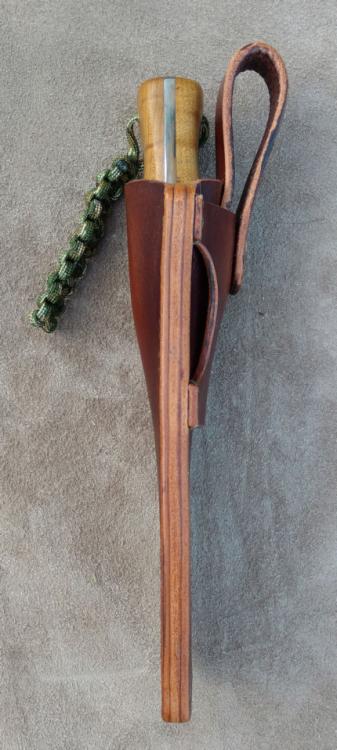
Prototype knife sheath for right or left hand carry. Dangler (removable), high or scout belt mount. Needs a couple of small tweaks, but the first fit worked. 8-9 oz vegtan leather. Eco-flo medium brown stain with olive thread and natural edges sealed and polished with a wax compound. Matte acrylic finish. Vert simple to modify pattern for longer or shorter knives and differ blade width. Pictured with my http://www.xxxknives.com Bushman Pro. 1.5″ wide x 4.5″ long blade. 4.5″ handle.
-
That guy is brilliant with copper rivets. Follow him on instagram (@masconleather). He shared his techniques.
-
A 16 oz ball & peen hammer. After using nipper pliers to cut the rivet I just tap with the post with the hammer side to flatten it a bit then peen it with the ball including tapering the edges down to the washer. It take s a good eye but the heavy hammer allows a really controlled tap.
-
Here mine but I learned for this guy https://is.gd/ErprhE And show casing the peened size is a good thing in my book.
-
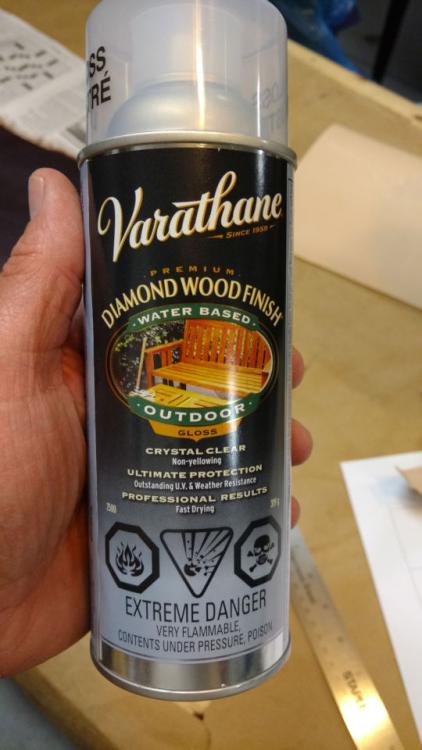
I work almost exclusively with EcoFlo because it what I can get where I'm at and it has been working very well. I use the Pro Stain, Highlighter and Gel Antique. The highlighter and gel antique will always "muddy" when rubbing on a finish. Go get a can of Varathane Diamond Wood Crystal Clear OUTDOOR spay finish. It an acrylic flexible finish. I got mine at Home Depot. I have not used the Cova Paint, but doing a project like yours, the steps I would do are: Paint the Cova Let dry at least 12 hours Apply Highlighter really thick and wipe off access and buff with clean paper towel Let dry at least 12 hours Spray a light coat of the Varathane Let dry at least a couple of hours Spray another light coat of Varathane let dry at least a couple of hours At this point, If useing it, I would apply the gel antique using the same process at the highlighter. Let dry for at least 12 hours Apply a couple more coats of the Varathane After applying the last coat of the Varathane and it is dry, you can apply the super shene or other acrylic finish and buff with a soft clean cloth or sheep wool if you wish. The picture attached is a recent project finished using this process. Black EcoFlo Pro Stain Chestnut EcoFlo Highlighter Black EcoFlo Gel Antique Hope this helps.
-

for belts, collars, and harnesses
Instinctive replied to desertwastes's topic in Leatherwork Conversation
I'm in Moncton. Contact Gil Vineham at Atlantic Leather here in Moncton. He is very good and I am sure he will have what your looking for. He has several hundred hides in stock. if your in the Moncton area, you can go have a look. He supplies a lot of the leather workers in this region and will be happy to send samples. He also has good quality buckles, rivets, etc. in stock. Contact info: Atlantic Leather Products Inc. Moncton, NB Canada Phone: 506-856-6837 Email: atlanticleather@rogers.com -

for belts, collars, and harnesses
Instinctive replied to desertwastes's topic in Leatherwork Conversation
desertwastes, Are you in Halifax, Nova Scotia? -
I have a similar knife that is meant to be a wood carving knife. It is Japanese steel and razor sharp (with honing). Cuts leather like butter. Assuming the steel is good, it is worth a try. You might want to look to see if there is a specialty store that focuses on high quality wood working tools. They may have higher quality tools for only marginally more money. I paid $32 CDN for mine.
-

Help with Tandy archery pattern pack 1909
Instinctive replied to johnggrg's topic in Patterns and Templates
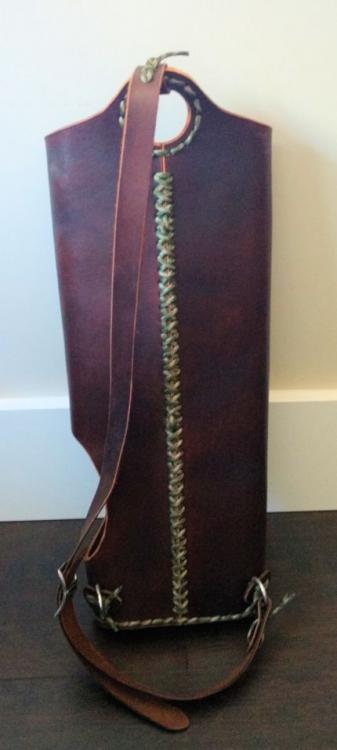
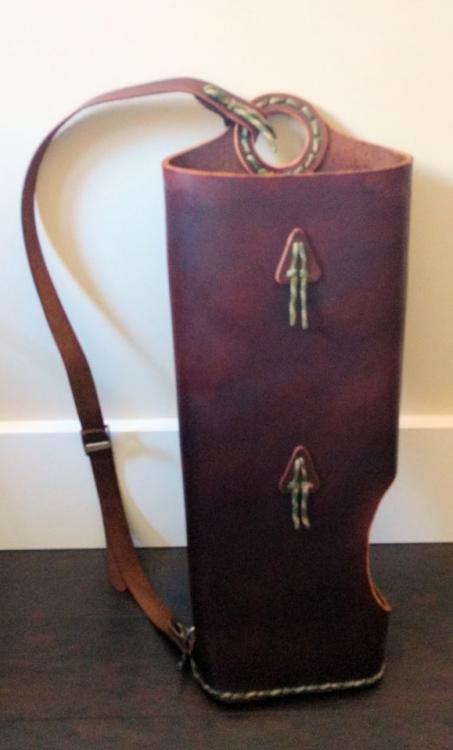
John, Sorry, I need to do a reset. I have my pattern packs mixed up. Mine is the 6027 pack with a quiver, bow case and other stuff. The 1909 pack is slightly different. It does look like the seam if on the back, not on the side. Regardless, for proper fit on a right handed archer, the top strap will connect at the center or just left of center when you are looking at it on the back. The bottom strap connects on the far left. With this, the quiver sits on an angle across the back from left to right when looking at the archers back. I have attached a couple of pics of an experimental "work in progress" I am doing that I think shows this. For a strap, I lean towards simple since once they are set they rarely get changed. I like Conway buckles for the task. Is you have any pics of your progress, I could have a look and mark the strap position if you like. You can see more quivers at www.3riversarchery.com. Search for leather back quivers in their search box. -

Help with Tandy archery pattern pack 1909
Instinctive replied to johnggrg's topic in Patterns and Templates
John, I have a digital copy of that pattern pack and also shoot a traditional long bow. The pattern does show where to put the straps. Basically, With your back piece cut and the flesh side up, the top strap piece is stitched on the top right had side of the piece, flesh side up. The bottom strap piece is stitched on the bottom closer to the center of the back piece at a small angle, flesh side up. When the seam is stitched and the strap assembled, the seam will be pointing to the left (not laying on your back). The bottom of the quiver will be on your left, the top will be on your right. You should see the strap locations on the pattern. I hope this helps. -
No problem. I finally found the original on this site and made a better PDF file. Stitching Horse Plan.pdf
- 8 replies
-
- stitch horse
- sewing horse
-
(and 2 more)
Tagged with:
-
Page 4 I hope Stitching Horse Plan Page 4-4.pdf
- 8 replies
-
- stitch horse
- sewing horse
-
(and 2 more)
Tagged with:
-
This what your looking for? Pages 1,2,3 of 4. Needed to break up to reduce file size Stitching Horse Plan Page 123-4.pdf
- 8 replies
-
- stitch horse
- sewing horse
-
(and 2 more)
Tagged with:


