-
Posts
1,653 -
Joined
-
Last visited
Content Type
Profiles
Forums
Events
Blogs
Gallery
Store
Everything posted by alpha2
-
I'm inclined to agree with Rockoboy, but I have to insist on the same disclaimer. Because, well, experience.
-
Can anyone identify this vintage tool “big awl w/ brass sleeve”
alpha2 replied to Heespharm's topic in Leather Tools
That would not have been one of my first 10,000 guesses. -

Business Card Case
alpha2 replied to Jetdoctorbox's topic in Purses, Wallets, Belts and Miscellaneous Pocket Items
Looks great to me! -
thanks! Nice setup.
-
Jenny says, "thank you! I knew I was right!" She feels so vindicated. She used to say, "look, they've turned them off!" I told her they didn't turn them off. Then, I found out she was right!!! When the wind blows...they have to turn them off! I'll never hear the end of this from her, but I'm fine with that. Wind boondoggle is huge around here, with the blade manufacturers all over this place. But, you have to "wink-wink, nudge-nudge" to keep from being labelled a non-believer. For us, it's not about belief, it's about facts. Follow the money. Local craft-beer brewers here are all about using "wind power" for their operations. Everyone knows that they get their power from the same grid as the rest of us, but you can't say that out loud. God forbid reality would raise it's ugly head. They just pay more for it, so they can put a sticker in their window saying they are getting theirs from wind. I get as much from wind as they do, but I don't need to blow smoke up anyone's arse about it.
-
Well, they're still turning. Except when the grid doesn't need the power, so, they're not turning in much of any wind most of the time. Sad. They put those turbines in one of the windiest areas I've ever seen, and they're standing still a lot of the time. Fixed costs continue to accrue, though! Every time my trophy wife sees them sitting still when the winds is blowing, she says "boondoggle", "swindle". Sorry! WAY off topic. Watch UKSaddlery video on the bleedknot leash. Only way I could have done them.
-
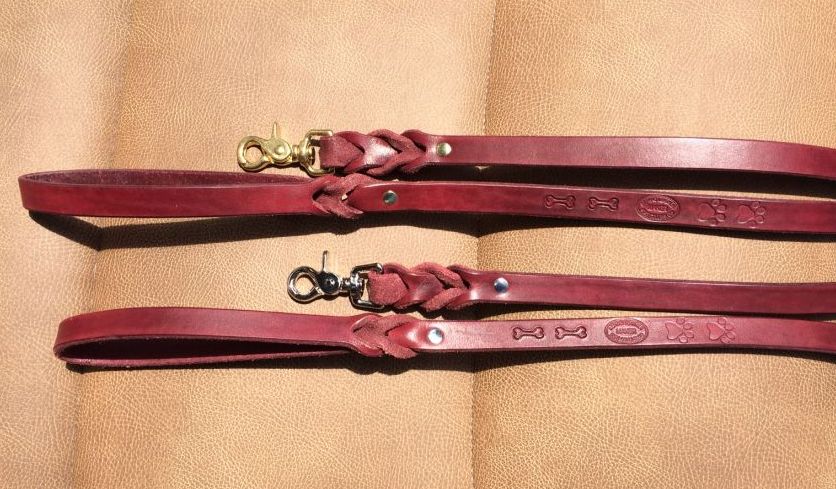
Just finished two more bleedknot dog leashes. As simple as the bleedknot is, I still have to watch UKSaddlery's video every time to get it right. If I'd hang on to one these leashes, I could just use that I guess. One is for sale the other is a donation for auction at Black Dog Animal Rescue in Cheyenne, Wyoming.
-

Basket Weave Gun Rig
alpha2 replied to Forester's topic in Gun Holsters, Rifle Slings and Knife Sheathes
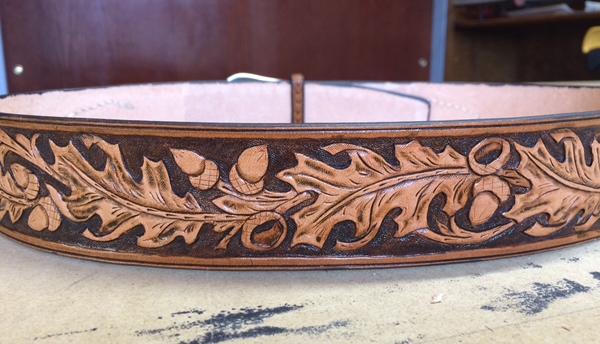
That's a substantial belt! And, those are some long-legged shootin' irons. Great color. -
I have done the ruler and binder clips, too! That floppy work is annoying, for sure. I've also done the "hang it over the edge" bit. Whatever it takes.
-
Regarding capacity, you need to decide what the dimensions of your projects are likely to be. You don't want something that doesn't have the span or depth to get your work into. My clam has a bolt running through from side to side that limits the size of my projects. There are many designs that use different methods to create tension on the project. Google stitching clams, ponies, horses etc. for a lot pics of the different styles available. Great first project!
-
I love the laser! Can we get a close up of your installation?
-

Issues dyeing straps
alpha2 replied to alpha2's topic in Dyes, Antiques, Stains, Glues, Waxes, Finishes and Conditioners.
Funny you should mention that. I just looked at them a while ago after letting them dry overnight, definitely better. I'll touch them up with a dauber a bit and let them dry overnight again, then the beeswax/neetsfoot oil/paraffin treatment. That worked on the last one I did. It turned out pretty good. (Pic below). The original dye was 50/50 dye/alcohol. -

Issues dyeing straps
alpha2 replied to alpha2's topic in Dyes, Antiques, Stains, Glues, Waxes, Finishes and Conditioners.
I knew the open grain was the issue, I had hoped that burnishing the edges would help, but I don't think it made any difference at all. I think between the incredible amount of dye required, and the waste of cutting wider straps, I'll give up on this experiment and do the dauber thing. The second and third time I ran it through, it did help, but still had some areas that didn't seem to get better. The straps were soaking with dye when I got done. I'll definitely have to let these dry for at least 24 hours! Thanks, Jeff -
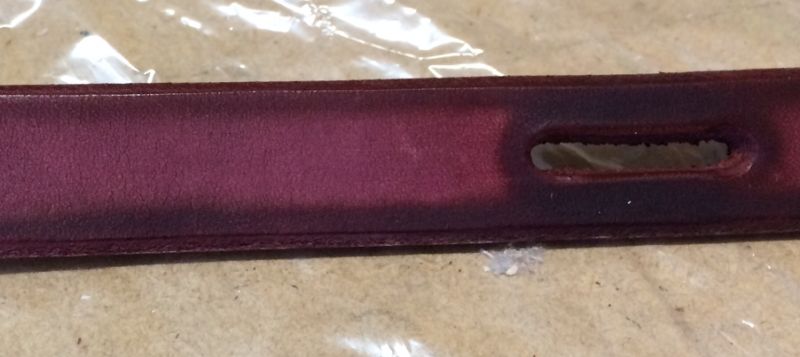
I'm having a problem when dyeing leashes. The edges are very dark and the center of the strap is much lighter. Also around the slots it's soaking up a lot more dye. The back of the piece doesn't seem to be affected, just the grain side. I am running the straps through a small trough as in "dip-dyeing". I run it through three times and it's better, but as you can see, still not acceptable. I had this issue once before, and this time I burnished the edges first, to harden them up a bit, but it didn't seem to help at all. Any suggestions? I'm ready to go back to using a dauber. Also, dip dyeing takes a LOT of dye! Thanks, Jeff
-
This is what I've come to believe. No substitute for most applications. Not that perform equally, anyway. In my experience.
-

Holster for Ruger Single Six
alpha2 replied to alpha2's topic in Gun Holsters, Rifle Slings and Knife Sheathes
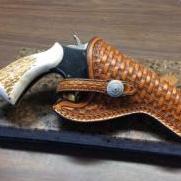
Handstitched, there is an excellent video on the tri-weave. I couldn't do it before I watched it. It's like a light came on! I'll try to find out which video it was. YinTx, the holster was just antiqued, but not sealed yet. I don't know what I was thinking, I've never done things in that order before. I used Fiebings past antique, and usually I don't use that. I will definitely try some practice pieces next time. Jeff -
Just remember that if you're gluing to a smooth side, sand it rough first.
-

Springfield XD Holster
alpha2 replied to JW's topic in Gun Holsters, Rifle Slings and Knife Sheathes
When I first looked at it, I thought, "nice tooling". Then I read what you wrote. I was a little surprised! -
What NSTAR said... but of course now we're addicted to the topic.
-

Holster for Ruger Single Six
alpha2 replied to alpha2's topic in Gun Holsters, Rifle Slings and Knife Sheathes
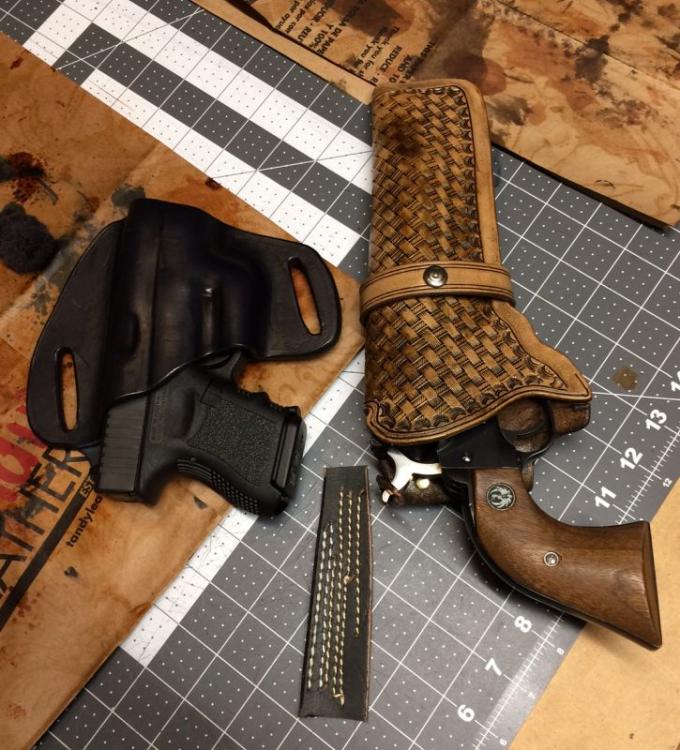
Thanks for the kind words on the finish color. Now, full disclosure...this is what it looked like before I rescued it. I only show this embarrassment to show just how bad a finish can be, and still come out to be one of the best I've done. I had antiqued it before I wet formed it a bit to the gun. Everywhere I put any pressure on it, it darkened. The rest of the finish wasn't that great, either. NEVER try something new on a finished piece! On the camo stamping, two things. Practice, take a long piece, like a belt blank that's too short for a real belt, cut your border lines wide enough so that if you get the "legs" of the stamp into the border line, it won't show as much. Then pay attention to spacing, I've seen some people slightly overlap the stamps, I try to keep just a bit of spacing between them, so that you can adjust spacing a tiny bit as you approach the end, or a corner. When I get about 4 stamps away from a corner, I'll just SLIGHTLY press the stamp into the leather to see what the next 4 stamps will give me, then stamp accordingly. The full struck stamps will cover the slight indentations from your trial impressions. If antiquing, or using highlite, your impressions need to be fairly equal in strength, or some of the stamps will be darker than others. If the moisture content of the leather changes too much during a stamping run, you will be able to see that in the stamping. THAT is really the hardest part for me. Another thing about camo stamping, YOU see every tiny deviation, while nobody else will notice at all! -
I have used the contact cement exclusively until very recently. I tried the Renia aquilim 315, and find the contact cement to be superior. The aquilim GL is the contact cement version of Renia, and it may be better, I haven't tried that. When the weather warms up around here I may order some of that.
-
Zuludog for the win!
-
The only alternative I have for beeswax is more beeswax. But, I have family that supplies me with beeswax. From the bees themselves. They don't know. Sshhhh! I've heard the Sharpie marker thing, I tried it once. Okay, twice. I didn't like it. Too black, too shiny. Too easy to do it right with dye or edge paint. That's all I've got. Jeff


