All Activity
- Past hour
-
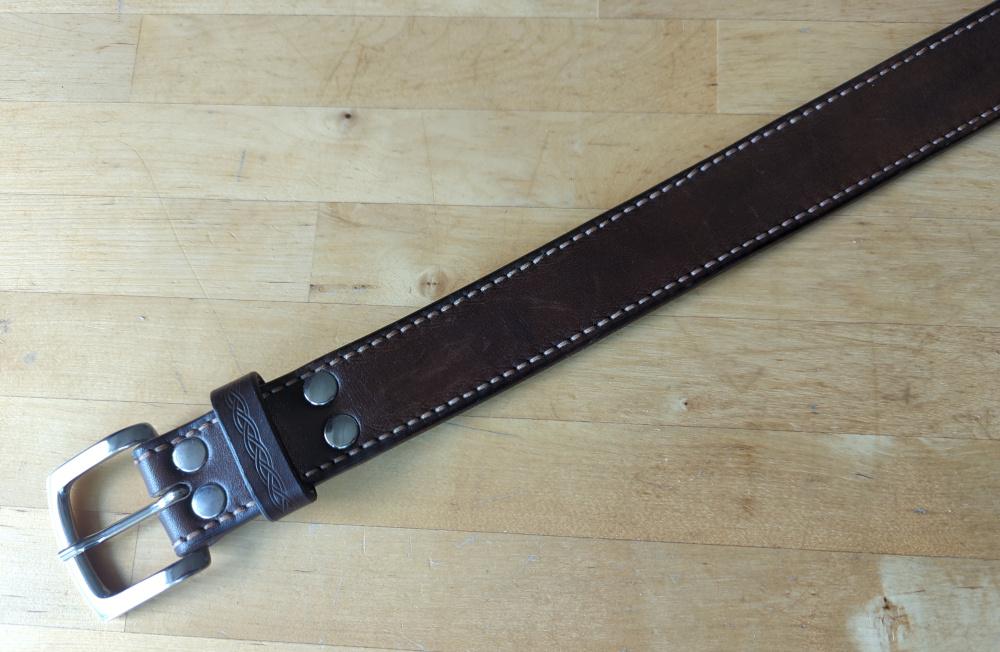
 Nice looking work !! yeah 12 oz is pretty thick unless it's a tool or work belt. your buckle isn't made for that thickness; you can see it doesn't have a big enough bend on the bar end. I'll add a longer buckle would also help the bend problem or a hook and loop type buckle might even get you back to the middle hole.
 -
Holster for a Heritage .22
chuck123wapati replied to BlackDragon's topic in Gun Holsters, Rifle Slings and Knife Sheathes
Cool build indeed, I've never used a welt on a holster myself and never understood the purpose? -

Holster for a Heritage .22
Samalan replied to BlackDragon's topic in Gun Holsters, Rifle Slings and Knife Sheathes
Like that and a nice welt - Today
-
Not sure if I understand your question. You can make the narrow end of the strap as a separate chape that wraps around the front and back of the wider part of the strap. The wider strap would be sandwiched between 2 layers of the chape with the grain side showing on both sides of the strap. The wider strap could be lined.
-
I agree with all you said. The way I see it is if you are in this country legally, making an honest living, you already have my respect. IMHO
-
I remember on the Jackie Gleason show, Jackie was trying to get a new job. He said to Norton I can't seem to get a job Norton said Let me see that application Norton looked at it and said, " No wonder you can't get a job. You put in that you're just a bus driver, Norton now said. I could get that job, Jackie said, you work in a sewer. Norton said Yeah, but I'm what you call a 'Subterraneal Sanitational Engineer', so it's all in your job title.
-

Holster for a Heritage .22
PastorBob replied to BlackDragon's topic in Gun Holsters, Rifle Slings and Knife Sheathes
Very sharp. Great call on the color!! -
 That buckle has quite a bend where it comes out of the belt. That may be causing some of it.
 -
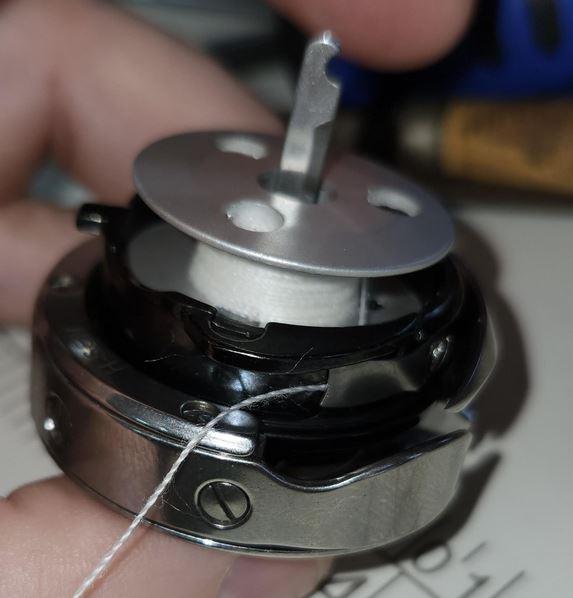
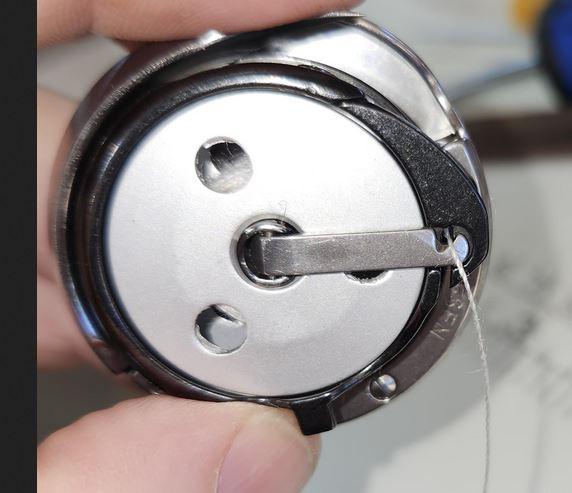
This is a couple of photo's of the bobbin assembly from a fellow member who recently bought a 341 machine from them. Yours looks like a Juki style. kgg
-
The majority of the people here are experts and professionals. Professional leatherwork - there should be a proper noun for that. I mean, farmers call themselves 'agriculturists', I discovered some time ago. I don't blame them. When we say 'farmer' the layman sees someone in overalls standing in a field, but an agriculturist brings a different vision to mind. Farmers are as expert in their field as doctors in medicine. So they deserve that respect. As do leatherworkers. So a name that commands that respect is long overdue, maybe. In medicine, everyone is a doctor but individuals specialize - neurologist, surgeon, ophthalmologist etc. So a leather professional, who is a saddler, cordwainer, etc. That would command the respect that is deserved. My two bits.
-
Here you go dikman. Hope it helps. The anti cut gloves are recommended.
-
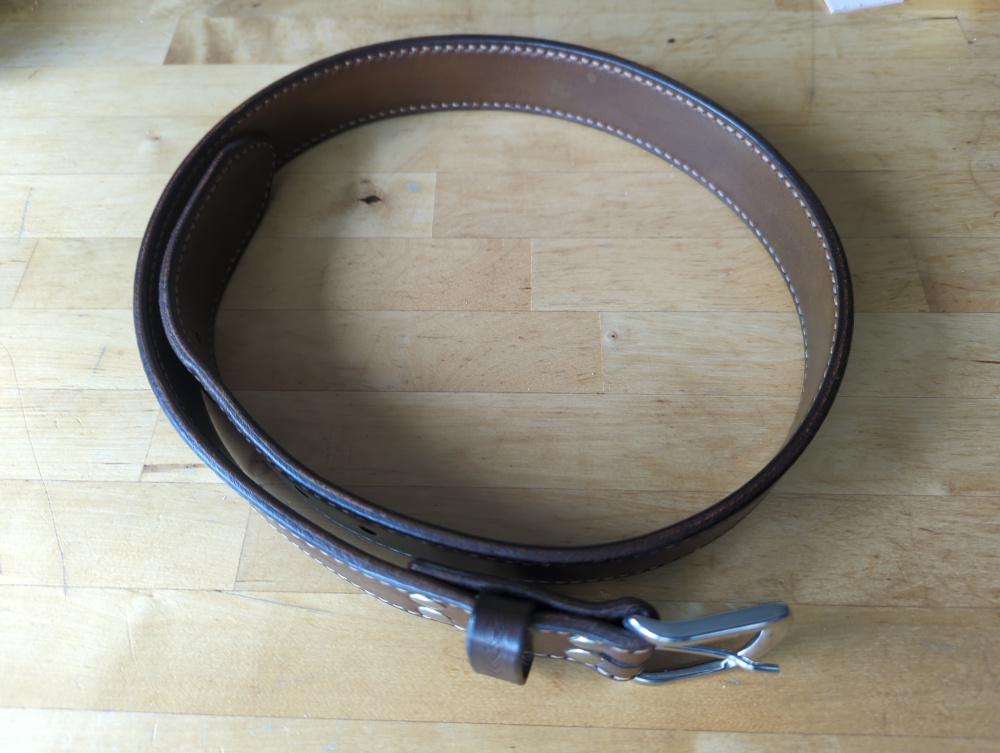
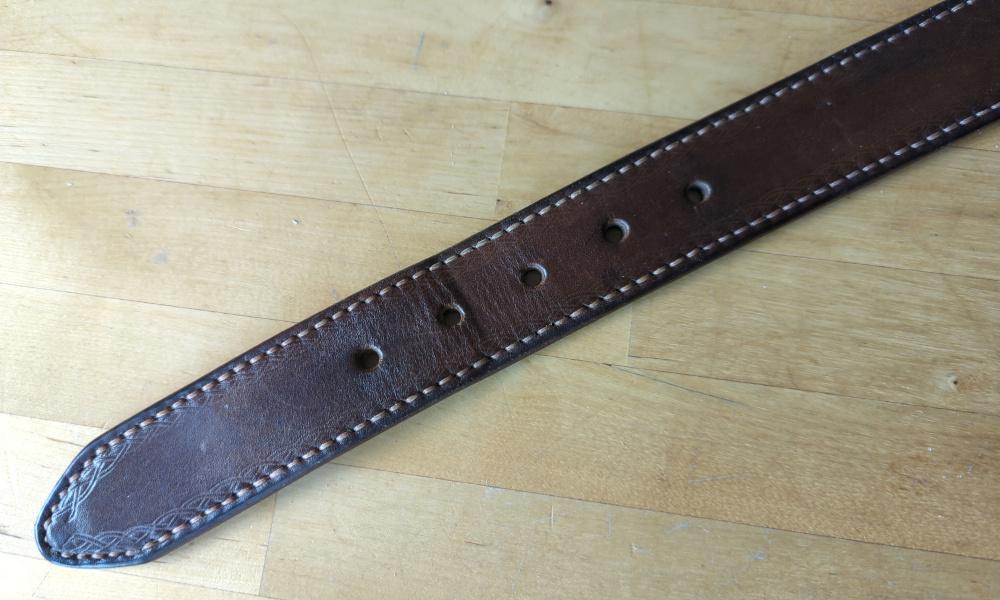
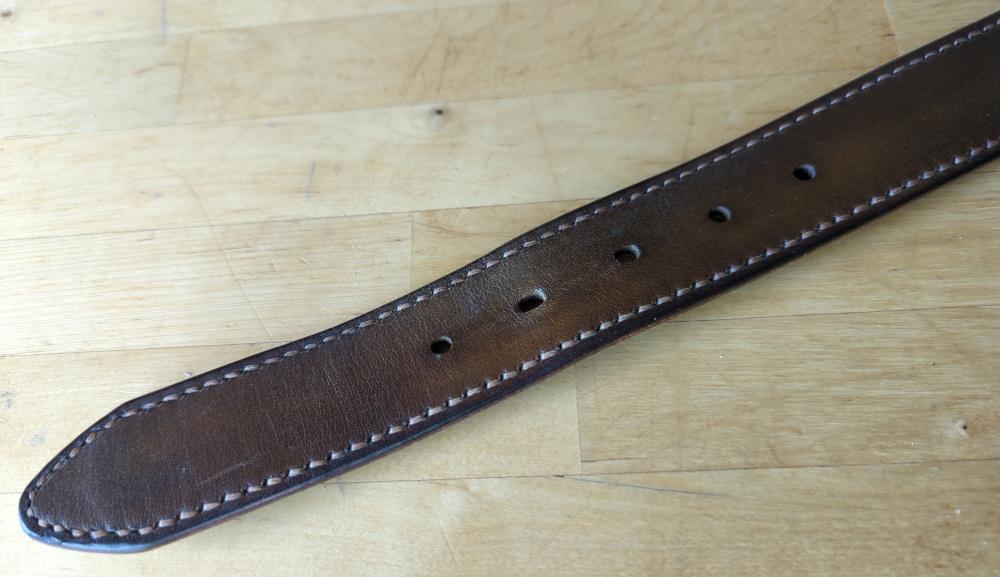
 Two months ago I made another belt incorporating the advice given here. These photos are after two months of wear. Here I used strips of 6 oz leather cut from a half hide, starting from the back. The belt has a strip of 0.6 mm reinforcement sheet sandwiched in the middle with a margin of about 5mm from the edges. I hand stitched the belt (in addition to glueing). Overall I am not dissatisfied with the end result. It is, at the very least, a functional belt. There is none of the bunching up from my first post, only some deforming of the tongue where the buckle sits. Eventually I intend to make a simple belt single layer belt out of a piece of 8/9 oz side to see how that works out. The thickness seems to be the cause of me misjudging the belt's length a little. As you can see my standard wear hole is the second one instead of the (ideal) third out of five. For this buckle this 12 oz thickness is a bit too much I feel, so my next attempt will use two 4 oz strips.
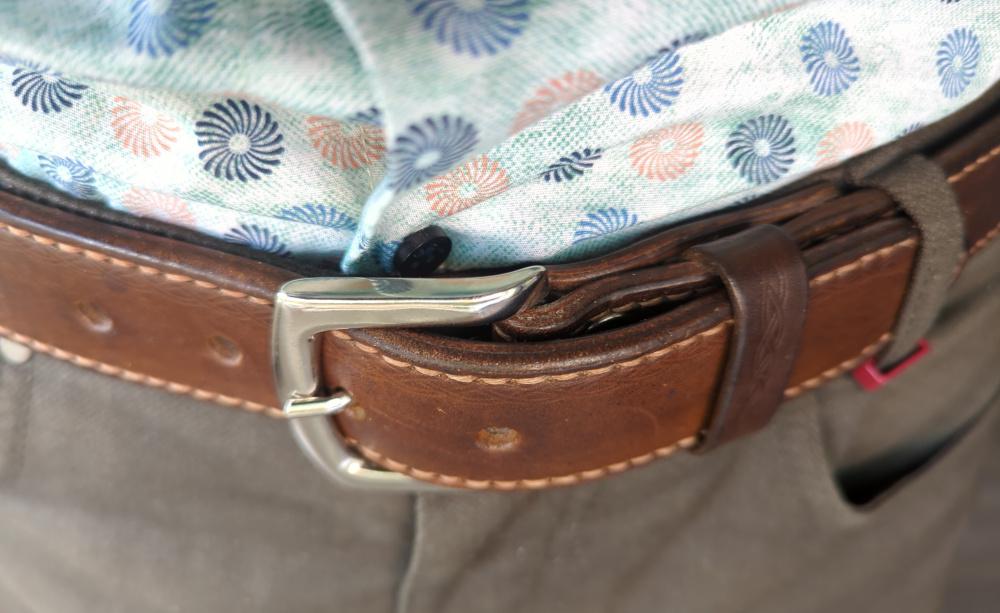
-
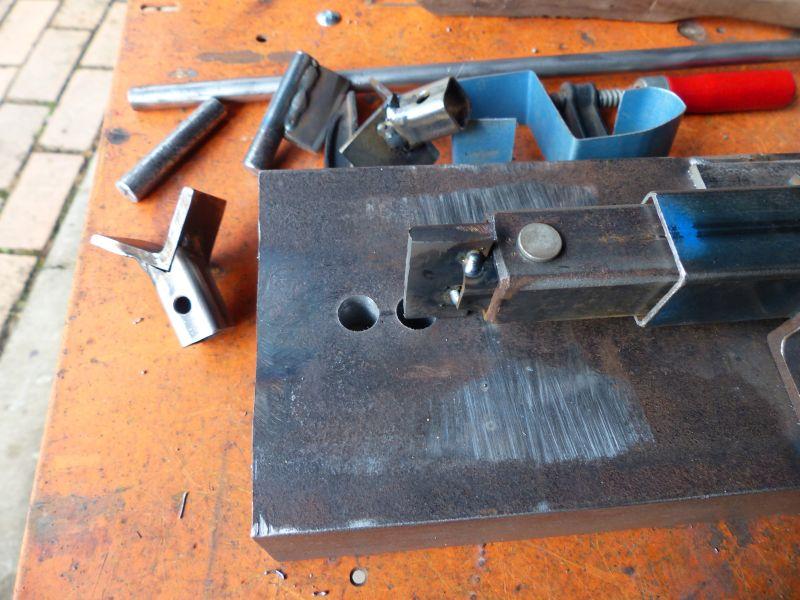
Today's effort. Reinforced underneath and drilled two 1/2" holes through, then made another toolbit with a different piece of angle iron, this one has minimal radius inside. Made a knife edge to push into the corner and tried that. As expected, and like Toxo said, the inherent springiness of the band stops it from staying at 90*. I'll have to weld up a piece less than 90*, only a minor problem. I'm going to sharpen the toolbit in the second photo and try quenching it, I'm pretty sure it's from an old mower blade so should be hardenable. Overall though I'm pretty happy with it as it can bend the strap without much effort.

-
I do have a 4 needle chain stitch with approx. 5/8 spacing. if interested let me know . Price under $1,ooo. for head. using needle 1 and 3 will give about 1 1/4" If interested let me know. Not sure about spacing will check. tx Lynn
-
you have to pull out the foot bar. You have to loosen / remove theses 3 screws too - see rec circel. Alos make sure you removed the return spring that pulls back the presser foot (not meaning foot pressure spring)
.jpg.126266cd47a329d728916f6cfd06dcf2.jpg)
-

Anyone Heard of a "Bind-All" binding machine?
Constabulary replied to hemiyota's topic in Leather Sewing Machines
to me it looks like a Juki 555 fabric / tailoring machine of some kind -

Holster for a Heritage .22
MarlinDave replied to BlackDragon's topic in Gun Holsters, Rifle Slings and Knife Sheathes
Where are you located in Tennessee? I live in Molino, not Molina. -
Certain leather work or crafting has titles; ie cobbler = repairing footwear, cordwainer = making footwear, saddler, and others. But what about bag-makers, leather armourers, board-game makers, and such. We need to make up names to cover those crafts
-
How much would a basic laser engraver cost? Just one to burn simple things into the leather. Not too deep or anything
-

Review of Jianglong 341 after 4 months
friquant replied to friquant's topic in Leather Sewing Machines
Checked tonight for a second spot to attach the return spring. I don't see one. I did try turning the attachment point around, which almost works but then one of the levers bumps into it when you select long reverse stitches. I'd like to replace the factory spring with one that has less stiffness, but I haven't been to a hardware store in a while. Maybe it's time to start forming my own springs.. It only engageswhen I want to wind a bobbin. I wrote that part a couple months ago, and it actually hasn't bothered me since 😀 And I actually use the winder more than I used to. That is, when I think of it and when I think I might be using the same color bobbin thread for a while. I switch colors a lot.. I looked at this tonight. I don't see a good option outside of making my own label for the knob. Or drilling a new hold for the pin that acts as the final stop for the knob. I'm setting it so that the stitch length goes to zero as the pin runs into the final stop. I suppose instead I could figure out where a 4mm stitch is and line the knob up at the 4. 🤔 Ok. Seems reliable with a round eyelet. I can see benefits both ways. Here is the hook assembly. I assume this is NOT the singer 111 style. I wonder if the singer style has a larger outer hook diameter..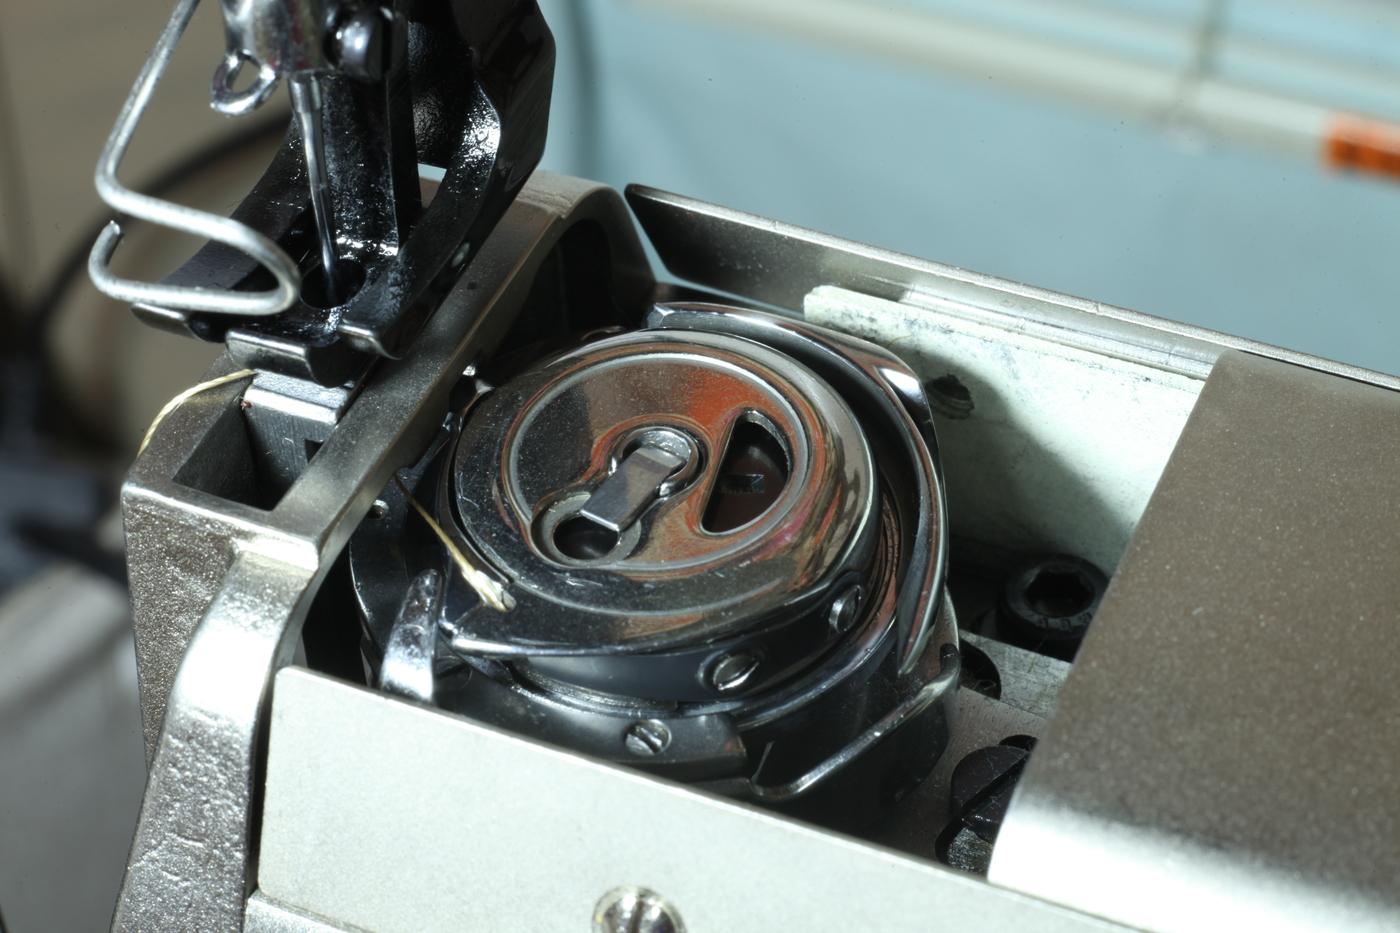
-
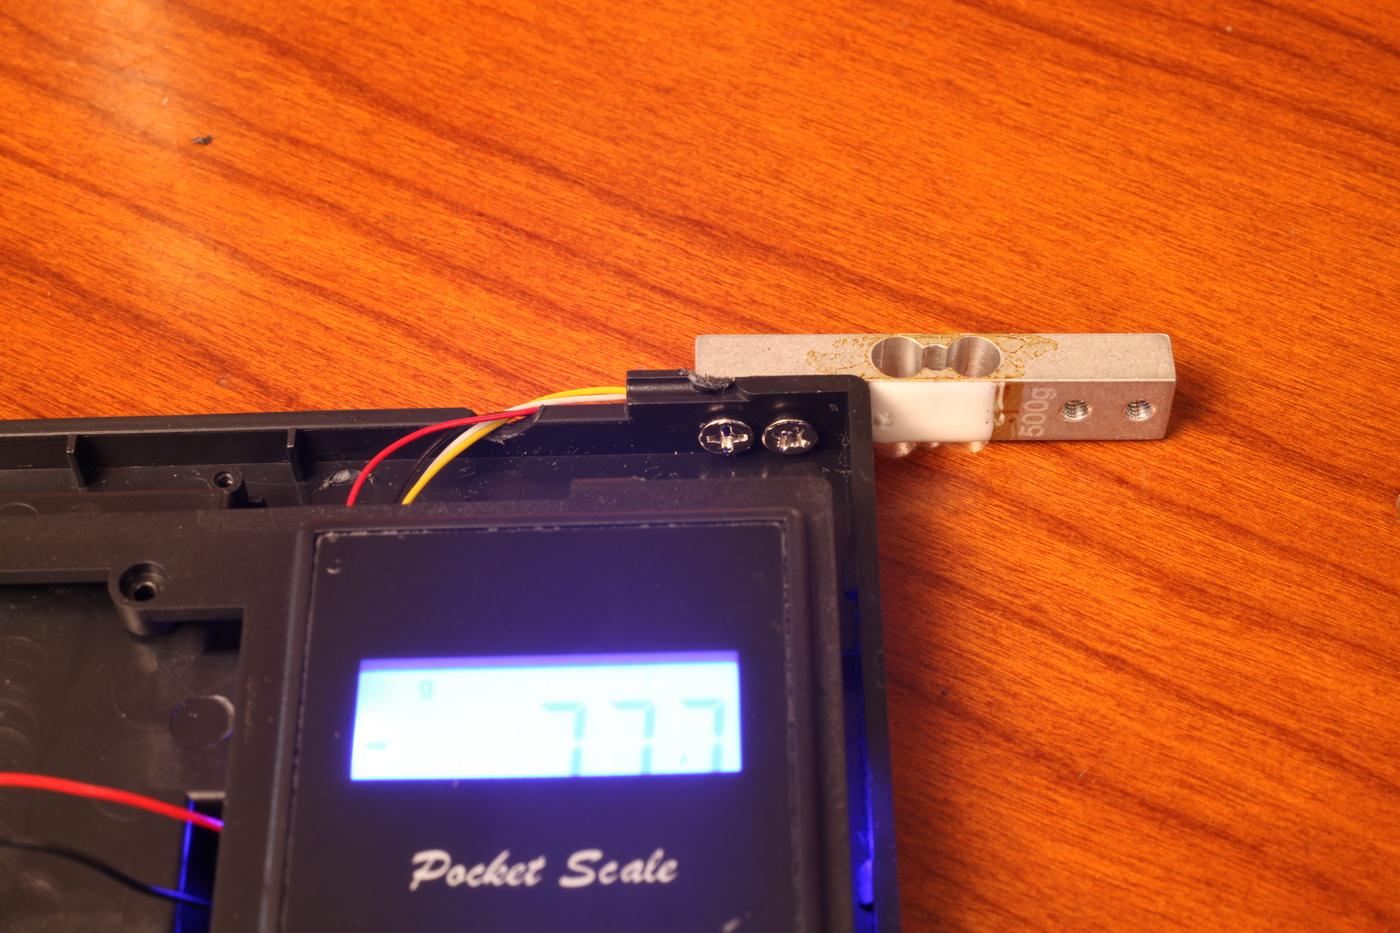
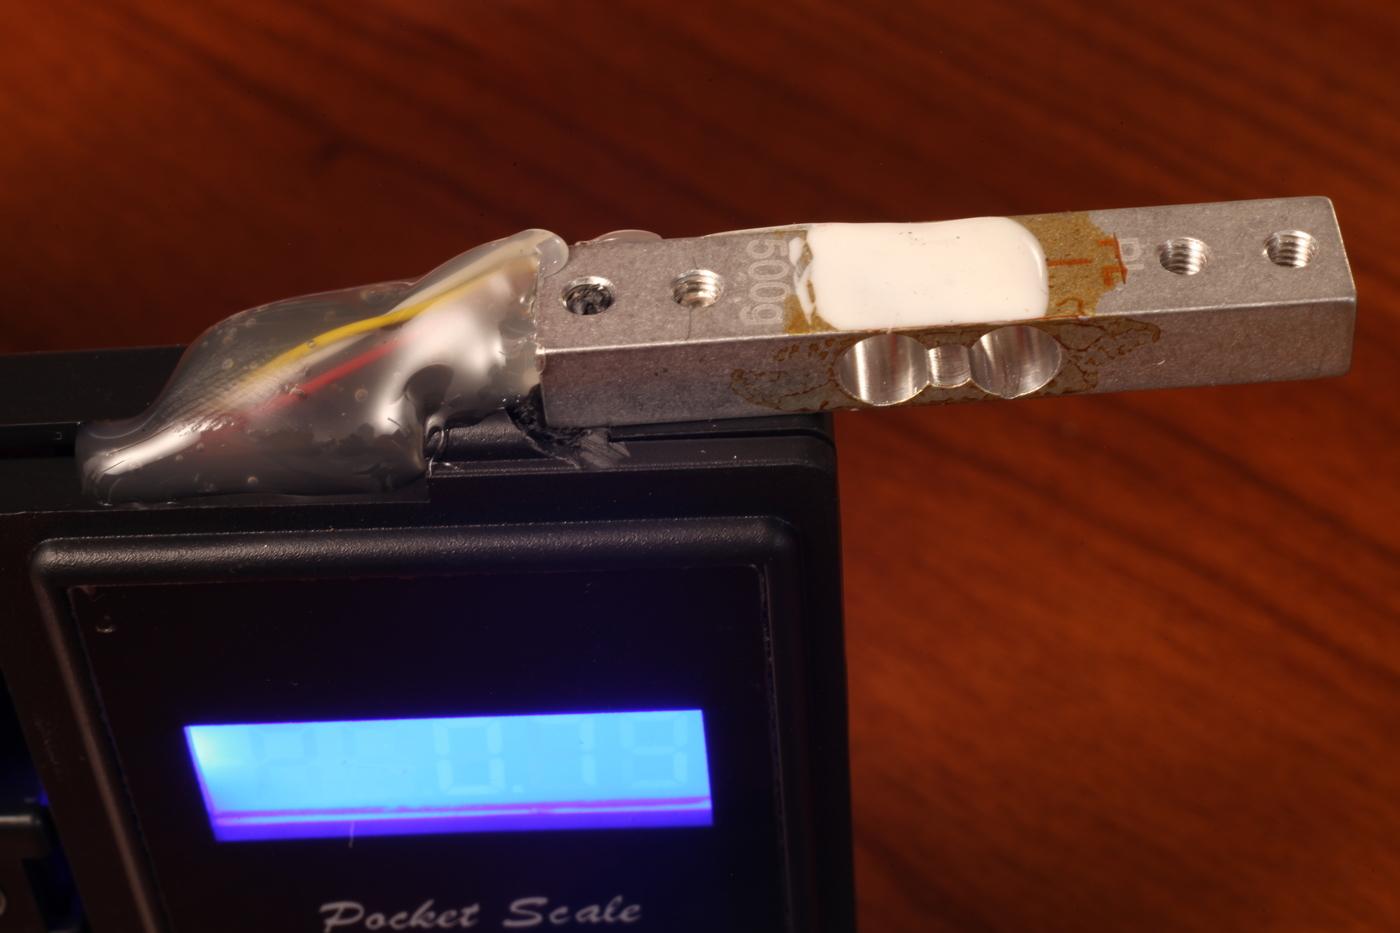
Kitchen Scale for Measuring Thread Tension
AlZilla replied to friquant's topic in Leather Sewing Machines
Here's what I use: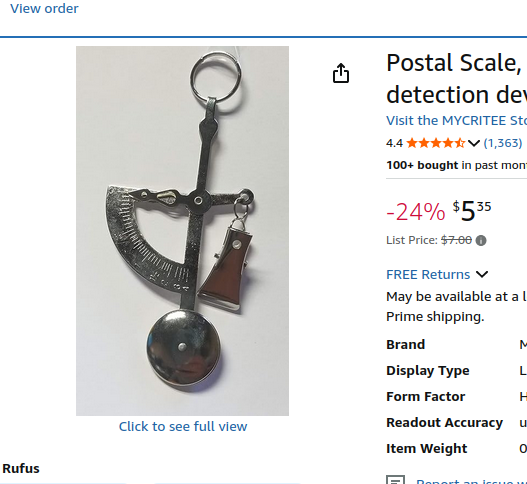
-
Halter/Bridle combination
rktaylor replied to BlackDragon's topic in Saddle and Tack Accessory Items
Nice work. Randy - Yesterday
-
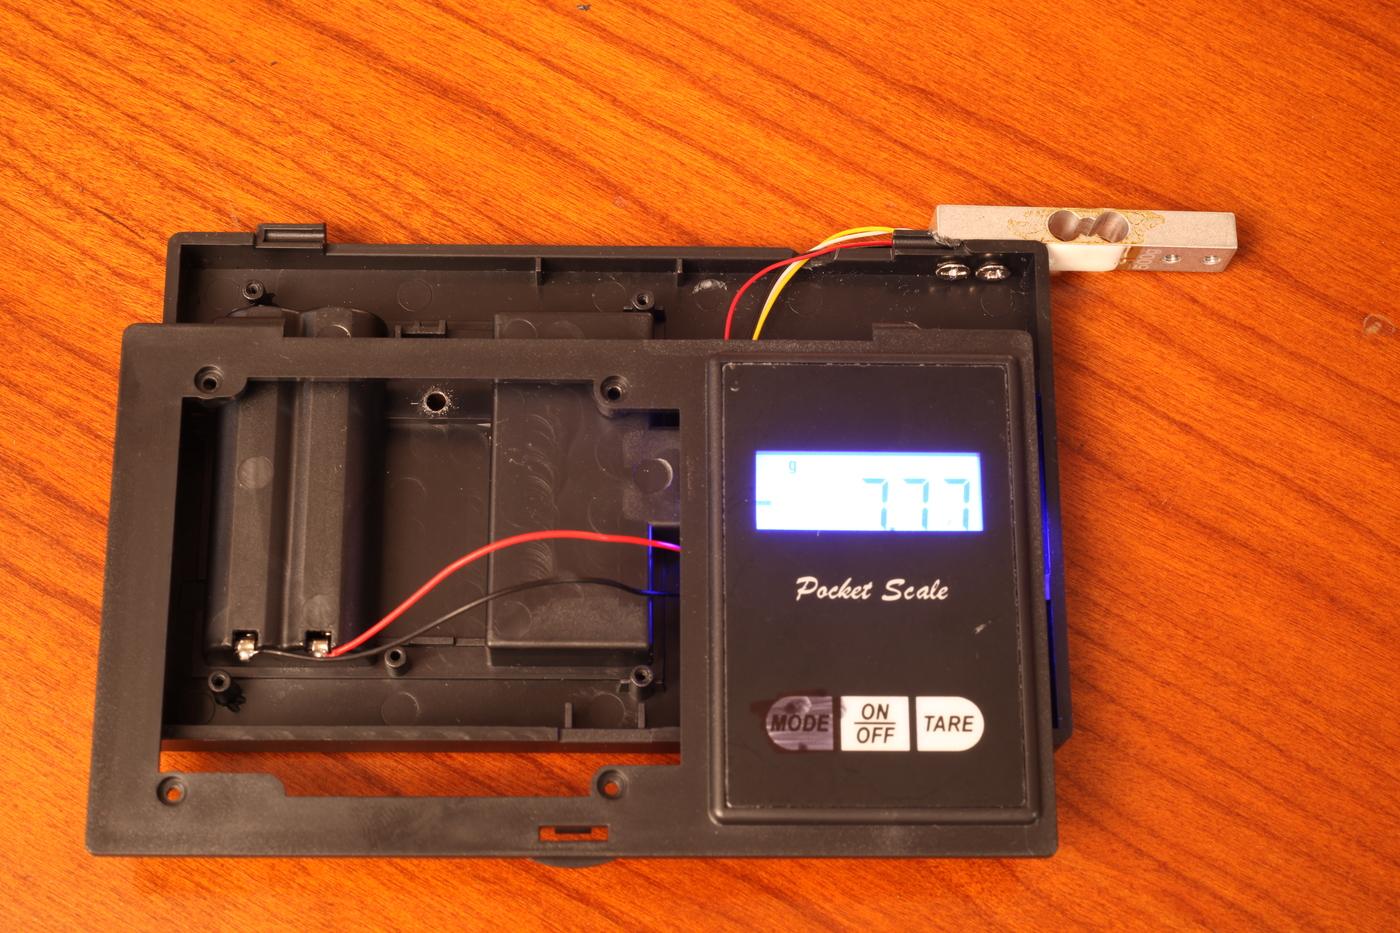
Was planning to keep it intact, and just tape the thread to the top plate for measurement. But when I took it apart to disable the Mode button (so it will always stay set to grams), it looked so easy to repurpose... kitchen-scale.mp4 Here's a link to the original 500g kitchen scale I bought. And a screenshot: Drilled two holes in the upper right and reused the original screws to mount the load cell there. Added hot glue to keep the wires from being damaged from being tossed around Taped over the digits to the right of the decimal place so they don't distract. Some other posts regarding measuring bobbin tension: gymnast uses a dynamometer RockyAussie measures with hammers Why measure? Because we like numbers 😃 gymnast: how much bobbin tension?

-
Sorry, I do not agree with your assessment. 🤪
-
 Blitz Thunderlungs joined the community
 -
I just say I used to build plastic model kits, most seem to understand that.