All Activity
- Past hour
-

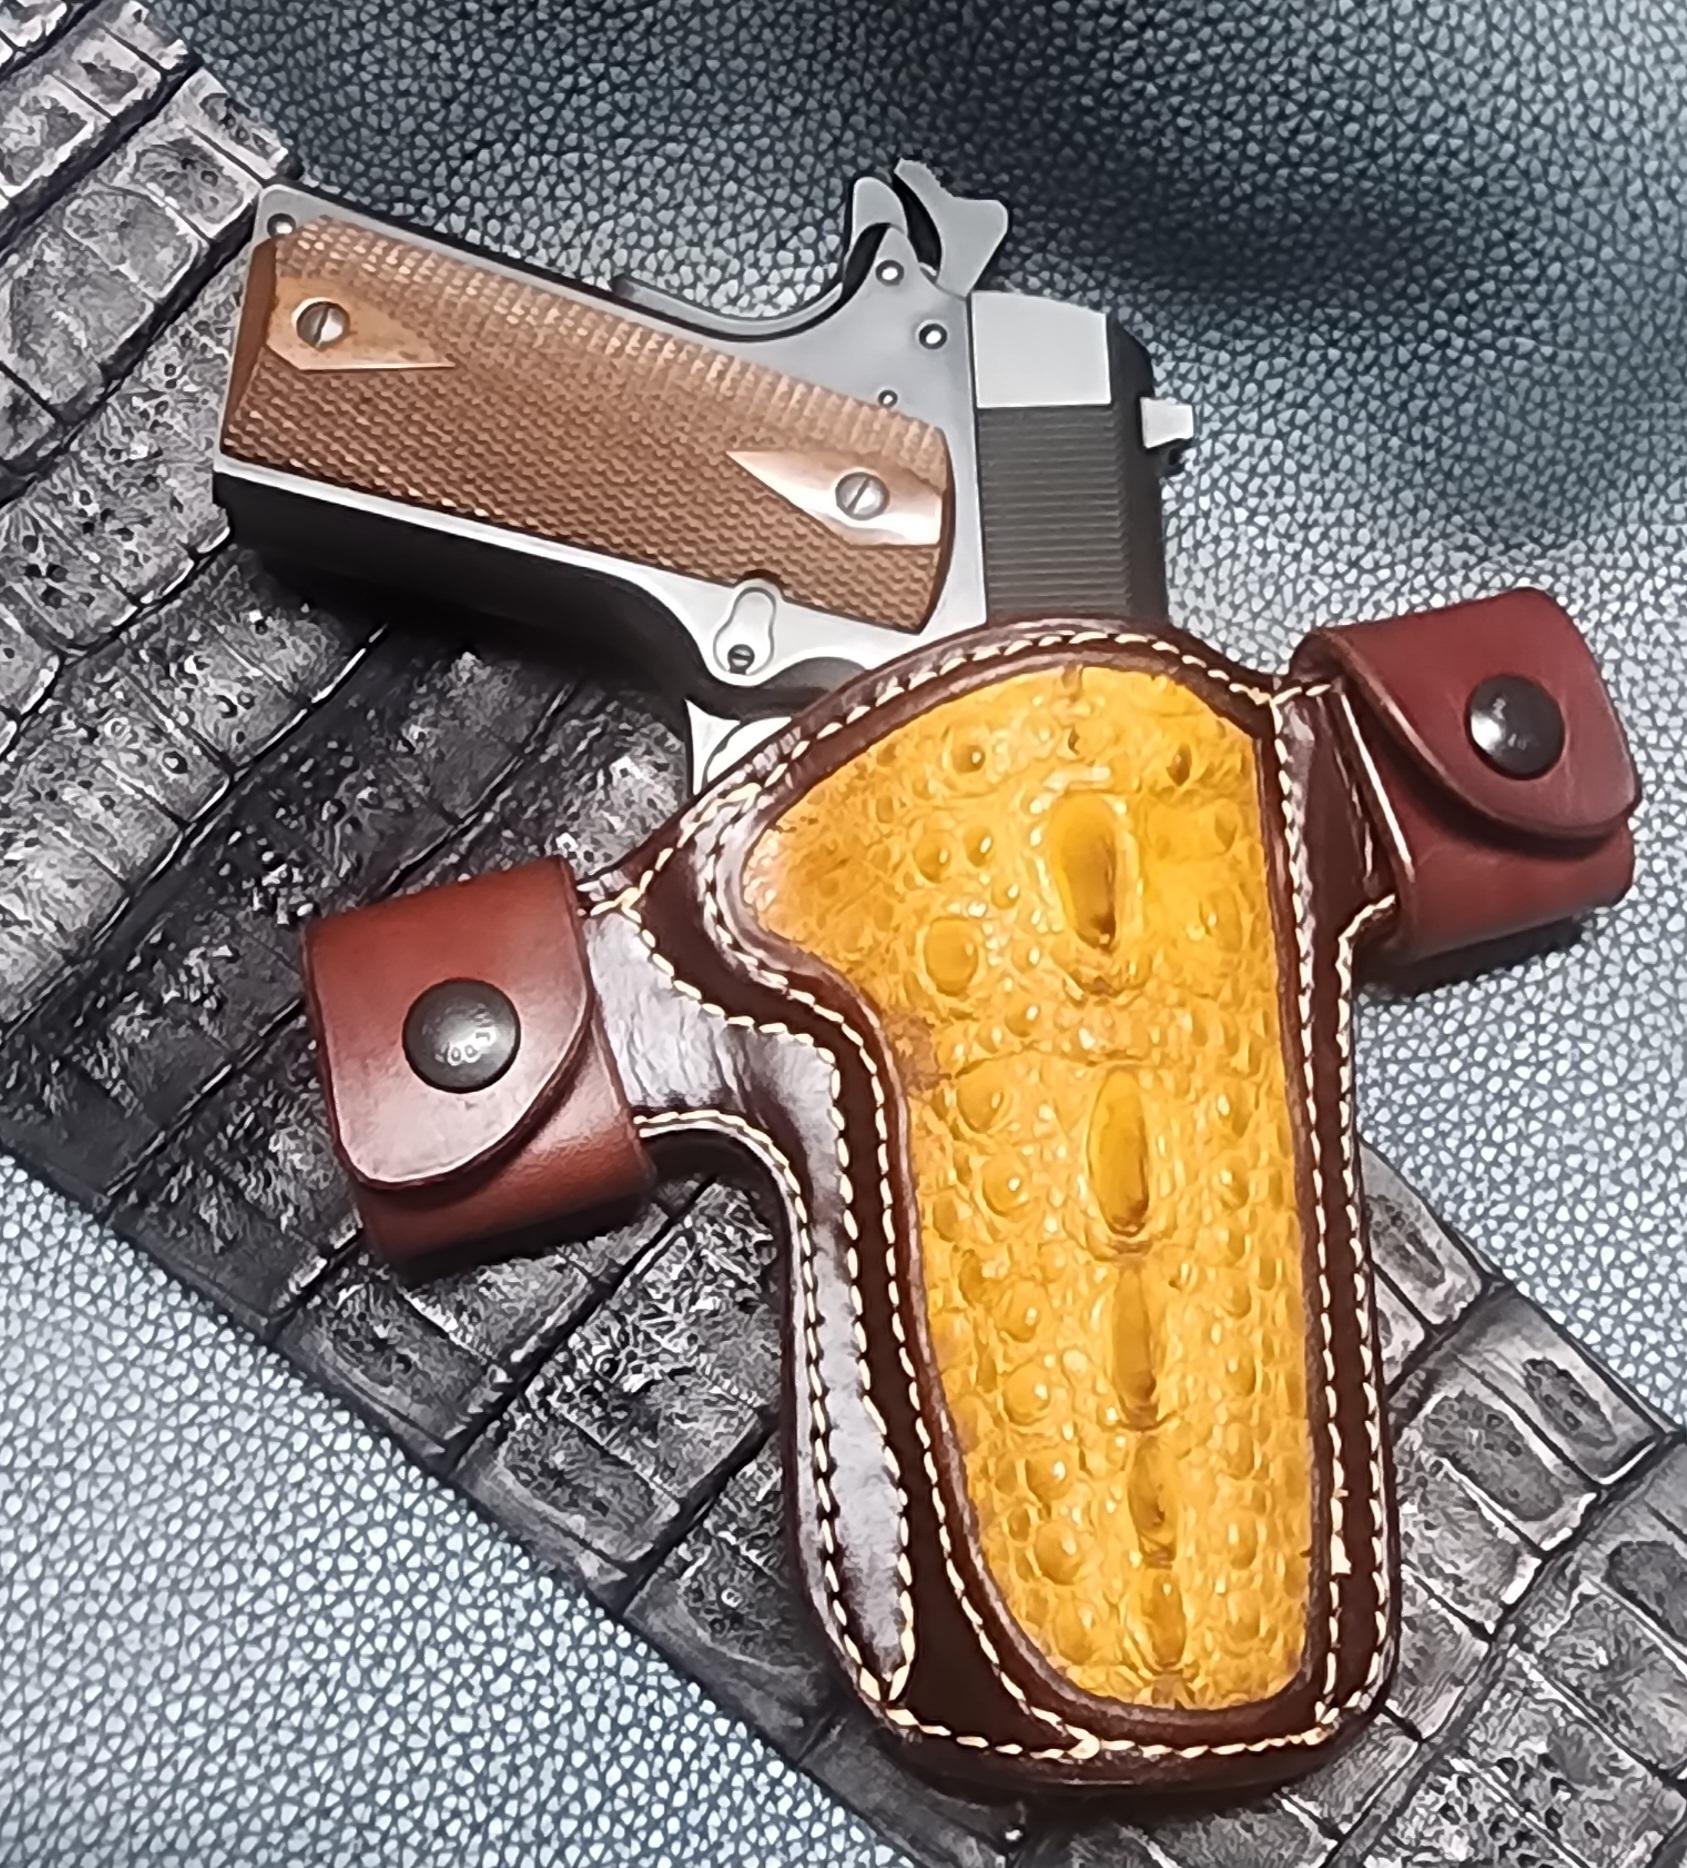
Some exotic inlay for 1911
Stetson912 replied to Stetson912's topic in Gun Holsters, Rifle Slings and Knife Sheathes
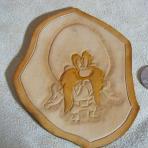
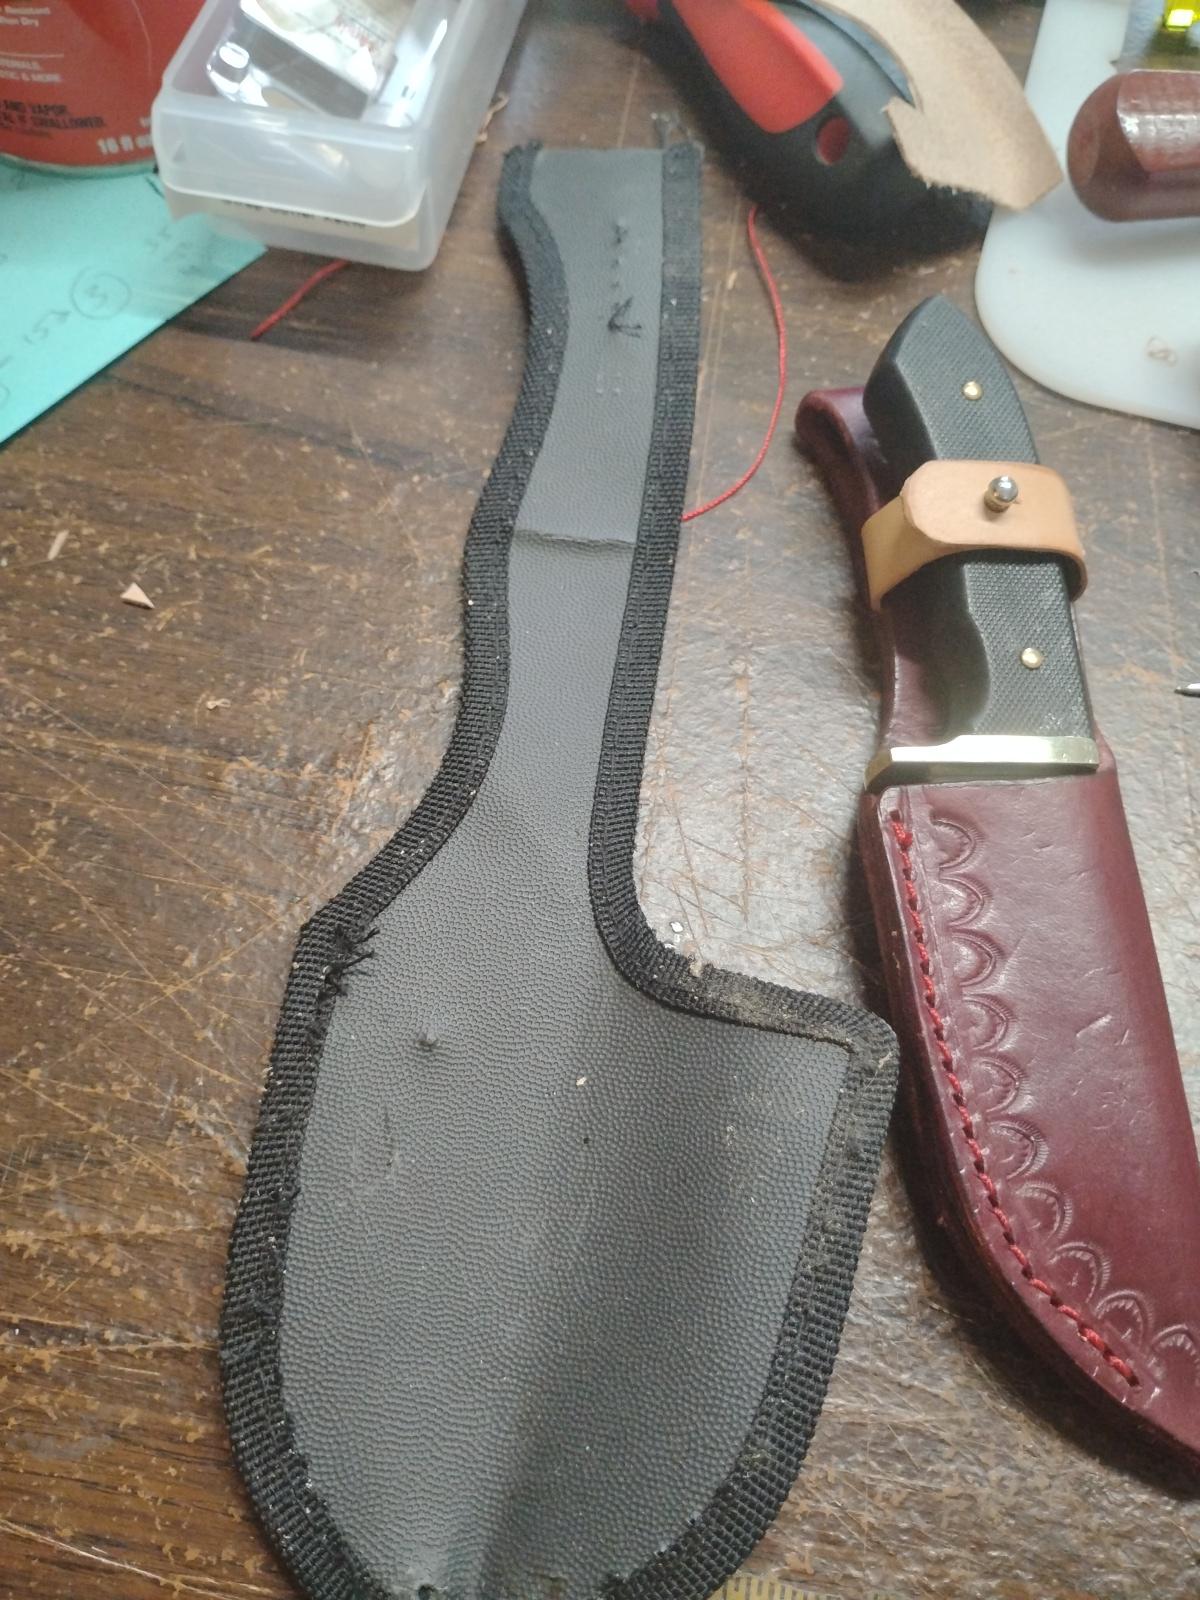
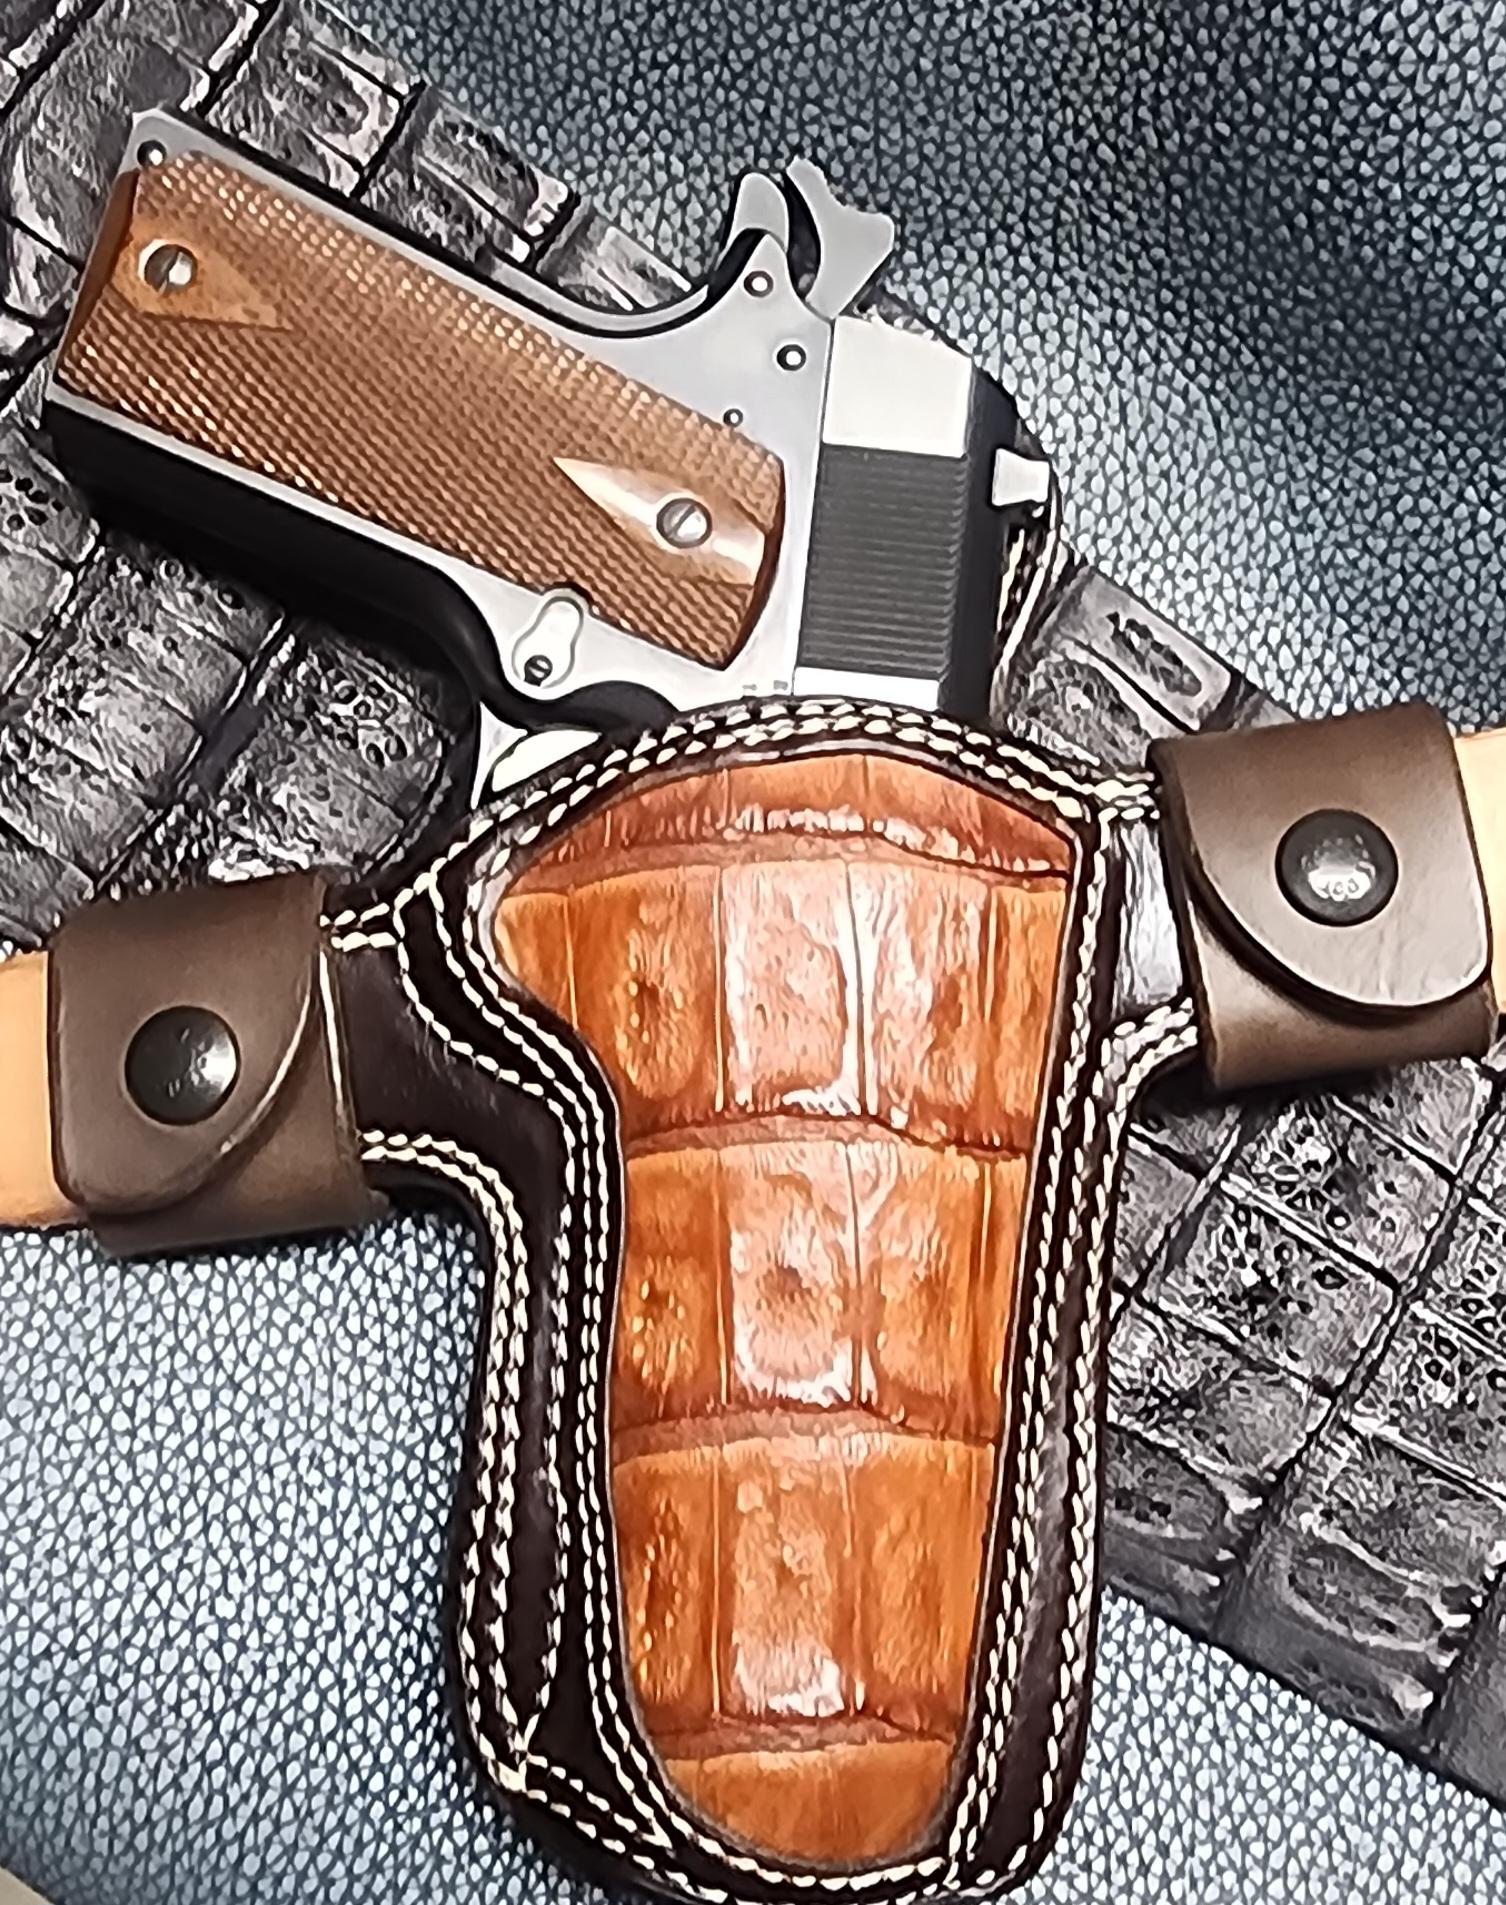
Thanks. The caiman is a bear to work with. The snapping turtle was far simpler. Thanks. Fun builds. I Definitely like the snapping turtle and need to get some more of that haha -
Tandy does/did a pattern set for Chaps I'm sure the Bat-wing pattern in that set could be adapted to your needs
- Today
-
I’m wanting to make myself a new pair of chaps. I’ve been trying (with no luck) to find a slim batwing that fits almost like a shotgun. I found these that Shooting Star Saddlery makes as an example.Does anybody have a pattern or know where I can find one? thanks in advance!
-

Very wide twin needle guage machines?
nylonRigging replied to medion's topic in Leather Sewing Machines
That good to know . I mulling it around in my head right now on doing a 7/8" gauge on an old 112 that is sitting not being used . Setting it up for stitching both edges of 1" webbing on a pattern I been doing . My personal quest/problem at this moment on the gauge setup is . On the 112/212 press feet . They offer Press Feet with a L-side and R-side edge guide, and that pretty standard ... BUT, What I really like to find is a Presser Foot with an ' edge guide on both sides ' so I can feed the strips webbing directly into/under Press foot . But most likely me getting double-edge guide is probably something that I am going to have to end-up myself Garage McGver'ing and soldering small thin strips of material to both sides of Foot for a double edge guide Foot . . -
Nicely done and definitely more functional !!!!
-
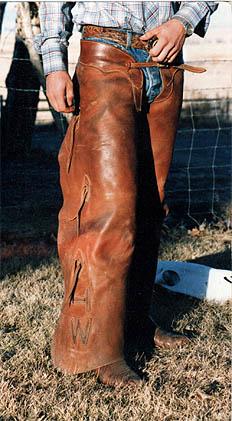
Generally I just make functional things, including this one. But I thought I'd post it anyway. I bought a cheap Tractor Supply knife, put a razor edge on it, cut the junk sheath apart and used it for a template. Here's the result. Machine sewn, for the curious.
.jpg.442ba33f0e0a6b457c45387319bd5ed1.jpg)
.jpg.35750c11062811f63a3e4718c037f11d.jpg)
.jpg.246afc3c10d815290fd489dbaec85f3f.jpg)
-

Juki 5550N experiencing problem in the bobbin area
thobgood replied to thobgood's topic in Leather Sewing Machines
A lot to absorb indeed, Wizcrafts, but exactly the sort of information I need! I shall make the video that friquant requested earlier, and then I shall delve into all the information you have provided me. I always see you answering people's questions in here over the years, and that's very kind and generous of you. I appreciate your wisdom and your assistance. Crossing my fingers I'll be smart enough to figure out a solution with the information you've given me. Thank you so much! -

Some exotic inlay for 1911
rleather replied to Stetson912's topic in Gun Holsters, Rifle Slings and Knife Sheathes
They both are really awesome! Very nice work. -

Juki 5550N experiencing problem in the bobbin area
Wizcrafts replied to thobgood's topic in Leather Sewing Machines
@thobgood When a machine that normally sews well suddenly starts missing stitches, there are three usual suspects. The first is when the needle and hook are out of time. The second is when the check spring motion is incorrect. The third is when the foot pressure is too light to hold the material flat during the needle take-up cycle. Since you have removed the cover plate, you can easily see if the hook is intersecting the needle above the eye, but still within the cutout "scarf." Where the point of the hook is can matter a lot, depending on the quality of the loop that's formed by the ascending needle. You could have perfect timing, but a too small thread loop that might not persist when the hook arrives to pick it off. I normally time my machines so that the hook intersects the needle 1/8 inch above the eye after it ascends about 1/8th inch. This isn't set in stone, but is a good starting point. If your timing isn't close to that, either move the needle bar or the hook. The quality of the loop is determined by two main parts. The first is the motion of the needle. The needle needs to go all the way down with the thread basically taut, then begin to ascend after the thread loosens up. That's where the upward motion comes into play. The hook must wait until the needle comes up as mentioned before. But, if the needle rises as specified and the hook arrives at the designated position and the loop doesn't get picked off reliably, the usual suspect is the check spring assembly! The check spring assembly usually has these three adjustable components. The stop motion bracket. This is a movable bracket that stops the downward motion of the spring where the thread comes out of it. It must keep tension on the top thread until the needle pierces the top of the material. Then it can stop moving. You might let the spring move down after the needle penetrates the bottom layer if it leads to better results. But, never stop before the needle meets the top or it might separate the thread and shred it! The slack adjustment. This is usually a curved slot with a tiny screw that is set to give a decent amount of slack thread. Normally, setting it to the far left gives the least slack thread and vice-versa. The normal position is dead center in the slot. A tighter setting leads to tighter laying stitches and the opposite direction leads to looser stitches. The spring tension adjustment. The tension is adjusted by finding and loosening a screw that is close to the body. It locks the shaft holding the spring in its position. That shaft is slotted on the outside for a flat blade screwdriver. Loosen it and use a screw driver to rotate it one way or the other until it just has enough pressure to hold the thread taut until it stops moving down. If it is too light, the spring may not move all the way down, which can lead to skipped stitches. However, it is it too tight, it may override the main thread tension disks setting. Balance the overall thread knot position by adjusting the top disks after any adjustments to the check spring assembly, and/or the bobbin spring. This may be a lot to absorb, but, it's important to understand. By playing with these adjustments you will better understand why your machine sews as it does, or misses stitches. The last thing I mentioned was the foot pressure. This is actually a two pronged issue. The foot, or feet in a walking foot system, must hold the materiel flat as the needle ascends and the hook arrives at pick-off time. If the material lifts with the needle, you will probably get skipped stitches! So, tighten the foot pressure screw on top of the head! But, what if you have tightened the foot action and the material still lifts between the legs? Yep, skipped stitches! When this happens, buy another foot with less space between the inside of the legs! Recap. Either confirm or adjust the nook to needle timing. Adjust the quality of the thread loop via the check spring. Make sure your presser foot is able to hold down the material between the legs. Once you fine-tune these settings, your stitches will be more reliable. Afterward, you might want to tweak the hook position for the quietest pick-off. If it is too close to or too far from the needle's eye, the thread will snap as it goes around the hook. It is usually louder if the timing is a little late. Try advancing the hook a little. Just make sure it arrives about 1/8th above the eye after the needle rises about 1/8th inch. Your manual may give the exact factory specification for timing the needle. If so, use them. The check spring slack setting can fine tune the quality of the loop. I hope this helps! -
I have never worked with canvas so I don’t know, but I can’t imagine it affecting any edge binding that you do. It might not take edge paint very well if you decide to go that route. There are some pretty good YouTube videos on how to do edge binding, my wife has been working on a purse that she is using a Mexican round braid around the edge. Chrome tanned leathers will also help you with keeping your malleability but it my be pretty floppy if you use it for the cover but an edge braiding will shore it up pretty well.
-

Some exotic inlay for 1911
fredk replied to Stetson912's topic in Gun Holsters, Rifle Slings and Knife Sheathes
yup, I like them, A bit of class -
These were fun. Hope you like em.
-

Made a little something for myself
dhaverstick replied to dhaverstick's topic in Archery Quivers and Bow Cases
Thanks, all! Each hook has two holes drilled into its base. I then just sewed the hook to the arm guard. Darren -
Nice work on the stitching without a clam, I love hand stitching things no matter how tedious it can seem to be at times once I get into it, music playing in the back round or listening to the TMS ( Test Match Special ) its Cricket commentary. What is the spi you have used. Regards JCUK
-
My cutting board is used only for cutting I do not use it for anything else as I know it will mark or scratch my work, so it would maybe better to get another board and use that for other things other than cutting and punching. Once I have finished cutting that board is removed from my bench same with my punching surface. Hope this helps JCUK
-

Custom speed reducer pulley for Singer 51W56
Scoutmom replied to FDC's topic in Leather Sewing Machines
Love the table. Do you mind sharing how you made it and where you got the parts? I see the foot pedal is mentioned above. The machine and speed reducer look great. -
I'm a huge LOTR fan. Here's an absolutely hysterical thread about a dungeonmaster (think that's the correct term!) trying to get a group to play LOTR as a D&D game! https://www.shamusyoung.com/twentysidedtale/?p=612
-
-
Being a lazy sod I'd use an electric planer
-
T'other night my #1 favourite dottir was telling me about a D&D game she is leading. The players play remotely by computer link-up The game was so seriously involved it made 4 dimensional chess seem like an infants game
-

Custom speed reducer pulley for Singer 51W56
GerryR replied to FDC's topic in Leather Sewing Machines
Links to AC Drive Components: VFD good for up to 1HP 3-phase motor: https://www.amazon.com/dp/B0DFB57721/?coliid=I8NFU0YE5UPT8&colid=17LBFSFMFWW6H&psc=1&ref_=list_c_wl_lv_ov_lig_dp_it Note: I bought mine through Ebay, but this is the same one. Motor: https://www.bodine-electric.com/products/ac-3-phase-inverter-duty-gearmotors-and-motors/42r-fx-parallel-shaft-ac-3-phase-inverter-duty-gearmotor/ Note: I was able to get model 2263, which has 58 in-lbs. of torque and 340 RPM at 60 Hz. You can choose outputs suitable to your needs and even get right angle output shaft versions. Just for comparison, the DC servomotor I was using was rated at 28.8 in-lbs. Foot Pedal Control: This is where I got a little creative. I took a TIG welder foot pedal and did a little rewiring. I got the unit off of Ebay: https://www.ebay.com/itm/176920994141?_skw=TIG+Welder+foot+pedal&itmmeta=01K01RR8XF07B0ETNHVT3SNZC6&hash=item293150215d:g:7KQAAOSwha9jZI28&itmprp=enc%3AAQAKAAAA8FkggFvd1GGDu0w3yXCmi1cdg2dYapN7bLOj7QNBNYvFBgb9nYOw6ivyhEaLfbTDARnhlFmmmIvRE5v%2BmSHS6NHzBxmYRm%2FS%2FOUguxh4QASZ6dKnq4aAfCKcCK9LWjU5OyPxxvNKcH3CjV9WGIL7ylcLvGzb6%2Bdvpe9MAB418aLD72qlvGirmqZ2XNTPpOEnSdadqe%2BJUuU70vTyKzaCPmAPE85JgmuvVu3AwzJYH9iW5vfdQNC7nCE8q1Im3b6Kp6cynjjiIrNBiNTH1T%2Fur%2B7h1JYK8hs%2Bt5hyHSlK4eaNsbSQ%2FRi%2Bmrmp2OVY%2BjRpfg%3D%3D|tkp%3ABk9SR4CP4biAZg I rewired it so the knob-controlled pot limited the top speed so the foot controlled pot had full range to that limited speed. I put everything in a case: https://www.ebay.com/itm/165626696069 These are the basics. I added circuitry for a position sensor that worked off a jog button. I don't use the position sensor, but it is available if I ever want to use it. The jog is so slow that I can stop the needle anywhere I want. This should give you a good start. Feel free to ask any other questions you might have. Happy to help! -
They look spot-on there I've seen far worser being sold as 'artisan' made. And they weren't cheap The house I used to live on was built over a clay base. Clay was only 18 inches below the soil. The whole area used to be known for high quality clay pots and bricks. Still is for the bricks, major exporter of
-

spring flowers and good food
chuck123wapati replied to chuck123wapati's topic in All About Us and Off Topic
thought i would post my first successful pot. Nice kiln LOL. I made the small ones are a couple of test pots for the different clays I found, the large one is the first attempt at a real pot. it is kind of wonky but it didn't crack. I'm going to collect more of the good clay today and maybe a few fish, do some foraging, have a cold one in the mountains, Have a great day, friends !!!!!!🍺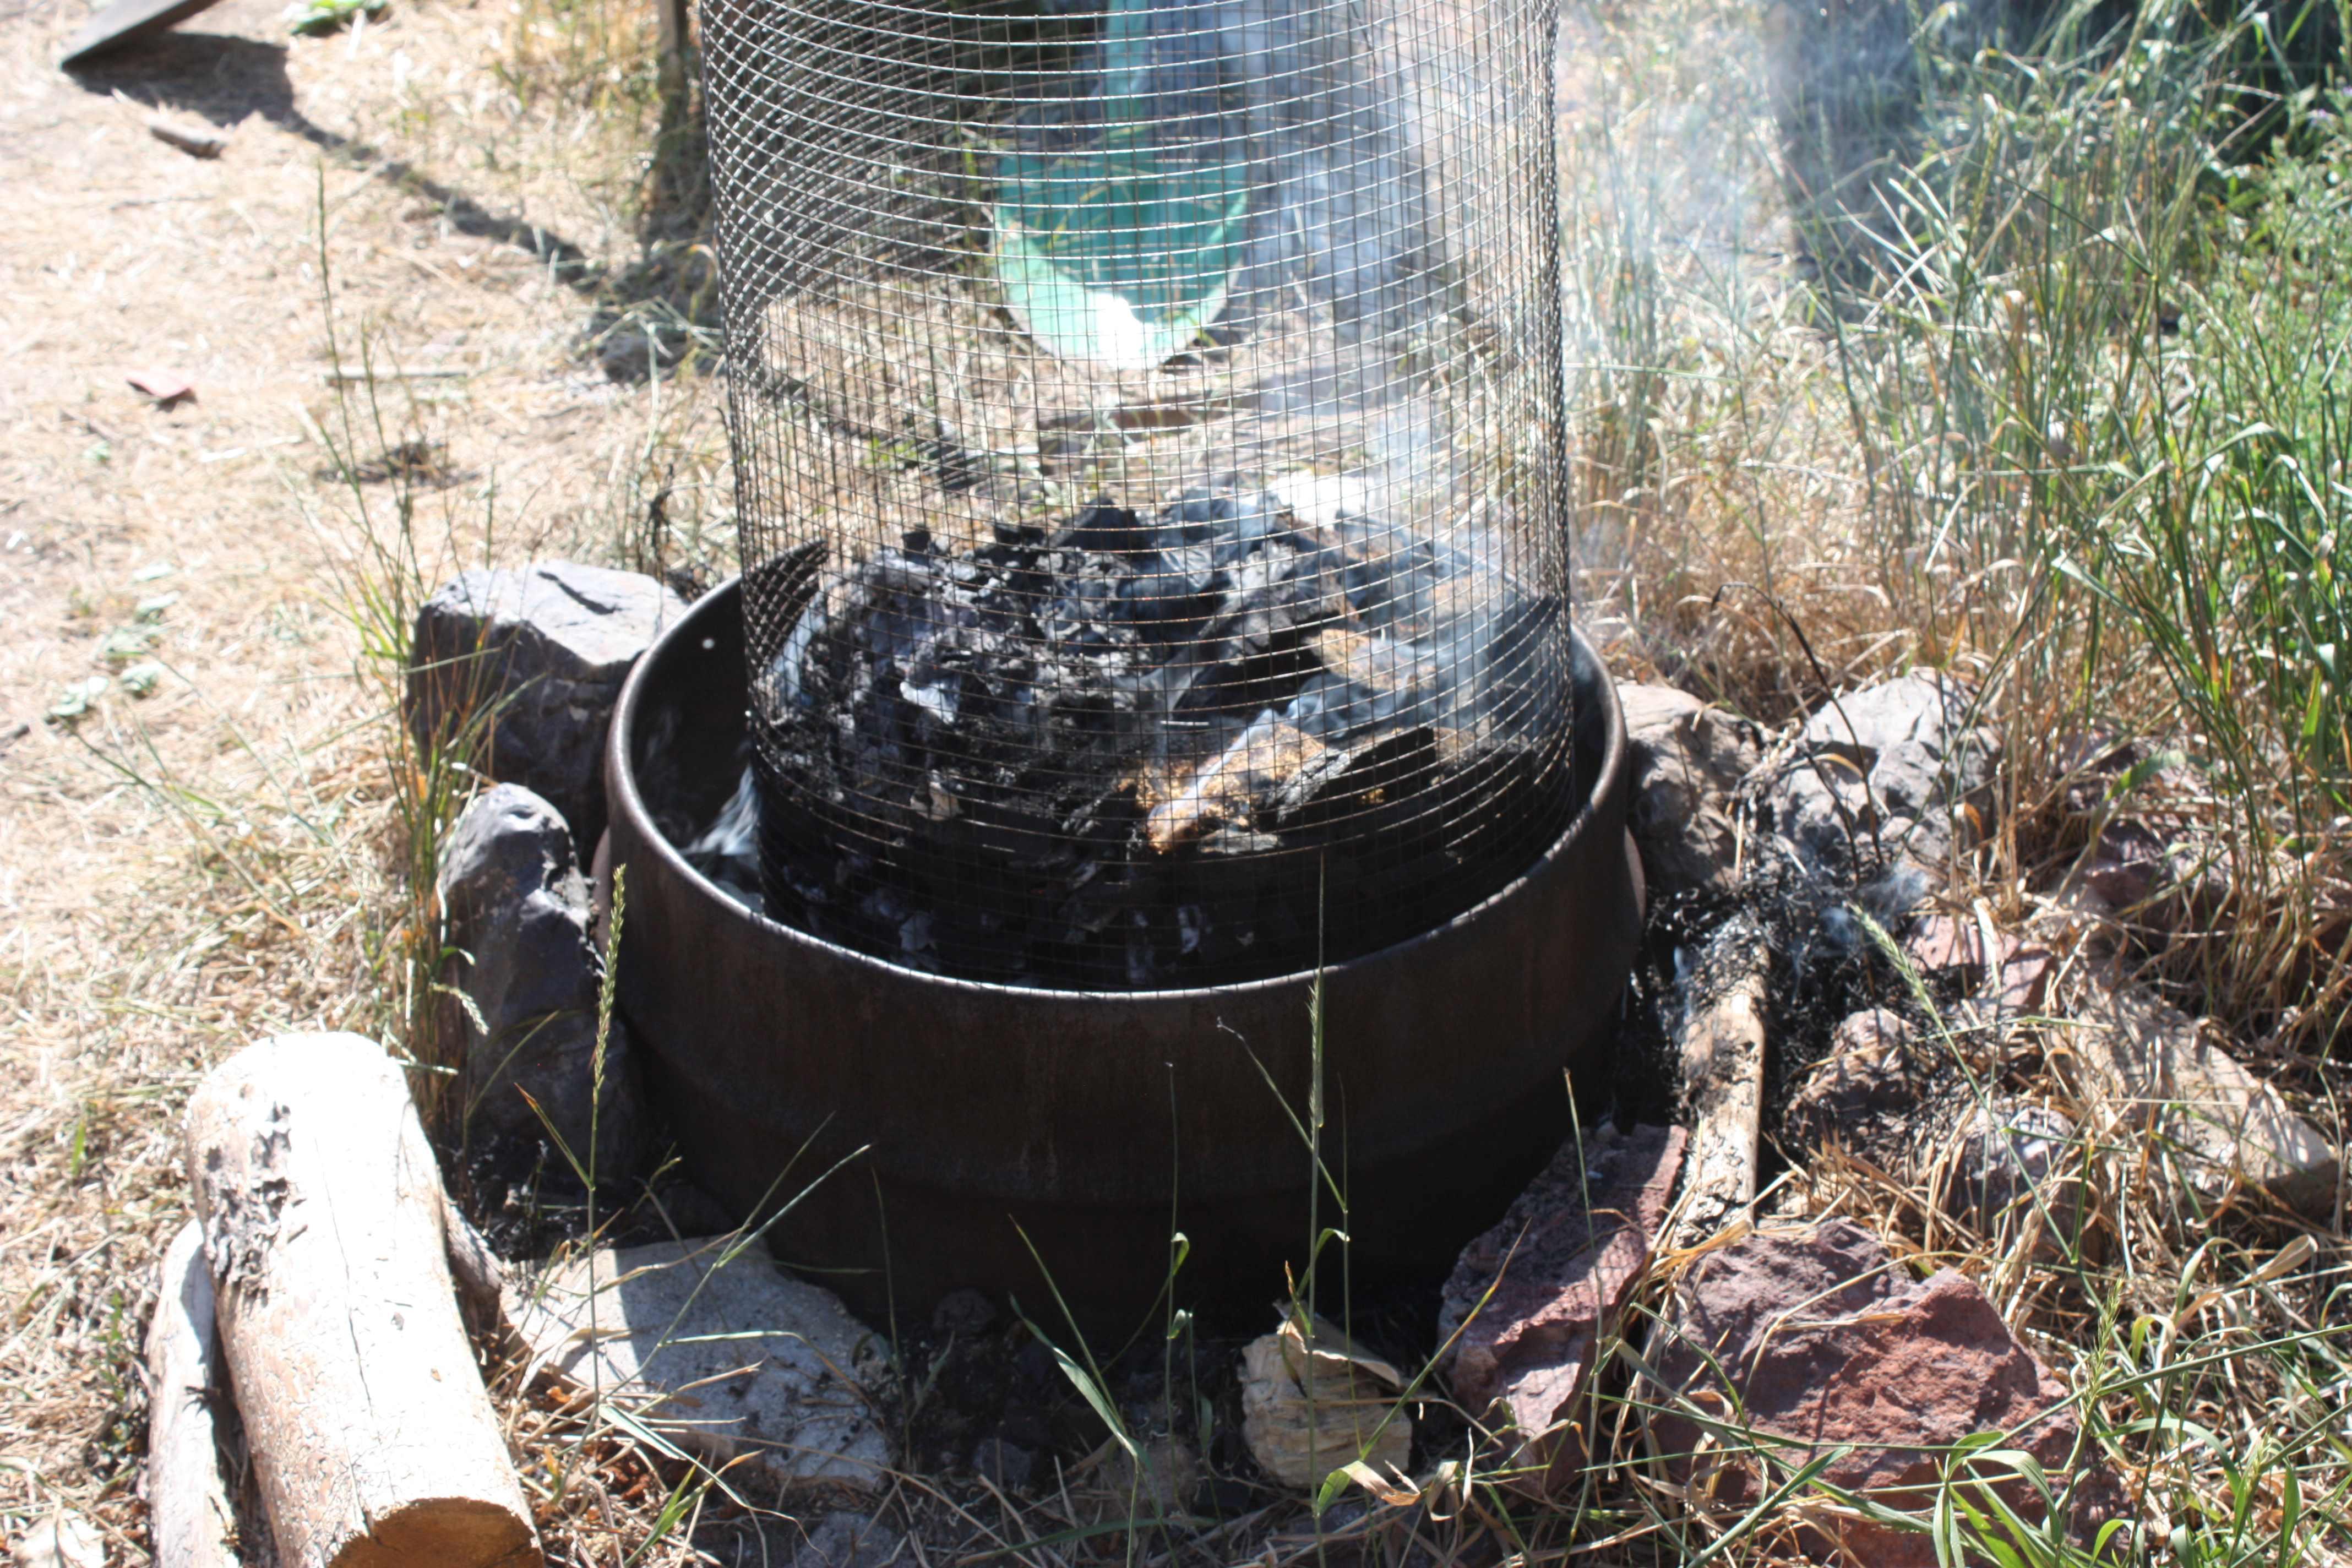

-
DnD related question
chuck123wapati replied to UnderTheRedMoon's topic in All About Us and Off Topic
Truthfully, all i know about DnD is what I've learned from watching Big Bang Theory lol. -
 Looks like a model from the 1980 which is slightly different to the latest model. IIRC the blade spring on the rear is a different one on the latest model but thats the only major difference I recall. Right now I have a very similar machine here and can take some pictures if you need assistance. Some time (years) ago I translated a 8346 mechanics manual from German to English for one of our members (seems I had a lot of spare time back then 😊) but I have to look for it in my records. I´ll send you a PM if I find it. BTW some of the parts I see in the pictures obviously do not belong to this machine. FI the Singer class 15 bobbins and the bobbin cases.