All Activity
- Past hour
-
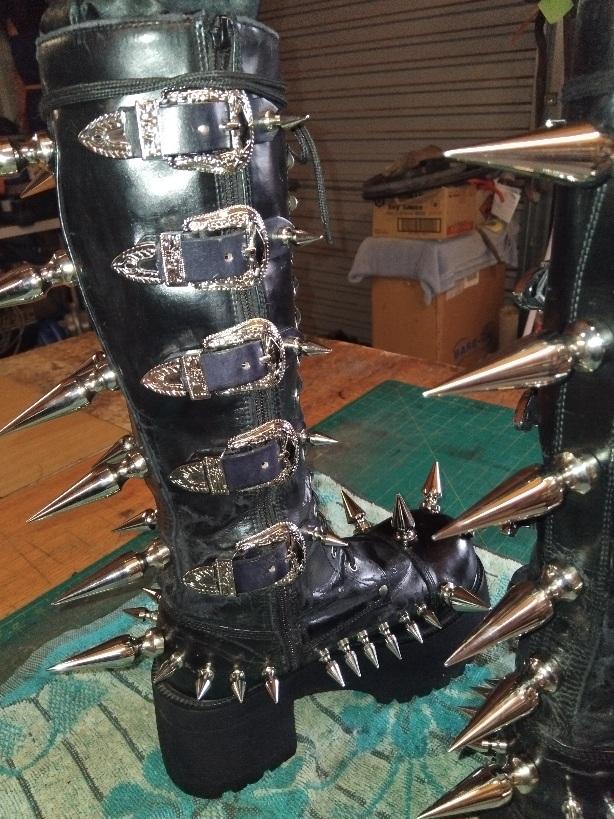
@fredk I had a look around on line at some goth 'stuff ' , and holy crap , there's some really wild and bizarre stuff out there. I did start some gauntlets a few years back and never finished them, so I might dig them out of my "basement " and finish those off,finally, just like the boots and put those on display as well. While I am by no means a 'goth' or a punk, but for some reason what I have seen just makes me smile ☺️ You can see those spikes along the back a bit better. HS
- Today
-
That is a nice looking glasses case. The edging could have been a little better but I have seen plenty a lot worse. I would not think of making it for under $60.00au which would be about 35 euro. Patterning time will often take longer than the actual job and I do use Autocad and a laser and 3D printing regularly as well. For me I would still be losing at $60.00au but the next time I would be in front.
-
 Are you sure you need a 3-4mm thick thread? 😳 Have you looked on a ruler how thick 3 or 4mm really is? I doubt there really is a machine that can handle such "ropes" or "laces". As a sample - the average paracord (like 550 / type III) is 4mm tick. I once sold my Singer 7 to someone who sewed felt pads for pack animals and IIRC he used NM 230 or 250 needles and the thread for such needles is about 1mm thick. What is you project maybe we can go from there.
 -
Thank you for your insights. In my case leatherwork is a starting hobby, so I don't have much experience and most of what I do goes with a lot of thinking, trial & error and experimenting. I also don't have a drawer filled with patterns (yet), so I spend a lot of time designing them. This case was an easy one in that respect because I could base myself on an existing pattern that I could adjust. I'm currently working on a biker's leg bag where I have to design everything from scratch, which seems to have taken as long as actually putting the bag together. At this point in time I'm happy to get material costs covered, plus some extra that I can invest in new stuff. Good point about overheads though; from what I charged for this customer I figure I have my material and overhead costs covered. I don't have to make a living out of leatherwork, I have a full-time day job as well that I won't let go of. I'd have to charge over 45 euros per hour on top of materials and overheads to match my current job's hourly rate and with my current abilities that's out of the question.
-
 @friquant Looks pretty good to me. I have never tried using a thinner bobbin thread, but I guess it is the only option if someone wants to use a very thick thread for sewing. Did you have to loosen the top thread tension a lot to make it sew so neat? Brgds Jonas
 -
That makes more sense, but again, my French skills are virtually non existing, so I just saw some numbers. But it could easily be the person who had written the article had gotten it wrong in the first place 🙂 Brgds Jonas
-
That looks great 👍 One thought that went through my head when i saw that was 'Pinhead' from the movie Hell Raiser. I'll put my thinking cap on, pardon the pun, 😀 HS
-
Love it just ordered one on Amazon. Gets here tomorrow. Thank you!
-

Landis 3 and landis 16 needles and awls.
speedybri replied to speedybri's topic in Leather Sewing Machines
Thank you! I appreciate the help. -
Nice!
-

Singer 29k1 presser foot doesn't work
Wizcrafts replied to MelissaViarengo's topic in Leather Sewing Machines
@MelissaViarengo Looking at the pictures of your machine, it looks like the teeth have been filed almost entirely flat on the bottom of the foot. The entire feed is done by the teeth digging into the material. If those teeth are blunt, or missing, the foot cannot pull the material back to form stitch length. The teeth on the foot should be sharp to the touch. You can find replacement 29k presser feet on ebay in Italy. While you await your replacement presser foot, try adding some thin rubber or clear carburetor tubing to the feet. 1/8 inch inside diameter should fit on the legs. This may have enough grip to pull the work to form stitches. Add more spring pressure too. -
They are for attaching a powder horn. I dont have one or id stick it on there. The left strap gets stitched around the staple on the horn plug (big end) and the other strap gets looped and stitched around the spout end. This secures the horn to the bag
-

Halter/Bridle combination
BlackDragon replied to BlackDragon's topic in Saddle and Tack Accessory Items
Oops. -
Looks good. What are the two small straps coming off the main strap for?
-
The A team theme music just played in my head lol
- Yesterday
-

Halter/Bridle combination
Goldshot Ron replied to BlackDragon's topic in Saddle and Tack Accessory Items
I have made a few of this type of bridle, and your's looks very good. One comment, I think your throatlatch is on upside down. Very nice work. -

Leather sewing machine for beginner beginners
dikman replied to girlscout4's topic in Leather Sewing Machines
Don't bother wasting your time trying to slow down a clutch motor (been there, done that!), there is a steep learning curve trying to control one for sewing leather. You got those machines at a bargain price so do yourself a favour and buy a servo motor, you won't regret it (you may need a speed reducer too, but try the servo first). There's been lots written about oils, to a point it's not that critical as long as it's a light oil but do not use car engine oil in the long run it can gum things up. The best way for a newbie is to buy Lillywhite Sewing Machine oil if you can. That 155 is a real workhorse. -
 Better England joined the community
 -
looking to buy it can anyone prove - does this reducer (box one) have a bearing on the axle?
-
Always nice when a plan comes together.
-
Congratulation on your retirement. And for the service
-
Congratulations, Bruce. That's a service many can use. May it make your retirement complete.
-
Looks mighty good. I like the decorative work as well as how you assembled it. Outstanding.
-
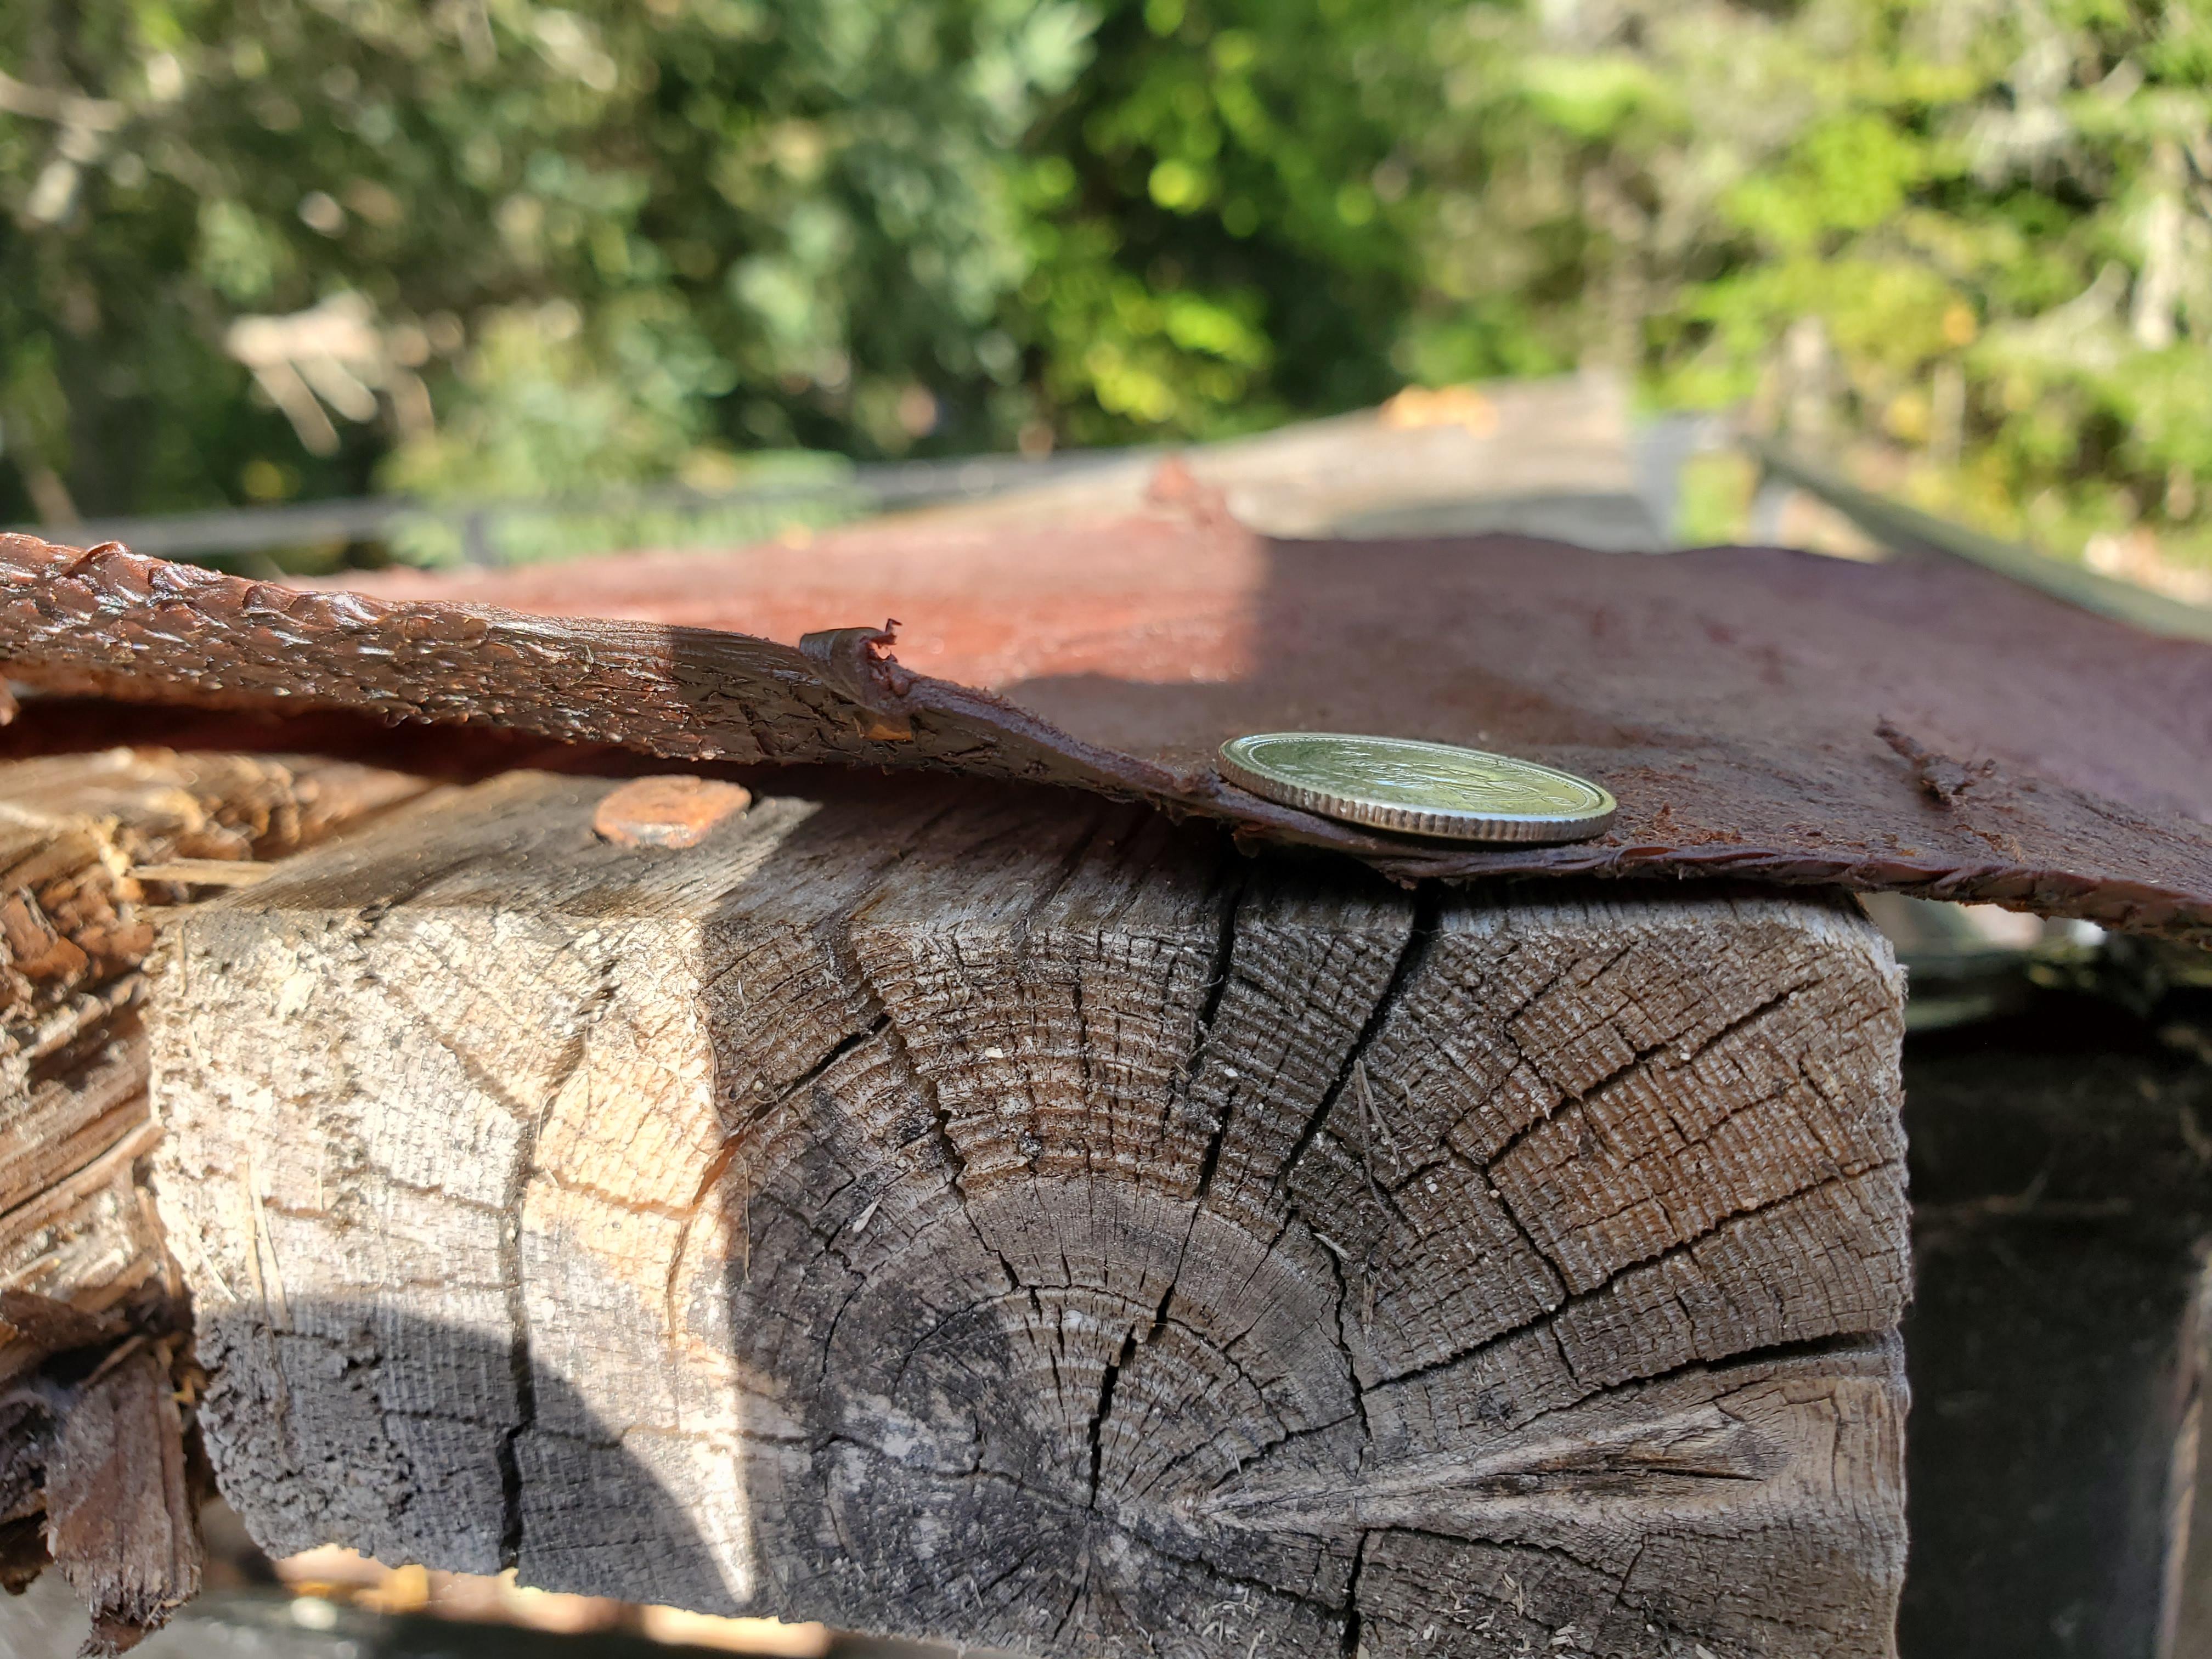
Here are some farmed salmon leathers. Canadian dime is 1.2mm thick. The wild salmon are a bit thicker, but it is rare I get my hands on those here in the east.

-
Halter/Bridle combination
BlackDragon replied to BlackDragon's topic in Saddle and Tack Accessory Items
Thanks! -
Yea, that's some beginners luck, alright. Congrats. (In fact, an internet stranger gifted me my first 111w153). I saw your other post about slowing down the clutch motor. Save yourself time, aggravation and money, put a $150 servo and a $125 speed reducer under one of them and get on with learning to sew leather.