


toxo
-
Posts
2,263 -
Joined
-
Last visited
Content Type
Profiles
Forums
Events
Blogs
Gallery
Store
Everything posted by toxo
-
Without seeing the video I would just say that most things are possible with leather if you want it bad enough. I would probably make a wooden form out of four half round dowels with a small space between. Find a way to clamp the wet veg tan leather till it's dry, either do two moulds or do the process twice then marry the two halves, stitch between and around, trim off the excess and finish.
-
s already been suggested, I would go with Artisan Textile Fabricator.
-
There's a lot of that in me. Used to go fishing a lot mainly for that reason. Had to break the ice a few times in the winter. Didn't matter if I didn't catch anything but you'd never catch me fishing from a concrete pier. My Granddad was French Canadian. Probably why I've always had a hankering for lakes /rivers/ forests and snow capped mountains. Couldn't pay me to go lay on a beach in the Med for two weeks.
-
It seems there is a downside to all that healthy eating Chuck, it's turned you into a right grumpy f****r. LOL
-
Chuck knew what I meant. not all three layers together. One layer at a time. It's amazing how accurate you can be when you tell yourself it has to be spot on. As Chuck says line em up when glueing with nails/toothpicks, whatever, cotton buds cut in half are a nice tight fit for round holes.
-
Assuming you mean a welt rather than a gusset to give three layers. You could of course have a bit of faith in yourself and punch all three layers separately . All you need is a stitch line and a starting point for your chisels. Just be sure to do exactly the same for all three layers. If you have the slightest doubt in yourself then glue em all together before stitching.
-
The most practical design I've seen clamped to the bench in such a way as to allow the whole thing to swivel around so it could be used around a foot above the bench or swiveled around so it could be used a foot below the bench like if you were seated or standing. Wish I could find it. The again, I just use a clamp on vice that sits on a ball joint.
-
I usually find that a bit more or less weight on the right part with the hammer does the trick.
-
Holey Cow jumped over the moon!
toxo replied to immiketoo's topic in Gun Holsters, Rifle Slings and Knife Sheathes
Stunning work Mike. Do you use Eco Flo dyes? -
Well done Folker! Already ordered. Still can't get my head around how it's gonna work but I'll try anything. The needle still has to go down the rabbit hole so I'm guessing a back foot with enough on the left side has to be used right?
-
Great stuff! Will look fantastic when you hook it up to the bike.
-
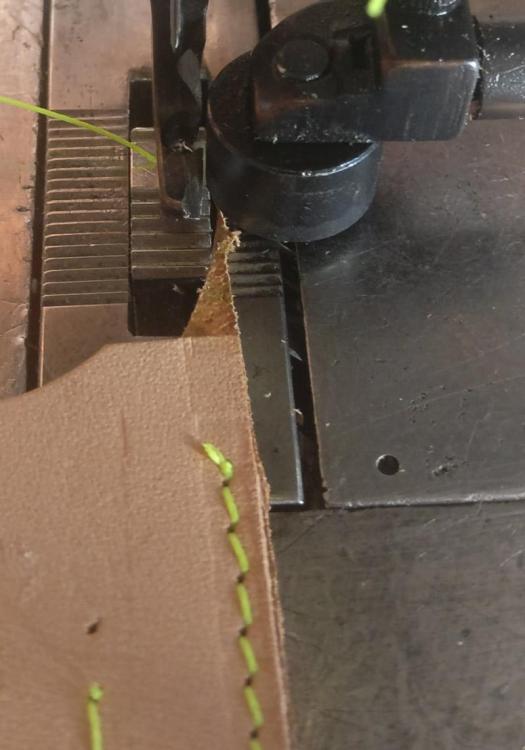
Update! Had to take everything off to get as close to the edge as I needed. The trade off is having to start away from the start because there's nothing left to hold the material. You have to start with the material under what's le of the outer foot. Hope you can see from theses two bad pics. Will try to do better.
-
Thanks for the efforts guys but I think Brian @RockyAussie has nailed it again. I'll order the right hand zipper foot for the 69 for the future but I have lots of 239 feet that I can play around with and they're a fraction of the cost of 69 feet. I might have to find out how much I can take off that right side. These are keyrings don't forget.
-
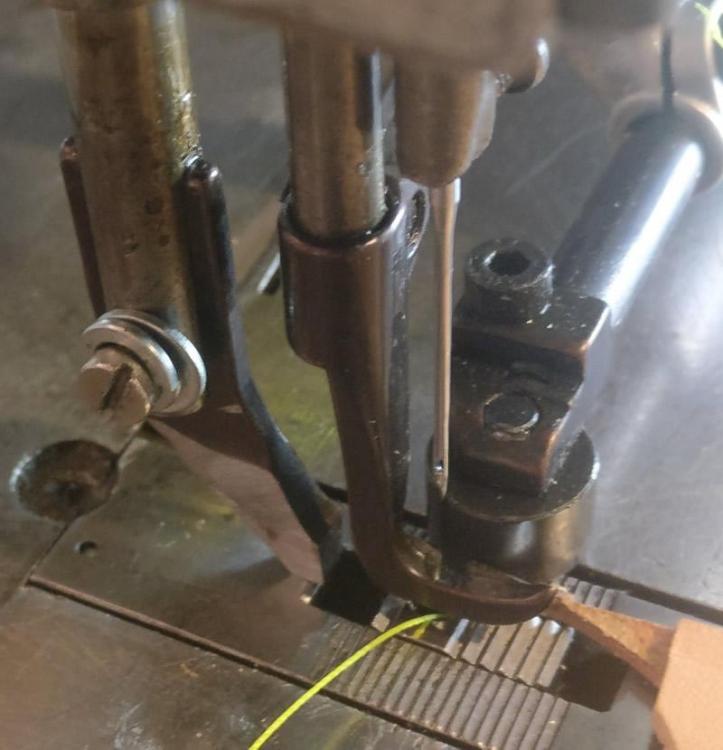
Want to machine the mini boot. It's too hard on such a tight radius. Experimenting using a zipper foot at the moment with an edge guide but the veg tan doesn't want to lay down. Have lots of thinner chrome that might be a better fit but without much thought I was thinking that an angled wheel would be closer to the needle. I have some edge guide p/feet for the 239, might try grinding some of the left side of the right side one. Maybe one of those one behind the other jobbies might do the job. More than ready to be educated.
-
This is a great idea from Youtube. Put a tyre stem valve into an empty spray can and refill and re-pressurise again and again. You could have one for air/dye/paint/wd40 etc. Watch from half way.
-
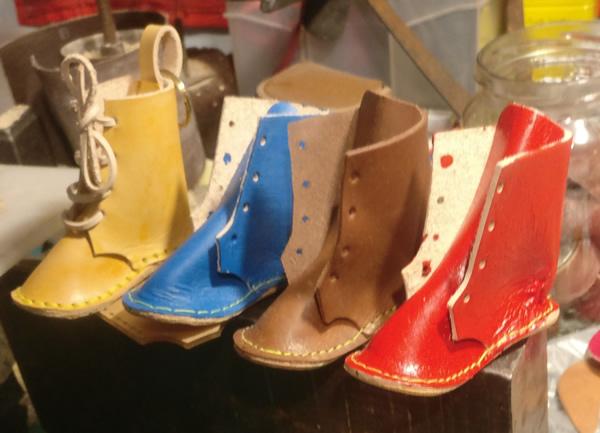
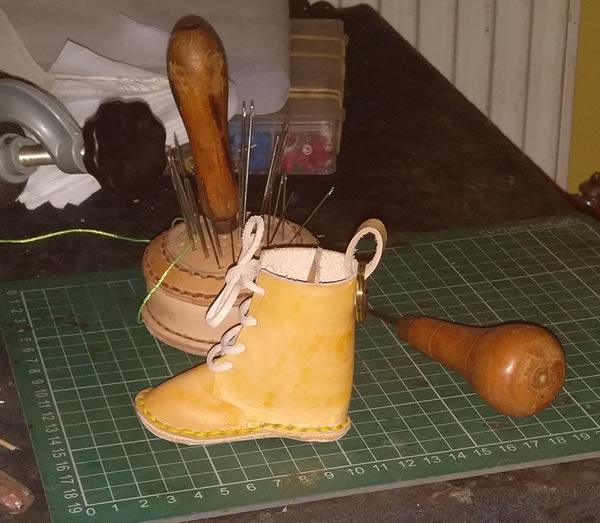
Ain't it cute?
-
Think I already worked that out after I'd ordered a cheap one from Ali Express. Duh! Seems to me that here's an invention looking for an inventor. Just needs a spring somewhere to ride the oscillations.
-
Anyone know if I can get a roller wheel foot for my Adler 69 or my Durkopp 239 (Singer 111 type)? If so, where? Thanks guys
-
Welcome from the UK. You've started something now. But I know you'll enjoy the ride.
-
Welcome from Kent in the UK. If you're like the rest of us on here you'll love the learning.
-
I had to do this yesterday. The best way by far is to center punch the middle of the rivet and use a drill bit the same size as the rivet shank. Quick, clean and simple. The trick is not to press too much else the top part will spin with the drill bit but even then a pair of pliers will suffice to hold it whilst you finish drilling. If done right the rivet will come apart on it's own with no damage to the leather and the hole is no bigger than when you started.
-
This is just one youtube video that shows what you can do with an arbor press. Check out the back of the ram. Can be raised or lowered. https://www.youtube.com/watch?v=vqCYOCPD-58
-
Most arbor presses are geared all the way from top to bottom of the ram. You just have to undo the side piece, pull out the side with the bar on it and raise the clearance before putting it together again. Quicker to do it than write it. On mine the left hand side is always off so I can raise/lower as required.
-
Me too. In a previous life I was a fabricator/welder and when the metric system came in over here we all had a moan but there's no denying that once you get over it, it's much easier.
-
Why not just cut a circle out of a sticky label and carefully draw the lines and annotate in ounces.

