YinTx
-
Posts
3,794 -
Joined
-
Last visited
Content Type
Profiles
Forums
Events
Blogs
Gallery
Store
Everything posted by YinTx
-

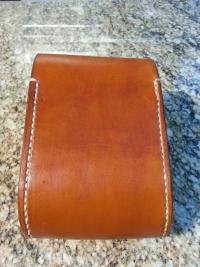
Bold Orange Clutch
YinTx replied to YinTx's topic in Purses, Wallets, Belts and Miscellaneous Pocket Items
OMG I found the source of my inspiration! Considering I saw this late at night and couldn't remember where, I think I did ok at copying. In fact, a bit too ok, so I feel I must give credit where credit is due. I did a liner and a different closure tab and did the sides different, and edge coated.., but otherwise... -
Try the Leather and Lace for sale section on Leatherworker? Just sayin.. .you might find a piece or two you could make an offer on around there... YinTx
-
Saddle Lac Sadness
YinTx replied to YinTx's topic in Dyes, Antiques, Stains, Glues, Waxes, Finishes and Conditioners.
JLS, Since I don't have a reference point, could be on way too heavy. Could be the can, too, on account of I don't have a reference point. Or perhaps a bit of both. I don't think I'll drop any $$ on another can to find out, since so many have indicated it is not the product for this job. Just tried the Clear Lac for the first time, not shiny at all. Just soaked right into the leather. Has me a bit worried about it's ability to resist, or my application technique. It also completely wiped off the acrylic paint, and pulled out the Fiebeng's Pro oil dye, resulting in a lighter color. Perhaps a gentle soft brush instead to apply it next time will help. All a learning experience for me. Should I be using 2 coats of Clear Lac, or is one enough before antiquing? YinTx -
Oh, you mean Etsy, or Ebay, or any other online store that wants you to put your stuff there so they can charge a fee for doing nothing? At least the actual stores might actually rep your product and attempt to sell it by putting it in front of others. Most store fronts I see in the US are resellers, I don't think Macy's is manufacturing all the different brands of items they have in the store. I don't think I'd be offended if Dillard's asked me to put my item on their shelf. I certainly wouldn't attempt to black list them and bad mouth them to others for that opportunity. If I don't want to put my stuff there, I say thanks but no and move on. Why waste time on malevolence? YinTx
-
Saddle Lac Sadness
YinTx replied to YinTx's topic in Dyes, Antiques, Stains, Glues, Waxes, Finishes and Conditioners.
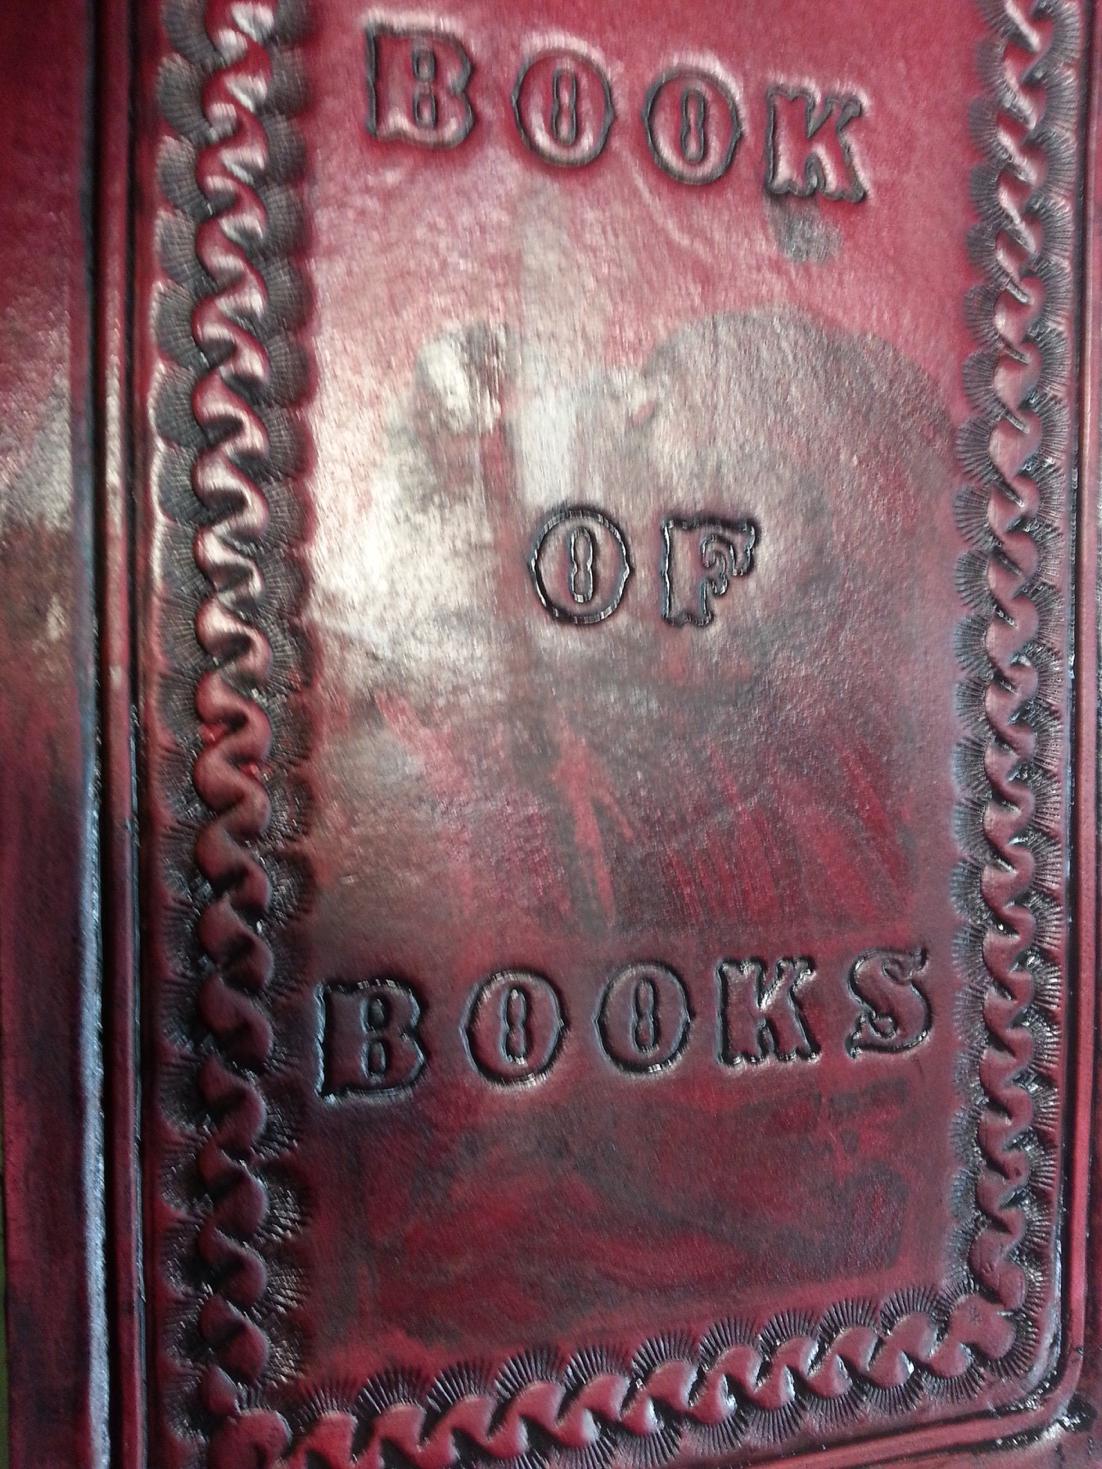
In the example given with the "Book of Books" cover, I used Angelus acrylic for resist, and Angelus acrylic antique. It took a damp rag and a lot of scrubbing to get the resist off. Good to know about the ability to apply acrylic as a final sealer on anything. I'll give it a try sometime. For now, I have a trial run going with some basket weave, and here is the process I am following: DOPCAT: Dye (Fiebeng's Pro Oil), Oil (Neatsfoot), Paint (decorative - Angelus Acrylic paint), Clear-Lac, Antique (Fiebeng's Antique paste, Angelus Acrylic), Tan-Kote. I am ditching the Aussie for now. Today is the "Clear-Lac" step. I'll see how it goes! YinTx -
I made one with the sweat guard... and let a fellow carry it around for a few weeks and give me his feedback... feedback was the sweat guard had to go, as it was always in the way. After that, I had visions of it getting into the trigger guard and causing problems... so no more of those in future builds for me, unless I am putting in a thumb break.. YinTx
-
Saddle Lac Sadness
YinTx replied to YinTx's topic in Dyes, Antiques, Stains, Glues, Waxes, Finishes and Conditioners.
I did this in two parts, since I was having such an issue already. The top section has already been done. The bottom section was antique applied, and immediately attempt to wipe off. Not happening!!! Had to scrub the heck out of it fast with a wet rag to get any of it to let go. This was after several layers of Angelus Acrylic for the resist. I took this picture about 10 seconds after putting the resist on and trying to wipe it off. As you can see, still shiny wet. YinTx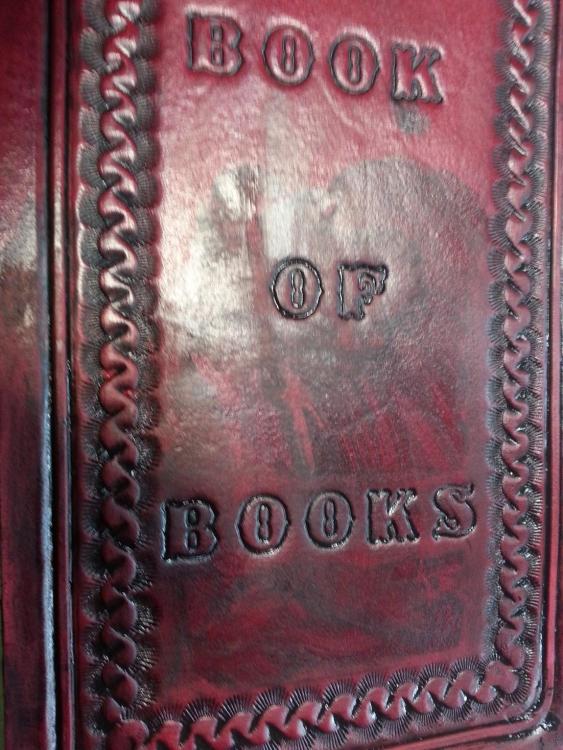
-
Saddle Lac Sadness
YinTx replied to YinTx's topic in Dyes, Antiques, Stains, Glues, Waxes, Finishes and Conditioners.
Terrymac, Thanks a lot for the detail. I have a can of Clear Lac, will try. Just came across some other threads on Saddle Lac, seems to be the same ol issue. Not sure what the heck its good for if it peels and cracks so much? Also found a mention of ONAT- Oil, Neat-Lac, Antique, Tan Kote. I'll give that process a try. (So now it's OCAT). YinTx -
I have been on a bit of a quest to get a good antique resist, but with no luck. I had thought the peeling issue I had might have had something to do with putting acrylic on top of saddle lac, but it became even worse when I put Saddle Lac on top of Saddle Lac. Here is my order of operations as it were: Tool Dye - wait a day Neatsfoot - wait a day Aussie (on occasion) - sometimes add a bit of heat to ensure it goes in, wait a day Saddle Lac - wait a day 2nd coat Saddle Lac - wait a day Fiebings Antique Paste - Sheridan Brown - wipe off excess immediately, let dry 10 mins, buff some, dry some, buff some, until I'm happy with the highlights. wait a day (at this point, the paste seems to turn chalky white - I don't like it, it stays that way after the last coat of Saddle Lac. I have taken to coating it before it is completely dry to avoid this issue - this timing has not had any impact on the final results either way. Saddle Lac - wait a day Saddle Lac - wait a day This means I can't get any item done in less than 7 or 8 days due to all the waiting, and then - - - - it peels, and goes into the garbage bin. Someone please let me know which of these steps is wrong!? Here is a photo of some small basketweave I did on a keychain that really exaggerates the peeling. I've had it on large items that don't bend as well. I enjoy tooling, but I am not having any luck with resists and finishes. Acrylic resists simply don't work at all, and the only finish that actually resists the antique peels horribly. YinTx

-
I have this same effect with several Angelus dyes I have. I think it is a pigment in the dye, as I generally clean my leather prior to dye. When I put the neatsfoot oil on, it reduced the effect, and rubbing in Aussie completely eliminated the pearlescent look, and gave it a beautiful shine. Using Angelus acrylic finish also seemed to do the trick. You might try dyeing a sample piece and trying different finishes to see if it has the effect you want. Let us know! and photos can go a long way to clarifying your issue.... YinTx
-
Quite the interesting article. It would appear that most of the leather dressings might be detrimental long term, as I had mentioned I had read elsewhere. But the effect on the feel and smell of the leather is not mentioned, which I think is a pretty important topic for the buyer...I tend to think most of what I make is destined to be used and abused, not stored in a museum, and I have to attract a buyer first! Veg tan leather looks pretty dull with just a dye finish, the dressings bring out the beauty.. YinTx
-
Kinda like Segdwick's leather has a bit of that smell 'o fish... I had heard that beeswax keeps leather from "breathing" by creating a bit of a seal, and thus it can not absorb moisture, and thus dries out faster than if it did not have beeswax coating. Anyone know if this is so or not? YinTx
-
Also, just fyi, a lot of people are allergic to turpentine. Using petroleum products such as hexane might cause health hazards, especially if people are applying bare handed. A lot of the other ingredients might be found in hand lotion, so would translate well to those not using gloves - ie any one putting product on their own leather goods that they are using at home. Just my $0.02, free, so worth only the price of admission. YinTx
-
Bold Orange Clutch
YinTx replied to YinTx's topic in Purses, Wallets, Belts and Miscellaneous Pocket Items
Thanks! YinTx -
Work in Progress...
YinTx replied to YinTx's topic in Purses, Wallets, Belts and Miscellaneous Pocket Items
Worked the top edge some, I was not happy with it before or after. Finished stitching. Ready for delivery! YinTx


-
Awesome, let us know! YinTx
-
Wow, that is fast. I'd take more than that just stitching, but apparently I'm slow. I am even more in awe now. Just curious, where did you get the transparent thread that you used along the top of the zipper? YinTx
-
Work in Progress...
YinTx replied to YinTx's topic in Purses, Wallets, Belts and Miscellaneous Pocket Items
Thank you, 9tpi. Getting a little further along today.. liner is in, partially stitched.. just the 2 short sides to go and finishing touches... Fighting this leather some, as it will not sand.. so waxy it just ends up sort of burnishing instead. Which makes having flat edges without glue at the seam a bear. I put together a trial piece of leather so I can experiment some with irons, wax, burnishing sticks etc. to see if it is possible to make that last edge cleaner. YinTx

-
Would you mind taking some photos and sharing as you go along so we can interpret RockyAussie's instructions? Many thanks! YinTx
-
Work in Progress...
YinTx replied to YinTx's topic in Purses, Wallets, Belts and Miscellaneous Pocket Items
Yes, I had to learn to do that left handed as well for this type of design. There were more than a few injured finger tips as I learned to do that! YinTx -
Absolutely stellar. Impeccable stitching, nice edges, well executed design! YinTx
-
Work in Progress...
YinTx replied to YinTx's topic in Purses, Wallets, Belts and Miscellaneous Pocket Items
Bikermutt and Aussie: Thanks for the compliments. RockyAussie, I am sure you are much more adept at installing liners than I may ever be. I wish I lived anywhere near you so I could come learn for a week or a year. Dun: I use a pricking iron to mark stitches, then an awl to complete the process. Pretty much really difficult to hammer a pricking chisel through all the layers the way the body of this bag is built, and I do prefer the construction quality of an awl to the chisels, although I have and do use both methods depending on what I am making. All stitches are saddle stitched. I don't use an awl to cut the cloth in the zipper or the liner, only to finish the hole in the leather. By necessity it will pierce the cloth, but I try to control the depth because I don't want to cut the cloth and affect the strength. Perhaps others with more experience can suggest a better way. It makes keeping the stitch pretty on the front very difficult, since the cloth affects the path of the thread. Hope this answers some of your questions... YinTx -
Work in Progress...
YinTx replied to YinTx's topic in Purses, Wallets, Belts and Miscellaneous Pocket Items
Finally, after nearly a week of finessing the liner to fit and line up how I wanted, I have fitted it into the body of the bag. Open to hints on how to speed up the process of making a liner and installing it! YinTx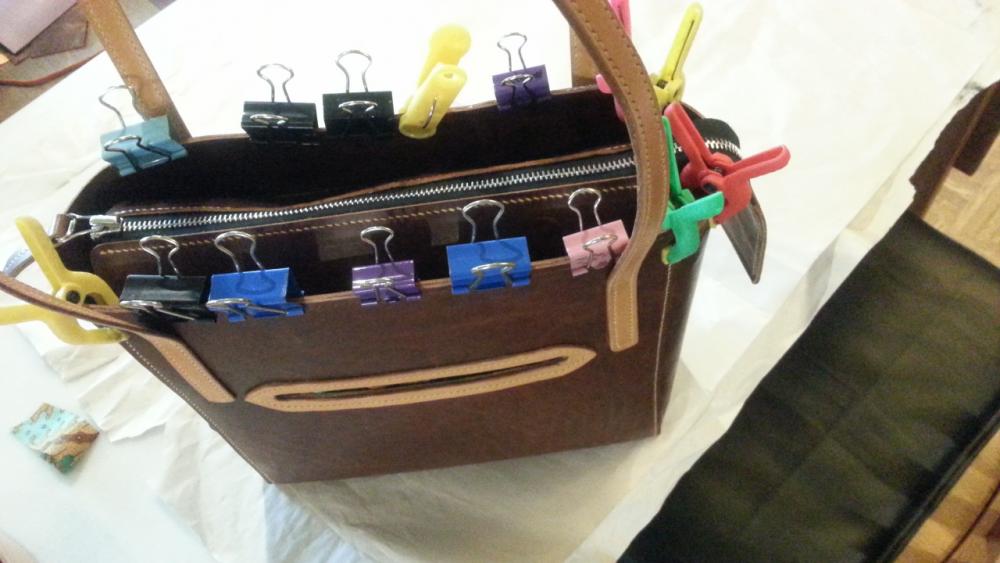
-
Another hybrid.
YinTx replied to Bolanca's topic in Purses, Wallets, Belts and Miscellaneous Pocket Items
I must say... an engineering marvel to fit all that in such a compact space! YinTx -
I purchased mine from the same place I believe. It is possibly the best $30 I have spent for leather tools, as *every* item I make touches this "tool" at least once as I cut, trim, etc. The 1/4" version has worked fine for about 2 years worth of use, on just one side. https://www.usplastic.com/catalog/item.aspx?itemid=36172&catid=705 YinTx