


Tugadude
-
Posts
2,656 -
Joined
-
Last visited
Content Type
Profiles
Forums
Events
Blogs
Gallery
Store
Everything posted by Tugadude
-

How to make a bottom of tote bag like that ?
Tugadude replied to phamcaovien's topic in Getting Started
To the OP, next time don't crop the photo please. It is pretty clear what is going on now that the full pictures were posted. -
How to make a bottom of tote bag like that ?
Tugadude replied to phamcaovien's topic in Getting Started
Not sure, but I think the OP is wanting the technique, not a pattern. Looks to me that you would stitch the bag inside-out with a slightly rounded edge on both corners. Then turn it rightside-out and flatten/fold the corner down and stitch. A smooth-faced hammer would help crease it to lay flat. Possibly have to dampen the corner too. That's my best shot, perhaps some purse or bag experts can chime in. -
New guy trying new things
Tugadude replied to Christopher's topic in Gun Holsters, Rifle Slings and Knife Sheathes
Welcome! And good luck. Lots of holster-makers frequent the forums, so I'm sure they will help. As far as stitch grooves go, they are OK so long as they are straight and not too deep. Personally I have shied away from them for the most part. Used to use them on everything, but they aren't necessary. They do allow the thread to recess and that is said to decrease wear. What I don't like is the tendency to force the stitches flat, meaning losing their angle. YMMV. -
Simple Card Holder
Tugadude replied to Stewart's topic in Purses, Wallets, Belts and Miscellaneous Pocket Items
Get a 6 or 4 and a matching 2 prong. The 6 or 4 for long, straight runs and the 2 goes around corners a dream. If you haven't watched them, Nigel Armitage's youtube videos on chisels are very helpful. -
Simple Card Holder
Tugadude replied to Stewart's topic in Purses, Wallets, Belts and Miscellaneous Pocket Items
Sorry, Craftool, not Craftpro...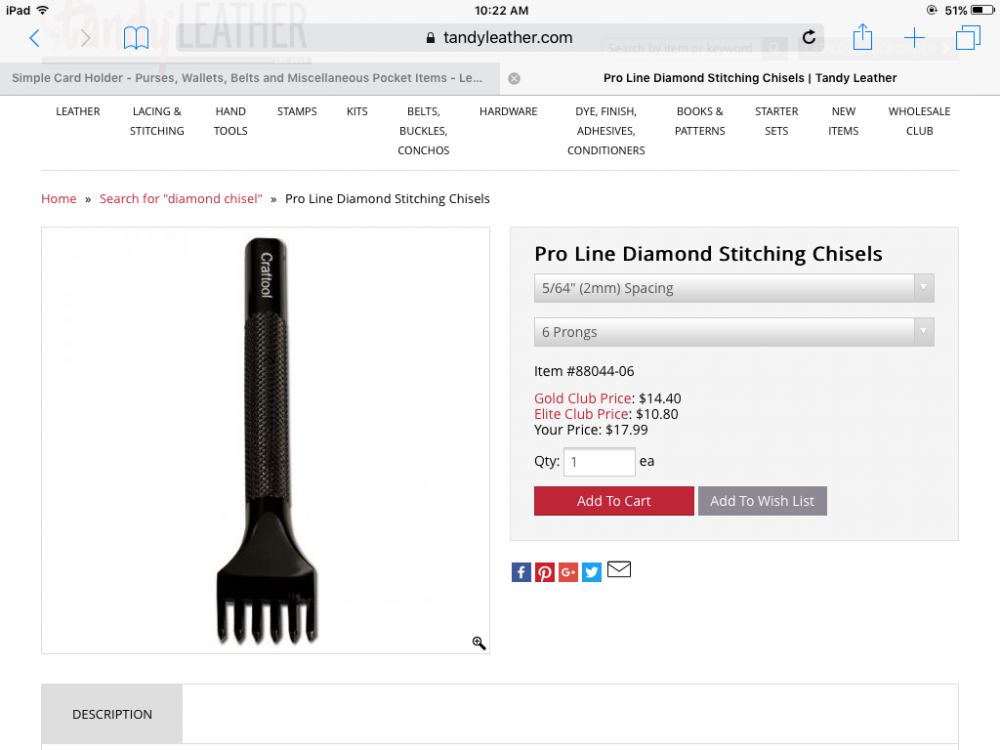
-
Simple Card Holder
Tugadude replied to Stewart's topic in Purses, Wallets, Belts and Miscellaneous Pocket Items
Agree, even an inexpensive Craftpro chisel from Tandy will work wonders. -
Simple Card Holder
Tugadude replied to Stewart's topic in Purses, Wallets, Belts and Miscellaneous Pocket Items
First of all, I'm sure your family will treasure them! On the stitching, you had a couple spots where the threads crossed the wrong way, resulting in a dropped stitch. When those happen, and they happen to us all, simply undo back to that point and make sure to observe the proper form. Keep your eyes on both sides as you are stitching and do it under good lighting. When this happens to me is when I rush and accidentally grab the first needle from above as I form a cross. I start from the right side, holes slanting down towards me if possible. As the first needle passes through, I grab it with the left, crossing the needles, LH needle underneath. Rotate your wrist and run the LH needle through the bottom of the hole. I sometimes cast a knot, depending upon the thickness of the leather. Helps to achieve a slant. Pay close attention to your tension, making sure it is even, snug but not overly tight. what method are you using to make your holes? -
Great first project and thank you for your service to our country. As you progress, you might try wet forming. Gives whatever you're carrying a snug, secure fit. Not going to critique anything, just learn and grow with the craft. Put that sheath to good use and compare it to the work you'll do years from now. Welcome to the club, lots of helpful folks here.
-
My tips for a "machine" look with Saddle Stitch
Tugadude replied to DonorLeather's topic in Sewing Leather
Troy I, I went back and read my first post and have to say it was a lot more positive than you portray. YMMV. -
My tips for a "machine" look with Saddle Stitch
Tugadude replied to DonorLeather's topic in Sewing Leather
I don't think we are giving him a hard time. You are taking it to a personal level. What I did is actually give him the benefit of doubt. What we are doing is expressing our opinion. We have that right as do you. It is kind of like the fact that many schools don't teach cursive handwriting anymore. You can say, so what, who writes anyways now that keyboards are so prevalent? To me, it matters and I lament the loss. What if a new crop of stitchers adopt the method shown? That, to me would be be sad. -
My tips for a "machine" look with Saddle Stitch
Tugadude replied to DonorLeather's topic in Sewing Leather
Kind of a touchy subject here. I will give the OP the benefit of doubt and suggest that what was meant my machine was "regular" or "consistent." Many folks don't see the subtle, identifiable characteristics of a true saddle stitch. To that end I agree with Martyn that what is presented doesn't qualify. Not forming a cross with the needles and actually setting a needle down are dead giveaways. I admire the intent, but agree that there are better sources. I don't consider myself expert, but I learn from those who are and aspire to one day reflect a level of craftsmanship. Last thing I will say and don't mean any offense is that at least the method described results in a somewhat consistent result. But to me, it is far from the ideal. Yes, perhaps my ideal, but it is shared by others who appreciate tradition and try to maintain it. -
 Wow, that is some awesome work. Especially love the double row of stitching around the sole.
 -
Antique Leather Bicycle Saddle Repair
Tugadude replied to the freewheeler's topic in How Do I Do That?
Do you know about bikeforums.net? Lots of good info on there and a couple guys that specialize in this subject. I am a bike collector and have many vintage leather saddles myself. The tear likely happened as a result of over-tensioning, and possibly exacerbated by dryness. I think you can glue it and blend the repair in a little, but in my opinion it isn't going to look great. Some backing makes sense. Are you doing anything to the bike itself other than cleaning? You don't want to totally recondition the saddle if you don't treat the bike similarly. Hope that makes sense. Good luck! -
Very nice indeed! Only thing I wonder about is the handle. Looks a little weak in the attachment. I would suggest cross pieces to help take some of the strain, or perhaps weave the strap through the side and stitch. Like an under and over kind of thing. Otherwise, cool cover!
-
Funny, I like the off center look, to each his/her own. That is some fine work, your friend now has a case of heirloom quality to span generations.
-
I would moisten your leather prior to dyeing. Also, do you clean it first? Oxalic acid does a great job of cleaning and also removes some surface contaminants that might interfere with your dye. Use a liberal amount of the antique. As far as thinning it down, I don't think it is necessary. Have you tried the alcohol or oil-based dyes? They might work better for you. Good looking stitching, BTW!
-
Belt For A Client
Tugadude replied to venator's topic in Purses, Wallets, Belts and Miscellaneous Pocket Items
Touches like that are noticed and likely encourage repeat business, nice idea! -
Cheap "european Style" Chinese Pricking Irons
Tugadude replied to Booshwah's topic in Sewing Leather
For the price, they are well worth it. -
3M spray adhesive is great stuff and you can buy it at your local hardware store. Either 77 or 90 would work.
-
Did you do your initial application in straight lines or swirls? As far as now, it is probably salvageable. I would lightly wet it and then apply more stain. I'd be tempted to do it in circular fashion. Not saying it is the right way, but I typically moisten the surface with water and apply the stain in a circular motion. I take care to not let any area sit too long, working fast until it is all dyed. I then apply stain in a linear fashion, making sure to spread it evenly. I seldom have any lines or obvious swirls when I do it this way. I use Fiebing's oil dye exclusively because I find it readily available. Good luck! And nice carving, BTW.
-
Martyn nailed it. I would only add that any time you are going to have uneven stitch length or spacing, plan it out as Martyn described. Don't get to the corner and go " Oh, s..."! Have a plan. I even try to arrange for backstitching to occur in unobvious places. Most leather items have a focal point that folks tend to notice first or that draw attention most often. Make sure those locations look their best.
-
As beautiful as I'm sure it is functional.
-
1.0 mm Tiger would be perfect for that Seiwa chisel. I would keep the iron for sheaths or other rugged applications where you want a chunky thread. You are achieving a nice row of stitching in any case, good luck.
-
Maybe these folks could help...

-
Try the next size up on your thread and see if that looks better to you

