RockyAussie
-
Posts
3,265 -
Joined
-
Last visited
Content Type
Profiles
Forums
Events
Blogs
Gallery
Store
Everything posted by RockyAussie
-

Backstraps to process
RockyAussie commented on RockyAussie's gallery image in Gallery- Our Leatherwork
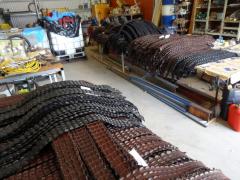 Nothin to be jealous of here JLS ... these are not in my shop area they are are in my project shed I built for projects and repairs and such like welding. Every time I get close to getting them out they just keep sending in more IBCs full again. Shutin down this computer might be a good idea though....
 -
No bites on this yet???
-
Sorry for the boring crocodile backstrap pictures I am trying to get them to load into my profile section where I hope to be able to direct people to see them if they wish. I find sometimes when answering a persons topic question that I find it useful to show a picture or series of that sometimes I have probably loaded before. Rather than chew up data space etc I would like to just post these pictures just the once in my albums in my profile section only. Hope this is making some sense and any help with this would be appreciated. Brain
-
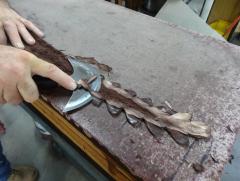
Thinning the tail tip to fit into splitter
RockyAussie posted a gallery image in Gallery- Our Leatherwork
From the album: Crocodile backstrap belts
-
From the album: Crocodile backstrap belts
-
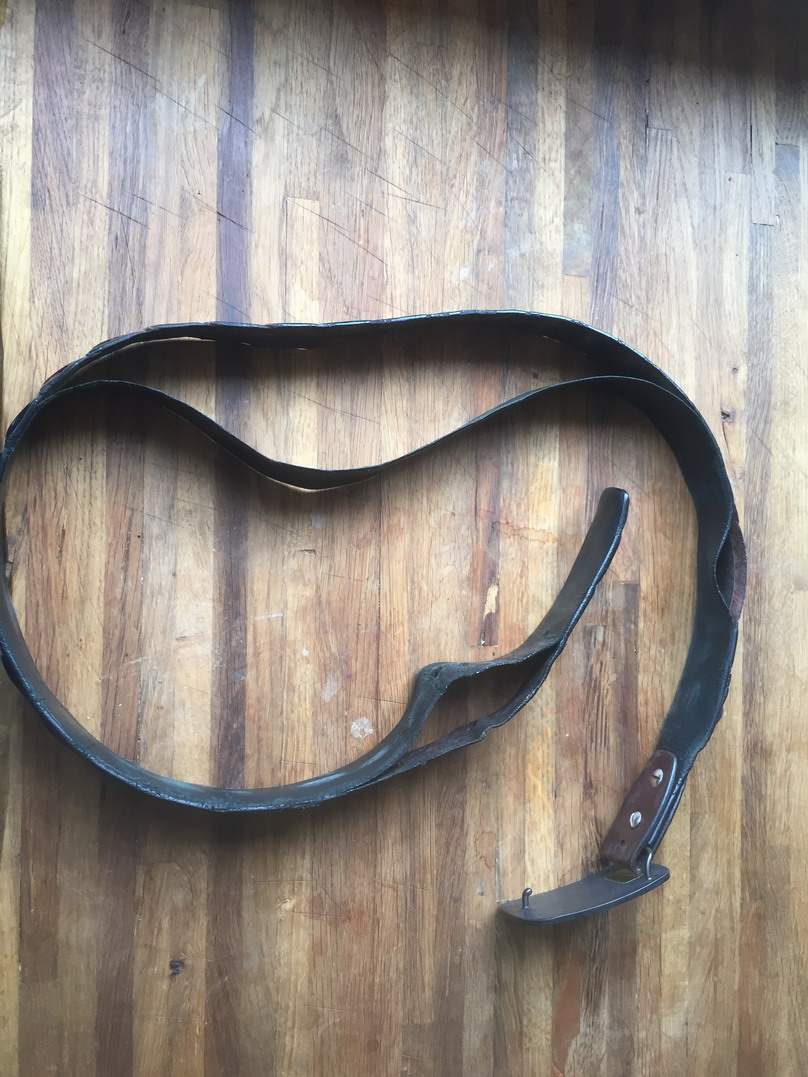
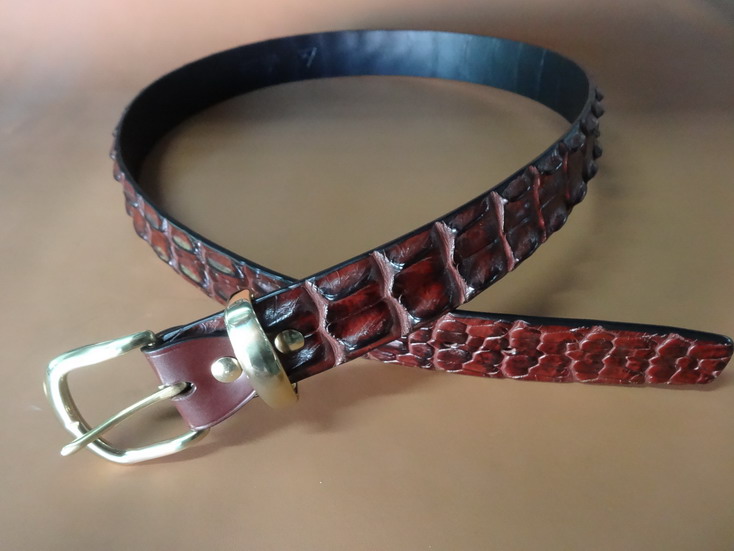
No stitching. The bumps you see are bone inside and although you could stitch some areas the needle deflection and breaking makes it impossible. The bones often go out to the edge. Some of the belts still look new after 10+ years and some like this worn everyday since 2008 come apart. The top as Wiz says needs to be sanded back and a new backing attached. As the top is normally pulled out of shape I normally attach the top down onto a wider strip pulling the top around to get back into shape somewhat then trim the backing down to the top size. This then normally gets sanded along the edges and rounded then followed by edge coating and ironing. The holes get redone after with an oblong hole punch.I normally do this job for around $50.00au (about $40.00usd) but with shipping and Cities and customs etc the costs get to be a headache getting back here and back there. I am happy to advise and give pictures on the process further if needed. If anyone feels confident and interested to do the job please PM your contact details for me to give to the customer to contact you. Thanks Brian
-
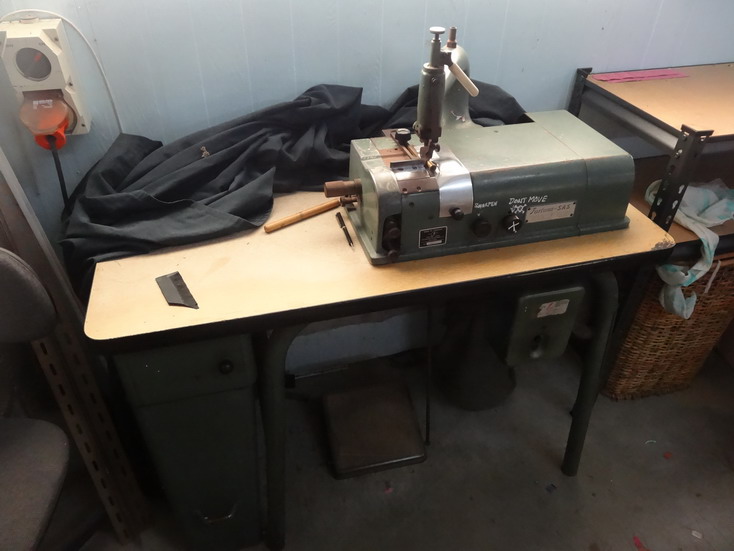
I dont think so Adam. My wife for years pushes the peddle forward on the Fortuna so that the clutch is lightly engaged and we have not had any problems. I on the other hand generally prefer to have the off so it tends to go back and forth either way a lot. The picture below shows the foot pedal which is quite heavy and can be pushed forward to engage the clutch partly or fully if you want. The FAV machine I have has a screw at the back to set the clutch to where ever you want the speed to run at and again no problems.
-
Front of Yellow snake bag
RockyAussie commented on RockyAussie's gallery image in Gallery- Our Leatherwork
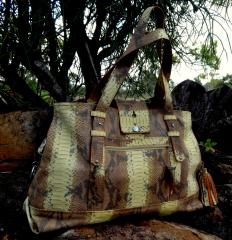 Sorry this has been posted before. I am trying to work out how to put pictures into my albums in my profile area without them showing in Gallery. I just cant seem to work it out right. Any body can help me with this ??? Regards Brian
 -
From the album: Rocky Aussie
-
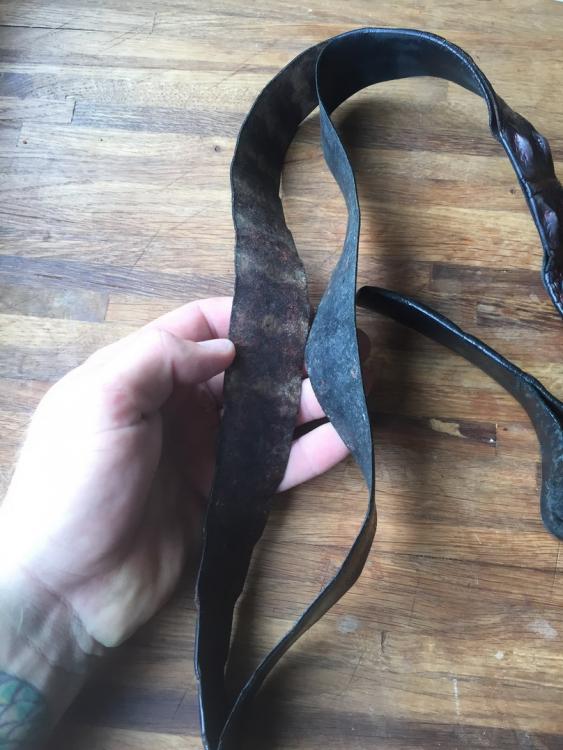
Have need of a good leather worker/repairer preferably around Seattle WA that feels confident in doing a repair on one of the belts I made around 2008 as shown in the pictures below. The backing needs replacing and is around 4 to 5 oz. I have included a new belt picture to help understand. Any recommendations as to who has the skills would be greatly appreciated. Brian

-
How to lay down wallet pockets straight and even repeatedly
RockyAussie replied to RockyAussie's topic in How Do I Do That?
It is amazing the similarities in wood working and it has helped a lot with many different ways that I have approached how I go about making the leather work that I now do. Wood machining was my first trade. Brian -
How to lay down wallet pockets straight and even repeatedly
RockyAussie replied to RockyAussie's topic in How Do I Do That?
Here is the pictures and dimensions of the line up tool in a pdf file. I should point out that most of this device could be made in timber, mostly 2x1 dressed pine I think except that I would use a bit of 3mm aluminium at the line up edge just screwed to the timber. There are 2 pages and the second has most of the dimensions of the one I made here. The top is 2 layers of 16mm (5/8") MDF craftwood in order for it to take a good pounding as you see it does in the video. The top has also been covered in a sheet of teflon in order to allow the products to slide around easily.The centre slide section I have done in aluminium as it is straight as a ruler and easy to keep clean of glue deposits. Hope that gives you all that's needed and any questions just ask. Brian Line up tool.pdf -
Ah Ha now I understand. That would probably be easier and I look forward to seeing or hearing how it works out. I'd give you hand to get it out but it's a little bit too far away. best regards Brian
-
I think you may mean the knife continuously? The blade always running at full speed works best. Sounds like a very good pick up for the price anyway. Brian
-
I've used open and closed and I have not had much problems with either. The product being made and what it does for for it is more the issue as to which to use. Open or closed come in a wide range of soft to hard ranges.What type of product are you wanting to pad. Brian
-
Leatherpro Ak-20 Leather Strap Cutter Spacers
RockyAussie replied to Anubis78's topic in Leather Machinery
I checked out one of these and I think the quick change is excellent and the overall quality looks good as well. I'm not sure about cutting spacers out of pvc pipe as the steel and aluminium ones I have made need to be lathe finished to size to get dead square and to the finish length as well. Holding pvc pipe in a lathe to cut would be hard to do because as the jaws tighten the pipe will distort. A sharp tip will cut in and upset the alignment and a blunt one will give an unreliable cut to size. Aside from those issues I would be concerned about how long they would hold up to wear and tear. With mine I have a heap of thin spacers for adding up to the sizes I want if needed. They go about 1/2mm,1mm,2mm and 3mm and so on.Metric or not it should not matter much. I am sure you will like that wide cut on that machine. Brian -
I just checked out a video on it and i think that should be a very handy machine. Having the guides adjustable that way will make different thicknesses a lot easier to do . Hope it all goes well for you. Brian
-
Hi Matt S, I would love to give more time than I do but that's life I guess.The knurling does indeed help and generally every 3 or 4 years I have to refresh the knurl probably because they are only aluminium and fairly soft compared to stainless. The knurling tool was surprisingly inexpensive from the toy shop here, about $40.00 I think at the time.
-
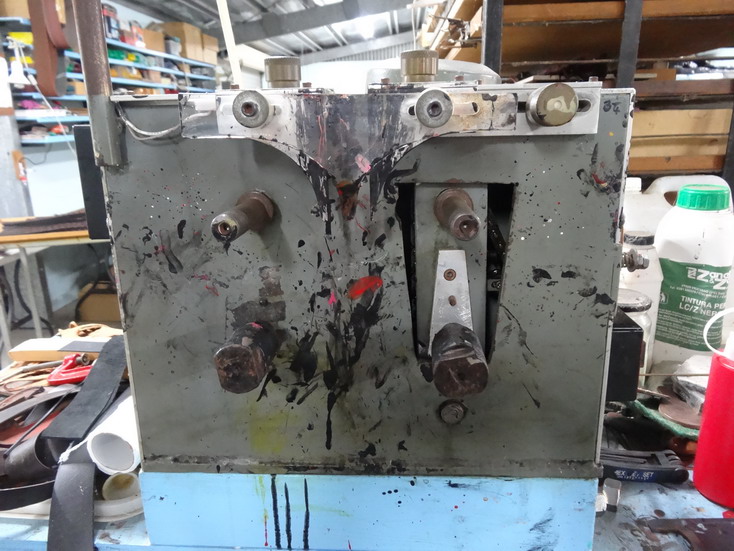
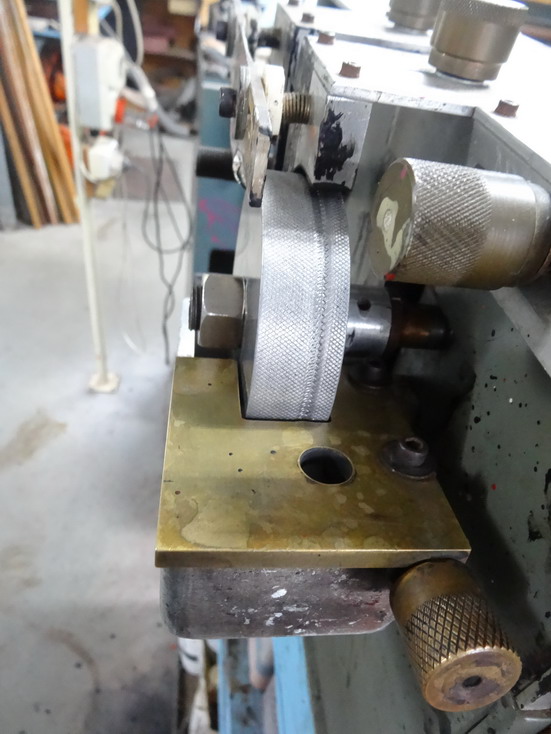
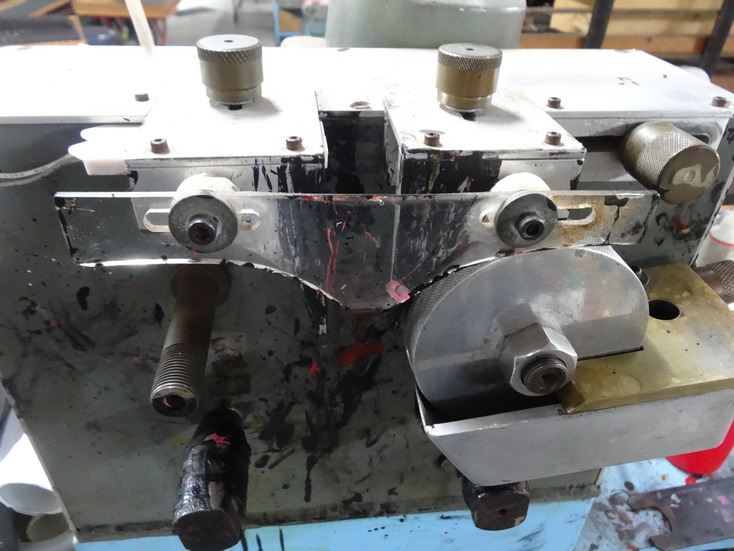
I made this machine quite awhile before my cad drawing days unfortunately but I will try and get you as much info as I can with regards to sizing and close up pics etc asap. As Bill rightly said I am flat out on some 300+hornback belt orders for a couple of more weeks to go to China and I cant be later than I already am. It is fairly simple but some decent welding ability is needed. The trickiest bit was working out how to make the wheels turn in toward each other but once I worked out to run an idling cog inside and used the back of the chain on the left wheel to drive it, it was easy. For the moment I will post a few still shots which may help a bit. The bucket and wheel on the right don't swing in and out but the right one does to allow adjustment for size widths and has a spring inside to allow to move in and out with tapers etc.The wheels were cut out of some 1" flat plate aluminium and some 1" round was set into that and welded on and then bored out to about 5/8" hole. Once the hole was done and the rods threaded it then was lathed and knurled. I will take a lot of pictures and measurements and try and put them together in as easy way to understand as I can. Thanks for the positive comments Regards Brian
-
Just a word of caution, when removing or making a foot right or left be sure to leave a bit in the middle behind the needle and remove back more if needed. If you remove too much you will find the needle can want to climb up the side a bit and leave needle marks on the side. I made that mistake before. I took back one a bit too far for stitching the rope filled round handles and had a lot of trouble keeping it from climbing up the rope. Rope type handle in picture below and note the trimming happens after the stitching . Regards Brian

-
Thanks Chuck .... I wouldn't say great but on the bright side I can only get better at it. Lets hope we get to see some other people sharing how they do it.
-
Generally I have been able to get cheap standard feet and just grind them down until they suit the job I want it to do . Sometimes if I have to I just make them from scratch but that can take 3 hours or more sometimes. I don't know this machine type so some pics could help.
-
In this short video I show part of the process of edging hornback crocodile belts with a machine I made for the job. It allows width of strips from 1/2" to 2" and thicknesses of strips up to 3/8". The thickness of the fluid edging can be adjusted thicker or thinner as required. Normally these type of belts get 2 pre coats and then sanded to smooth out the bumps and holes followed by another 2 or 3 coats and then some final hand edging is done where the machine sometimes can not get higher up on the bones. Normal leather belts generally only require 2 to 3 coats on this machine for a high level of finishing.There is a hand edging video as well on my you tube along with a few others. Here's the link -
-
How to lay down wallet pockets straight and even repeatedly
RockyAussie replied to RockyAussie's topic in How Do I Do That?
30 minutes on a plain leather style maybe but not with Crocodile unfortunately.Next video will show some of the headaches of working with croc and how I go about getting them to thickness. -
How to lay down wallet pockets straight and even repeatedly
RockyAussie replied to RockyAussie's topic in How Do I Do That?
I have only ever done 2 at a time myself laying down or the folding but with these women working together ....well you now how it is...