RockyAussie
-
Posts
3,265 -
Joined
-
Last visited
Content Type
Profiles
Forums
Events
Blogs
Gallery
Store
Everything posted by RockyAussie
-
I agree. Save some more if you need to. If I was to start all over my first machine would be a cylinder machine but not too large on the cylinder. A 335 clone perhaps. Brian
-
I was nearly going to say time for a 441 of sorts but I guess if you get to stick you thumb in one of them it wont be so easy to fling of your hand. When I feel mad enough to go the hand stitch route I keep a block of crepe rubber handy for the odd tough spot. PS cover the fish tank or he will just be waiting for the next exciting episode. Brian
-

Round handles with a chrome leather - like on a vuitton bag
RockyAussie replied to Thatone's topic in How Do I Do That?
You said this leather is thing and flimsy. I assume you mean thin and flimsy? If it is thin how thin? I myself would be looking to back it with a firmer substance but keep the thickness in total down to 2 or so mm depending on the size and weight of the bag your making. -
That's alright I like popcorn Its still looking good
-
I'll have to ask you what model Juki. The foot pressure is normally increased or decreased by the knob in this picture I've borrowed from above that Uwe has provided above. Brian

-
Looks pretty good so far, re minds me of saddle bags I've made except for the handles.
-
Thanks - but really living in Australia makes it more a necessity. Don't get me wrong though a challenge is always more fun. WOW now that looks like fun to me.
-
That is a good answer. If you can narrow the what and how method down then you may find a way that best suits your abilities. Here's a link that to me is an easy one perhaps by just drilling the holes instead of the fancy laser stuff. https://www.youtube.com/watch?v=rPxCPwRxzZg The one I built for myself was many years ago out of a lot of scrap like shopping trolleys and stuff I had laying around. I built it to be able to do a lot of different vacuum operations and I had the advantage of seeing a couple of other presses that I thought I could improve on such as not using individual clamps for holding the frames together.By pulling the handle down on the right the frames come down and lock in and then the Vacuum starts. I did not have cad software then and was sort of just made on the run as a lot of my stuff is. I think it is a bit elaborate for most but it may help with some ideas as It looks to me like a lot of people making the videos could use a few. Here a few pics of mine in the pdf file.Vacuum Forming machine2.pdf Regards Brian
-
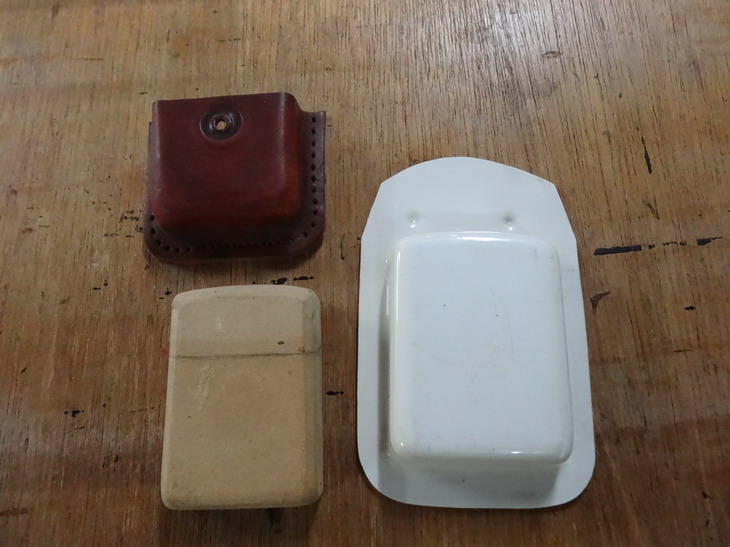
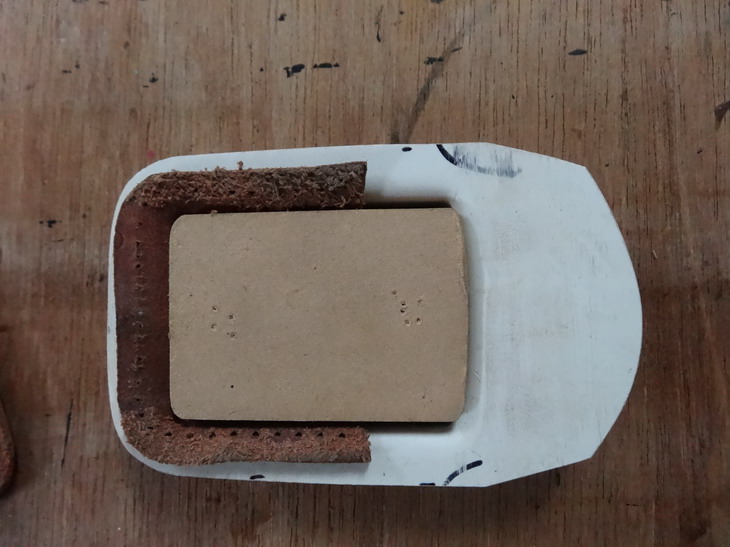
Little things like the zippo lighter pouches and vacuum moulding and such it can be worth after getting your first one right doing a vacuum moulded outer with a thermoplastic. After that you can do multiples and just stick down in a normall press. Pics below shough give you the idea.
-
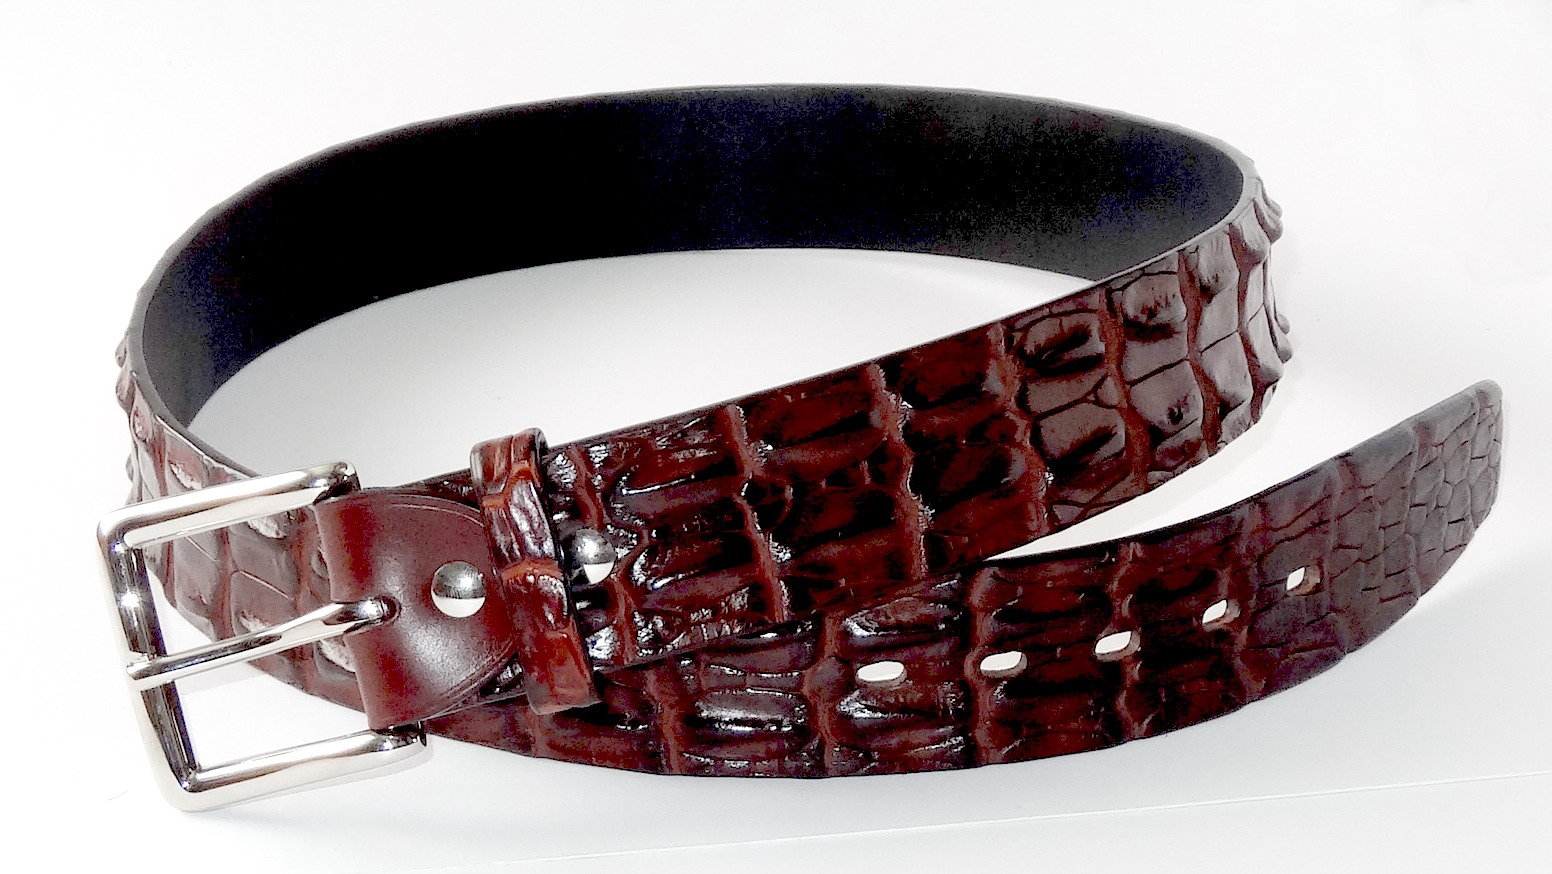
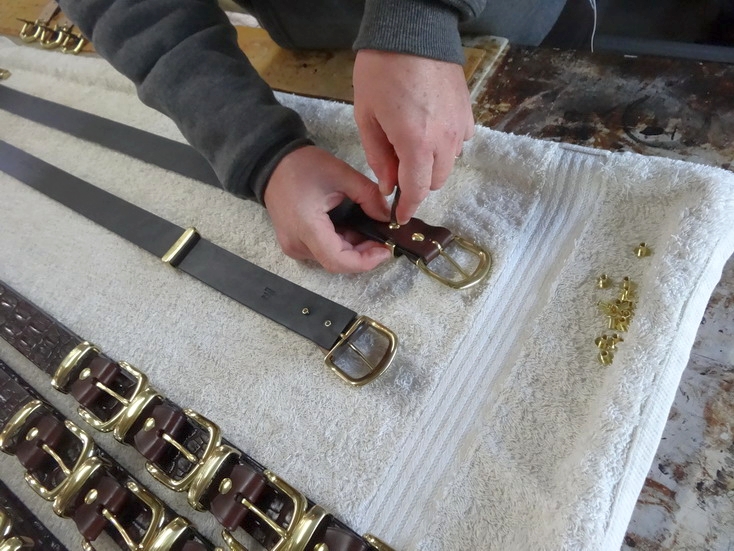
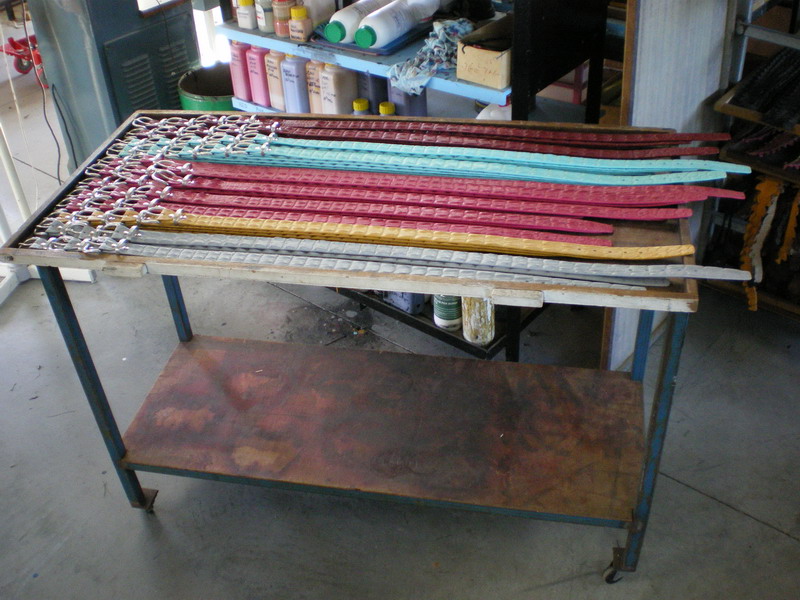
Another alternative wish I think is quick and easy if you make long belts all ready to go along the method I do many of my belts as in pics below. Just cut to length and punch 2 holes and attach the buckle and extension. Many customers buying as gifts just buy them over long and do it later.

-
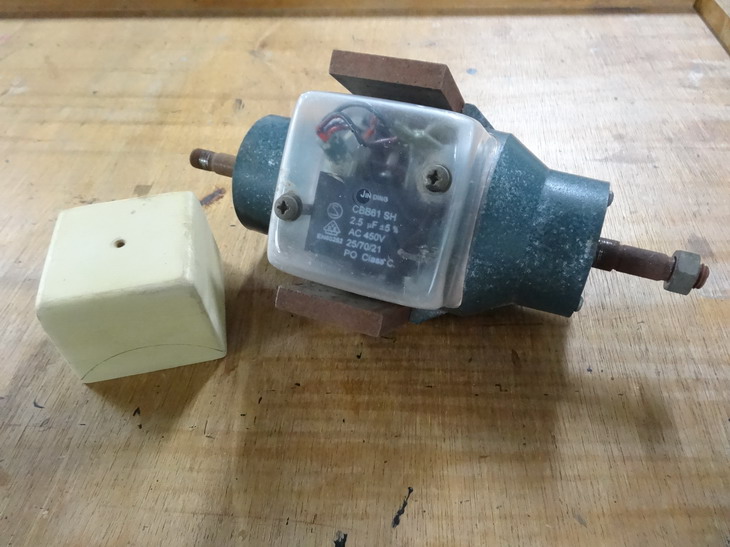
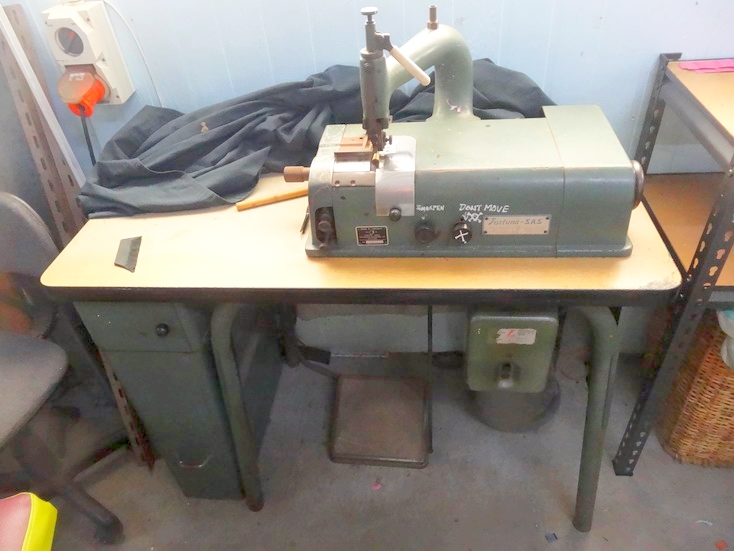
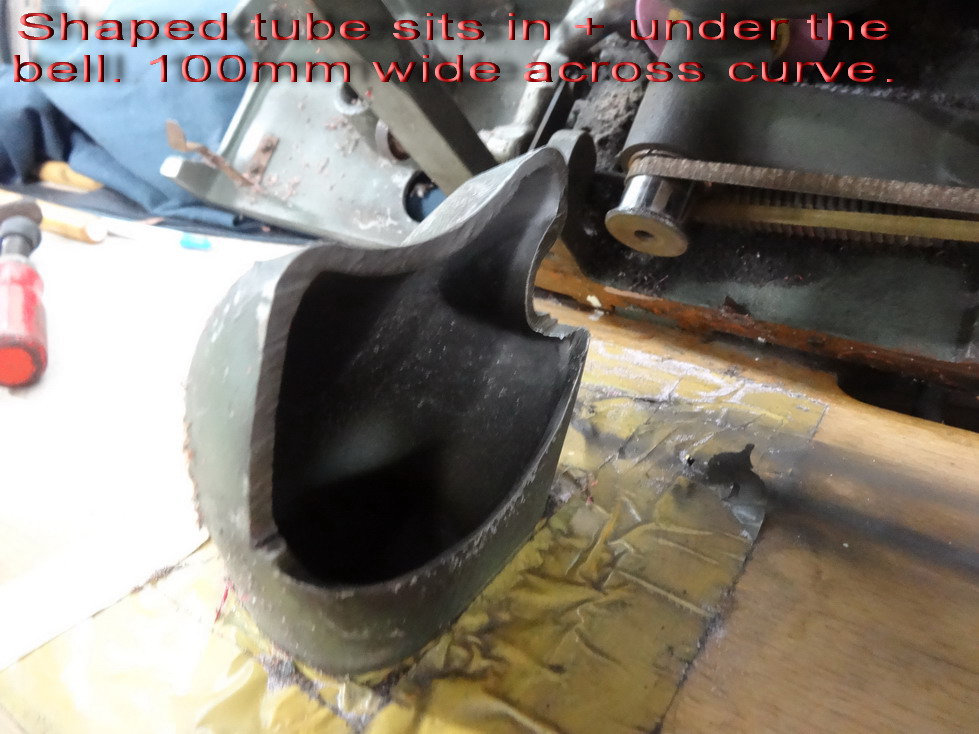
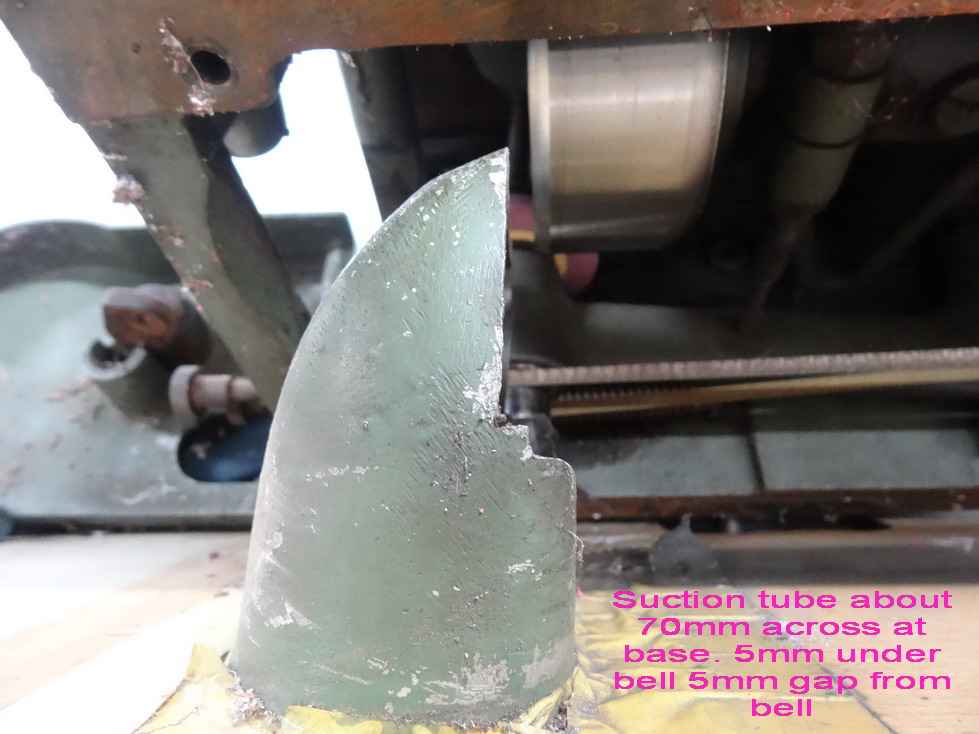
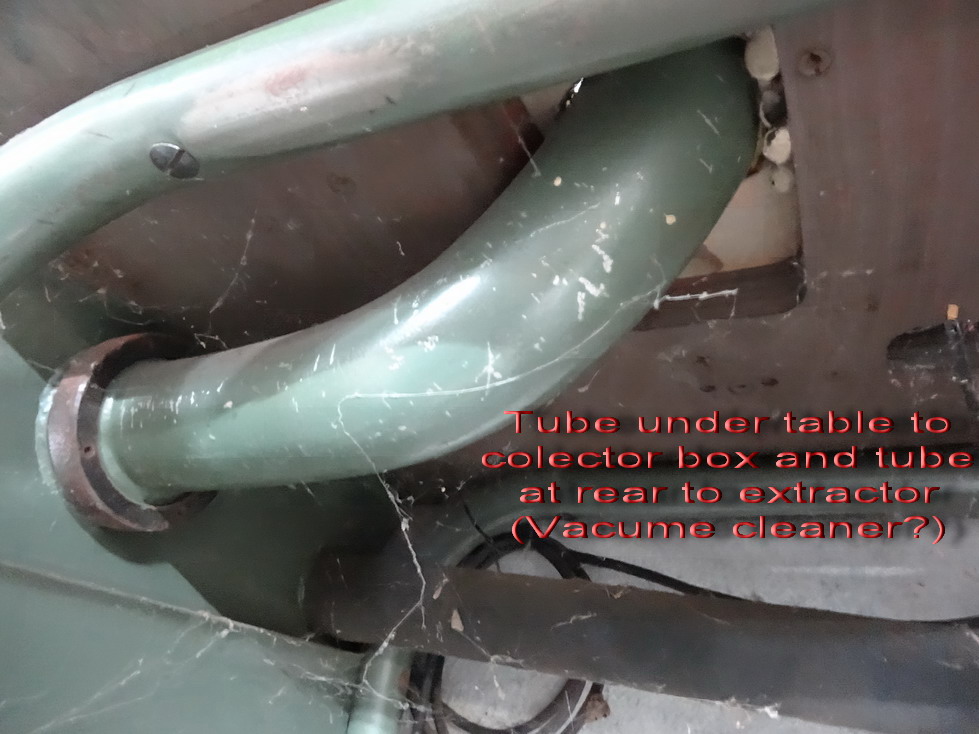
Here a few pics that if you haven't already seen may help to understand the extraction process. I think a bit of heating with some pvc pipe could achieve the bell cover shape and connections as well. Brian

-
I jimi, Glad you've picked up a worth while tool for the many different jobs this machine will enable you to do. As for the stone dressing tool that was attached to the door I took that off so long ago I can not remember why but I think the part was worn out and I find it quick and easy to dress a little when needed by a light touch and hold by hand with this dressing stone I have. Originally A jeweller friend silver soldered an industrial diamond onto the end of a piece of about 3/8" steel about 6" long and since then I found you can buy a similar tool at the machine/hardware places now. As the bell is round it is not necessary to have a dressing devise that makes the the sharpening stone flat right across its face as only a small part of the stone ever comes into contact with the bell. I normally dress it when it is sharpening as you can then see a big difference when it is cleaned up. (very little sparking to heaps of sparking). The broken metal piece was 46mm long with a v bend shape near its end and acts to hold the guard down and locked in. The rubber feed wheels I have not had much luck with due to the blade cutting in problem that you can see a little of on yours. When trying to soft leathers very fine on the edge it tends to waver a give a sort of chopping out. With the fine stones you can even lightly bring them up and grind back the inner edge of the bell when there is a sizeable lip left from sharpening. I had a staff member drive a rubber feed wheel up into the bell so much that I had no way of getting the shape back into round - so that was the end of that one. When you get her up and running well let me know if you have much trouble with the leather sticking to the feed wheel as I think it may be not that hard to put in an extraction method that would not be to difficult. Cheers Brian
-
Juki LU-563 chrome tan and inconsistent tension
RockyAussie replied to Willbury's topic in Leather Sewing Machines
That sounds like you don't have enough foot pressure down. If the leather lifts a bit the knot will be on the bottom. Some thread lubrication can help as well. A smaller needle size can help consistency as well sometimes probably because the leather is less likely to lift. Regards Brian -
As NCArcher says your top tension is now to high. Back it off anticlockwise around 2 full turns and try again but as Wiz said also I think you may need to tighten down your foot pressure a few turns. That is the knob right up on top that has a locking ring which will need to be loosened in order to turn first. As he said the leather if it lifts with the needle can give this effect and make it miss stitch as well. That may be why so much looping shows in your first picture. I am not seeing any impression marking at all and on that sort of leather and with this size needle I would expect to see at least a little. I do think a 22 LR leather point needle would be more suitable and better at getting a more consistent knotting into the middle. Your getting close nowBrian
-
 I bet you didn't just say Oops.
 -
I am curious as to what you mean by rubber coated rolls. I have 3 different softness rolls that came with my Comoga splitter but they are only for matrix type splitting and the steel roller is what gets used for mostly everything including glazed crocodile. I have made rubber rollers up for doing veg tanned hornback crocodile straps to stop impression marks into the leather but other than that I've never came across any need for. Pic of below. Regards Brian

-
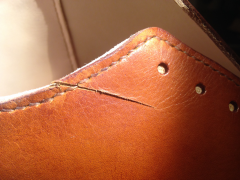
Hi Matt S, if you find the edging a bit to shiny it will dull down when ironed in with a iron not too hot. I do this sometimes and just finish of with a wax polish which can give a nice satiny sheen. If it has to be extra well finished sometimes I dull with a chemical I get made up but you can achieve the same with a talcum powder if used carefully.It needs to be shaken well before use as it can settle a bit after a while.If you use too much powder you will increase the hollowing/craze line up the middle problem as I have found on the Giardini colours when applied thickly. I have not tried the black Giardini and cant say if it has this problem.Brain
-
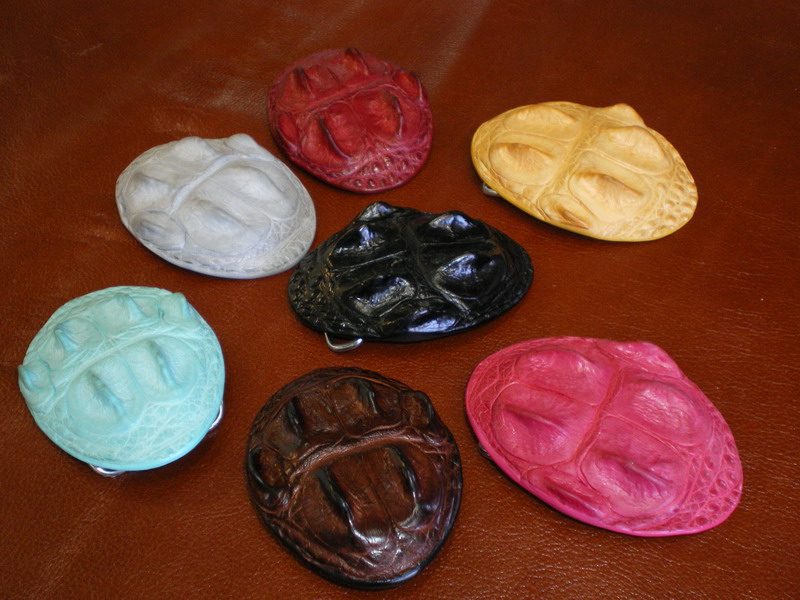
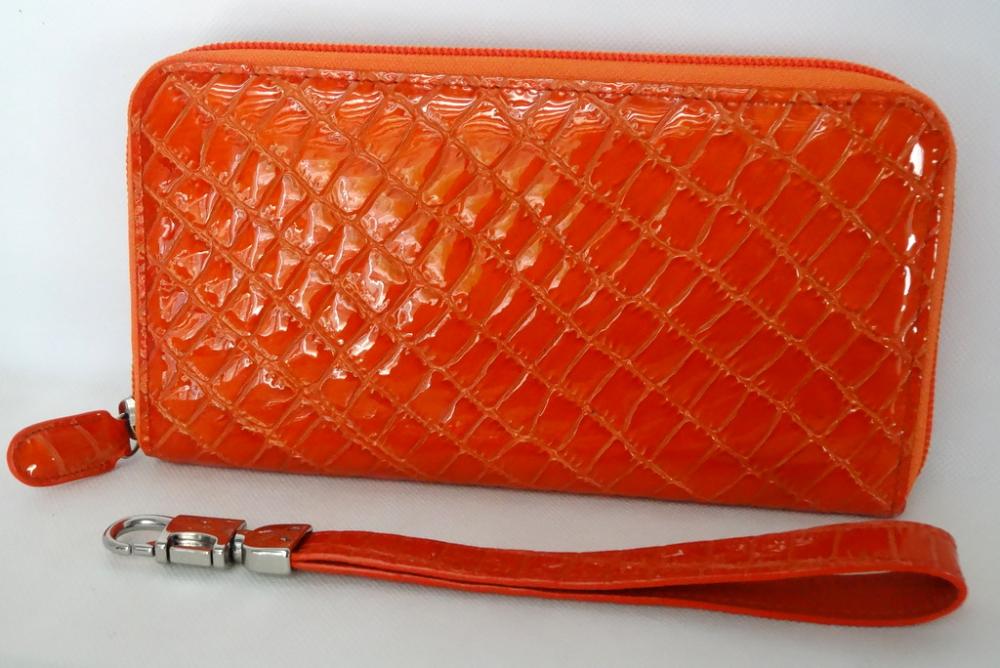
I have to agree that burnishing can be a lot quicker way to go when you can but unfortunately I have to deal a lot with dissimilar leather combinations and even when crocodile is done full veg tanned the hard and soft between the scales makes burnishing near to impossible for me. I have to also do my best with a wide range of often vibrant colours and chrome tanning, re tanned and many other as well. As most of the products I make are for the higher end even the edges of my wallet folds where their seen have to have colour matched edging. As far as any peeling or rubbing off goes the techniques I've developed over the years have minimalised these issues near to non existent. Too slick an edge before edge coat is the biggest mistake that some people make as that can lead to peeling up and as you say you want that colour to deeply penetrate into the leather fibres. Note: I don't use these edge coats on greasy or bridle type leathers and on these leather types I agree fully with burnishing as the only way I know of. Normal veg tooling type leathers are no problem with edge coating if not overly slicked up before application. I have put below a few product pictures to hopefully show a bit of what I am trying to get at. Brian

-
First ever bag!
RockyAussie replied to motocouture's topic in Purses, Wallets, Belts and Miscellaneous Pocket Items
Wow I wish I was anywhere near that capable on my first bag. Very tasteful edging tint and so well done and the stitching is superb. I think you might drown in the orders for if your not careful. Regards Brain -
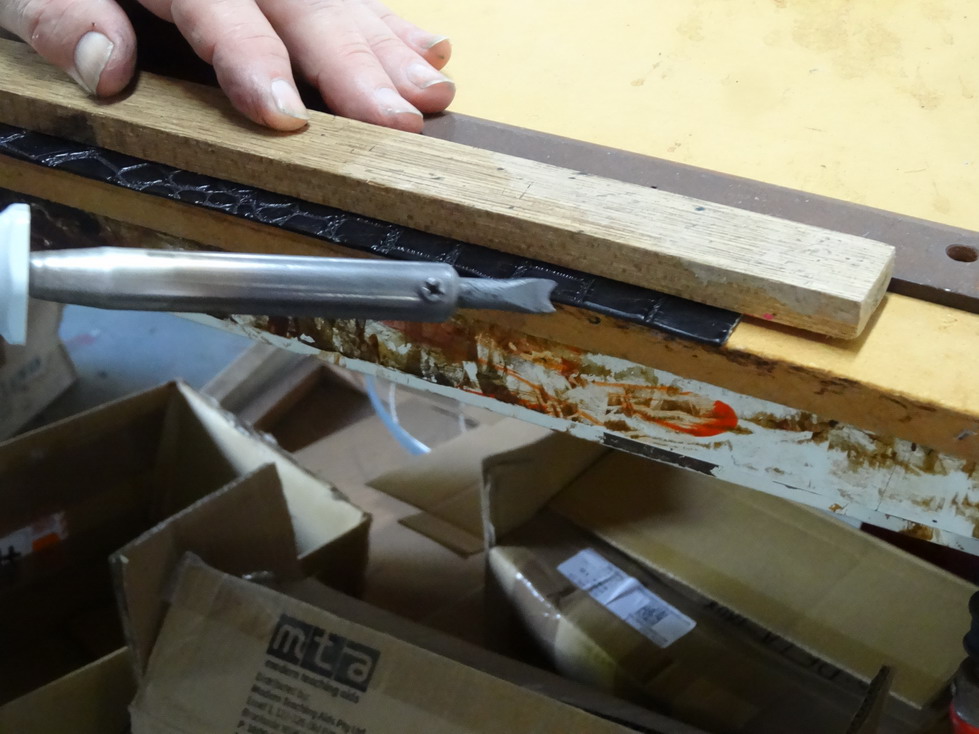
For many years I have used a different named solution (Ares (Italia)S.r.l.) which I believe to be Fenice by a different name. I have generally used it by applying coats and ironing in with a shaped tip soldering iron that I have temperature controlled via a light dimmer switch housed in a box. Picture of iron shown below. It became a bit of a problem here in that the supplier went to needing orders of 10 or more litres at a time and the price per litre by the time it hits here is like $70.00 per litre. Be that I have mixed my own pigments into the clear AR 6350 for years and duller if wanted as well it is difficult to work out effective alternatives. Another re branded product (OMAC) I think is Giardini I have tested in some colours and found that it hollowed out when put on flat leather and sometimes even appeared to get a split line crazing down the middle.I am interested to hear other users experiences with these various edging products. At present I am thinking of doing more trials with the Giadani but will need to look for a good supplier first. Thanks again for starting such a valuable subject thread.
-
Inline Cowboy presser feet on Cowboy CB4500
RockyAussie replied to Wizcrafts's topic in Leather Sewing Machines
Thats fair enough I can feel the pain on those end mills. Though stainless is IMO overkill. It's a shame getting things cast is so expensive in small numbers. Well that's the case here at least.Hope it works out. Brian -
Inline Cowboy presser feet on Cowboy CB4500
RockyAussie replied to Wizcrafts's topic in Leather Sewing Machines
They look pretty good Uwe but can I ask if you considered putting in a groove at the bottom to straddle the thread? -
Thanks Gigi, Yes it is a button hole punch used but could have been a fixed stud if customer were 8 hours closer to me. Once the length is established there's no real need for strap adjustment I think.
-
Thanks for posting such useful comparisons. I would like to see a comparison with the Giardini as against the Fenice range. One thing that I have found some trouble with is the tendency for a crack line or hollowing to show up in the middle of the edging when applied thickly which can be difficult and time consuming to smooth back out. Regards Brian
-
Have a look in New South Wales Leather Co. It was a couple of years back now and I often just send samples of the croc colour and thickness I want and if all is well they send a suitable colour. A lot of the leather there is job lots that are not ongoing lines unfortunately, but for these sort of one off items your in a lot better location than me.